Invite external users to access Publically Shared URLs via Power BI using Azure AD
November 2017 update: Azure AD B2B now supports Power BI. More details here: /en-us/power-bi/service-admin-azure-ad-b2b
With the rapid adoption of Azure Active Directory (Azure AD) and services surrounding Azure AD, we’re seeing more and more customers interested in publishing SaaS apps as well as custom apps to employees, consultants, and business partners. One of the challenges of granting application access to users is provisioning/maintaining infrastructure, user management, and what technologies to utilize long term.
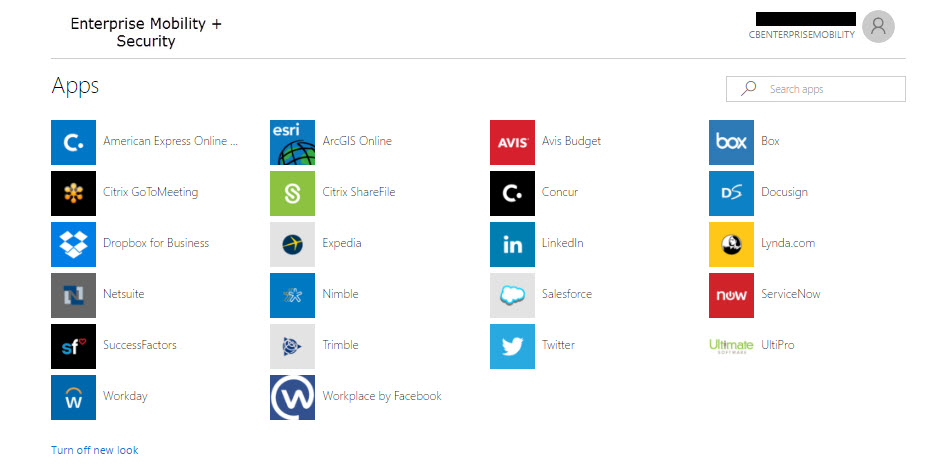
Azure Active Directory has a feature called the Access Panel (or myapps.microsoft.com). The panel accessible by employees and business partners who have accounts within Azure AD (think of this as a potential extranet replacement). Accounts in Azure AD may live in the cloud, synced from on premises identity providers (i.e. using Azure AD Connect), or by inviting users via Azure AD B2B (business-to-business).
We’re also seeing rapid adoption of Microsoft Power BI. Power BI takes all that data you have and transforms it into dashboard visuals and/or reports and can be shared out via a link. For more information about Power BI please visit: https://powerbi.microsoft.com/en-us/
In this post, I’ll walk through how to publish an app that points to a published URL from Power BI and assign external users to a Power BI URL using the "Publish to Web" option.
Requirements
- Azure Subscription with an Azure AD tenant
- Power BI subscription – free version works fine for static access to publically shared URLs
Azure AD does not support publishing the Power BI app to external users, however virtually any web URL can be assigned to external users that includes a publically generated URL of a report in Power BI.
Please refer to the licensing information regarding the sharing of Power BI content: https://powerbi.microsoft.com/en-us/documentation/powerbi-service-share-unshare-dashboard/#licensing-requirements-for-sharing
For this post I take a URL generated using the Power BI sharing feature (alternatively, sharing from Power BI with users accomplishes the same thing) and create an app using the same URL in Azure AD. I then invite users to access the public URL via an app added to Azure AD. Access may vary depending on the Power BI features utilized and user licensing. Please test all scenarios before moving forward with deployment.
Let’s get started
Stage 1 - Invite external users to Azure AD
Inviting external users using Azure AD is a quick process. Log into portal.azure.com, locate Azure Active Directory and add a user.
Stage 2 – Log into Power BI using credentials from the same Azure AD tenant where the B2B users reside. Find the report you’d like to share and select File and then Publish to web at the top. This will provide a URL that is accessible to anyone on the web. If you'd like secure access to Power BI content please refer to licensing Power BI. 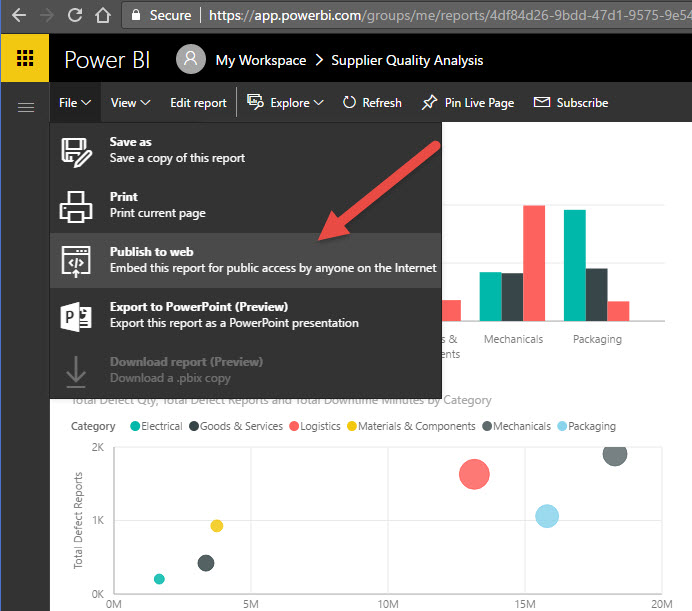
You may be asking, why don’t I just share the public URL via email and move on? I could, however what I’m demonstrating is how to publish a URL using Azure AD that points to a publicly shared Power BI URL. Instead of relying on users to keep track of external links, they can log in to the access panel and select the Apps that point to published URLs as well as access other applications you’ve granted them access to (e.g. SharePoint Online, Salesforce, Concur, Workday, etc.)
Note: Azure AD supports user provisioning with select applications (e.g. Workday, Salesforce, Service Now, etc.). When a user is added to Azure AD, groups can be configured to dynamically look for attributes in the user’s account (e.g. department = Finance) and automatically add them to a group. That group can be assigned to an app as well. User provisioning into SaaS apps can occur thereafter if the apps are configured to do inbound provisioning (i.e. create an account in the SaaS apps identity directory). Dynamic membership for groups cuts back on the management of accounts because account provisioning and de-provisioning happens automatically.
Stage 3 – Add an application to Azure AD the points to a URL and assign to users:
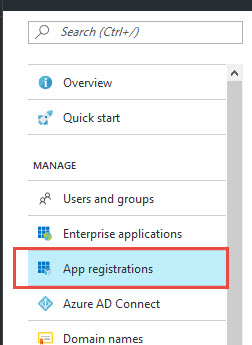
Log into the portal.azure.com and search for Azure Active Directory. Drill down into Azure Active Directory and select "App Registrations"
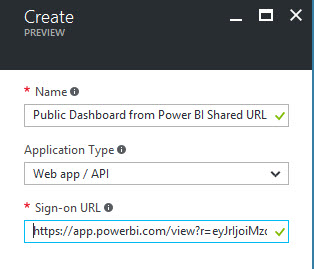
From the blade that opens to the right, select Add and fill in the details about the app/URL you're adding. The URL I used is the URL from Power BI that was created to publicly share content (again anyone can access this content so be sure no confidential data is exposed):
Save the app and if needed access it again to change settings such as the logo and so on.
Today the new Azure Portal does not support assigning users to custom apps so we need to access the classic Azure Console to assign access to external users:
Log into the classic Azure Portal: https://manage.windowsazure.com and navigate the Active Directory on the left had side.
Select the application and select “USERS AND GROUPS”. Add users or groups that you want to have access to the application (i.e. Power BI report). For demonstration purposes, I added a B2B user.
Note: for a more automated of adding users to applications, refer to the dynamic group membership discussed in a previous note above. 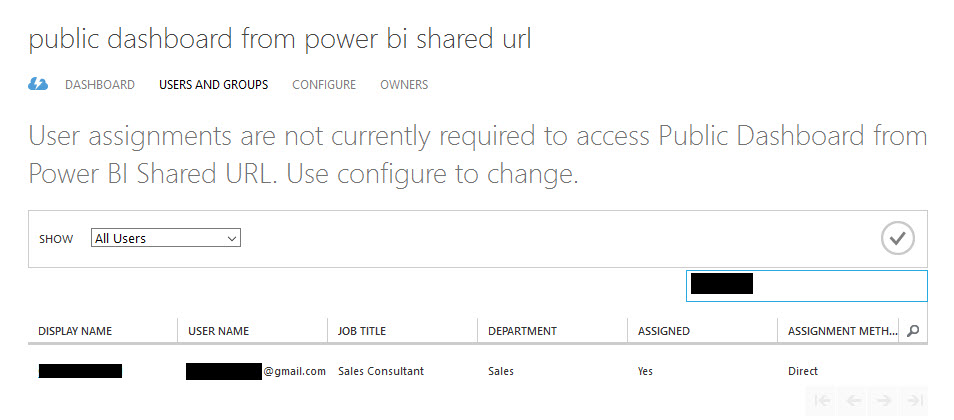
Stage 4 – Log in as the B2B user to https://myapps.microsoft.com
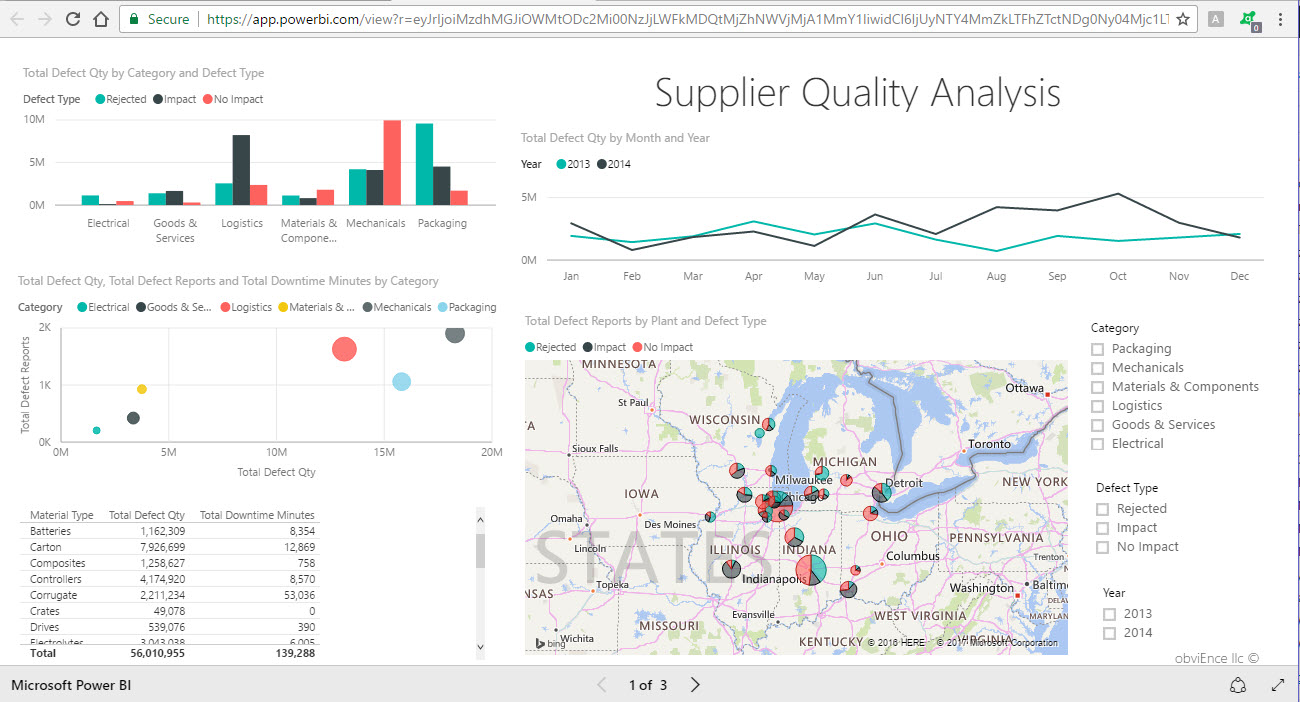
Test my published URL outside of Azure AD if you'd like to see if it works or not: https://app.powerbi.com/view?r=eyJrIjoiMzdhMGJiOWMtODc2Mi00NzJjLWFkMDQtMjZhNWVjMjA1MmY1IiwidCI6IjUyNTY4MmZkLTFhZTctNDg0Ny04Mjc1LTJlNDQ4OTBmYWU4ZSIsImMiOjN9
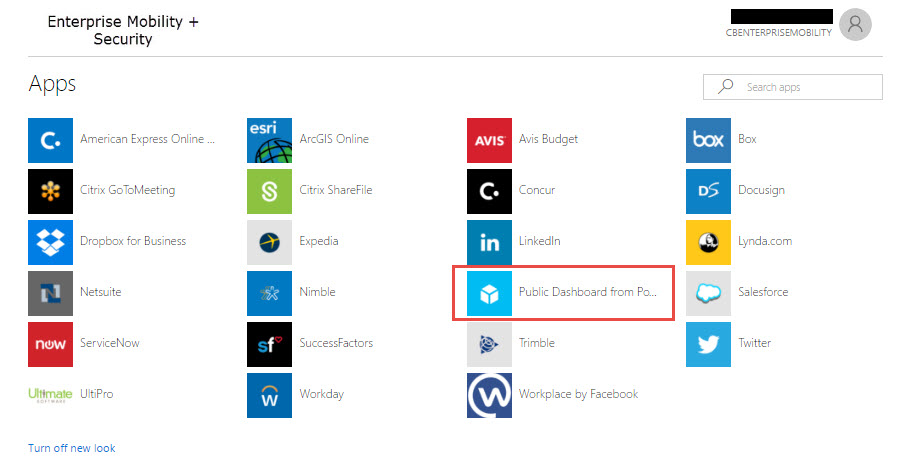
Select the app that is attached to the published public URL and we’re taken to the report via a single sign-on process:
That’s it, we’ve published a Publicly shared static URL from Power BI report via an Azure AD app to an external user using Azure AD B2B in just a few steps.
