Step-By-Step: Enabling Kiosk Mode in Windows 8.1 via Assigned Access
One of the interesting features made available in Windows 8.1 is Kiosk mode. While most may see this type of functionality relatable in only a retail setting, there are other functions kiosk mode could serve. With uses that range from a individual assigned a specific task to a self serve option in automating specific tasks, kiosk functionality has made strides to find placement outside of the traditional retail offering.
Windows 8.1 provides this kiosk feature natively, allowing IT professionals the ability to lockdown a device to specifically use one application. The only requirement is that the selected application needs to be a modern application not a desktop application. With that being said, enablement of kiosk mode can easily be completed as detailed below.
Step 1: Go to Charms > Settings > Change PC Settings > Accounts
Step 2: Select Other Accounts > Add an account (Skip to Step 7 should the specified account already be in place)
Step 3: Select Sign In without a Microsoft account
Note: While not normally recommended, no other functionality is required since the account will be locked to specifically one application
Step 4: In the Add a user screen, select Local account (A Microsoft account will be required to access the store to load the required app unless the app is sideloaded)
Step 5: Create the Local user account and click Next
Step 6: Once the new local user account has been created, click Finish

Step 7: After returning to the Manage other account screen, log out of the current user and log back in using the Kiosk User
Step 8: Under Kiosk User, install the required apps via sideload or store
Step 9: Once completed, sign out of the Kiosk User and back in as your administrator account
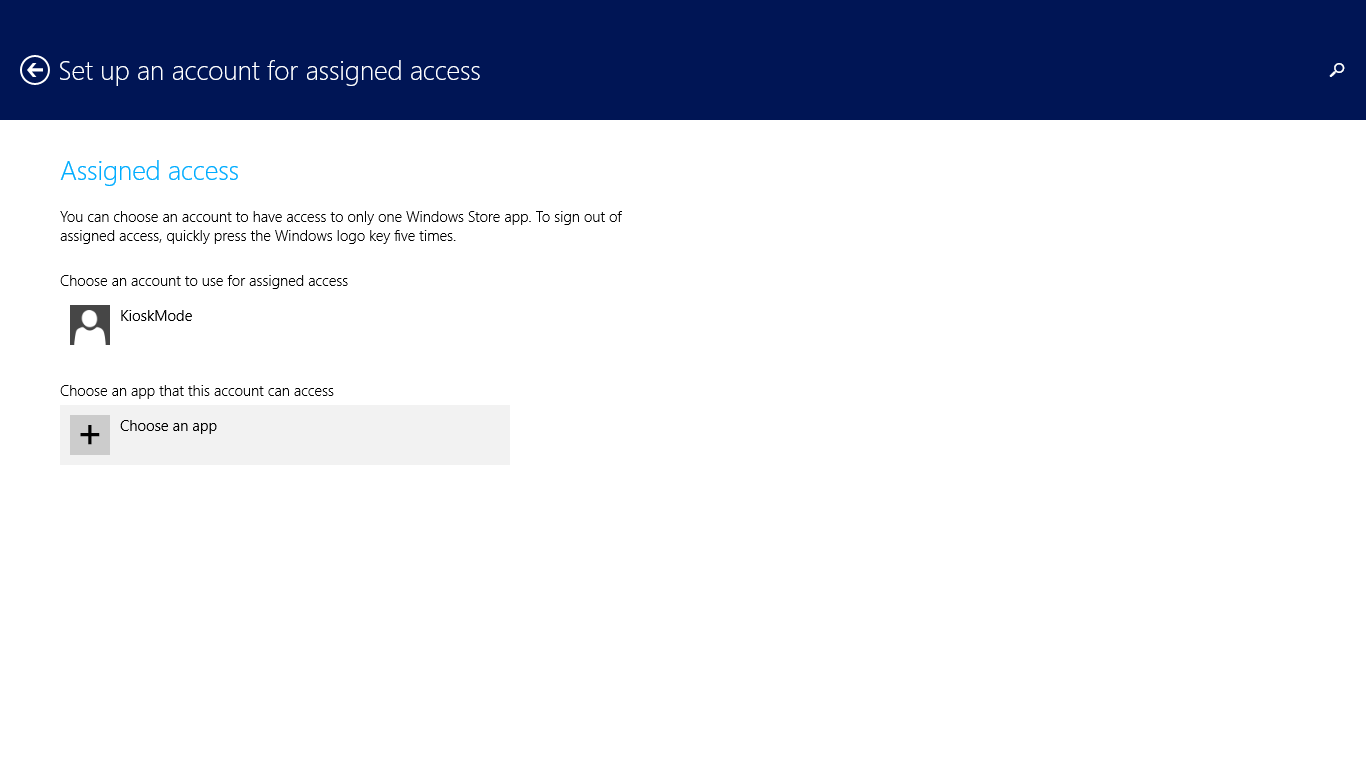
Step 10: Return to the Charms > Settings > Change PC Settings > Accounts > Other accounts and select Set up an account for assigned access
Step 11: Select Choose an account
Step 12: One the Kiosk User is chosen, select Choose an app
Step 13: Once the app is chosen, log back out of the current account and log back in under the Kiosk User
Learn other functionality made available in the Windows 8.1 for IT Professionals made available at the Microsoft Virtual Academy.
Comments
- Anonymous
December 17, 2013
Pingback from Step-By-Step: Enabling Kiosk Mode in Windows 8.... - Anonymous
December 17, 2013
Pingback from Step-By-Step: Enabling Kiosk Mode in Windows 8.... - Anonymous
December 17, 2013
Pingback from Nova Tech Consulting Blog | Step-By-Step: Enabling Kiosk Mode in Windows 8.1 via Assigned Access – Canadian IT Professionals – Site Home – TechNet Blogs - Anonymous
December 21, 2013
Pingback from Step-By-Step: Enabling Kiosk Mode in Windows 8.... - Anonymous
December 26, 2013
Pingback from SOLVED: How To Enable KIOSK / ASSIGNED ACCESS Mode in Windows 8.1 - Up & Running Technologies Calgary


