5. Adding a button & resetting piece locations
In the previous tutorial, you added Hand Interaction Actors to the Pawn and Manipulator components to the chess board to make them both interactive. In this section, you'll continue to use the Mixed Reality Toolkit UX Tools plugin to build out your chess app with new functions and Actor references in Blueprints. By the end of this section, you'll be ready to package and deploy the mixed reality app on a device or emulator.
Objectives
- Adding an interactive button
- Creating a function to reset a pieces' location
- Hooking the button up to trigger the function when pressed
Creating a reset function
Your first task is to create a function blueprint that resets a chess piece to its original position in the scene.
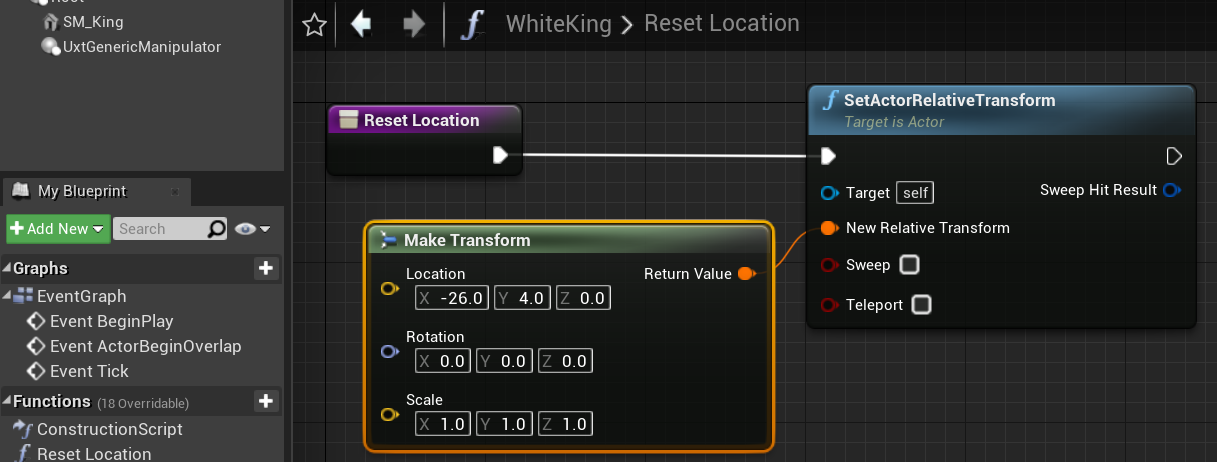
Open WhiteKing, select the + icon next to the Functions section in the My Blueprint and name it Reset Location.
Drag and release the execution from Reset Location on the Blueprint grid to create a SetActorRelativeTransform node.
- This function sets the transform (location, rotation, and scale) of an actor relative to its parent. You’ll use this function to reset the king’s position on the board, even if the board has been moved from its original position.
Right-click inside the Event Graph, select Make Transform, and change its Location to X = -26, Y = 4, Z = 0.
- Connect its Return Value to the New Relative Transform pin in SetActorRelativeTransform.
Compile and Save the project before returning to the Main window.
Adding a button
Now that the function is set up correctly, your next task is to create a button that fires it off when touched.
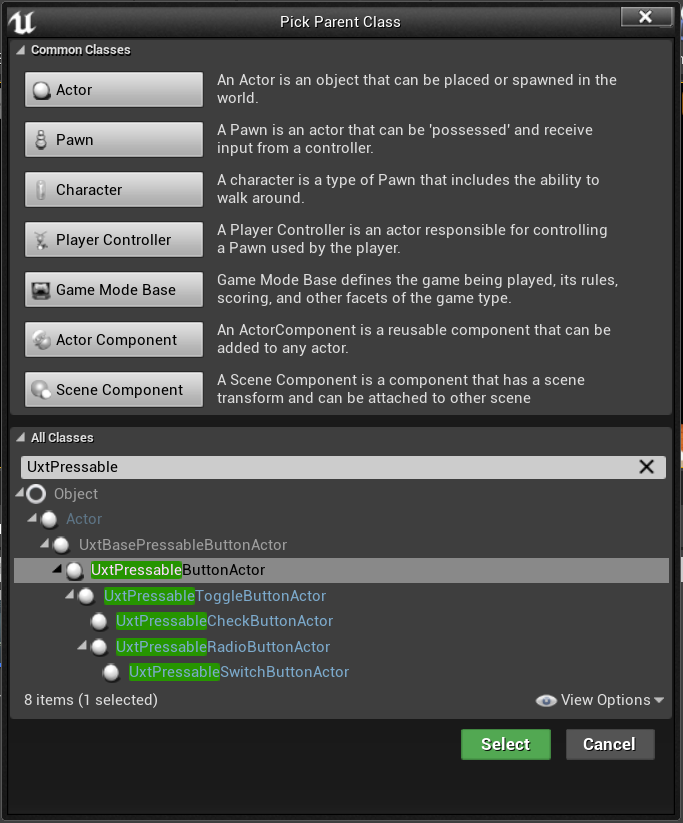
- Click Add New > Blueprint Class, expand the All Classes section, and search for UxtPressableButtonActor.
- Name it ResetButton and double click to open the Blueprint
- Ensure ResetButton(self) is selected in the Components panel. In the Details panel, navigate to the Button section. Change the default Button Label to "Reset", expand the Button Icon Brush section, and press the Open Icon Brush Editor button.
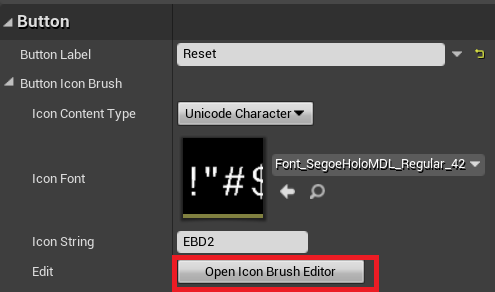
The Icon Brush Editor will open, which you can use to select a new icon for your button.
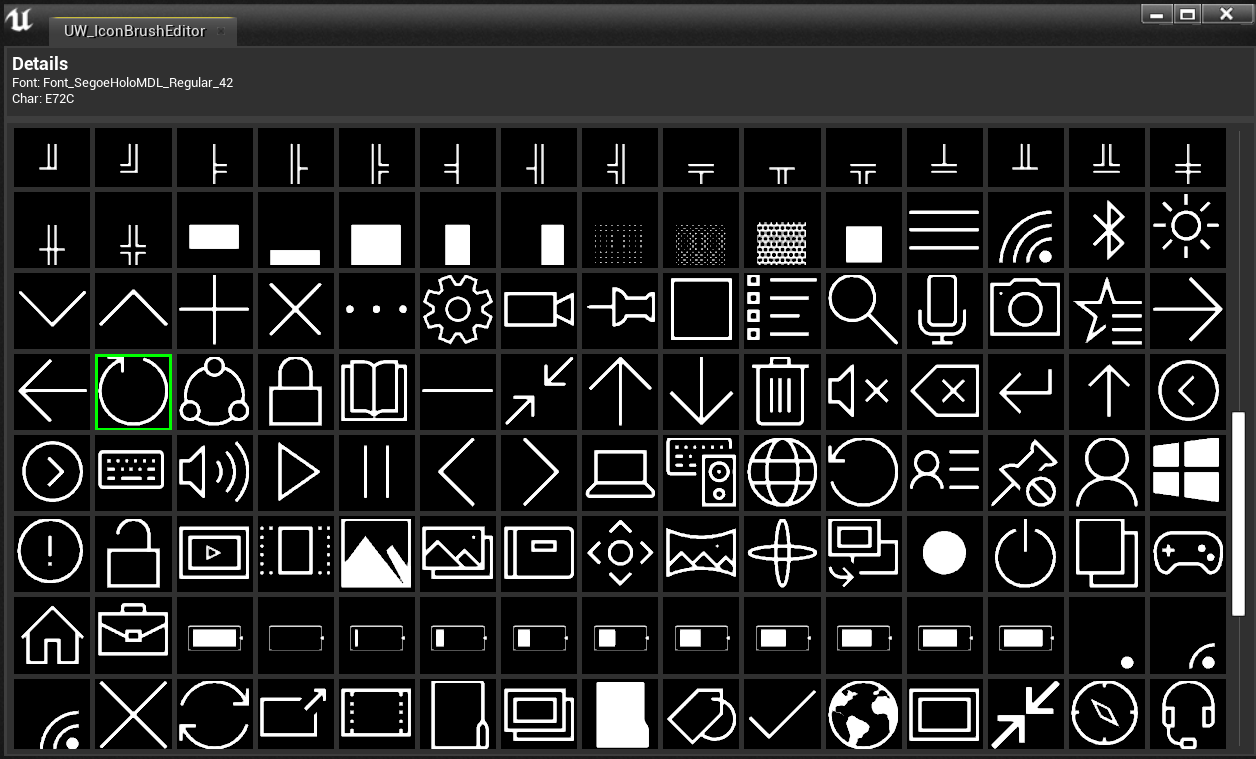
There are plenty of other settings you can adjust to configure your button. To learn more about the UXT Pressable Button component, check out the documentation.
- Click ButtonComponent (Inherited) in the Components panel and scroll down the Details panel to the Events section.
- Click the green + button next to On Button Pressed to add an event to the Event Graph, which will be called when the button is pressed.
From here, you’ll want to call WhiteKing’s Reset Location function, which needs a reference to the WhiteKing Actor in the Level.
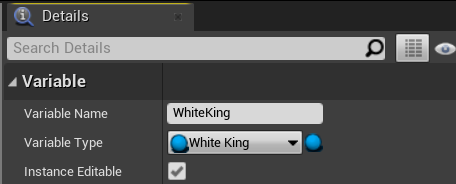
- In the My Blueprint panel, navigate to the Variables section, click the + button, and name the variable WhiteKing.
- In the Details panel, select the dropdown next to Variable Type, search for WhiteKing, and select the Object Reference.
- Check the box next to Instance Editable, which allows the variable to be set from the Main Level.
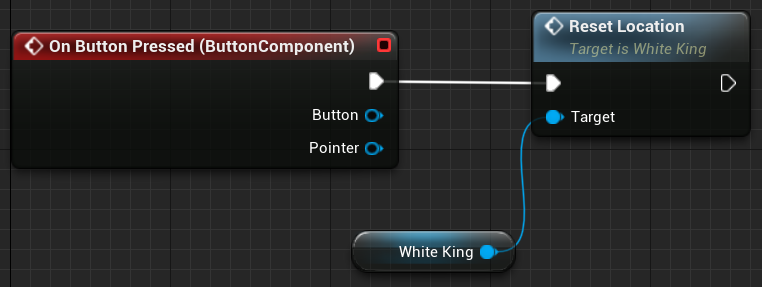
- Drag the WhiteKing variable from My Blueprint > Variables onto the Reset Button Event Graph and choose Get WhiteKing.
Firing the function
All that's left is to officially fire off the reset function when the button is pressed.
- Drag the WhiteKing output pin and release to place a new node. Select the Reset Location function. Finally, drag the outgoing execution pin from On Button Pressed to the incoming execution pin on Reset Location. Compile and Save the ResetButton Blueprint, then return to the Main window.
- Drag ResetButton into the viewport and set its location to X = 50, Y = -25, and Z = 10. Set its rotation to Z = 180. Under Default, set the value of the WhiteKing variable to WhiteKing.

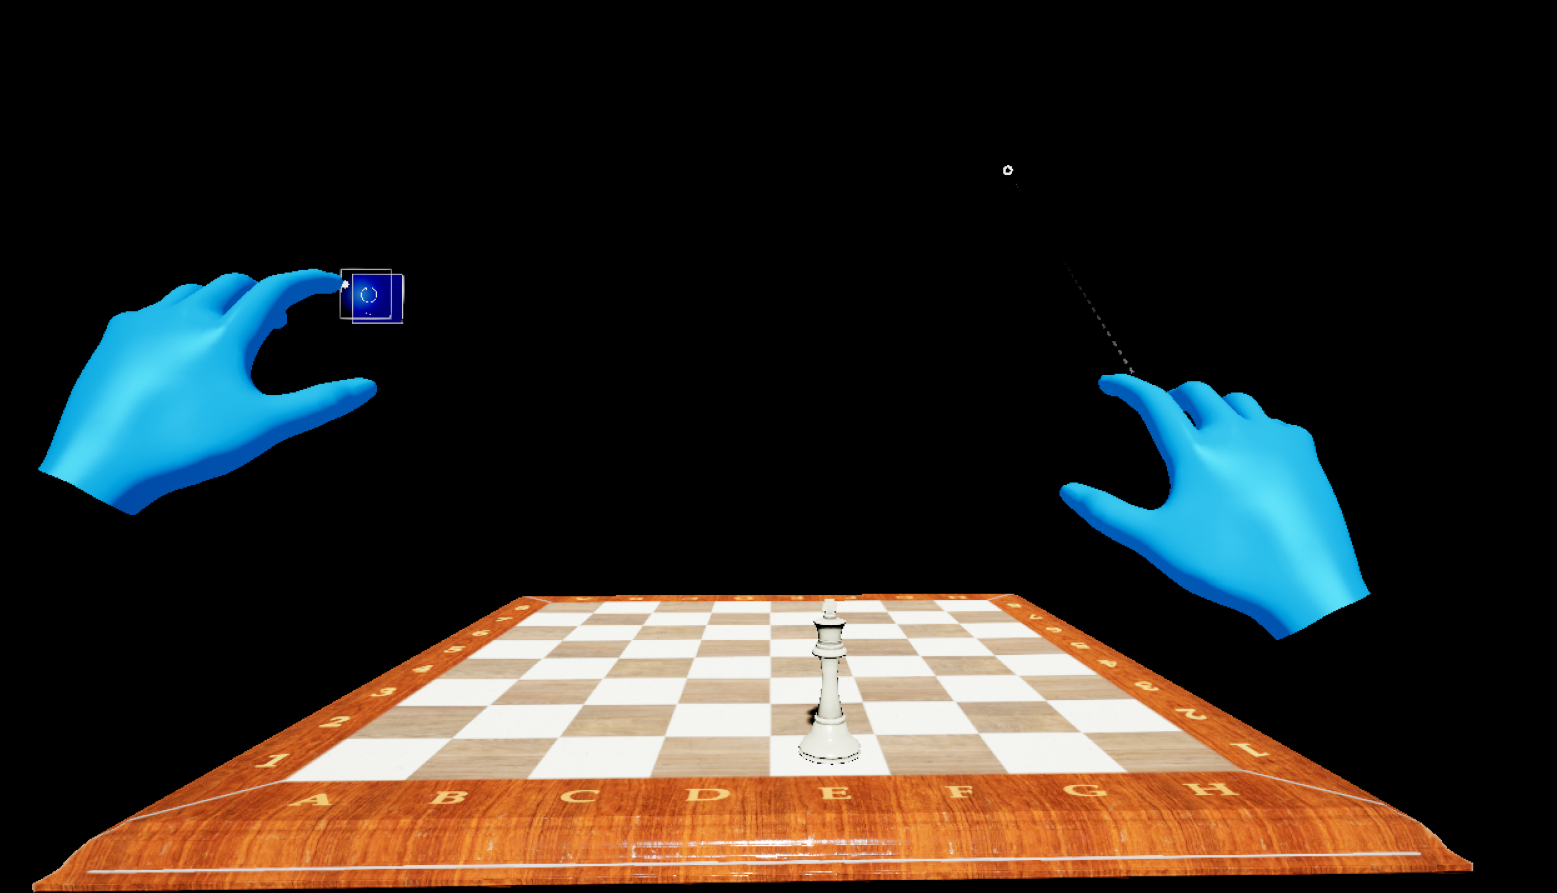
Run the app, move the chess piece to a new location, and press your HoloLens 2-style button to see the reset logic in action!
You now have a mixed reality app with an interactable chess piece and board, and a fully functioning button that resets the piece’s location. You can find the completed app up to this point in its GitHub repo. Feel free to go beyond this tutorial and set up the rest of the chess pieces so that the entire board is reset when you press the reset button.
You're ready to move on to the final section of this tutorial where you'll learn how to package and deploy the app to a device or emulator.
Important
At this point, you should update your project with the recommended Unreal performance settings before deploying your application to a device or emulator.
Next Section: 6. Packaging & deploying to device or emulator