Quickstart: Customize a reference device in Audit mode
In this quickstart, you customize a reference device running Windows IoT Enterprise in Audit mode and create a custom Kiosk experience.
Tip
Most customizations in this lab can be made to an offline mounted Windows image, as well as in Audit mode. For more information, see Modify a Windows image using DISM.
Prerequisites
Complete Quickstart: Prepare your lab environment before you begin this quickstart.
What is Audit mode?
Audit Mode allows system administrators to boot directly to the desktop before the end user gets to the Windows Welcome screen, giving them the opportunity to install Windows Updates, drivers, locking down the device, and install other software as needed.
When Windows boots, it starts in either Out-Of-Box Experience (OOBE) mode or in Audit Mode. OOBE is the default out-of-box experience that allows end users to enter their account information, select language, accept the Microsoft Terms of Service, and set up networking. In Audit Mode, you can:
- Bypass OOBE. You can access the desktop as quickly as possible. You don't have to configure default settings such as a user account, location, and time zone.
- Install applications, add device drivers, and run scripts. You can connect to a network and access more installation files and scripts. You can also install more language packs and device drivers.
- Provide a controlled and specialized device by locking down the device interaction experience. Locking down a device helps protect it from malicious users, provides a custom defined user experience, and improves system reliability.
- Test the validity of a Windows installation. Before you deploy the system to end users, you can perform tests on the system without creating a user account. Then you can prepare the system to start in OOBE on the next boot.
- Add more customizations to a reference image to help reduce the number of images that you have to manage. For example, you can create a single reference image that contains the basic customizations that you want to apply to all Windows images. You can then boot the reference image to audit mode and make more changes that are specific to the computer. These changes can be customer-requested applications or specific device drivers.
For more information, see Audit mode overview.
Suppress all Windows UI elements during startup with Unbranded Boot
You can suppress Windows elements that appear when Windows starts or resumes and can suppress the crash screen when Windows encounters an error that it can't recover from. This feature is known as Unbranded Boot.
This section provides steps to configure Unbranded Boot in Audit mode using Deployment Image Servicing and Management (DISM) tool in your reference device sample. The steps apply to both physical device and virtual machine:
Enable the Unbranded boot feature by running the following command in Command Prompt with Administrator privileges:
Dism /online /enable-feature /featureName:Client-DeviceLockdown
Dism /online /enable-feature /FeatureName:Client-EmbeddedBootExp
Restart the reference device.
Open Command Prompt with Administrator privileges.
Disable the F8 key during startup to prevent access to the Advanced startup options menu:
bcdedit.exe -set {globalsettings} advancedoptions falseDisable the F10 key during startup to prevent access to the Advanced startup options menu:
bcdedit.exe -set {globalsettings} optionsedit falseSuppress all Windows UI elements (logo, status indicator, and status message) during startup:
bcdedit.exe -set {globalsettings} bootuxdisabled onRestart the reference device and notice that the Windows UI elements are suppressed during startup.
Suppress Windows UI elements from welcome and shutdown screens with Custom Logon
You can use the Custom Logon feature to suppress Windows UI elements that relate to the Welcome screen and shutdown screen. For example, you can suppress all elements of the Welcome screen UI and provide a custom logon UI.
This section provides steps to configure Custom Logon in Audit mode using DISM in your reference device sample. The steps apply to both physical device and virtual machine:
Enable the Custom Logon feature by running the following command at Command Prompt with Administrator privileges. If prompted to restart, choose No:
Dism /online /enable-feature /featurename:Client-DeviceLockdown /featurename:Client-EmbeddedLogonModify the following registry entries. If prompted to overwrite, choose Yes:
Set the BrandingNeutral value in the registry, which controls the display of branding information during logon.
Reg add "HKLM\SOFTWARE\Microsoft\Windows Embedded\EmbeddedLogon" /v BrandingNeutral /t REG_DWORD /d 1Set the HideAutoLogonUI value in the registry, which controls the display of the auto logon user interface.
Reg add "HKLM\SOFTWARE\Microsoft\Windows Embedded\EmbeddedLogon" /v HideAutoLogonUI /t REG_DWORD /d 1Set the HideFirstLogonAnimation value in the registry, which controls the display of the first logon animation.
Reg add "HKLM\SOFTWARE\Microsoft\Windows Embedded\EmbeddedLogon" /v HideFirstLogonAnimation /t REG_DWORD /d 1Set the AnimationDisabled value in the registry, which controls whether the logon UI animation is disabled.
Reg add "HKLM\SOFTWARE\Microsoft\Windows\CurrentVersion\Authentication\LogonUI" /v AnimationDisabled /t REG_DWORD /d 1Set the NoLockScreen value in the registry, which controls whether the lock screen is displayed.
Reg add "HKLM\SOFTWARE\Policies\Microsoft\Windows\Personalization" /v NoLockScreen /t REG_DWORD /d 1Set the UIVerbosityLevel value in the registry, which controls the verbosity level of the user interface.
Reg add "HKLM\SOFTWARE\Microsoft\Windows NT\CurrentVersion\Winlogon" /v UIVerbosityLevel /t REG_DWORD /d 1
Restart the reference device. You should no longer see the Windows UI elements that relate to the Welcome screen and shutdown screen.
Enable a custom shell experience
Windows IoT Enterprise allows you to build fixed purpose devices such as ATM machines, point-of-sale terminals, medical devices, digital signs, or kiosks. Kiosk mode helps you create a dedicated and locked down user experience on these fixed purpose devices. Windows IoT Enterprise offers a set of different locked-down experiences for public or specialized use: assigned access single-app kiosks, assigned access multi-app kiosks, or shell launcher.
This section provides steps to configure Shell Launcher in Audit mode using DISM in your reference device sample. The steps apply to both physical device and virtual machine:
Enable the Shell Launcher feature by running the following command at Command Prompt with Administrator privileges:
Dism /online /enable-feature /featurename:Client-EmbeddedShellLauncherWith Shell Launcher enabled, you can set an application as the Windows Shell. To set powershell.exe as your custom shell, open a Windows PowerShell Prompt with Administrator privileges and run:
$ShellLauncherClass = [wmiclass]"\\localhost\root\standardcimv2\embedded:WESL_UserSetting"

$ShellLauncherClass.SetDefaultShell("powershell.exe",1)

$ShellLauncherClass.SetEnabled($TRUE)
Restart the reference device.
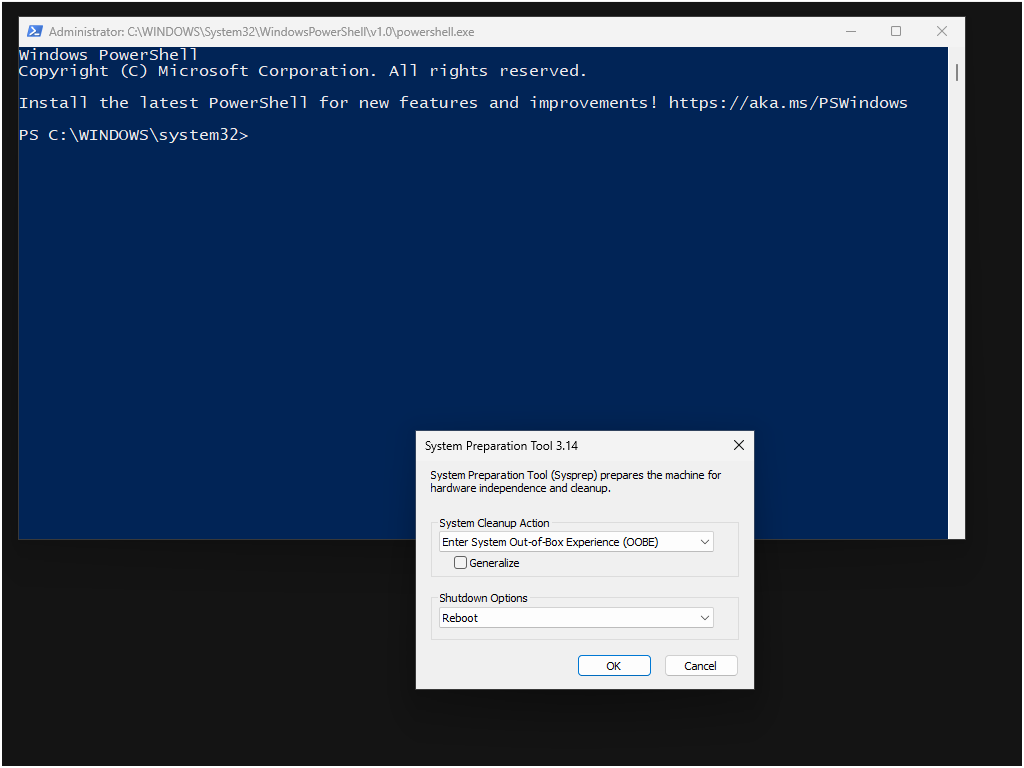
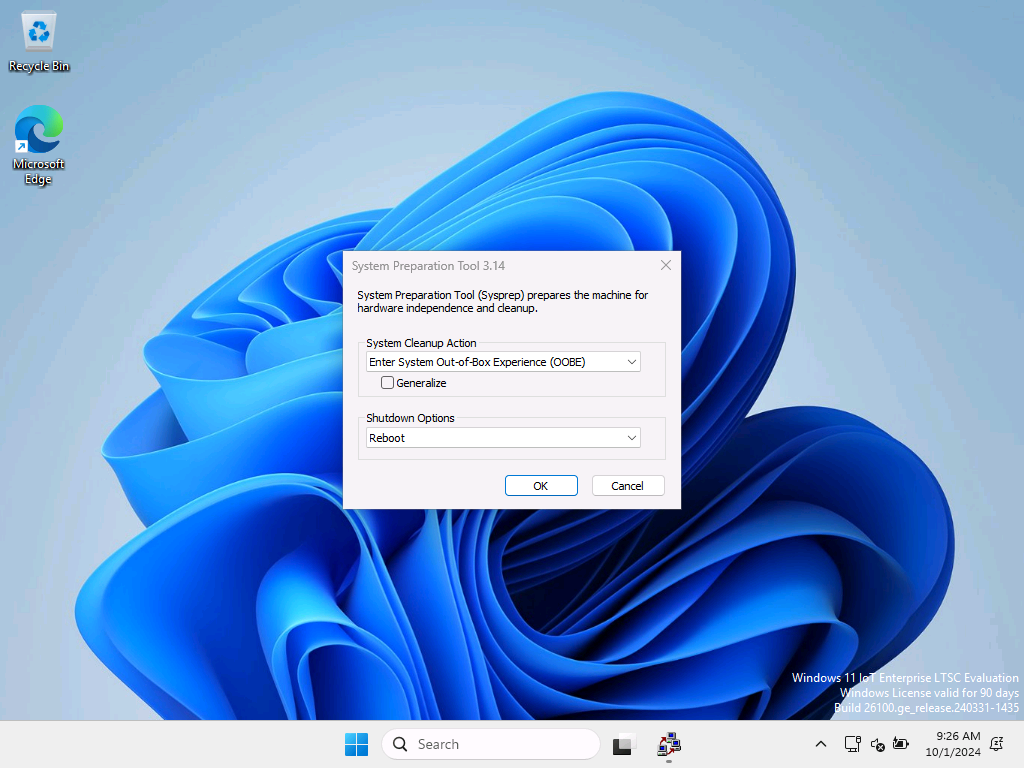
The system reboots and PowerShell starts as the default system shell. You know you're still in Audit mode, because you see the System Preparation Tool window.

You can leave the reference device with powershell.exe as your custom shell and proceed to Quickstart: Sysprep and capture the reference device image and deploy to a new device. If you want to revert the system back to the explorer.exe shell, do the following steps:
From the current shell, open an Administrative Windows PowerShell Prompt:
Start-Process powershell -Verb RunAsThen run the following commands:
$ShellLauncherClass = [wmiclass]"\\localhost\root\standardcimv2\embedded:WESL_UserSetting"

$ShellLauncherClass.SetDefaultShell("explorer.exe",1)

$ShellLauncherClass.SetEnabled($TRUE)
Restart the reference device.
The system reboots and Explorer starts as the default system shell.
