Get started with Windows Admin Center
This article describes how to get started with Windows Admin Center after you download and install it on a Windows PC. To learn more about Windows Admin Center, see Windows Admin Center overview.
Open Windows Admin Center on a Windows PC
Windows Admin Center enables you to manage servers, clusters, Windows PCs, and Azure virtual machines (VMs) directly from your Windows 10 computer by using a web browser.
Important
You must be a member of the local administrators group to use Windows Admin Center on Windows 10.
Follow these steps to open Windows Admin Center on a Windows PC:
On the Start menu, select Windows Admin Center. Or enter Windows Admin Center on the search bar and then select it from the search results.
Windows Admin Center opens in your default browser with the URL
https://localhost:6516/. Alternatively, you can start it from your desired browser by enteringhttps://localhost:6516/.A prompt for selecting a certificate for authentication appears.
Note
In the modernized gateway build of Windows Admin Center, you're asked to sign in to the Windows Admin Center gateway instead of selecting a certificate. This step does not apply.
Select the certificate labeled Windows Admin Center Client, and then select OK. You can also select the Certificate information link to see more details about the certificate.
Important
Be sure to select Windows Admin Center Client and not any other certificate. If you select any other certificate, the following error message appears:
"You are not authorized to view this page. If you recently updated Windows Admin Center, you may need to restart your browser, and then refresh the page."
If you continue to get the same error even after restarting your browser and refreshing the page, try clearing the browser cache or switching to another browser. If none of these troubleshooting steps resolve the issue, you might need to uninstall and reinstall Windows Admin Center, and then restart it.
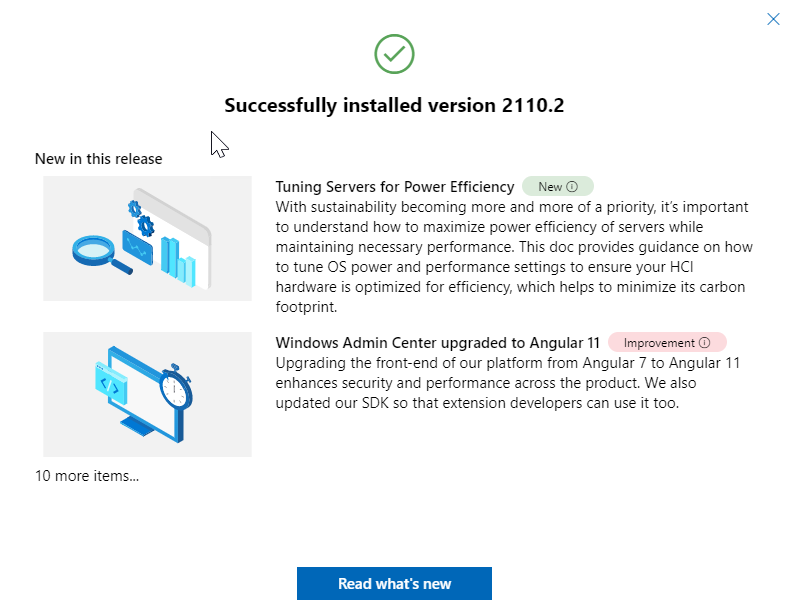
(First time only:) A pop-up window confirms that your Windows Admin Center version is successfully installed. It also provides information on what's new in this release. Close the window to proceed.
The All connections page shows your Windows 10 computer name in the list of connections. You're now ready to add connections to Windows Admin Center.
Add connections to Windows Admin Center
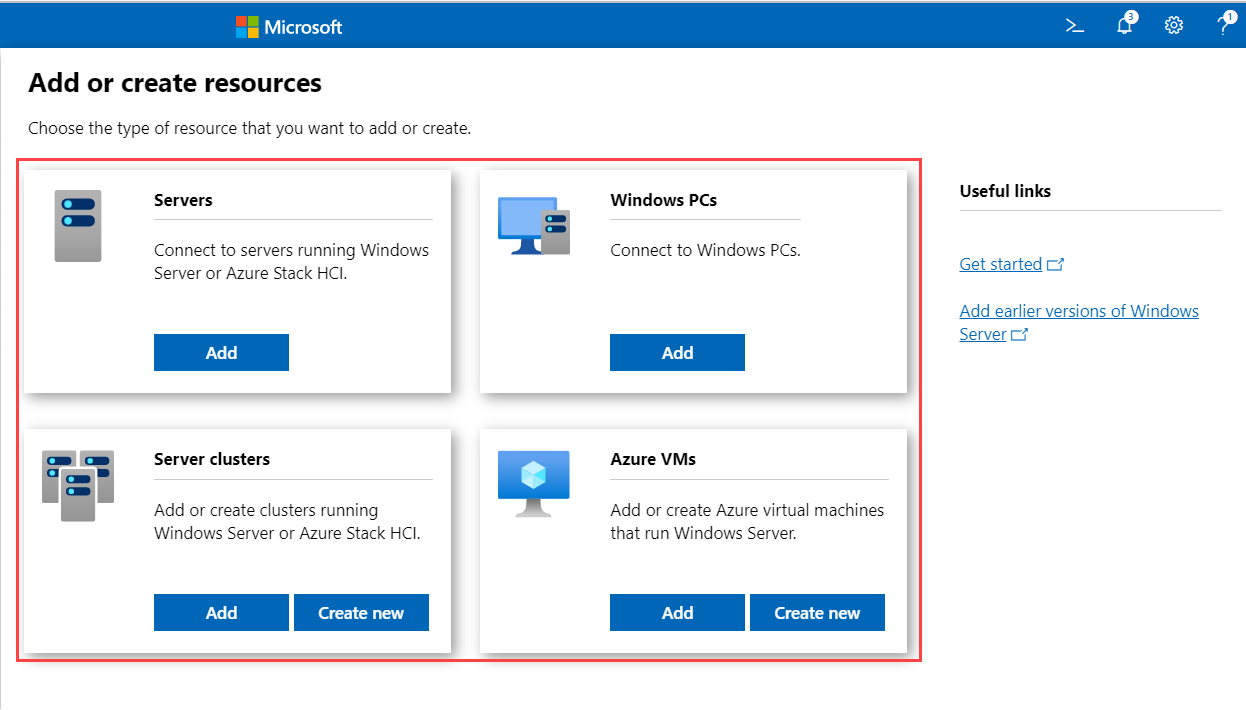
You can add connections as managed nodes to Windows Admin Center from the All connections page. All connections is the default page that appears when you open Windows Admin Center. On this page, you can either add existing resources as connections or create new resources. The resources that you add appear in the connection list.
The types of resources that you can add from the All connections page are servers, Windows PCs, clusters, and Azure VMs. The resources that you can create are clusters and Azure VMs.
Note
To add or create an Azure VM, you must first register Windows Admin Center with Azure.
To add connections to Windows Admin Center:
Under All connections, select + Add.

The types of resources that you can add are displayed. Select Add for the resource type that you want to add.
Windows Admin Center supports various methods to add resources, depending on the resource type:
- Add one resource at a time.
- Add multiple resources by bulk importing.
- Add resources by searching Active Directory.
Select the tab based on how you want to add resources. The label for each tab can differ based on the resource type that you're adding.
Adding one resource at a time is the default method. The label for this tab appears as Add cluster when you're adding a cluster.
Select the Add one or Add cluster tab.
In the Server name box, enter the name of the resource.

As you begin entering text, Windows Admin Center starts searching for a resource based on your text string. If a match is found, you can add the name exactly as you entered it or use the default resource name. If no match is found, you can still add this resource to appear in your list of connections.


(Optional:) Select Add tags to add connection tags. You can use tags to identify and filter related resources in your connection list. For more information, see Use tags to organize your connections later in this article.
When you finish adding resources, select Add.
The selected resources appear in the connection list on the All connections page.
Authenticate with the managed nodes
After you add connections as managed nodes, you must authenticate with them to connect.
Windows Admin Center supports several mechanisms for authenticating with a managed node. Single sign-on is the default.
Note
To perform remote management, Windows Admin Center impersonates the provided user's security context and uses that security context to access the machine. The provided user is listed in the Managing As column on the All Connections page.
Authenticate by single sign-on
You can use your current Windows credentials to authenticate with the managed node. This authentication is the default, and Windows Admin Center attempts the single sign-on when you add a resource.
Authenticate by single sign-on when Windows Admin Center is deployed as a service on Windows Server
If you installed Windows Admin Center on Windows Server, additional configuration is required for single sign-on. For more information, see Configure single sign-on.
Authenticate by specifying credentials
In All connections, select a resource from the list.
Select Manage as to specify the credentials that you'll use to authenticate to the managed node.

If Windows Admin Center is running in service mode on Windows Server, but you don't have Kerberos delegation configured, you must reenter your Windows credentials.
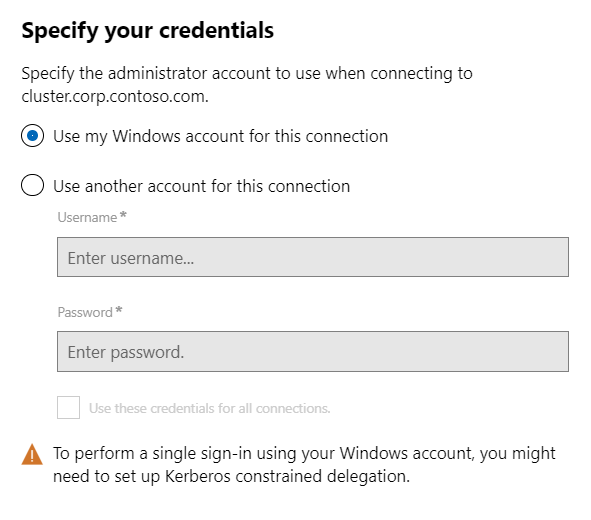
You can apply the credentials to all connections, which will cache them for that specific browser session. If you reload your browser, you must reenter your Manage as credentials.
Authenticate by Local Administrator Password Solution
If your environment uses Local Administrator Password Solution (LAPS), and you have Windows Admin Center installed on your Windows 10 PC, you can use LAPS credentials to authenticate with the managed node. If you use this scenario, you can provide feedback.
Use tags to organize your connections
You can use tags to identify and filter related resources in your connection list. The ability to view a subset of your resources in the connection list is especially useful if you have many connections.
Edit tags
You can add tags to a connection while you're adding a new connection. Or you can add or edit them later for one or more connections on the All connections page.
To add or edit a tag:
In the list of connections, select one or more connections.
Select Edit Tags.

On the Available tags pane, you can take any of these actions:
To add a new tag to your selected connections, select Add tags and enter a desired tag name.
To tag the selected connections with an existing tag name, select the checkbox next to the tag name that you want to apply.
To remove a tag from all selected connections, clear the checkbox next to the tag that you want to remove.
If a tag is applied to a subset of the selected connections, the checkbox appears in an intermediate state. You can select the checkbox and apply the tag to all selected connections, or clear the checkbox to remove the tag from all selected connections.

Select Save to save your changes.
Filter connections by tag
After you add tags to one or more connections, you can view the tags in the connection list and filter the connection list by tags.
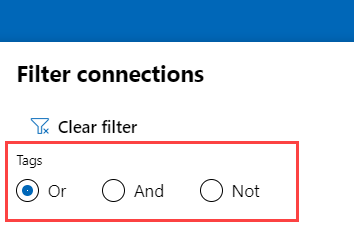
To filter by a tag, select the filter icon next to the search box.

You can select Or, And, or Not to modify the filter behavior of the selected tags.
Use PowerShell to import or export your connections with tags
# Load the module
Import-Module "$env:ProgramFiles\windows admin center\PowerShell\Modules\ConnectionTools"
# Available cmdlets: Export-Connection, Import-Connection

# Export connections (including tags) to a .csv file
Export-Connection "https://wac.contoso.com" -fileName "WAC-connections.csv"
# Import connections (including tags) from a .csv file
Import-Connection "https://wac.contoso.com" -fileName "WAC-connections.csv"
# Import connections (including tags) from .csv files, and remove any connections that are not explicitly in the imported file by using the -prune switch parameter
Import-Connection "https://wac.contoso.com" -fileName "WAC-connections.csv" -prune
CSV file format for importing connections
The format of the CSV file starts with the following four headings, followed by each connection on a new line.
name: The FQDN of the connection.type: The connection type. For the default connections included with Windows Admin Center, use one of the following strings:Connection type Connection string Windows Server msft.sme.connection-type.serverFailover cluster msft.sme.connection-type.clustertags: Pipe-separated tags.groupId: The column for shared connections. Use the valueglobalin this column to make a shared connection.
Note
Modifying the shared connections is limited to gateway administrators. Any user can use PowerShell to modify their personal connection list.
Example CSV file for importing connections
"name","type","tags","groupId"
"myServer.contoso.com","msft.sme.connection-type.server","hyperv"
"myDesktop.contoso.com","msft.sme.connection-type.windows-server","hyperv"
"teamcluster.contoso.com","msft.sme.connection-type.cluster","legacyCluster|WS2016","global"
"myHCIcluster.contoso.com,"msft.sme.connection-type.cluster","myHCIcluster|hyperv|JIT|WS2019"
"teamclusterNode.contoso.com","msft.sme.connection-type.server","legacyCluster|WS2016","global"
"myHCIclusterNode.contoso.com","msft.sme.connection-type.server","myHCIcluster|hyperv|JIT|WS2019"
Note
The CSV file is case-sensitive.
Import RDCMan connections
Use the following script to export saved connections in RDCMan to a file. You can then import the file into Windows Admin Center and maintain your RDCMan grouping hierarchy by using tags.
Copy and paste the following code into your PowerShell session:
#Helper function for RdgToWacCsv
function AddServers {
 param (
 [Parameter(Mandatory = $true)]
 [Xml.XmlLinkedNode]
 $node,
 [Parameter()]
 [String[]]
 $tags,
 [Parameter(Mandatory = $true)]
 [String]
 $csvPath
 )
 if ($node.LocalName -eq 'server') {
     $serverName = $node.properties.name
     $tagString = $tags -join "|"
     Add-Content -Path $csvPath -Value ('"'+ $serverName + '","msft.sme.connection-type.server","'+ $tagString +'"')
 }
 elseif ($node.LocalName -eq 'group' -or $node.LocalName -eq 'file') {
     $groupName = $node.properties.name
     $tags+=$groupName
     $currNode = $node.properties.NextSibling
     while ($currNode) {
         AddServers -node $currNode -tags $tags -csvPath $csvPath
         $currNode = $currNode.NextSibling
     }
 }
 else {
     # Node type isn't relevant to tagging or adding connections in Windows Admin Center
 }
 return
}

<#
.SYNOPSIS
Convert an .rdg file from Remote Desktop Connection Manager into a .csv that can be imported into Windows Admin Center, maintaining groups via server tags. This will not modify the existing .rdg file and will create a new .csv file

 .DESCRIPTION
 This converts an .rdg file into a .csv that can be imported into Windows Admin Center.

 .PARAMETER RDGfilepath
 The path of the .rdg file to be converted. This file will not be modified, only read.

 .PARAMETER CSVdirectory
 Optional. The directory you want to export the new .csv file. If it's not provided, the new file is created in the same directory as the .rdg file.

 .EXAMPLE
 C:\PS> RdgToWacCsv -RDGfilepath "rdcmangroup.rdg"
 #>
function RdgToWacCsv {
 param(
     [Parameter(Mandatory = $true)]
     [String]
     $RDGfilepath,
     [Parameter(Mandatory = $false)]
     [String]
     $CSVdirectory
 )
 [xml]$RDGfile = Get-Content -Path $RDGfilepath
 $node = $RDGfile.RDCMan.file
 if (!$CSVdirectory){
     $csvPath = [System.IO.Path]::GetDirectoryName($RDGfilepath) + [System.IO.Path]::GetFileNameWithoutExtension($RDGfilepath) + "_WAC.csv"
 } else {
     $csvPath = $CSVdirectory + [System.IO.Path]::GetFileNameWithoutExtension($RDGfilepath) + "_WAC.csv"
 }
 New-item -Path $csvPath
 Add-Content -Path $csvPath -Value '"name","type","tags"'
 AddServers -node $node -csvPath $csvPath
 Write-Host "Converted $RDGfilepath `nOutput: $csvPath"
}
To create a CSV file, run the following command:
RdgToWacCsv -RDGfilepath "path\to\myRDCManfile.rdg"Import the resulting CSV file into Windows Admin Center. Tags in the connection list represent your RDCMan grouping hierarchy.
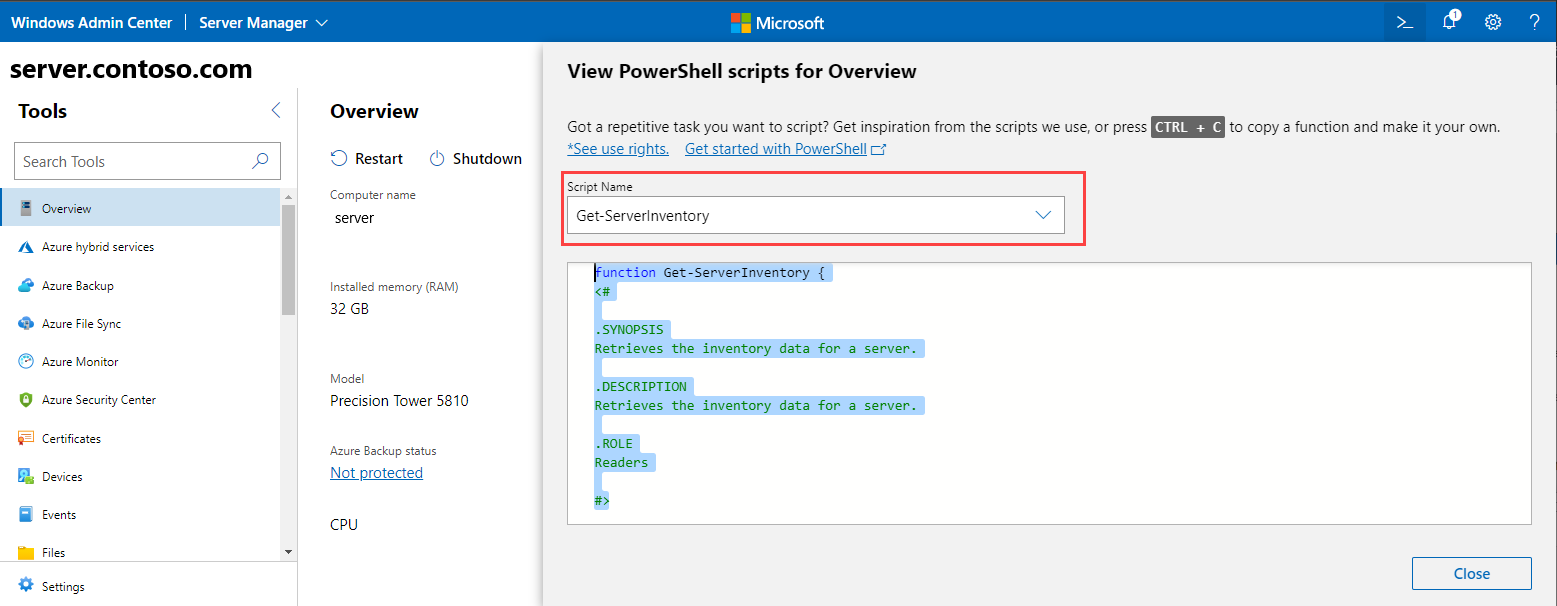
View PowerShell scripts used in Windows Admin Center
After you connect to a server, cluster, or PC, you can view the PowerShell scripts that power the UI actions available in Windows Admin Center:
From within a tool, select the PowerShell icon on the application bar.
In the dropdown list, select a command of interest to go to the corresponding PowerShell script.