Active Directory Forest Recovery - Configure the DNS Server service
If the DNS server role isn't installed on the DC that you restore from backup, you must install and configure the DNS server.
Install and configure the DNS Server service
Complete this step for each restored DC that isn't running as a DNS server after the restore is complete.
Note
If the DC that you restored from backup is running Windows Server 2008 R2, you must connect the DC to an isolated network in order to install DNS server. Then connect each of the restored DNS servers to a mutually shared, isolated network. Run repadmin /replsum to verify that replication is functioning between the restored DNS servers. After you verify replication, you can connect the restored DCs to the production network If the DNS server role is already installed, you can apply a hotfix that makes it possible for a DNS server to start while the server is not connected to any network. You should slipstream the hotfix into the operating system installation image during your automated build processes. For more information about the hotfix, see Article 975654 in the Microsoft Knowledge Base (https://go.microsoft.com/fwlink/?LinkId=184691).
Complete the installation and configuration steps below.
Install and the DNS Server service using Server Manager
- Open Server Manager and select Add roles and features.
- In the Add Roles Wizard, if the Before You Begin page appears, select Next.
- On the Installation type screen select Role-based or feature based installation and select Next.
- On the Server Selection screen select the server and select Next.
- On the Server Roles screen select DNS Server, if prompted select Add Features and select Next.
- On the Features screen select Next.
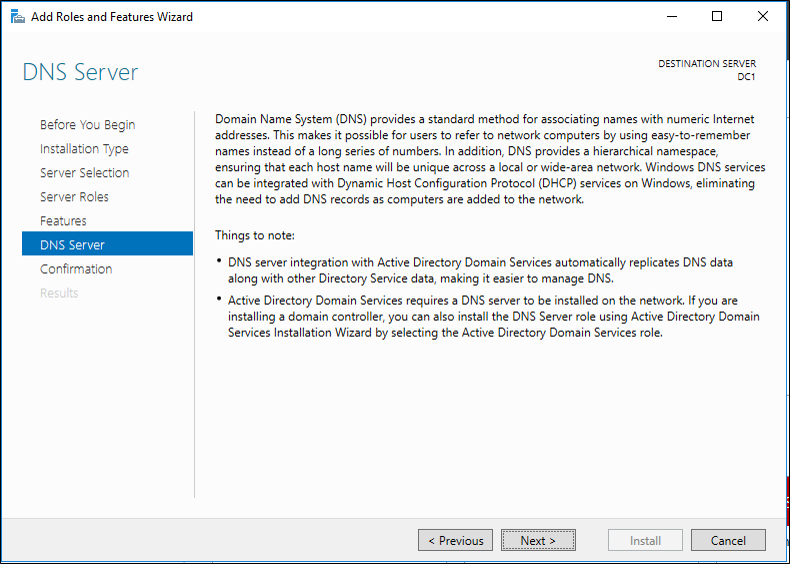
- Read the information on the DNS Server page, and then select Next.

- On the Confirmation page, verify that the DNS Server role will be installed, and then select Install.
Configure the DNS Server service
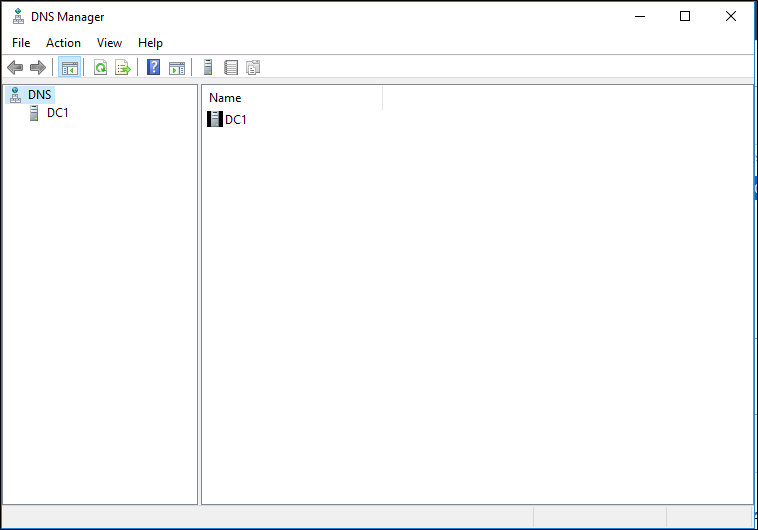
- Open Server Manager, select Tools and select DNS.

- Create DNS zones for the same DNS domain names that were hosted on the DNS servers before the critical malfunction. For more information, see Add a Forward Lookup Zone (https://go.microsoft.com/fwlink/?LinkId=74574).
- Configure the DNS data as it existed before the critical malfunction. For example:
- Configure DNS zones to be stored in AD DS. For more information, see Change the Zone Type (https://go.microsoft.com/fwlink/?LinkId=74579).
- Configure the DNS zone that is authoritative for domain controller locator (DC Locator) resource records to allow secure dynamic update. For more information, see Allow Only Secure Dynamic Updates (https://go.microsoft.com/fwlink/?LinkId=74580).
- Ensure that the parent DNS zone contains delegation resource records (name server (NS) and glue host (A) resource records) for the child zone that is hosted on this DNS server. For more information, see Create a Zone Delegation (https://go.microsoft.com/fwlink/?LinkId=74562).
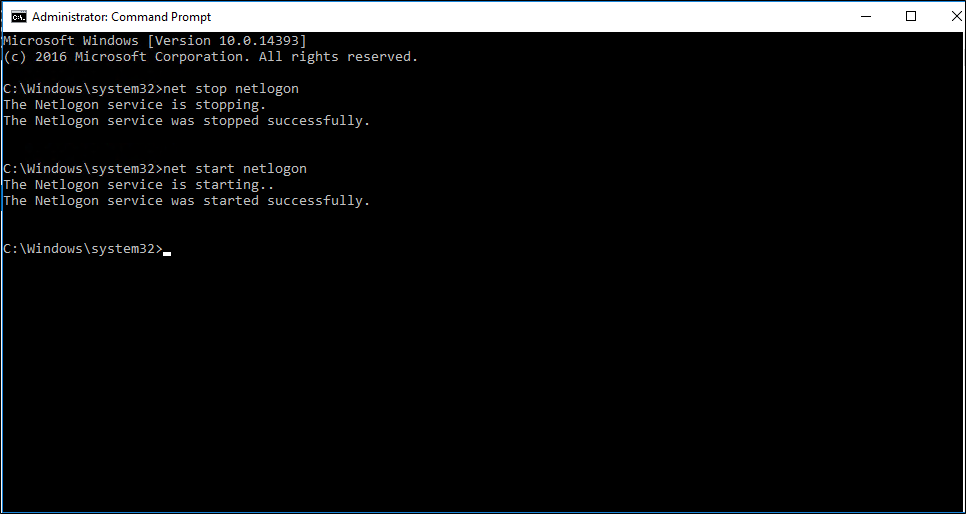
- After you configure DNS, you can speed up registration of the NETLOGON Records.
Note
Secure dynamic updates only work when a global catalog server is available. At the command prompt, type the following command, and then press ENTER:
net stop netlogon - Type the following command, and then press ENTER:
net start netlogon
Next steps
- AD Forest Recovery - Prerequisites
- AD Forest Recovery - Devise a custom forest recovery plan
- AD Forest Recovery - Steps to restore the forest
- AD Forest Recovery - Identify the problem
- AD Forest Recovery - Determine how to recover
- AD Forest Recovery - Perform initial recovery
- AD Forest Recovery - Procedures
- AD Forest Recovery - Frequently Asked Questions (FAQ)
- AD Forest Recovery - Recover a single domain within a multidomain forest
- AD Forest Recovery - Redeploy remaining DCs
- AD Forest Recovery - Virtualization
- AD Forest Recovery - Cleanup