Microsoft SQL Server integration
About MS SQL integration
Viva Goals integration with Microsoft SQL Server lets you link your OKRs in Viva Goals to a server database in Microsoft SQL Server to provide automatic, real-time updates on your objectives.
For example, if you have an objective to increase visits and the time spent in your app by 60 percent, link this objective with the relevant data in SQL Server. Whenever there's a change in the dataset and the database is updated, this data is automatically synced with Viva Goals every hour, and the OKR status updated.
All users and admins have access to this integration. Admins also have permissions to manage the integration from the admin dashboard.
Caution
Only MS SQL version 17 is compatible with the Viva Goals integration. There could be connection issues when any other versions are used for the integration.
How to connect Microsoft SQLServer to your Viva Goals account
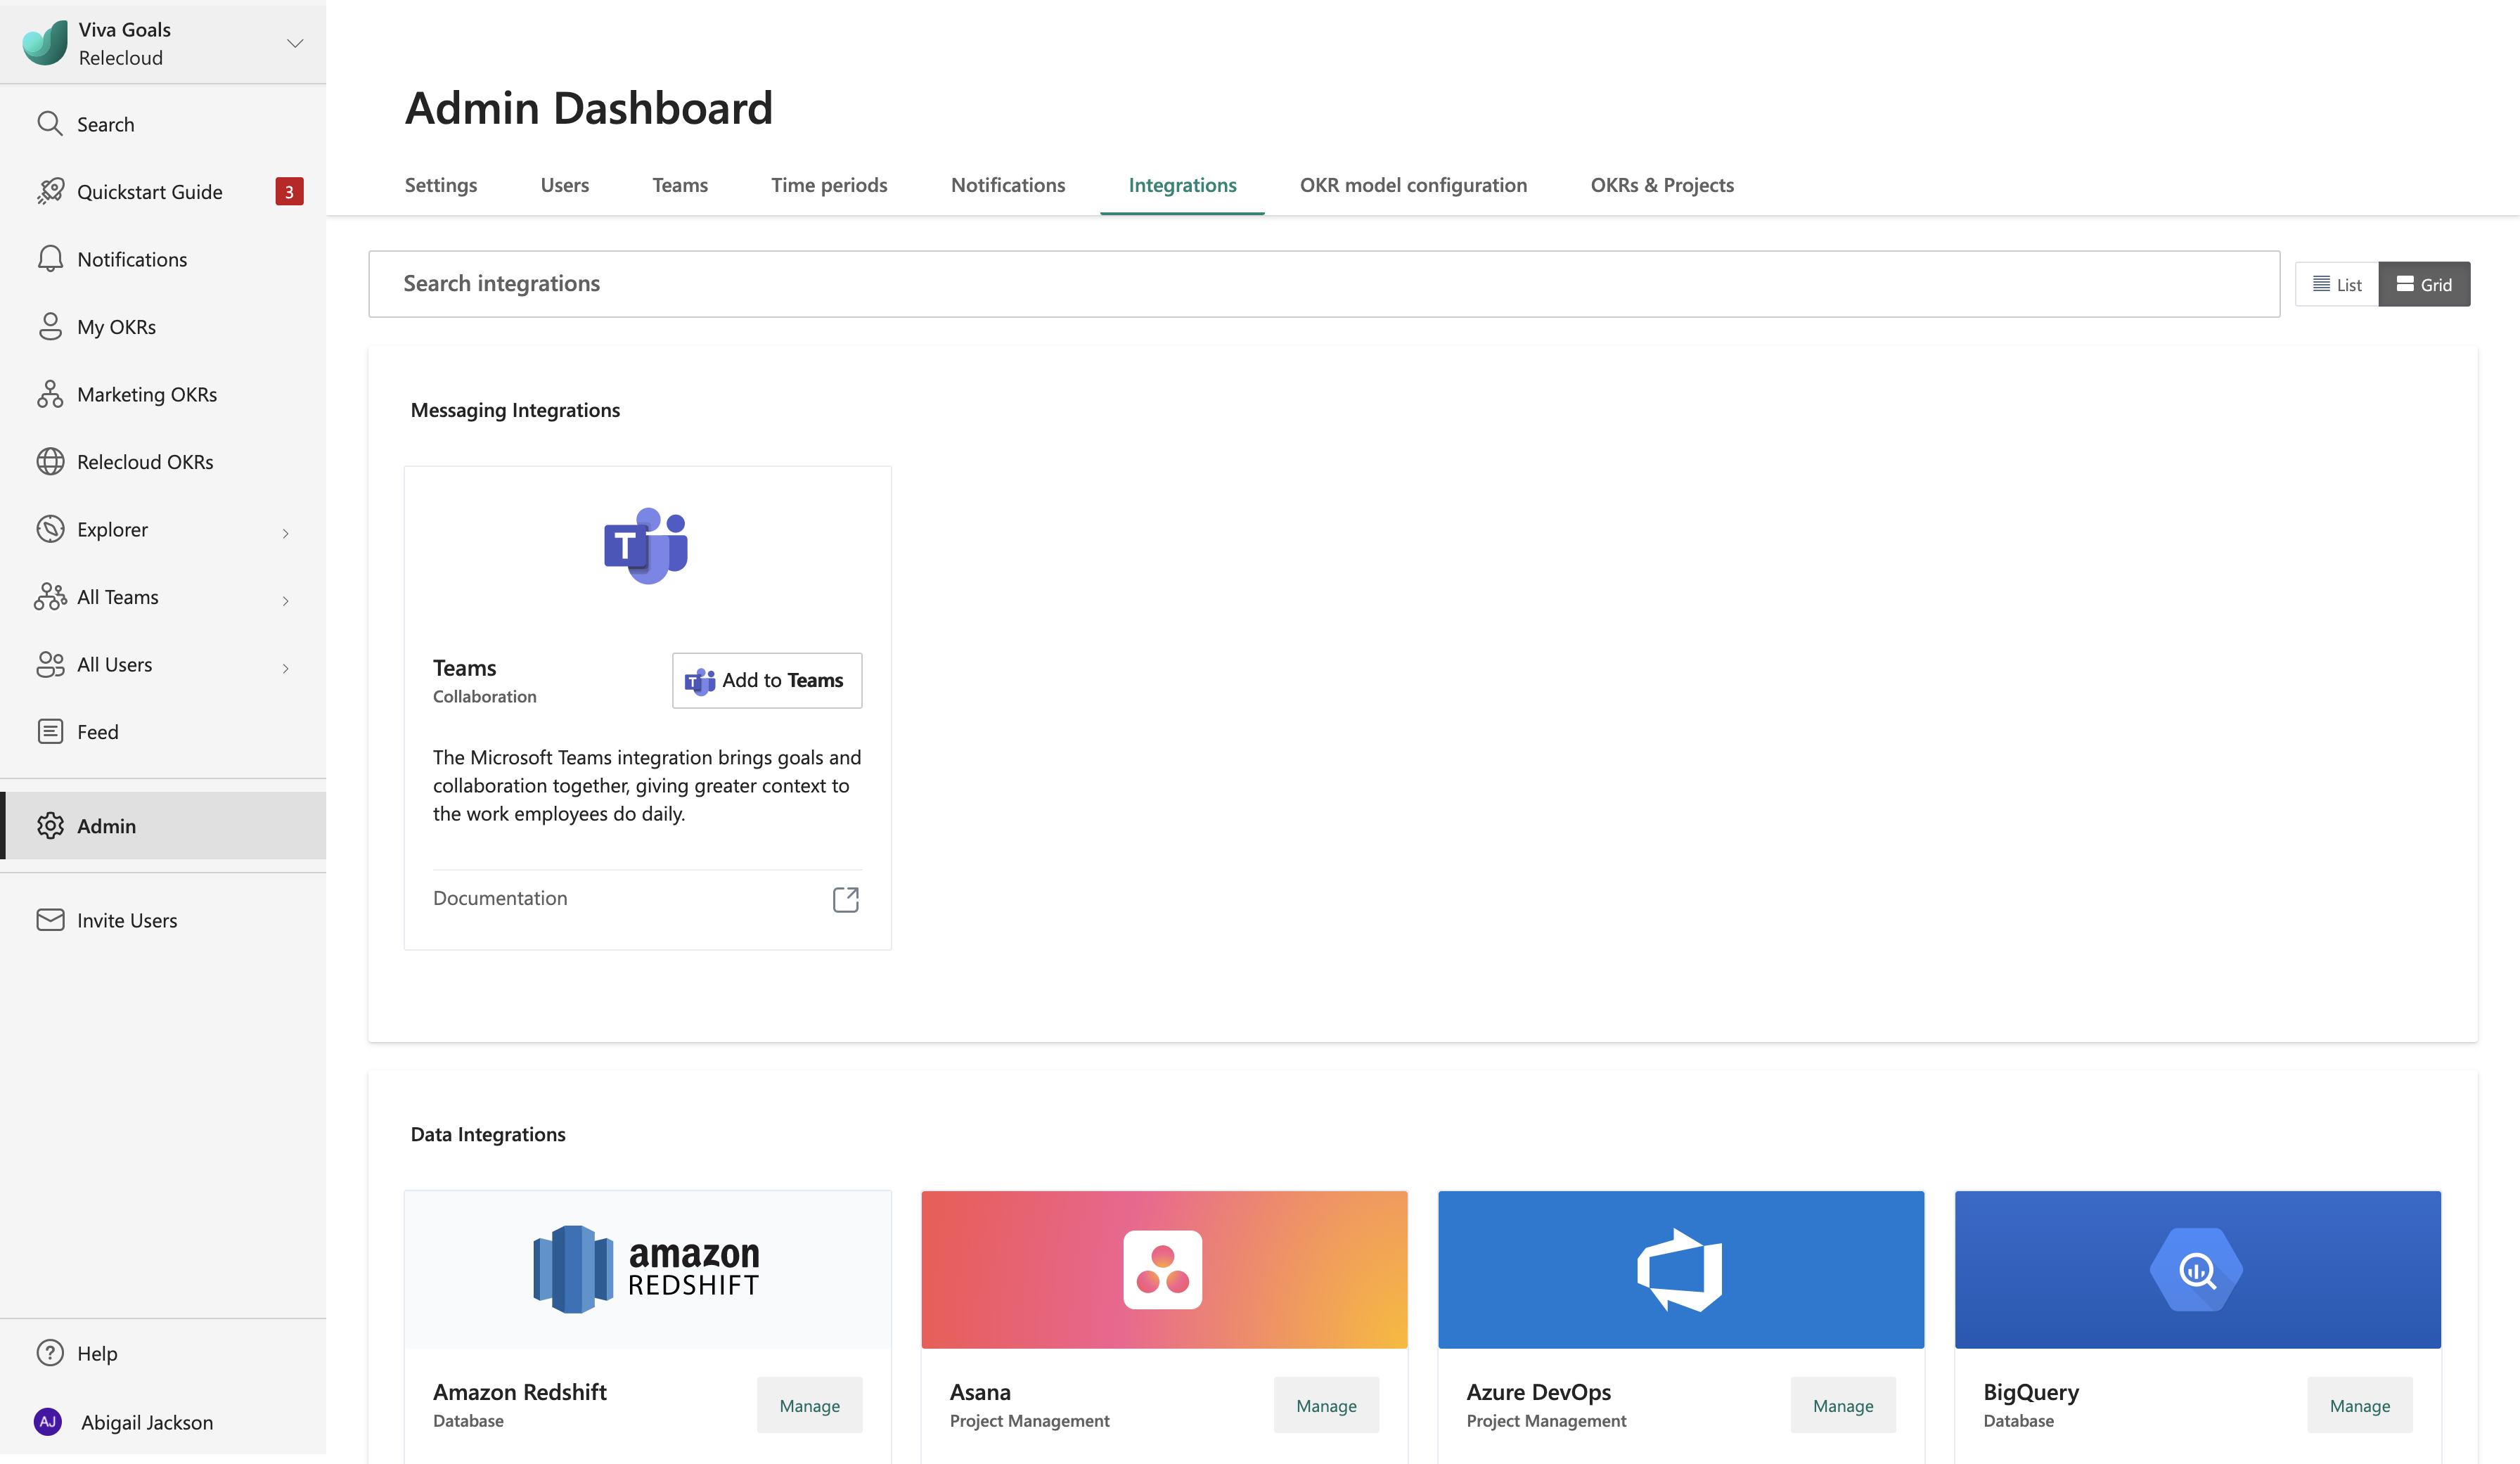
The first step to set up the Microsoft SQL integration is to connect your account to Viva Goals. Go to the sidebar and select Admin and then select Integrations.
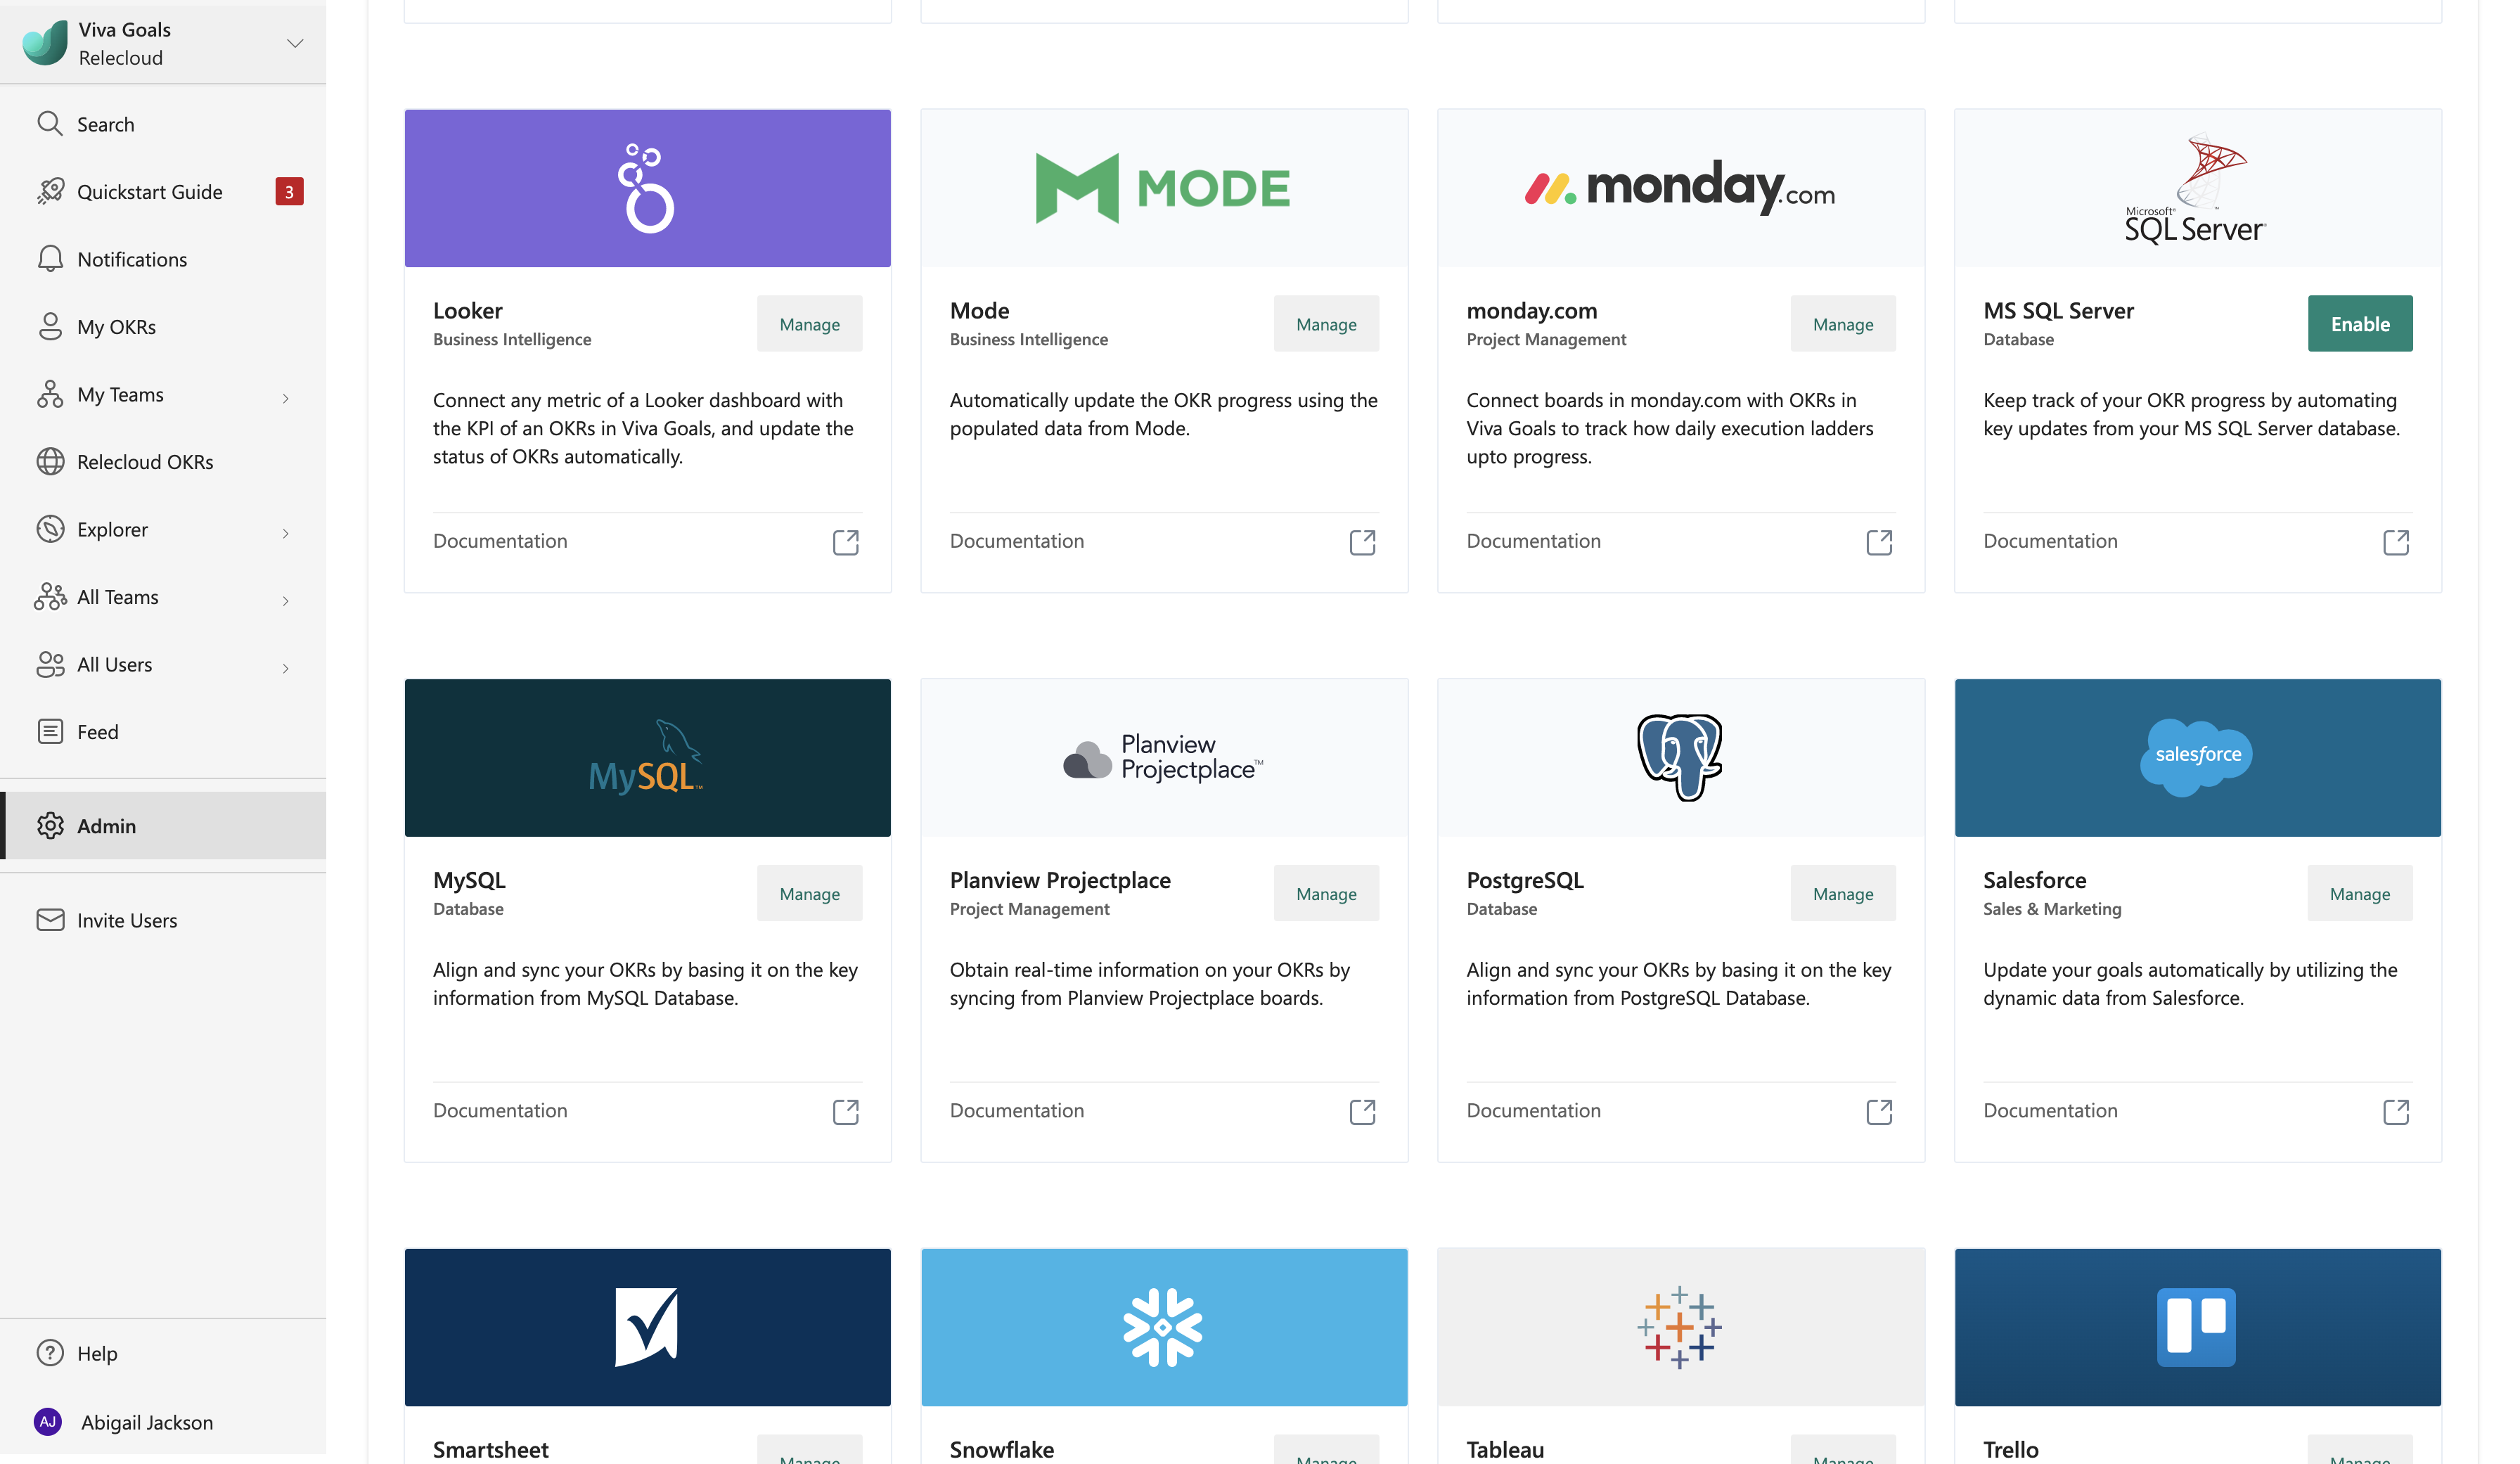
In the Integrations section, go to MS SQL Server and then select Enable if the integration will be new, or select Manage if the integration was previously established.
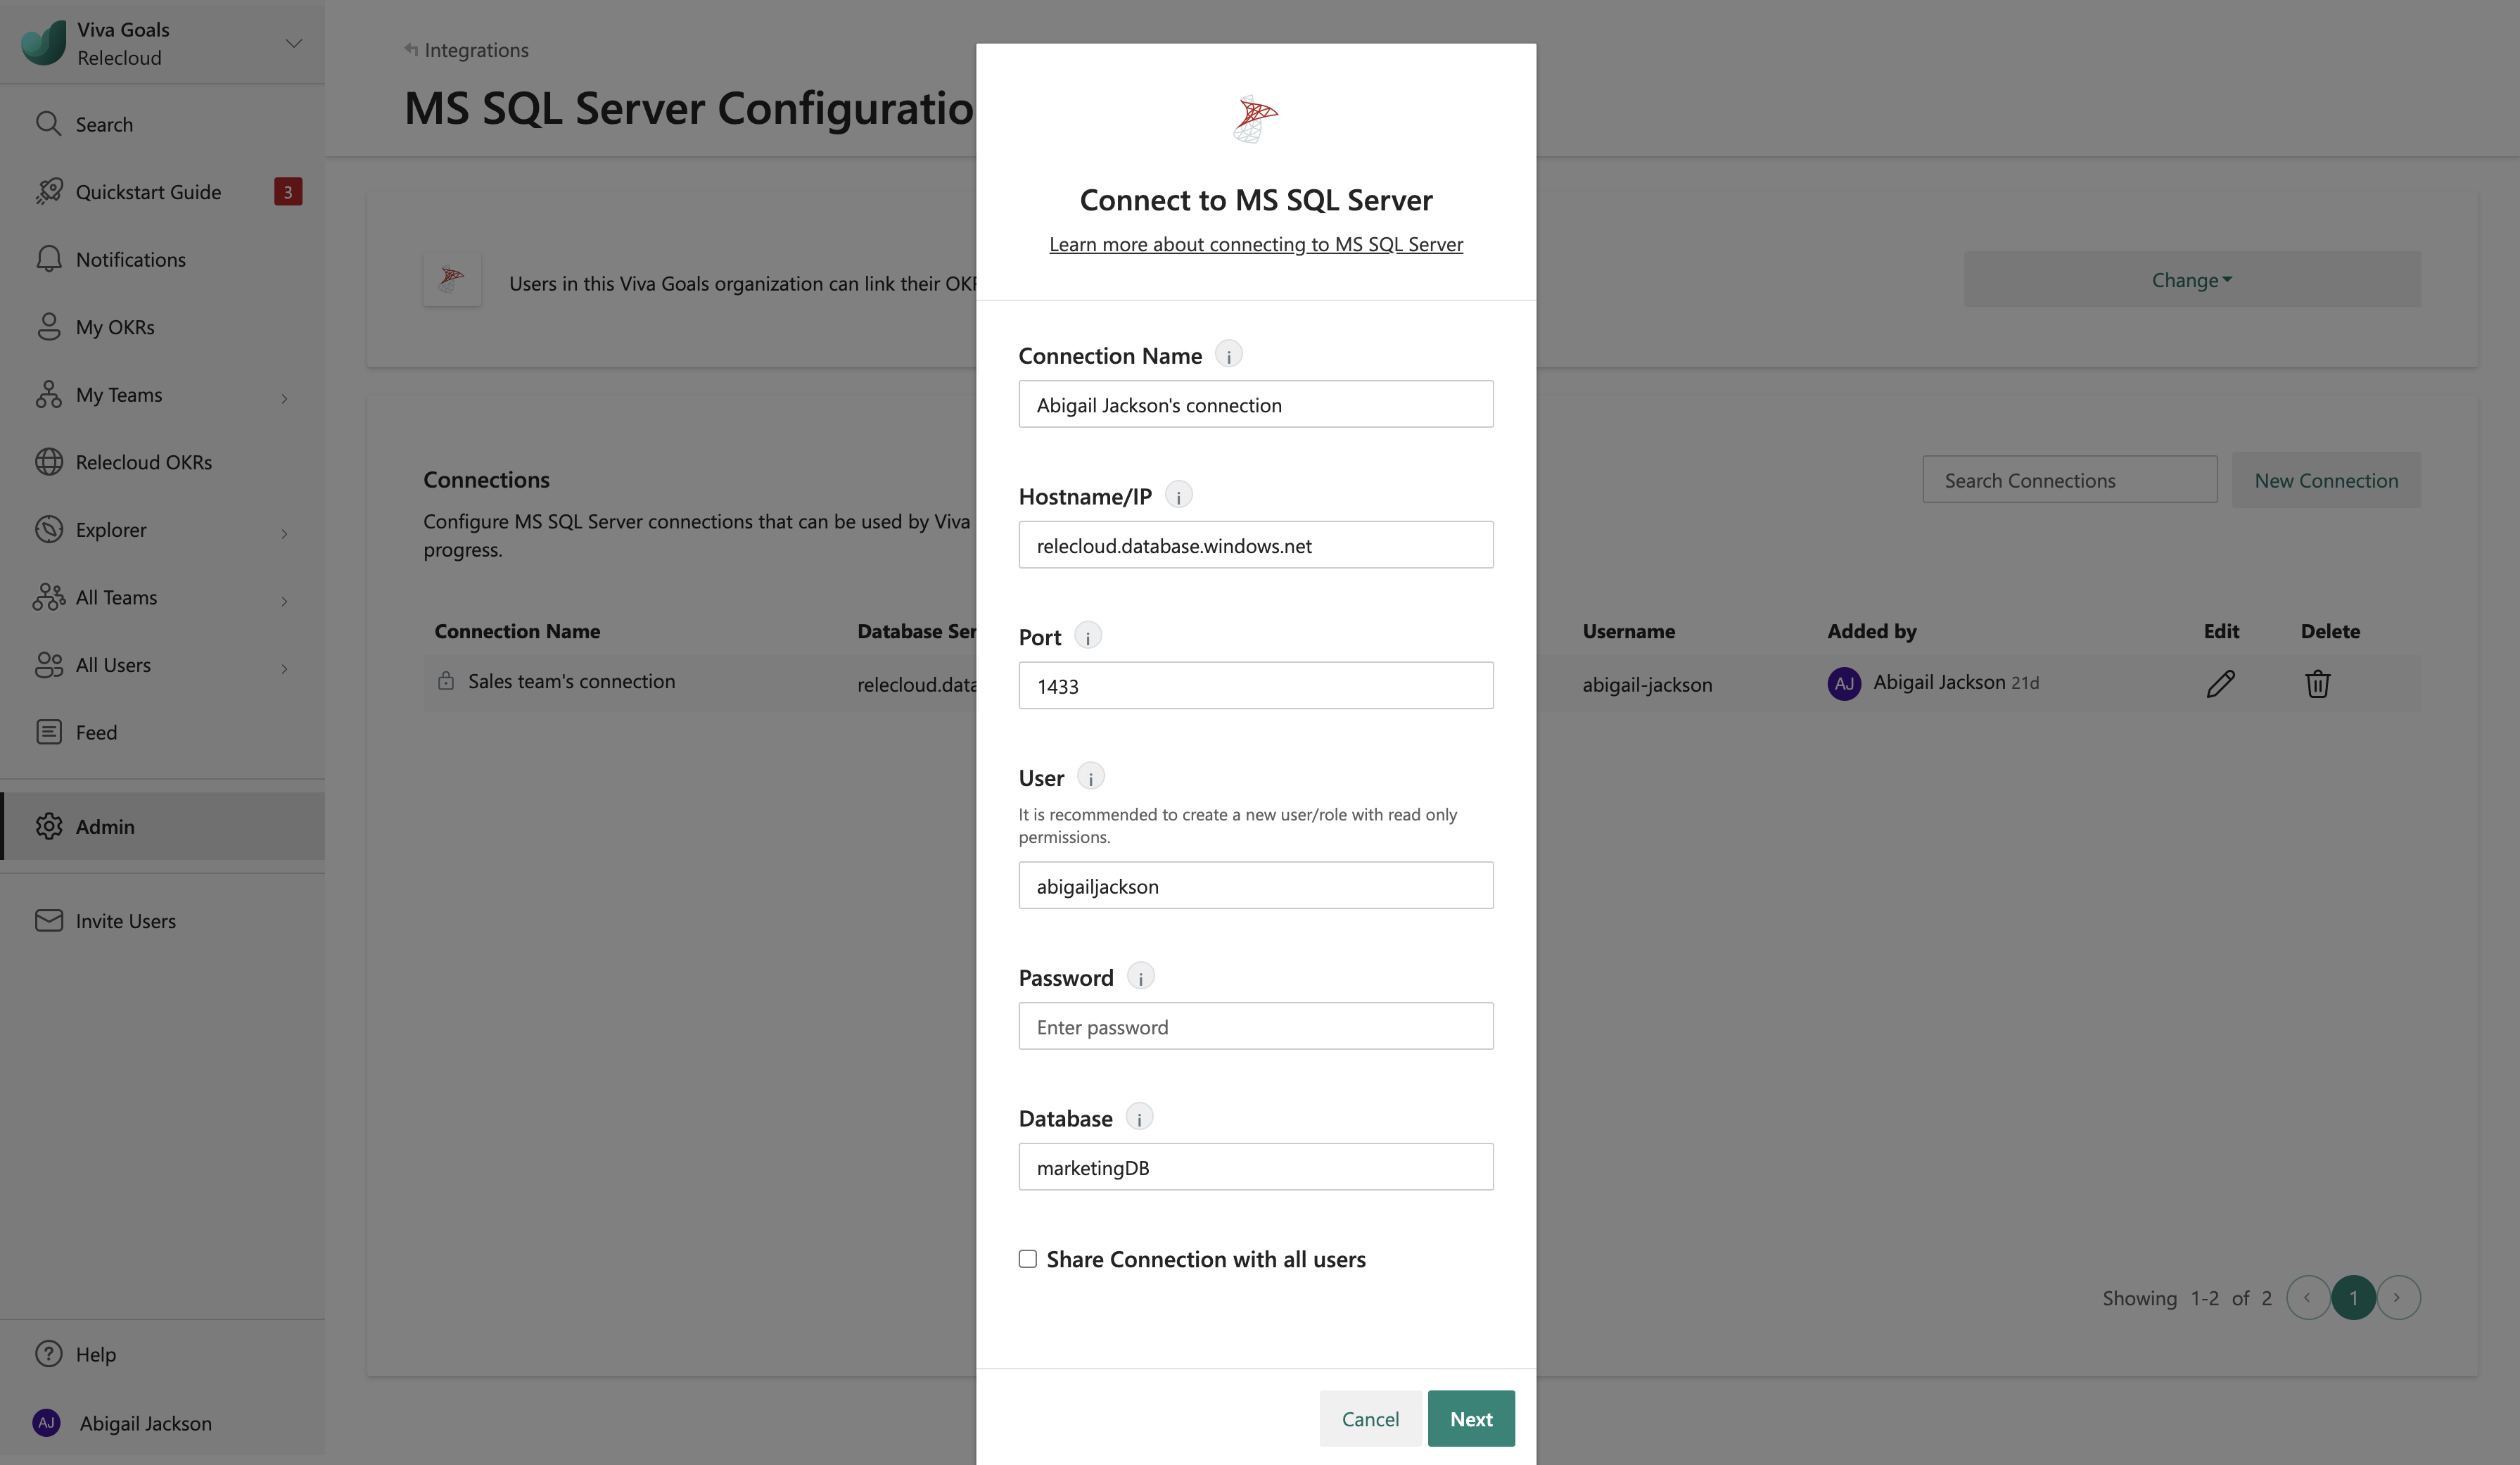
Select New Connection. In the dialog that appears, name your connection; enter your Microsoft SQL Server hostname, port, user, and password; and enter the database you want to connect to authenticate the connection.
Note
Viva Goals uses SQL authentication to create an integration connection.
Select Next to complete connection setup.
How to edit an existing connection
Admins can edit an existing connection's name and any shared state that you created from the SQL Server integration view:
Select the Edit icon next to the MS SQL connection. In the pop-up dialog box that appears, you can edit the connection name and other fields and select or clear the Share connection with all users checkbox.
How to use the SQL Server integration
After your integration is set up, you can measure your OKR progress by connecting your OKRs with a Microsoft SQL Server database.
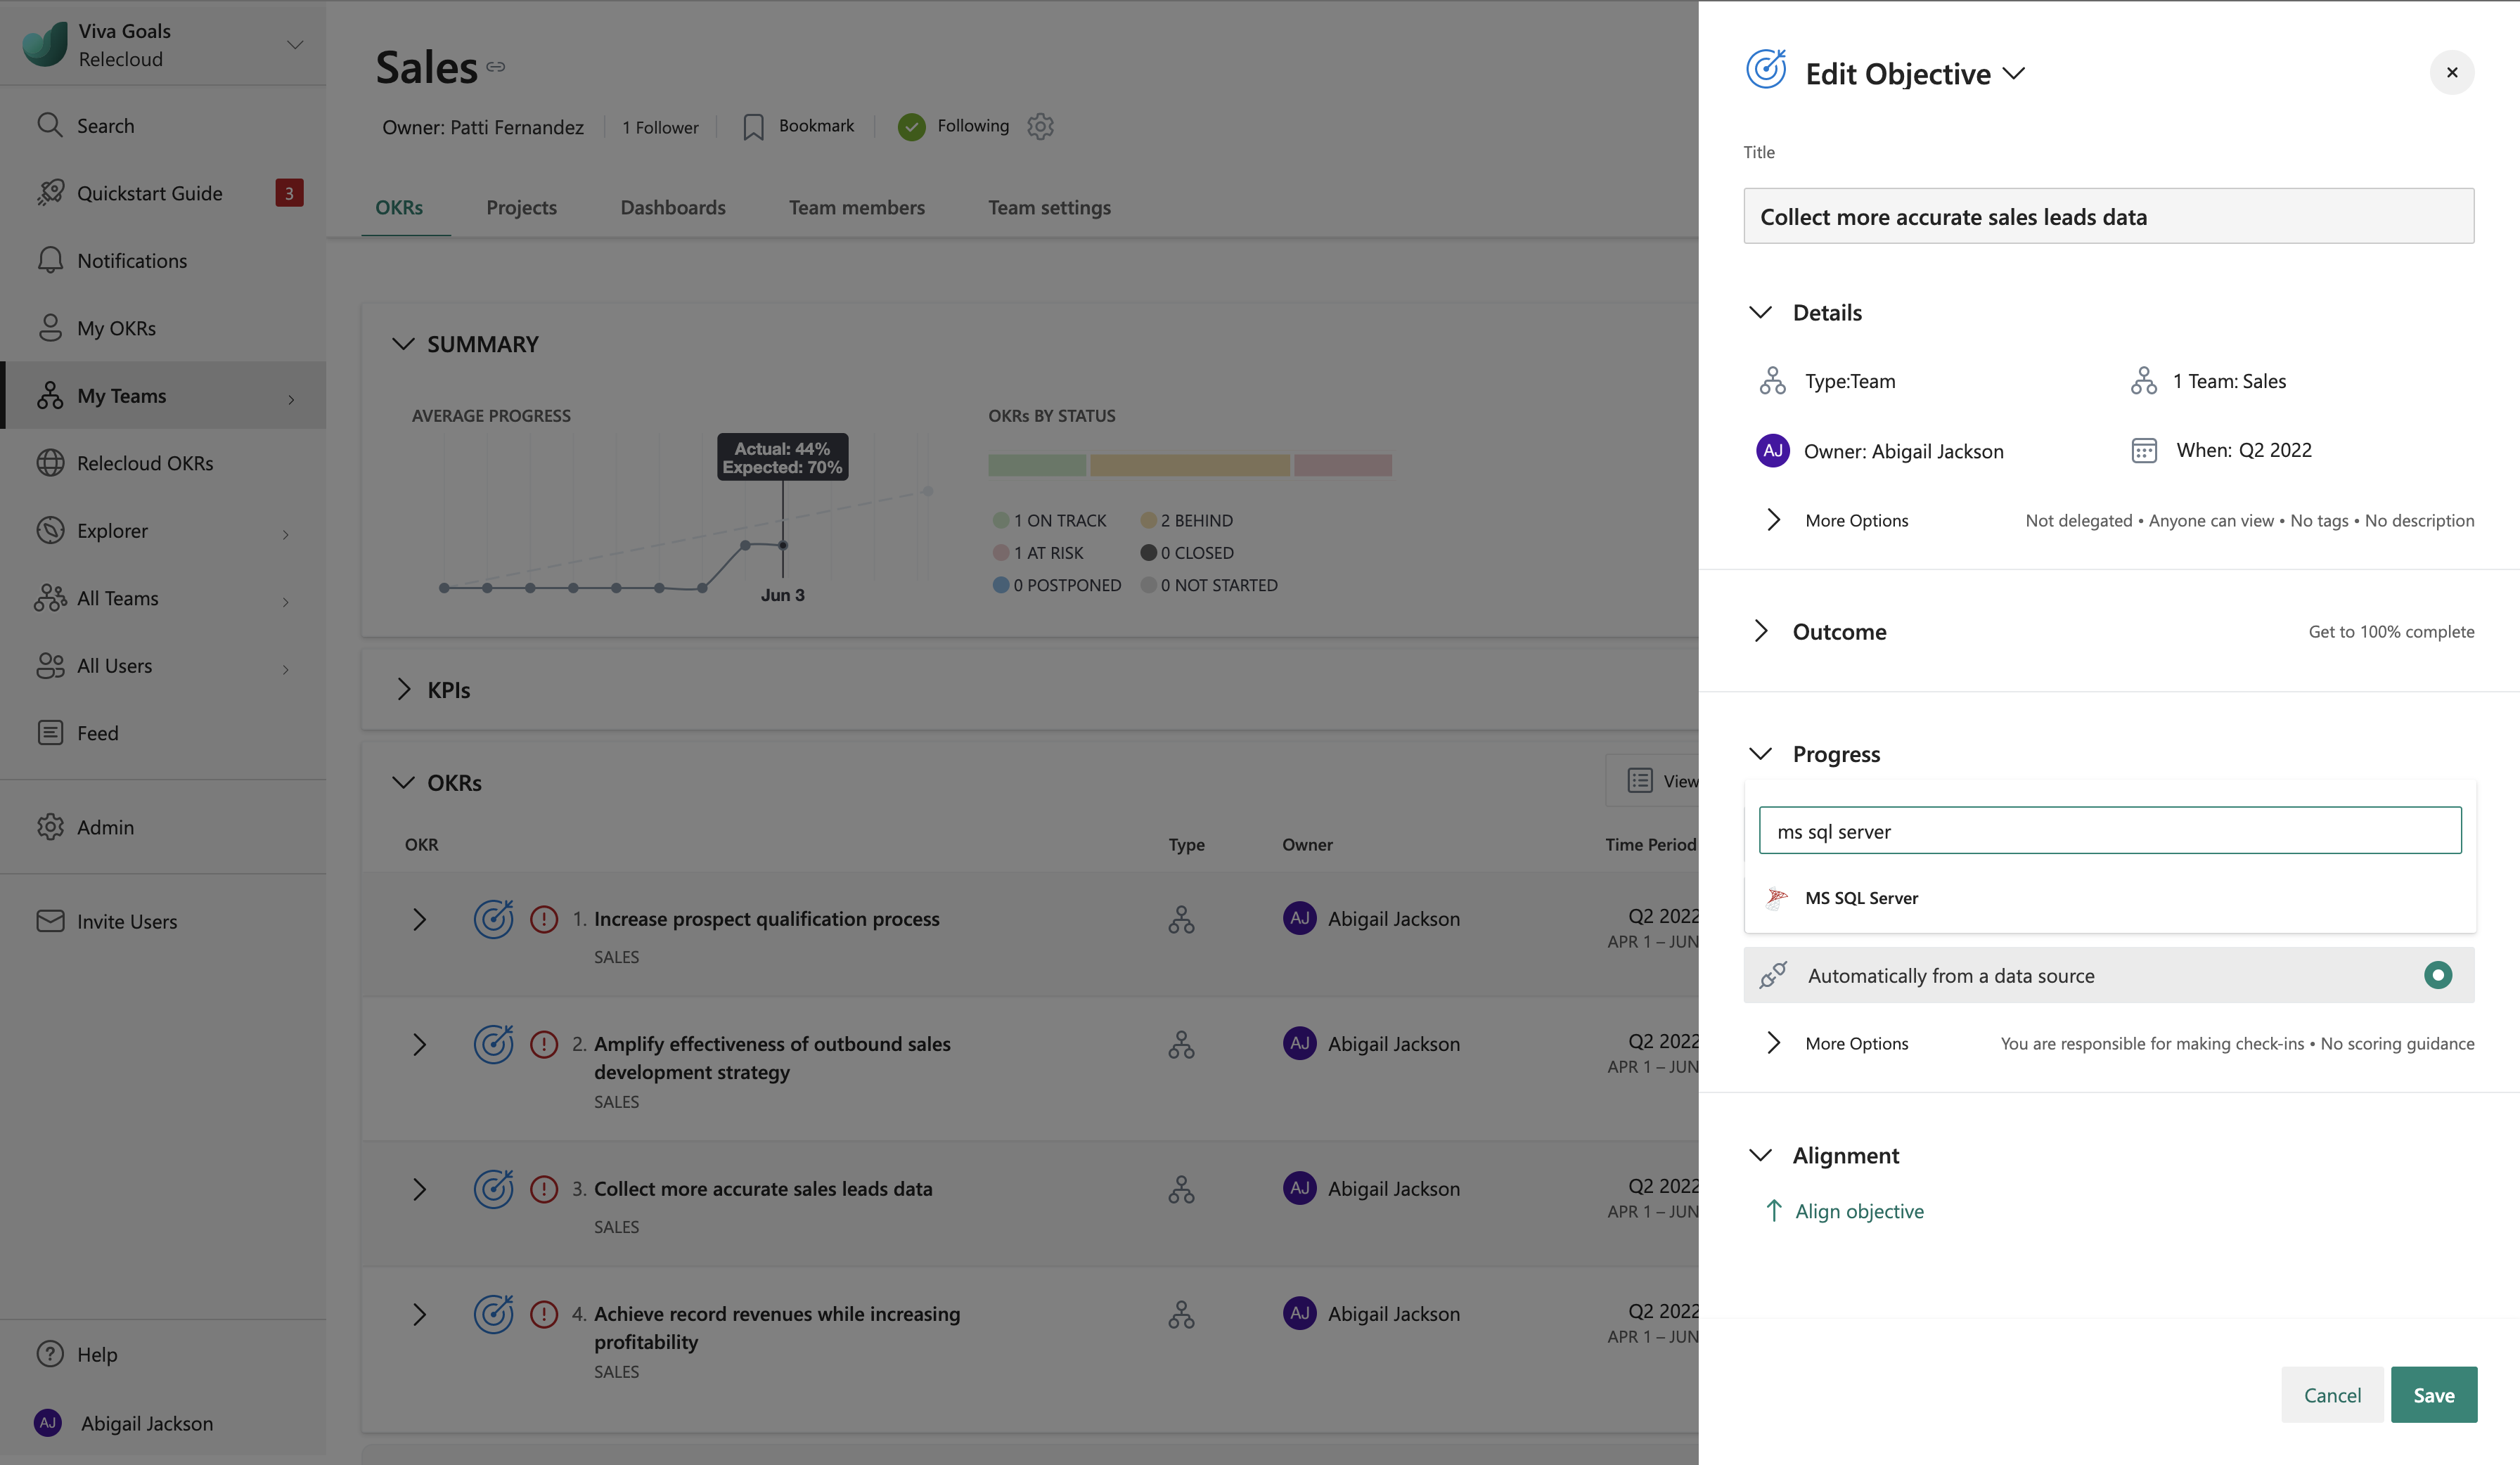
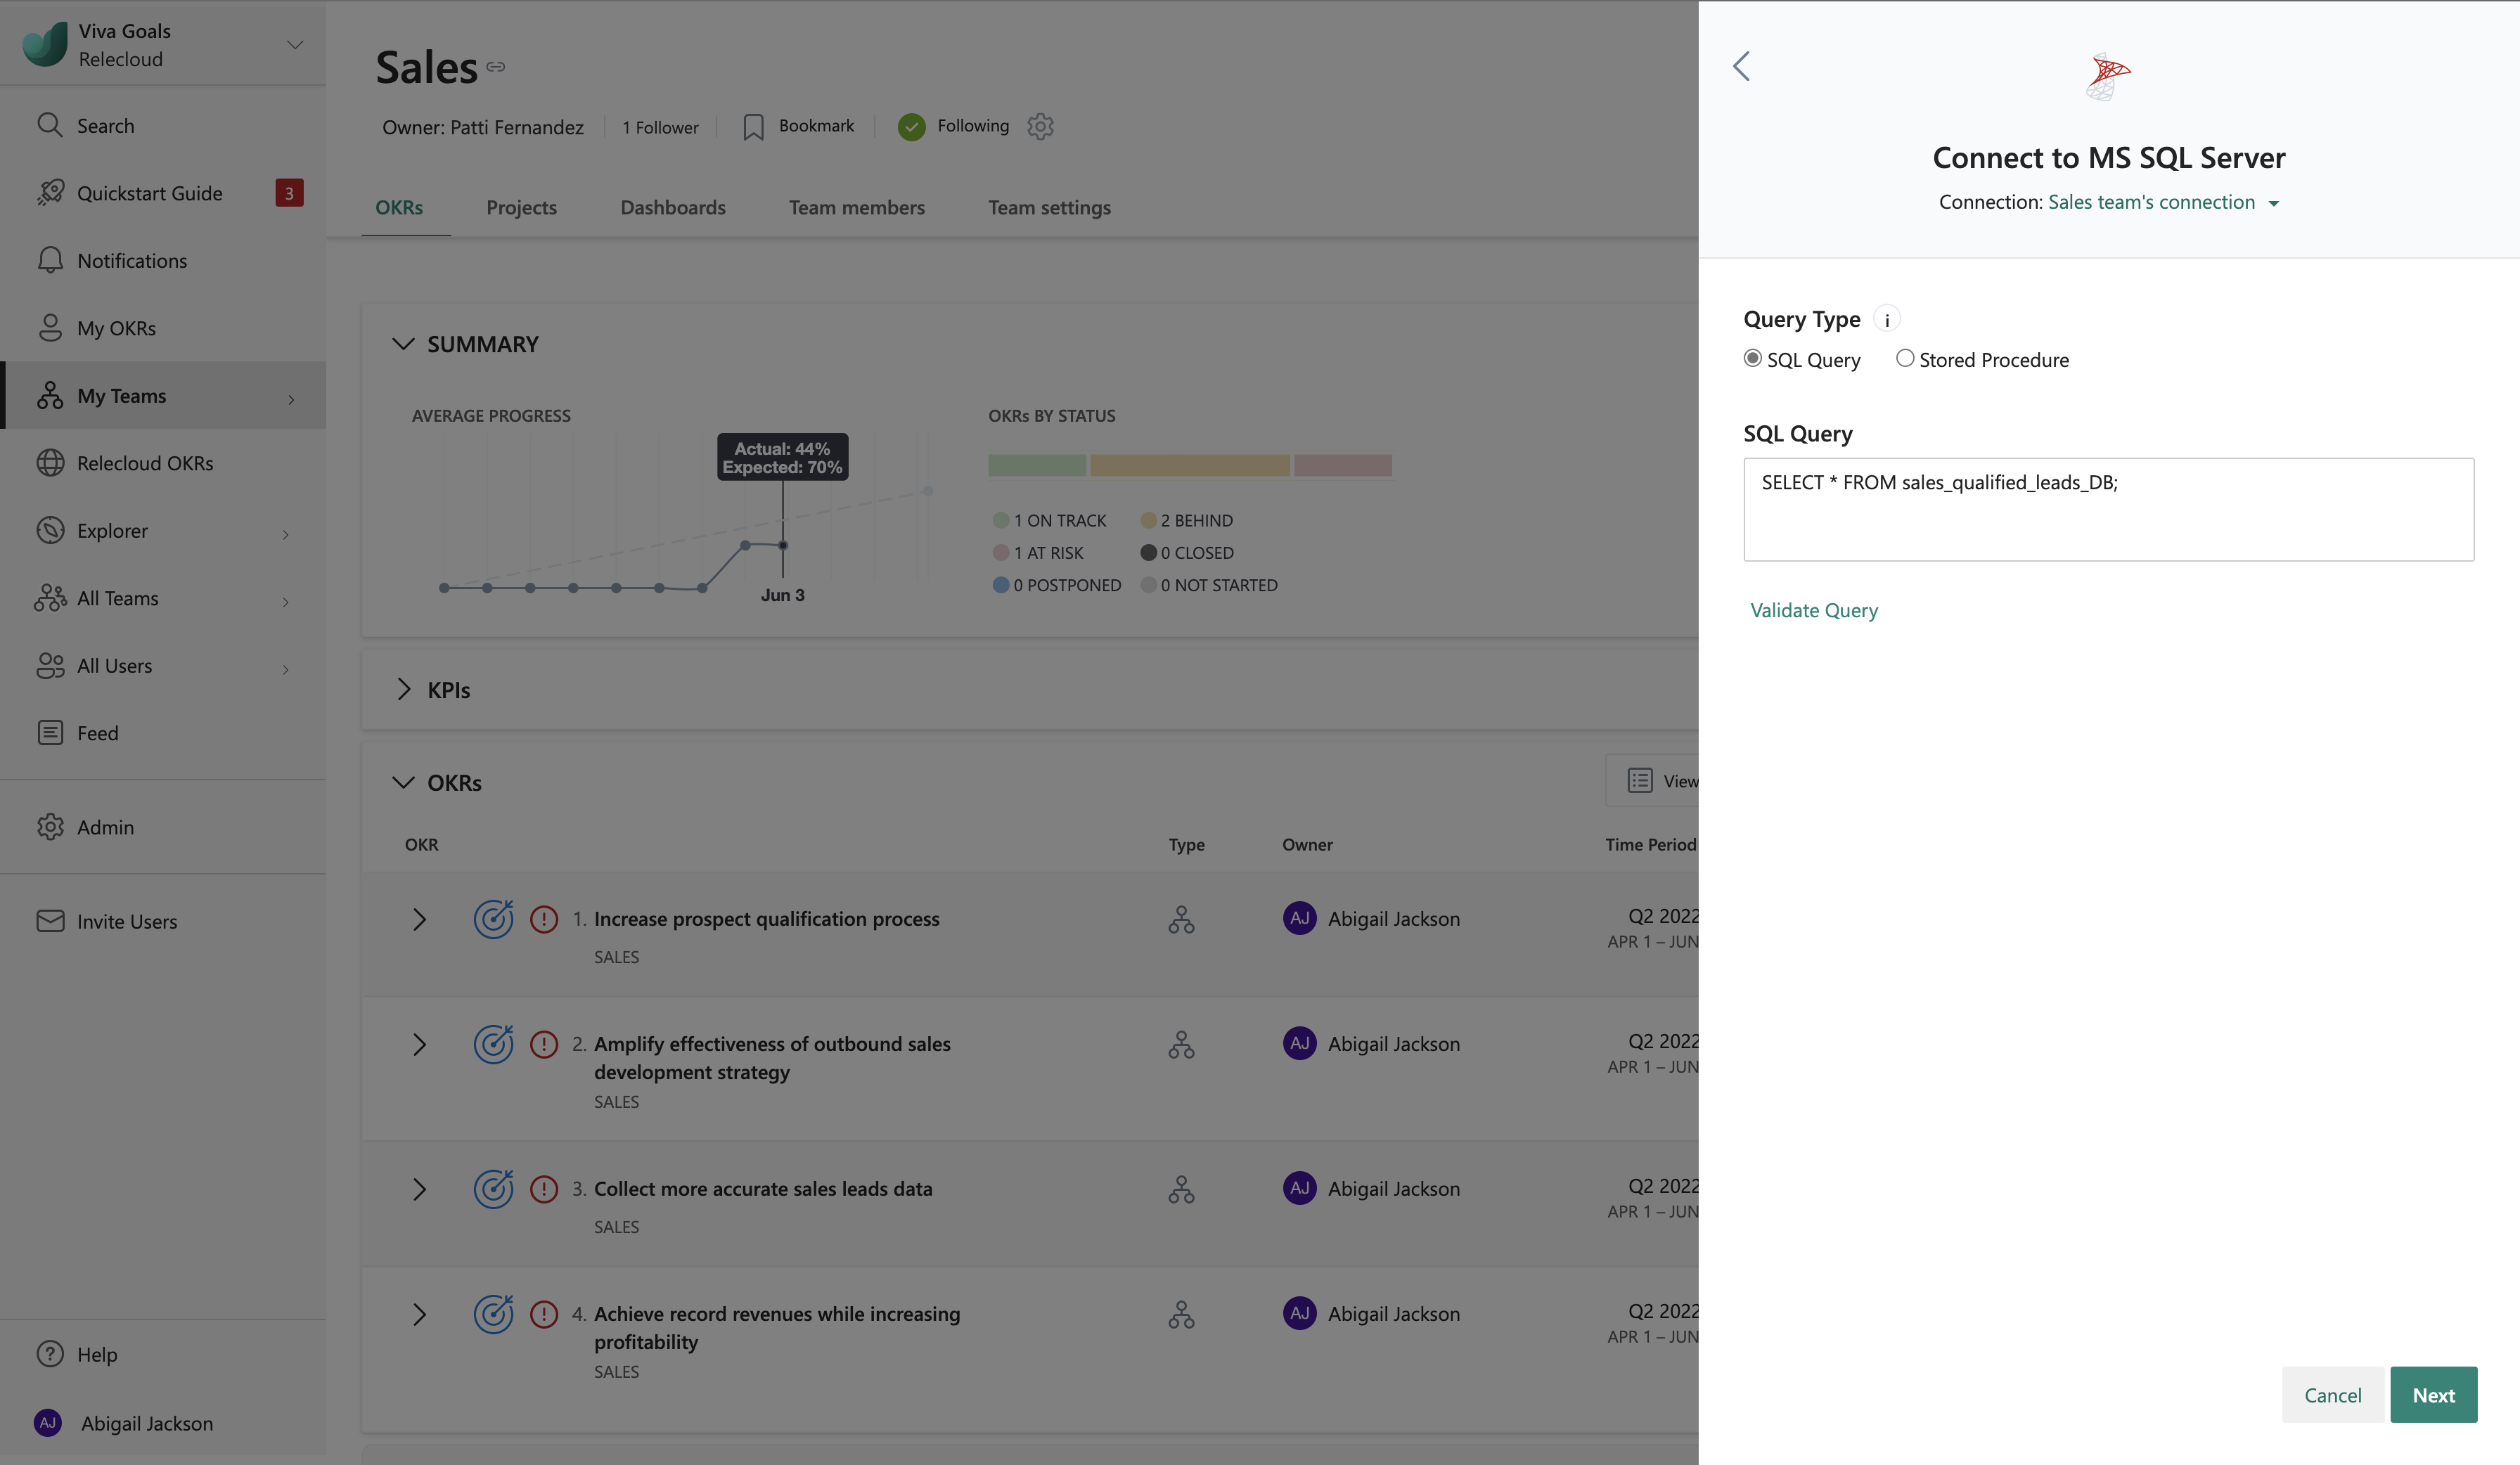
Select MS SQL Server from the list of integrations available. If there are multiple connections listed, choose the connection that you want to use.
Next, choose your query type. To add your query directly, select the SQL Query option. Or choose the Stored Procedure to add a stored procedure query.
Next, add your query and validate the response.
Select Next to finish and save your OKR. You'll now see the MS SQL Server icon next to the OKR's progress indicator. This means Viva Goals will automatically measure the progress based on the data updates in the report.
How to disable the integration
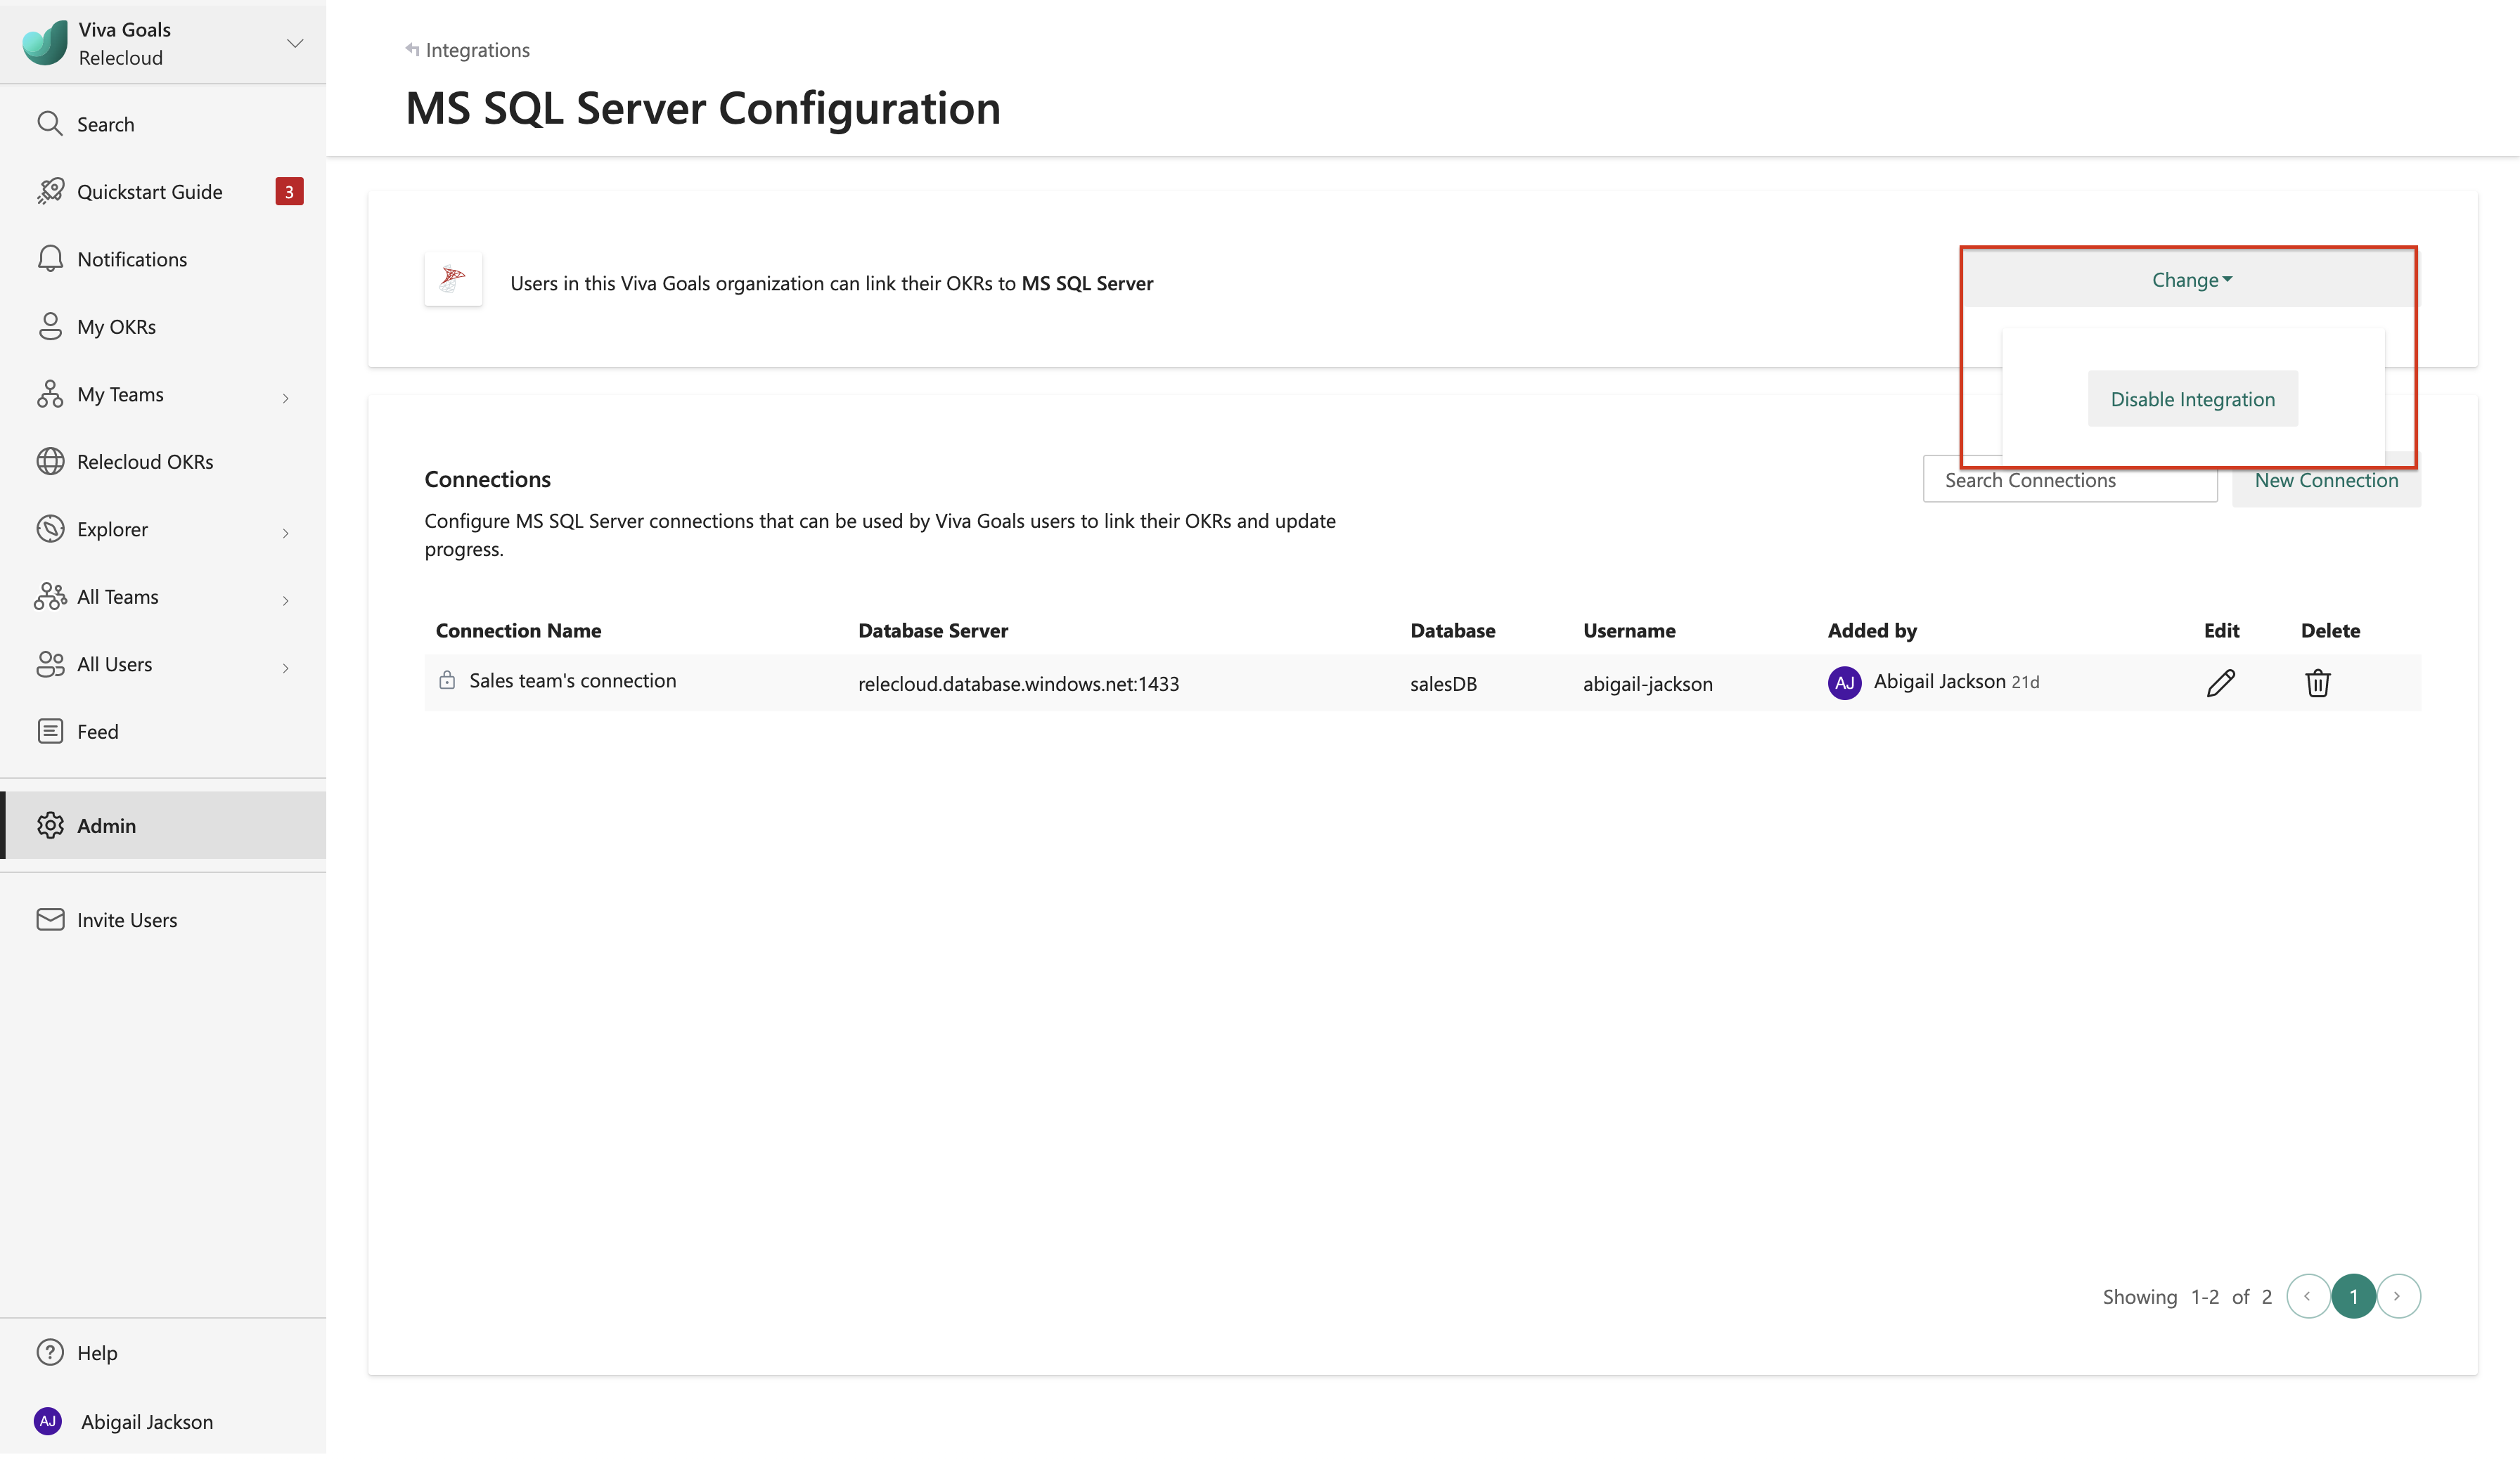
Microsoft SQL Server integrations can be disabled by an admin at any time. To disable the integration, go to MS SQL in the Integrations section. Select Manage. On the configurations page, select the Change dropdown, select Disable, and then confirm.
