Create a customized PowerPoint template and folder
To communicate more engagingly with stakeholders, use customized PowerPoint (PPT) templates. Personal branding increases response rates as it increases feelings of reliability and privacy.
Important
Permission settings in PowerPoint files affect how Viva Glint accesses custom templates. Ensure your template isn't locked or restricted from editing. Otherwise, the exporting process may fail.
Create a customized template folder
Customized templates are stored in folders that you create. You can create as many folders as you’d like and save them to use as appropriate.
From the General Settings feature on your admin dashboard, navigate to Reporting and then PowerPoint Templates for Reports.
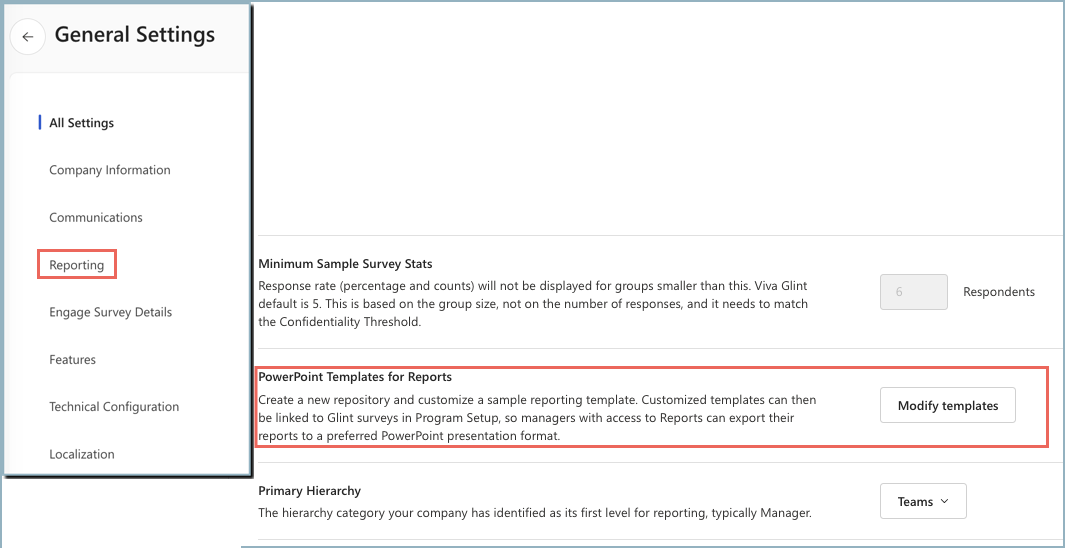
Select Modify templates.
Select + New template folder to open the Create a new template folder window.
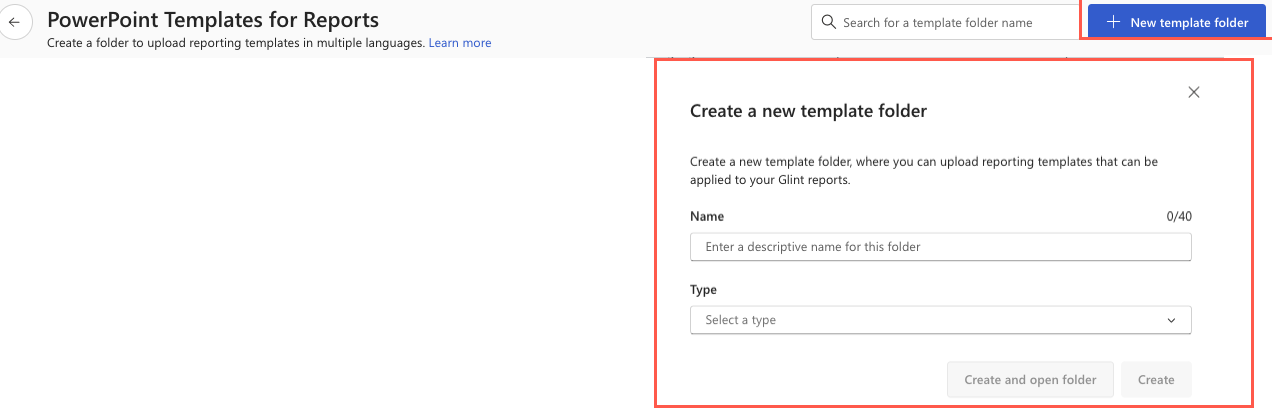
Enter a descriptive name for your folder.
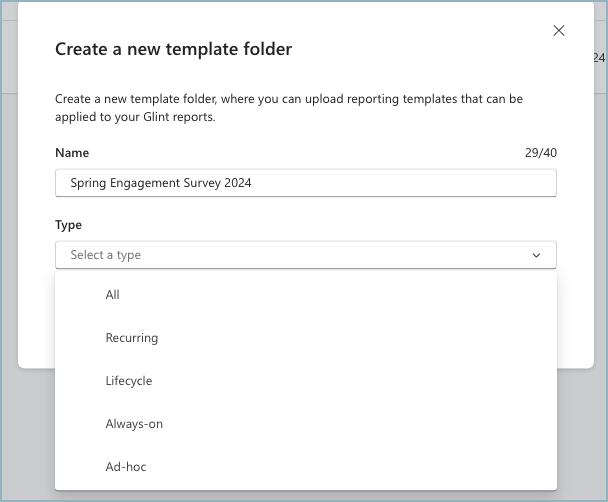
Select a survey type from the dropdown menu. You can choose “All” as one of the choices.
Select Create. Your new folder now appears as its own row on the PowerPoint Templates for Reports page.

Customize a template
Edits for custom templates occur offline. The first time you open a folder, you see that no customized versions of the template exist.

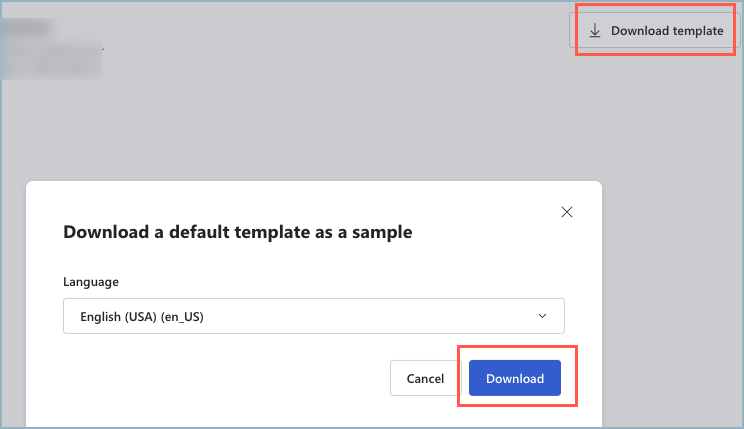
Select Download template.
From the window that opens, select as many languages as needed from the prepopulated language dropdown menu.
Select Download.
Open the downloaded export.

Customize the presentation manually using your organization's logo, familiar terminology, and important, relevant text content. Save the new, customized presentation with a new and easily identifiable name. In this example, the survey is named Spring Engagement Survey 2024.
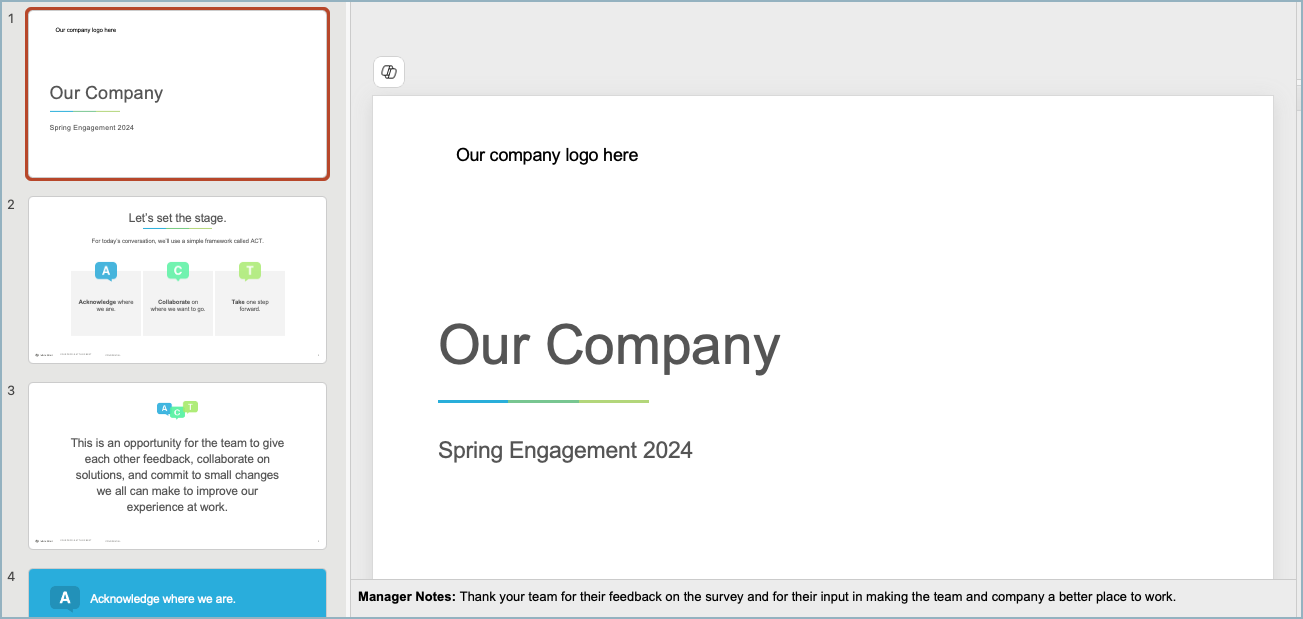
Open the exported Viva Glint Default PowerPoint presentation.
Slides of interest
Important
Different steps are required to adjust elements and settings of the template slides. Be sure to read this full article before proceeding with any edits to a component.
Cover Page/Title slide:
This first slide can easily be modified by editing the slide elements.

Viva Glint logo
- You can delete or move the Viva Glint logo.
- You can add your logo anywhere on this page - drag and drop, move and resize, as desired.
Title line/ “Viva Glint Results Review”
- This text is included by default.
- You can edit the text within this text box, delete it, move and resize, as desired.
Special text replacement values
- Program.Name (included by default in the template): The text in the box is replaced with the name of the program set in your Viva Glint platform. For example, "Glint Quarterly Engagement Program 5pt.”
- Survey.Name: if you add the text “Survey.Name” in a text box, it's replaced with the name of the Survey set in your Viva Glint platform. For example, "Culture Survey", "Engagement Survey", or "People Survey."
- Report.Name: if you add the text "Report.Name" in a text box, it's replaced with the name of the chosen report. For example, "Executive Summary Report" or “Heat Map Report."
Tip
To identify the survey the presentation refers to, use the Survey.Name text instead of the Program.Name text .
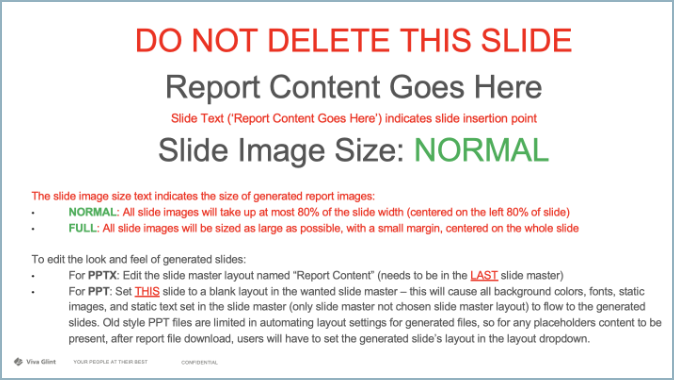
Placeholder slide
On this slide, focus on “Slide Image Size." The text NORMAL or FULL determines the size of the slide images generated by the system.
- NORMAL: The images on the slide take up 80% of the slide width. This placement leaves space for text or annotations. The Viva Glint Default Template uses NORMAL.
- FULL: The images in the slide are sized as large as possible, with a small margin around the image. There isn’t reserved space for text boxes.
Need-to-knows:
- The position of this slide in the template indicates where the slides containing the report images are placed. In the Viva Glint default template, this slide is located immediately following the Title slide and three static slides. It is followed by nine static slides.
- When exporting a report from the platform, the placeholder slide is automatically removed. All the slides containing images from the platform report are inserted, in order, between the static slides.
- In a customized template, you can have any number of static slides before or after the placeholder slide. Other static slides could be, for example, slides containing a list of internal resources that can be used when reviewing survey results. You need to manually create these slides and add them to the template.
Customizing slides generated and exported from the Viva Glint platform
Enter the Slide Master view from the View menu bar.

Find the Slide Master layout slide named "Report Content Layout." In the Viva Glint default template, this slide shows last in the Slide Master view and is blank. If unsure, hover over the page with your mouse and you should see the slide named as “Report Content Layout”.

Edit this slide to remove default text boxes, add new ones, add images - such as logos or graphics - set background colors, to change font colors, etc.
Customization to this slide is applied to each of the slides containing data exported from the Viva Glint platform report.
Close the Master and save your template.
The customizations applied to the Report Content Layout don't show on the slides after closing the Slide Master.


Optional text boxes in the default template
Two optional text boxes are included in the Viva Glint default template:
- Add a Title Here
- Add your annotation here
You can remove these text boxes or leave them to provide space for end users to add notes. If you keep the boxes, change the title “Add a title Here” to, for example, “Click in the section below to add your notes.” This box displays in each slide. The text box "Add you annotation here" only displays once the end user clicks into that section of the slide.
Tip
Remember to consider the NORMAL vs FULL sizing options when adding text boxes. If you edited the Slide Image Size to FULL there isn't space left on the slide for other images or text boxes.
Note
Download the Glint default template for all the dashboard languages needed in order to view reports across different dashboard languages. Repeat each step for each language.
Follow the instructions in Upload your customized PowerPoint presentation to upload customized templates to your template folder. Assign the new template to a Survey Program for testing.
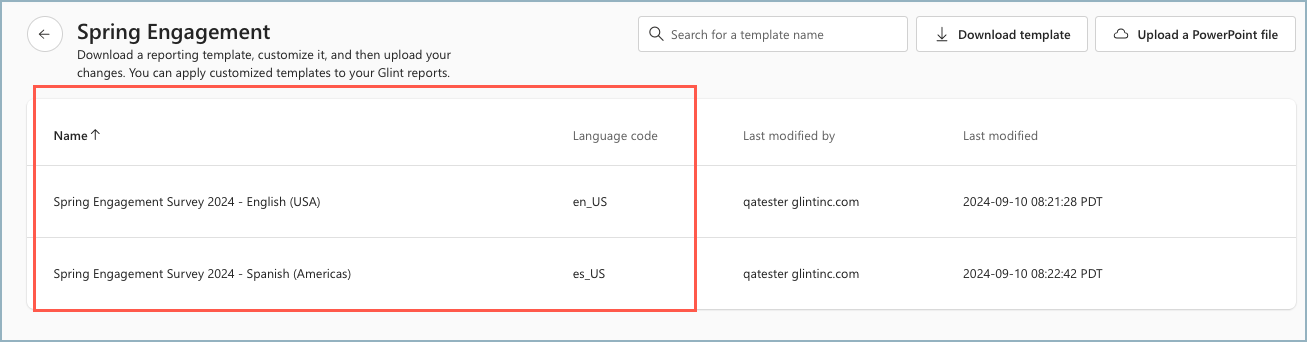
Upload your customized PowerPoint presentation
From the PowerPoint Templates for Reports window, choose the folder for your customized template to be added to. In this example, Spring Engagement is opened.
Select Upload a PowerPoint file to open the Upload a PowerPoint file dialog box.
Browse your files to drag and drop the custom template into the upload box.
Select a language to upload and then select Upload file. Upload as many languages into the folder as needed.
Now when opening the folder, custom templates are available. From the folder name, you can see the number of languages the template exists in and the number of surveys the custom template is linked to. Access each individual template in the folder.
Edit the presentation template folder
To edit, open, or delete a folder, use the ellipses next to the template name.
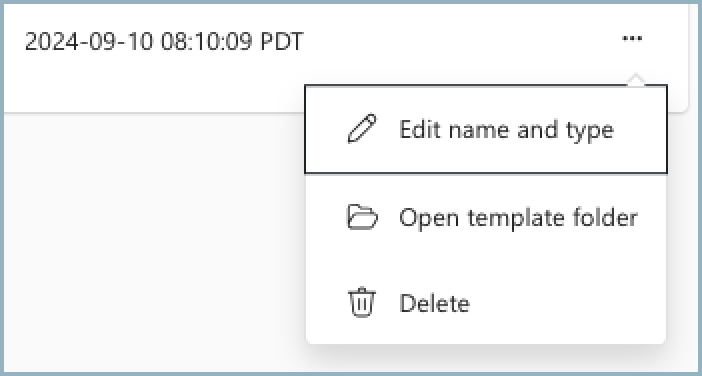
Edit folder name and type
Modify as needed and select Update.

Open template folder
Use to see all the customized templates in that folder.
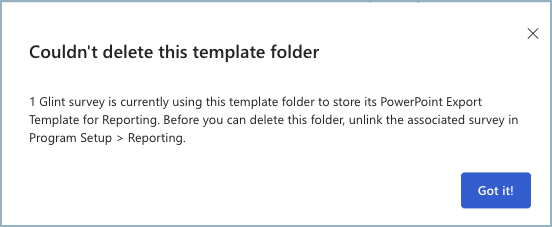
Delete a template folder
If you attempt to delete a folder that is associated with a survey report, this window appears:
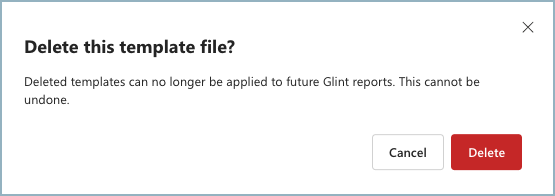
If a file isn't associated with a survey report, this confirmation box appears before you can delete the template. This process isn't reversible.
Use your customized PowerPoint with any Viva Glint program
Your customized presentation can be used for any Glint feedback presentation.
From your admin dashboard, navigate to Survey Programs and choose a survey.
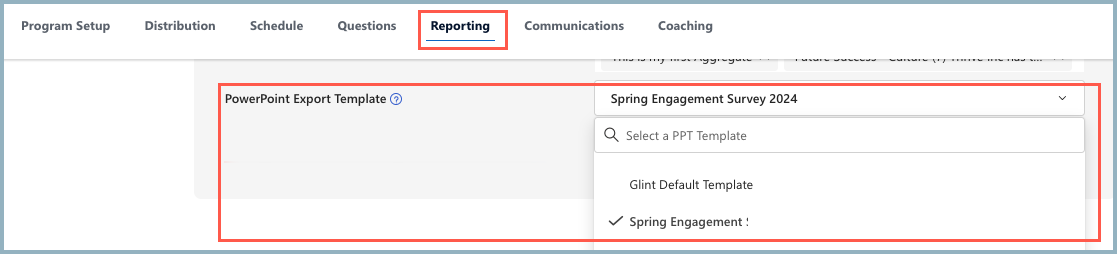
In Program Summary, go to the Reporting tab. All presentation folders available for your Glint programs show in the PowerPoint Export Template dropdown menu.
Select the desired PowerPoint Export Template.
Select Save Changes .
Tip
Once your customized template is selected as the PowerPoint Export Template, review the look and feel of the customized template by downloading any report in PowerPoint. Make any necessary edits to your customized template, upload again, and replace the previous version. Several iterations of this process might be necessary to achieve the desired result.