Stage lines of code in Visual Studio
Line-staging support, also known as interactive staging, is available in Visual Studio 2022 version 17.3 and later. Line-staging lets you stage chunks of changes in your files right from the code editor. Line staging can also be helpful when you want to split changes across different commits.

Starting with Visual Studio 2022 version 17.6, you can use the hover option to also unstage changes, line by line.

Observe staged changes with color margins
The first thing you might notice about line-staging support is how the editor visualizes Git changes in the scroll bar and also in the margin.

The colors and annotations make it easy to differentiate between saved and unsaved changes that you added, deleted, or modified.

Configure color margin settings
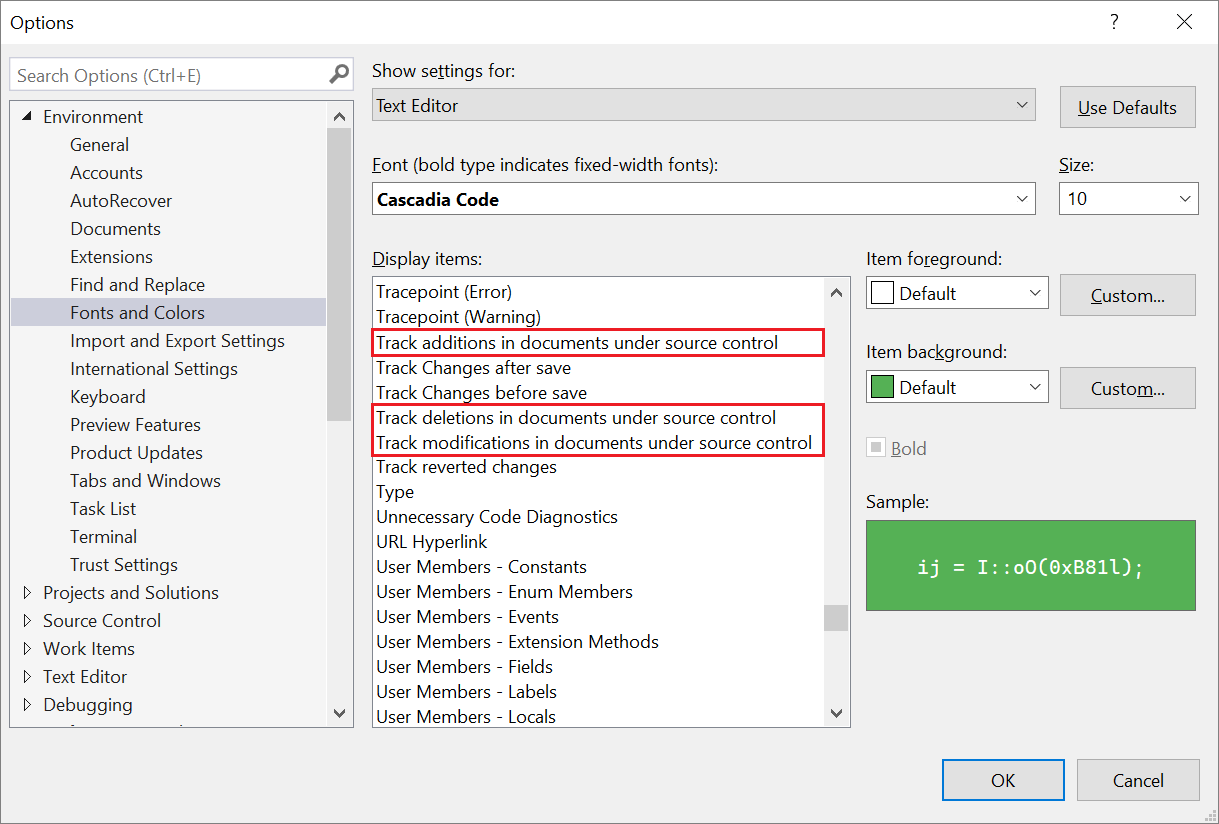
You can change the colors that Visual Studio displays to help you manage changes. In the Tools > Options dialog, go to the Environment > Fonts and Colors section, and configure the following Display items options:
- Track additions in documents under source control
- Track deletions in documents under source control
- Track modifications in documents under source control
View staged changes with Peek Difference
Color margins are interactive. When you select a color margin, Visual Studio opens the Peek Difference user interface (UI) where you can view your changes in the editor without switching context. The Peek Difference UI summarizes the number of added and removed lines and makes it easy to switch between changes by using the Up and Down arrows.

You can also access Peek Difference when you right-click a line of code that has changes. You can select Peek Difference from the context menu or use the Alt+F8 keyboard shortcut.

Note
If you prefer an inline difference view, you can use the Settings control in the top-right corner of the Diff editor to switch to Inline mode.

Configure Peek Difference settings
You can modify how Visual Studio interacts with code changes in the Peek Difference UI. The Click to peek in margin option is available on the Tools > Options > Text Editor > Advanced page.
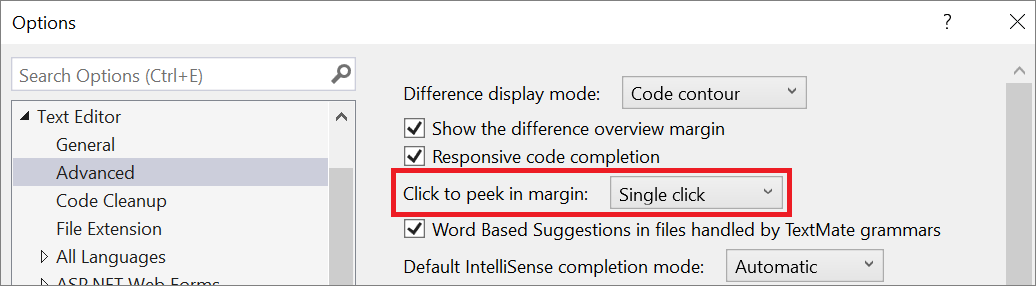
You can change the default Single click setting to Double click, or you can select None to turn off the Peek Difference UI.
Stage chunks of code
You can stage any chunk of code by using the Peek Difference UI. Hover over the change to stage and select Stage Change. If you want to stage all the changes you made to a document, you can use the global Stage action.

Note
If you prefer a full-screen difference view, you can switch to the Diff editor with the Promote to Document  icon at the top-right of the Peek Difference UI, or use the Ctrl+Alt+Home keyboard shortcut. All features provided by the Peek Difference UI are also available in the Diff editor. The following image shows the Diff editor view:

You can enable or disable the staging controls in the difference view by clicking the Show staging controls button.
Commit staged changes
After you prepare your commit by reviewing and staging the desired changes, you can create your commit by using the Git Changes window. Enter a commit message and select Commit Staged to complete the process:
