Publish your web app to Docker Container Registry
You can publish your web app as a Docker container to any compatible Docker Container Registry.

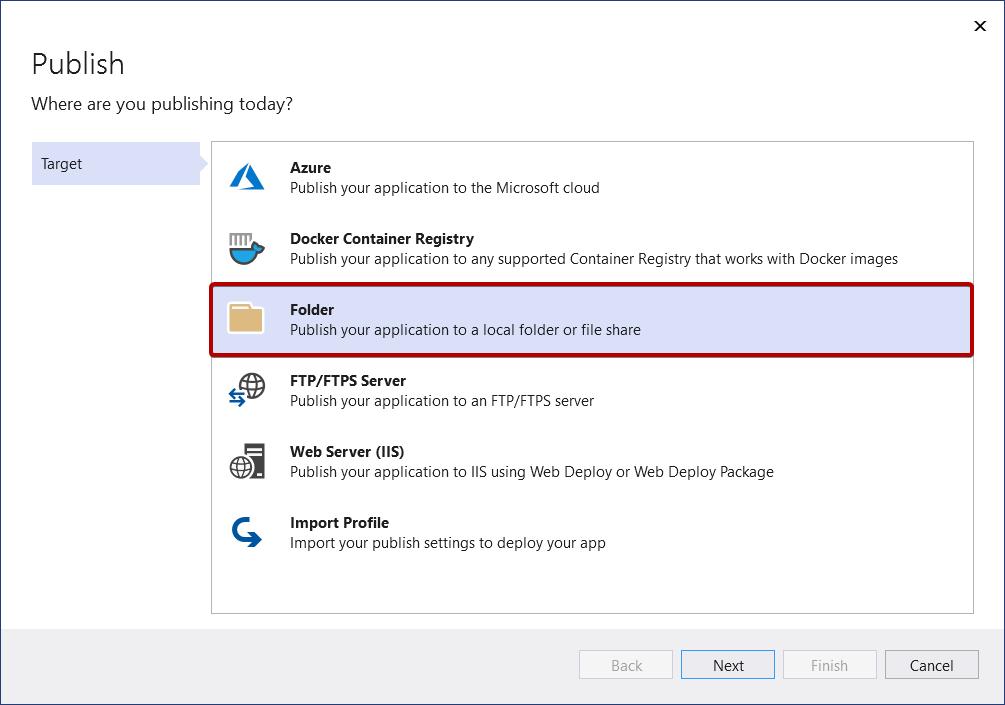
Click Next and choose from the available options, such as Azure Container Registry or Docker Hub.
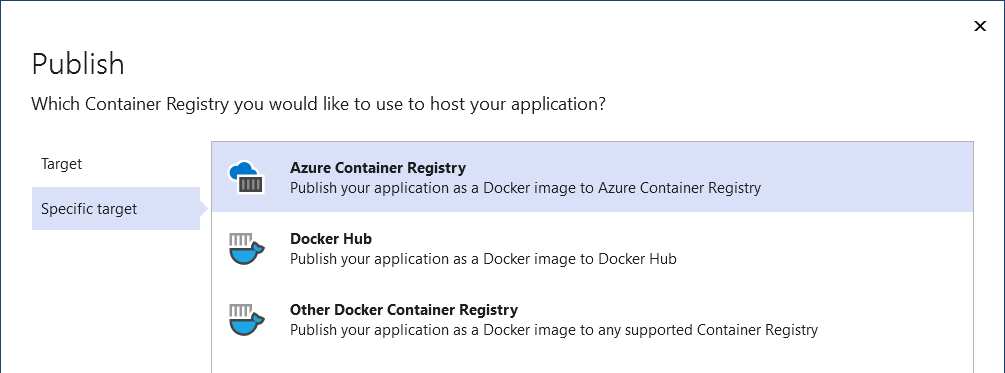
Azure Container Registry
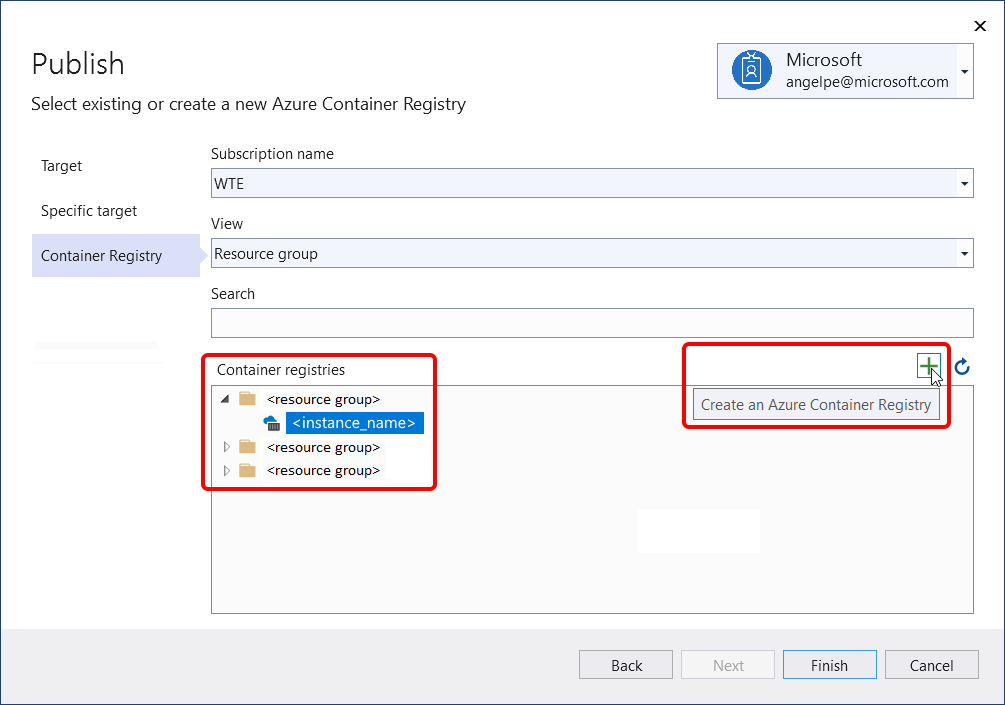
Next, for Azure Container Registry, either select an existing instance or create a new one.
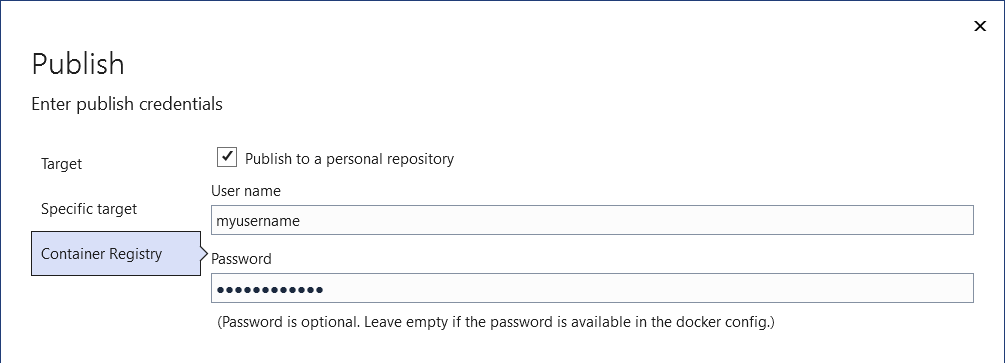
Docker Hub
Next, for Docker Hub, provide the publish credentials.
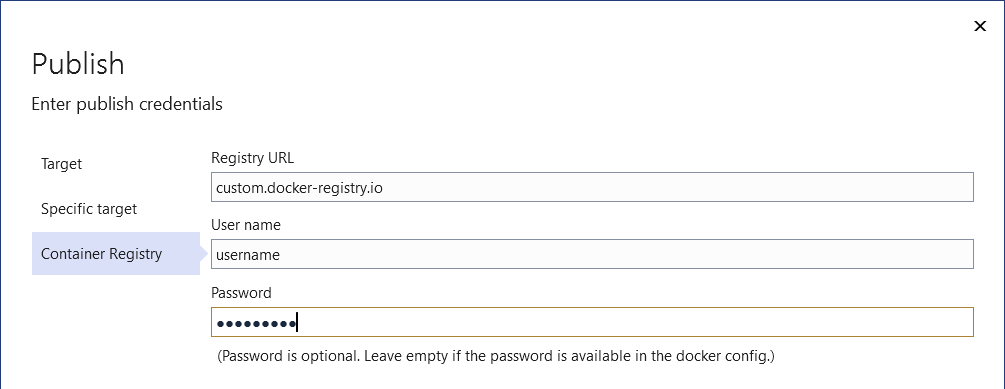
Other Docker Container Registry
Next, for other Docker container registries, provide the URI and publish credentials.
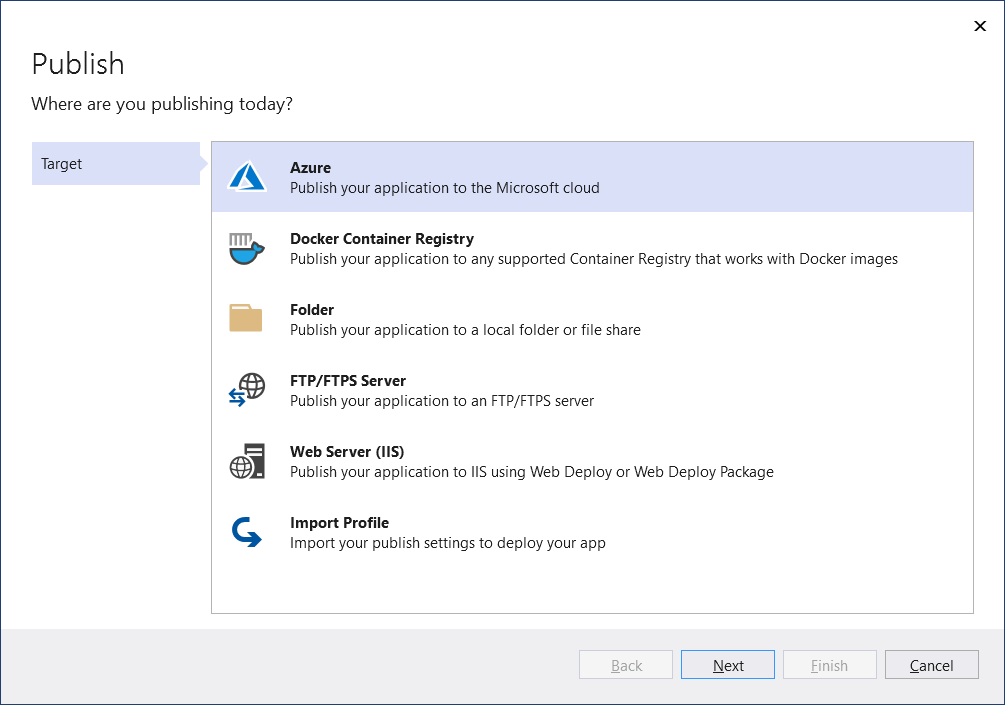
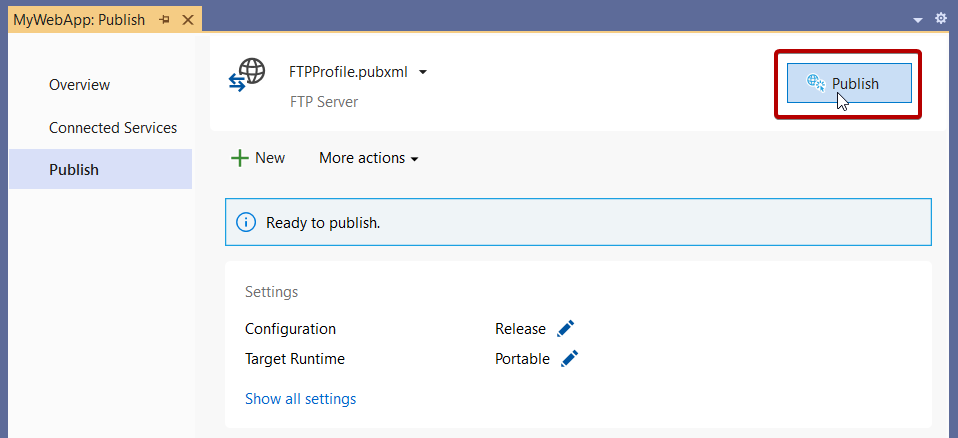
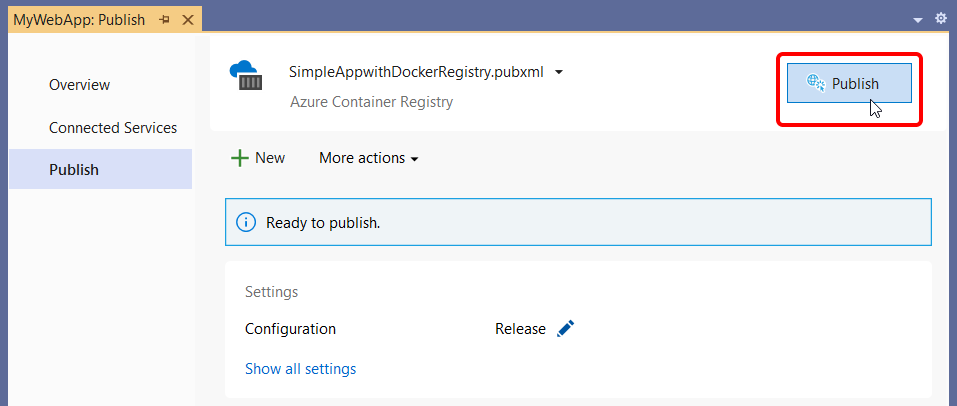
Finish the Publish wizard
Next, you see the summary page for the new publish profile that you just created using the Publish wizard. Click Publish and Visual Studio deploys your web app to the specified Docker Container Registry.
Note
The above screenshot is showing a publish profile targeting Azure Docker Registry, but the same Publish button is available for all three Docker Container Registry options.
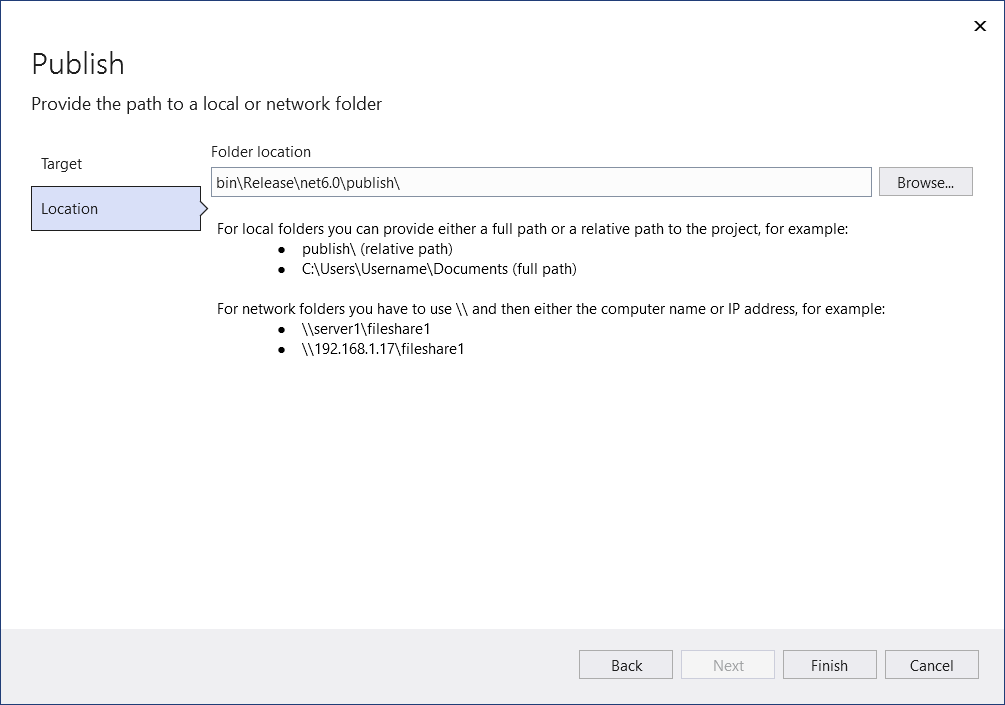
Publish your web app to a folder
You can publish your web app to both local and network folders.
First, provide the path and click Finish to complete the Publish wizard.
Next, you see the summary page for the new publish profile that you just created using the Publish wizard. Click Publish and Visual Studio deploys your web app to the provided path.
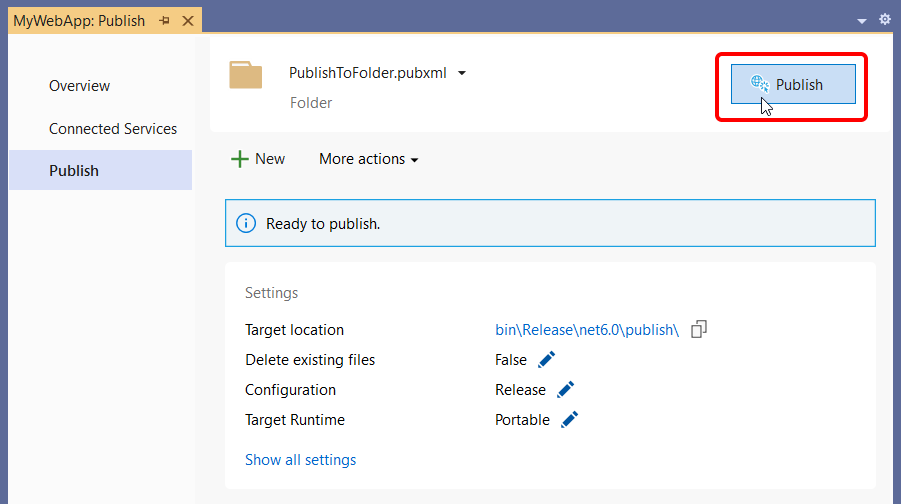
You can come back to this summary page after you close it. Next time you right-click and choose Publish, Visual Studio opens this summary page. (To get back to the Publish wizard just click New in the summary page.)
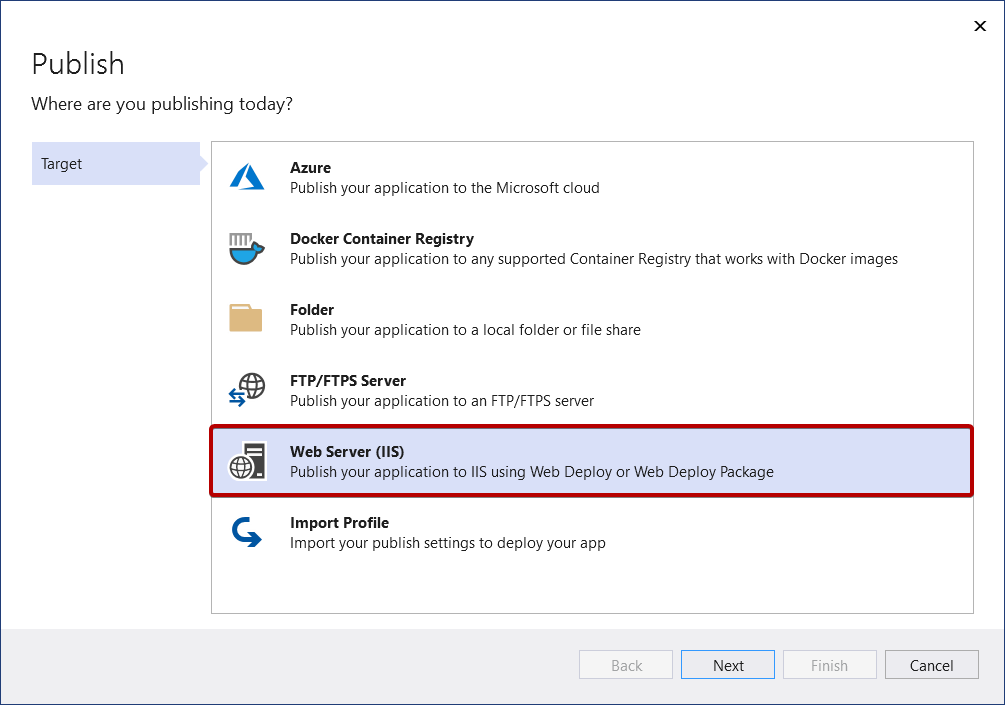
Publish your web app to Web Server (IIS)
You can publish your web app to IIS if IIS is configured. By default, IIS Express is installed, but you should install the IIS Management tools if you're deploying to IIS from Visual Studio. Note that you don't need to run Visual Studio as Administrator to deploy to IIS Express, only to full IIS.
On the remote web server, install the Web Management Service. Be sure to follow the instructions there to enable remote connections, and make sure the service is started, set up your credentials to remotely administer the web server, and verify them before attempting to deploy. Web Management Service is not required for a local IIS deployment.
On the web server, install IIS 6 Metabase Compatibility. In Windows Settings, under Programs and Features, choose Turn Windows features on or off. Then under Internet Information Services > Web Management Tools, install IIS 6 Management Compatibility. Make sure that IIS Metabase and IIS 6 configuration compatibility are selected.
To configure IIS for ASP.NET Core applications, install the .NET Core Hosting Bundle installer (direct download). For more information, see .NET Core hosting bundle.
If you're working with ASP.NET 4.8 or earlier, or if you need to configure IIS on Windows Server for publishing, you can find detailed steps in Remote debugging ASP.NET on an IIS computer and for ASP.NET Core, Remote debugging ASP.NET Core on an IIS computer.
Publish to IIS web server
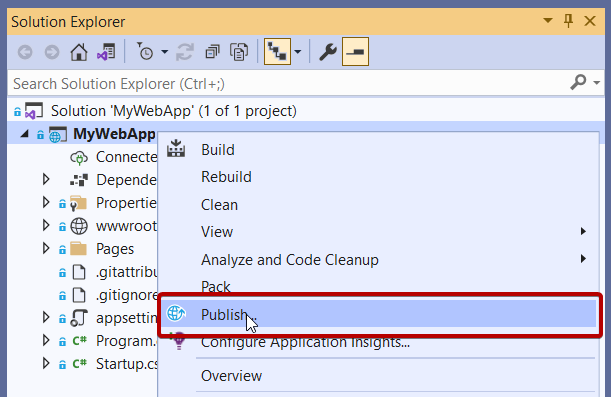
Choose Publish, and then Web Server (IIS).
Pick the desired deployment mode. Choose Web Deploy to immediately deploy the application to the specified server. Choose Web Deploy Package to create a packaged zip file that contains the deployment artifacts for later use by you or someone else.
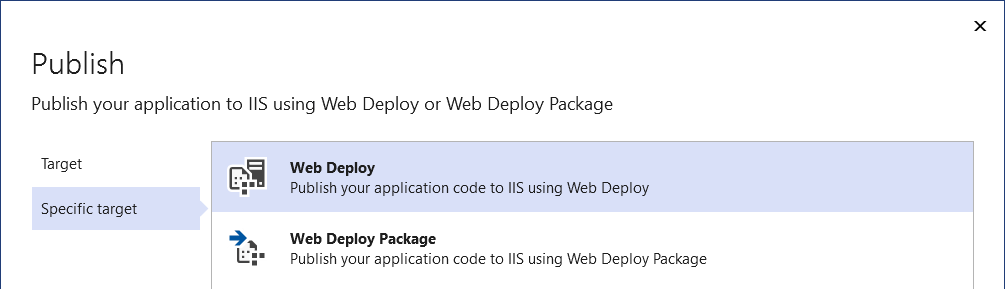
Web Deploy
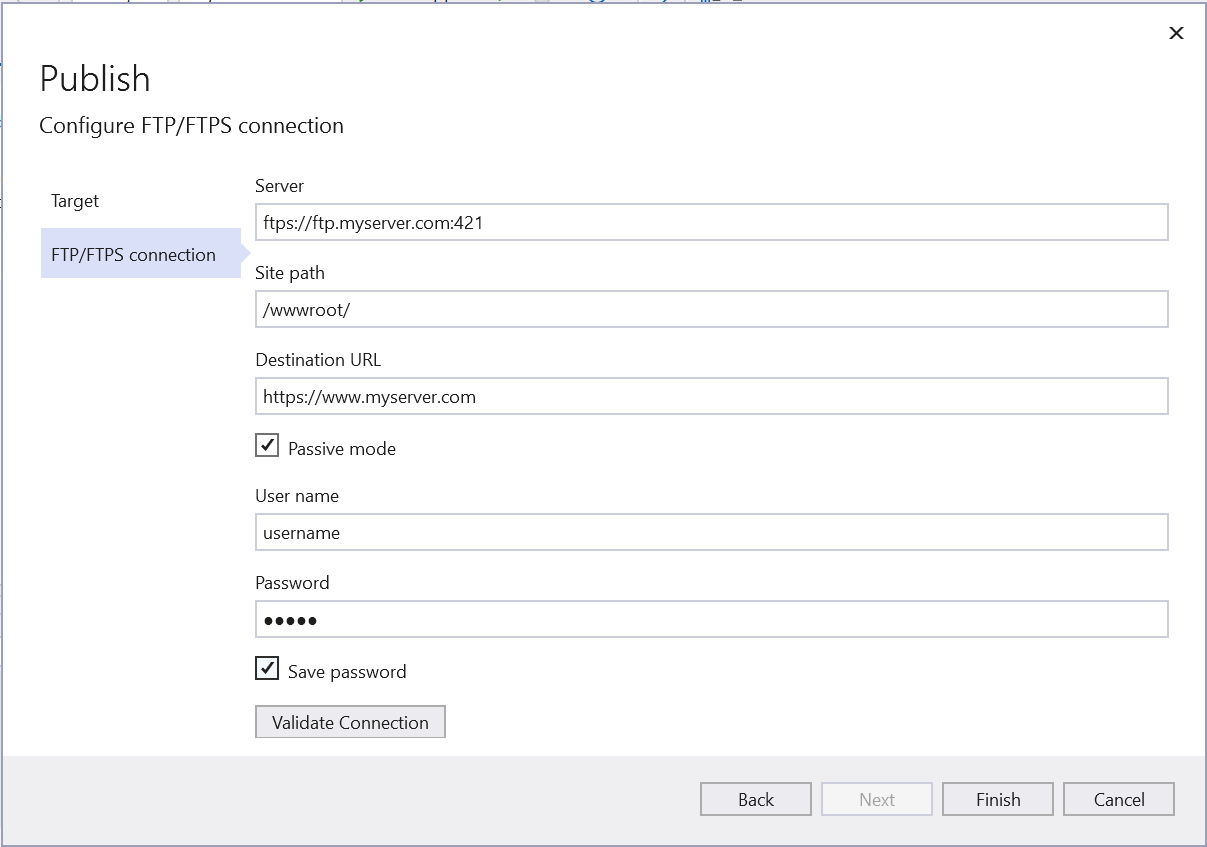
Provide the necessary connection details and choose Finish. The following screenshot shows a web application published to the default IIS web site (Default Web Site) installed on the local development machine, with a port binding on port 5187. The Destination URL is optional. If not provided, the web site is not automatically launched on publish, and there won't be a link on the Publish screen to access the published site.

The first time you publish, create a username and password. These credentials are specific to WebDeploy deployment. Once they're created, you can't change them in Visual Studio, but you can reset them in IIS. See Sites - Set Credentials dialog box. If you don't have the password, you can download a .publishsettings file, and read it from there. See Import publish settings from IIS.
Warning
Using username and password credentials (basic authentication) is not the most secure method of authentication. Whenever possible, use alternative methods. For example, consider publishing to a package from Visual Studio, and then use WebDeploy.exe from a command line to deploy the package. With that method, you can use IIS Manager to configure authorized Windows users who can publish to the web server, and run WebDeploy.exe under that Windows user account. See Installing and Configuring Web Deploy on IIS 8.0 or Later. If you do use password credentials, be sure to use a strong password, and secure the password from being leaked or shared.
For troubleshooting, see Web Deploy error codes.
Web Deploy Package
Click Browse... to open a Select Package Location dialog box and enter the path to where you want the package to be created, including the .zip file name.

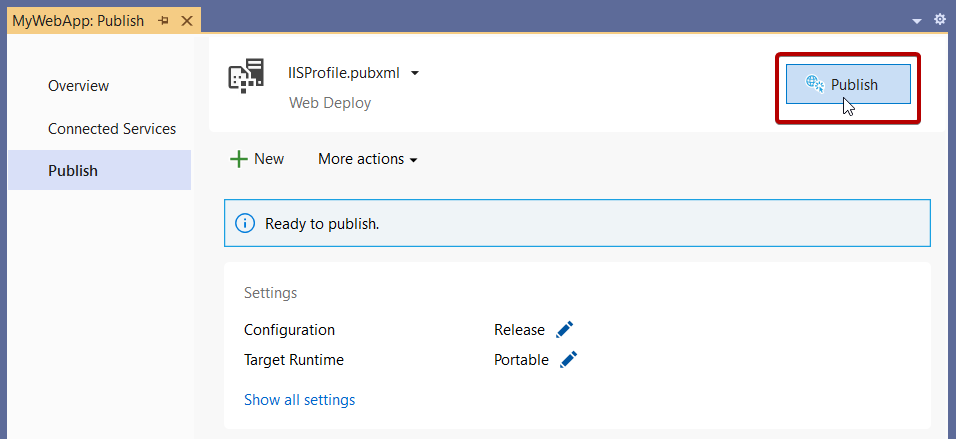
Finish the Publish wizard
Next, you see the summary page for the new publish profile that you just created using the Publish wizard. Click Publish and Visual Studio deploys your web app to the specified IIS server.