Configure Bridge to Kubernetes
Note
Bridge to Kubernetes will be retired on April 30, 2025. For details about the retirement and open-source alternatives, please see the GitHub issue.
You can configure the local Bridge to Kubernetes process using two methods. You can annotate services on your cluster and you can supply local configuration.
Kubernetes configuration
The Kubernetes configuration (kubeconfig) file is default stored at ~/.kube/config, but you can set it by using the KUBECONFIG environment variable.
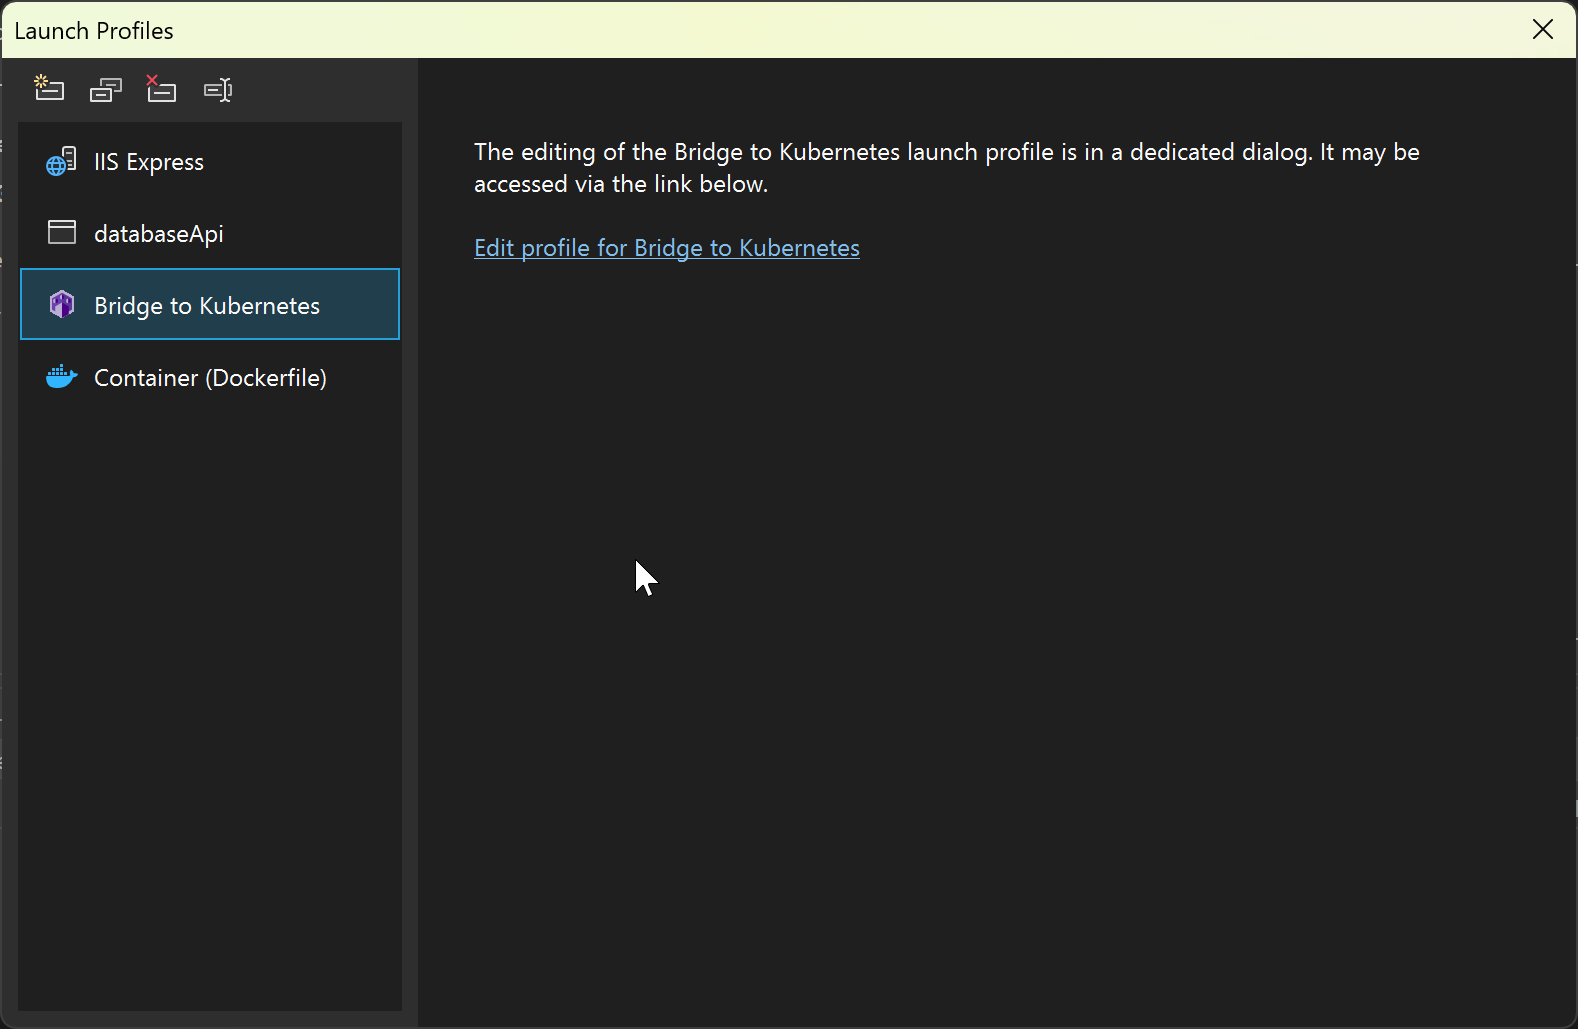
If you're using Visual Studio, you can edit Bridge to Kubernetes launch profile in the IDE by using the Debug launch profiles UI in the Debug properties. See Edit launch profile.

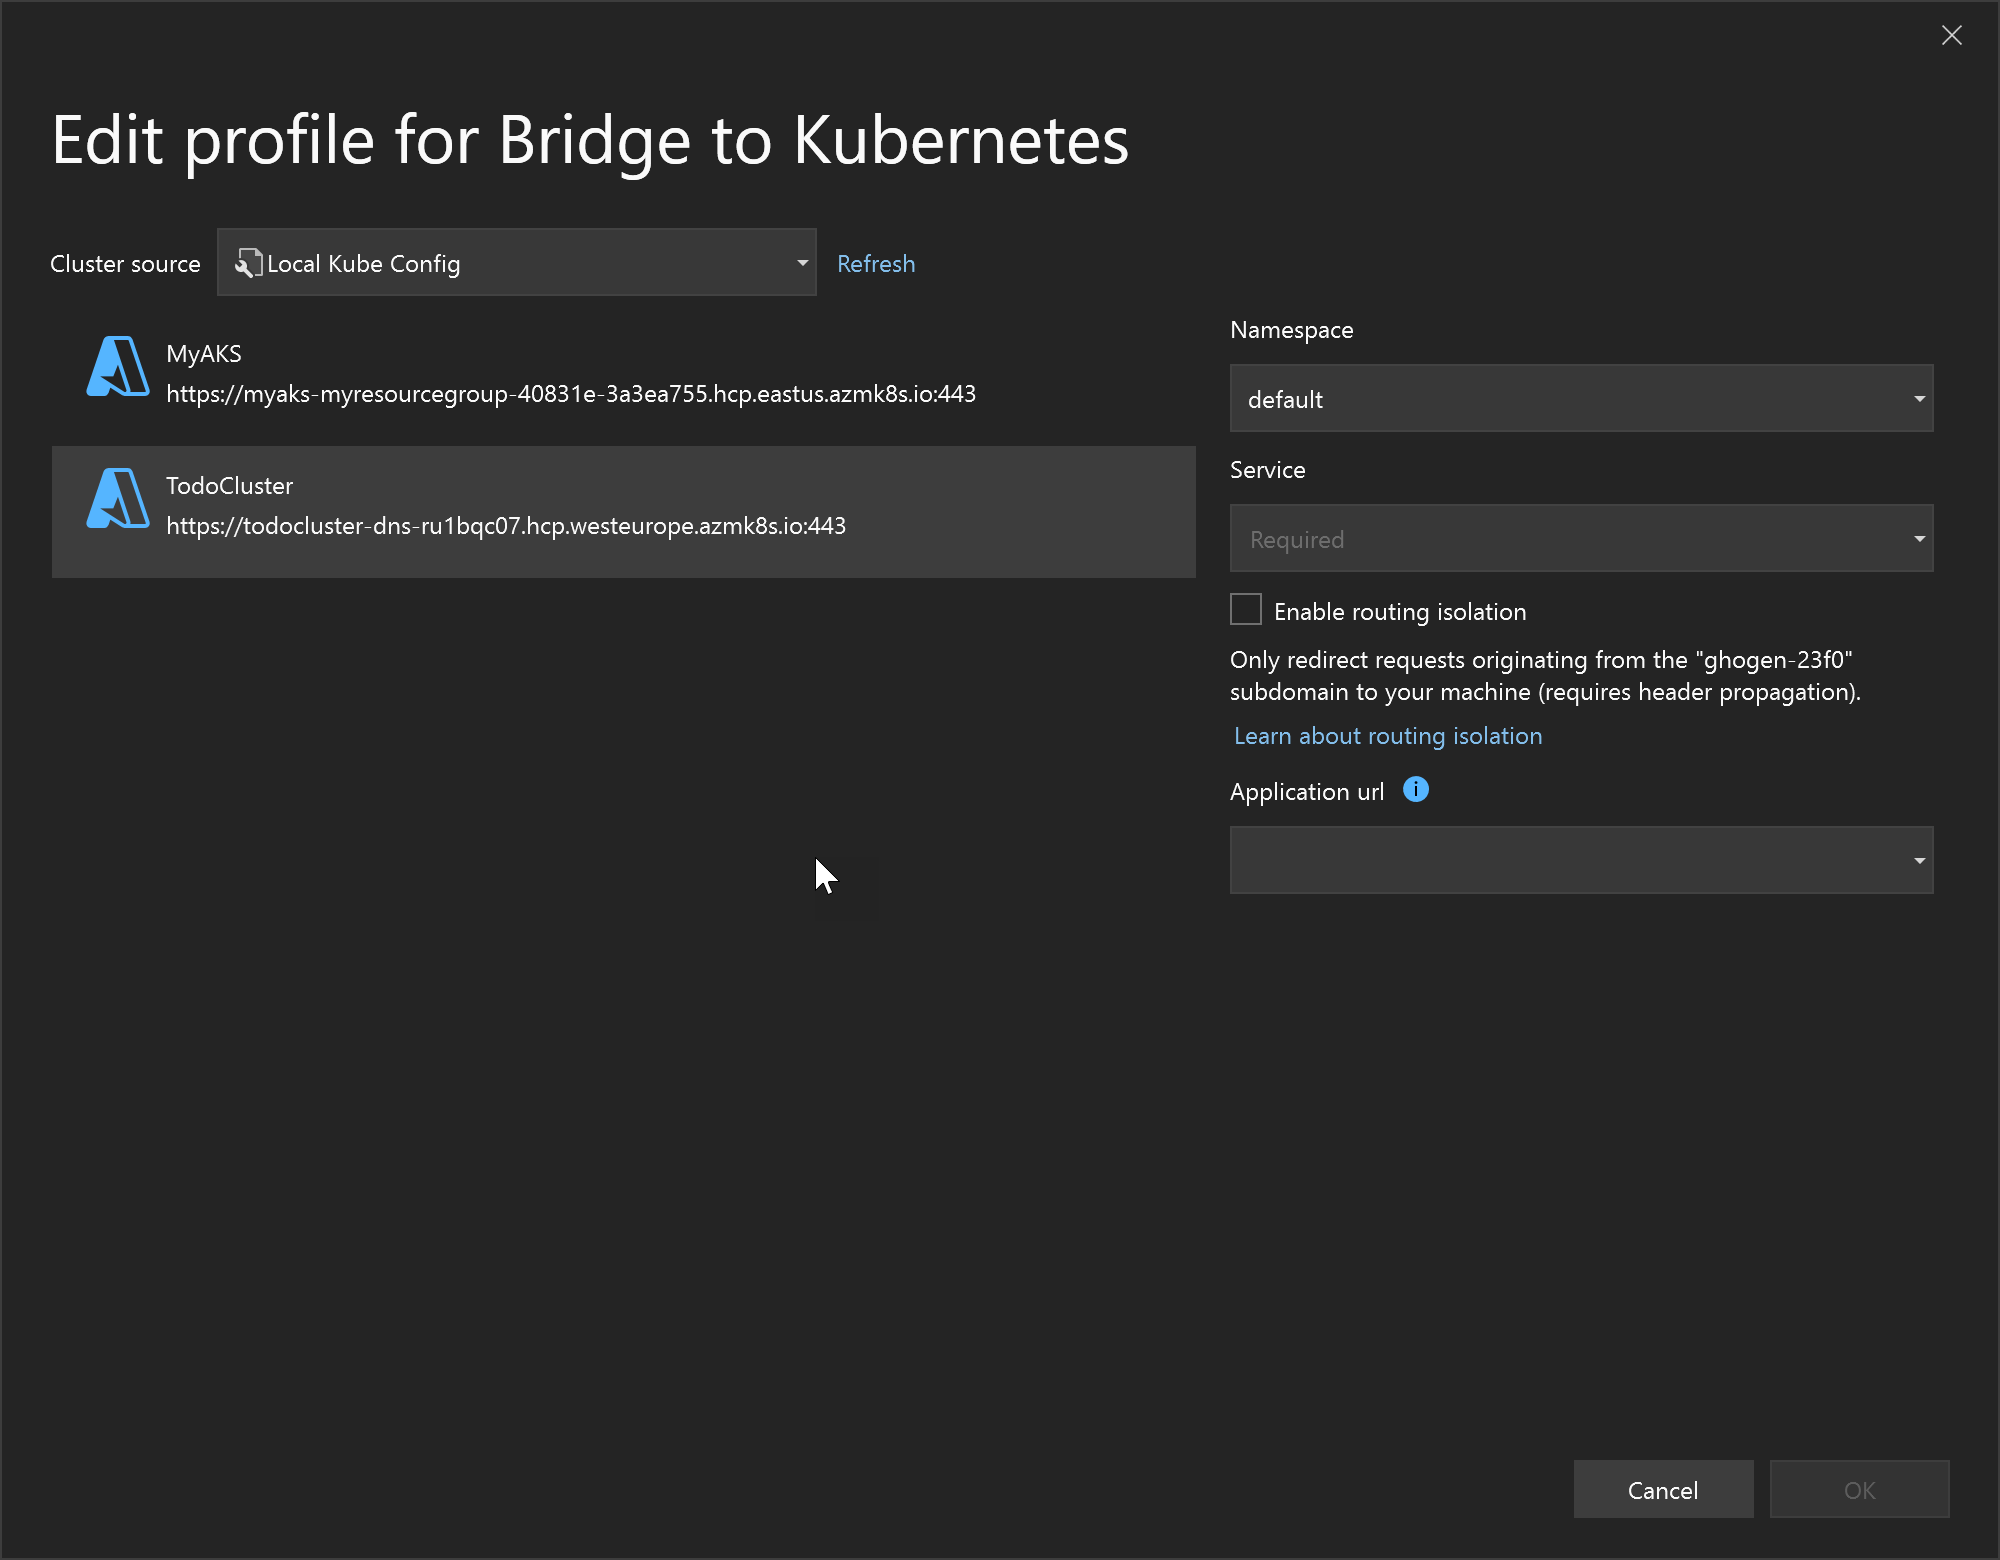
From there, you can open the following screen, which provides a way to edit some of the most common configuration properties.

Prevent Bridge to Kubernetes from forwarding specific ports
Configure Bridge to Kubernetes to ignore mapping specific ports on a Kubernetes service to your machine by adding the bridgetokubernetes/ignore-ports annotation on the service.
apiVersion: v1
kind: Service
metadata:
  annotations:
    bridgetokubernetes/ignore-ports:445,23
Local configuration using (KubernetesLocalProcessConfig.yaml)
The KubernetesLocalProcessConfig.yaml file allows you to replicate environment variables and mounted files available to your pods in your cluster. You can specify the following actions in a KubernetesLocalProcessConfig.yaml file:
- Download a volume and set the path to that volume as an environment variable.
- Make a service running on your cluster available to processes running on your development computer.
- Create an environment variable with a constant value.
A default KubernetesLocalProcessConfig.yaml file is not created automatically so you must manually create the file at the root of your project.
Download a volume
Under env, specify a name and value for each volume you want to download. The name is the environment variable that will be used on your development computer. The value is the name of the volume and a path on your development computer. The value for value takes the form $(volumeMounts:VOLUME_NAME)/PATH/TO/FILES.
For example:
version: 0.1
env:
  - name: ALLOW_LIST_PATH
    value: $(volumeMounts:allow-list)/allow-list
The above example downloads the allow-list volume from the container and sets that location plus the path to the environment variable ALLOW_LIST_PATH. The default behavior is to download the files to the path you specify under a temporary directory on your development computer. In the above example, ALLOW_LIST_PATH is set to /TEMPORARY_DIR/allow-list.
Note
Downloading a volume will download the entire contents of that volume regardless of the path you set. The path is only used to set the environment variable for use on the development computer. Adding /allow-list or /path/to/files to the end of the token doesn't actually affect where the volume is persisted. The environment variable is just a convenience in case your app needs a reference to a specific file inside that volume.
You also have the option to specify a location to download the volume mount on your development computer instead of using a temporary directory. Under volumeMounts, specify a name and localPath for each specific location. The name is the volume name you want to match, and localPath is the absolute path on your development computer. For example:
version: 0.1
volumeMounts:
  - name: default-token-*
    localPath: /var/run/secrets/kubernetes.io/serviceaccount
env:
  - name: KUBERNETES_IN_CLUSTER_CONFIG_OVERRIDE
    value: $(volumeMounts:default-token-*)
The above example uses the entry in env to download a volume matching default-token-*, such as default-token-1111 or default-token-1234-5678-90abcdef. In cases where multiple volumes match, the first matching volume is used. All files are downloaded to /var/run/secrets/kubernetes.io/serviceaccount on your development computer using the entry in volumeMounts. The KUBERNETES_IN_CLUSTER_CONFIG_OVERRIDE environment variable is set to /var/run/secrets/kubernetes.io/serviceaccount.
Make a service available
Under env, specify a name and value for each service you want to make available on your development computer. The name is the environment variable that will be used on your development computer. The value is the name of the service from your cluster and a path. The value for value takes the form $(services:SERVICE_NAME)/PATH.
For example:
version: 0.1
env:
  - name: MYAPP1_SERVICE_HOST
    value: $(services:myapp1)/api/v1/
The above example makes the myapp1 service available to your development computer and the MYAPP1_SERVICE_HOST environment variable is set to the local IP address of the myapp1 service with the /api/v1 path (that is, 127.1.1.4/api/v1). The myapp1 service is accessible using the environment variable, myapp1, or myapp1.svc.cluster.local.
Note
Making a service available on your development computer will make the entire service available regardless of the path you set. The path is only used to set the environment variable for use on the development computer. You can also make a service from a specific Kubernetes namespace available using $(services:SERVICE_NAME.NAMESPACE_NAME). For example:
version: 0.1
env:
  - name: MYAPP2_SERVICE_HOST
    value: $(services:myapp2.mynamespace)
The above example makes the myapp2 from the mynamespace namespace available on your development computer and sets the MYAPP2_SERVICE_HOST environment variable to the local IP address of the myapp2 from the mynamespace namespace.
Create an environment variable with a constant value
Under env, specify a name and value for each environment variable you want to create on your development computer. The name is the environment variable that will be used on your development computer and the value is the value. For example:
version: 0.1
env:
  - name: DEBUG_MODE
    value: "true"
The above example creates an environment variable named DEBUG_MODE with a value of true.
Add a service dependency
You can specify a service dependency, such as a database or cache, using a generic dependencies field, similar to how services are declared. Specify a dependency here when the service you are debugging needs to connect to resources that are not running on your cluster. Declare a dependency as in the following example:
version: 0.1
volumeMounts:
env:
  - name: DB_HOST
    value: $(externalendpoints:server-bridgetest123.database.windows.net:1433)
Provide the host DNS name (server-bridgetest13.database.windows.net in the example) and port (1433 in the example) for your dependency.
When you specify dependencies such as databases, redirection authentication models won't work. For example, for Azure SQL Database, you should set connection policy to "Proxy" (rather than "Redirect" or "Default").
Example KubernetesLocalProcessConfig.yaml
Here is an example of a complete KubernetesLocalProcessConfig.yaml file:
version: 0.1
volumeMounts:
  - name: default-token-*
    localPath: /var/run/secrets/kubernetes.io/serviceaccount
env:
  - name: KUBERNETES_IN_CLUSTER_CONFIG_OVERRIDE
    value: $(volumeMounts:default-token-*)
  - name: ALLOW_LIST_PATH
    value: $(volumeMounts:allow-list)/allow-list
  - name: MYAPP1_SERVICE_HOST
    value: $(services:myapp1)/api/v1/
  - name: MYAPP2_SERVICE_HOST
    value: $(services:myapp2.mynamespace)
  - name: DEBUG_MODE
    value: "true"
Next Steps
To get started using Bridge to Kubernetes to connect to your local development computer to your cluster, see Use Bridge to Kubernetes with Visual Studio Code and Use Bridge to Kubernetes with Visual Studio.