Create a flow
Learning to create a flow is the first step in shifting one’s focus from menial tasks to meaningful work. Because Power Automate integrates with apps educators use every day, creating the first flow is easy. Use the video or follow steps below to get started.
There are three methods for creating a flow:
- Start from a template – Hundreds of premade templates make this the easiest way to get started
- Start with a connector – Connectors are the apps we use every day that can be linked to automate daily tasks
- Start with a blank template – Create a custom workflow from 5 different types of manual flows
When manually creating a custom flow, the next step is figuring out which type of flow is needed:
- Automated flows are triggered by events such as the arrival of an email from a specific sender
- Instant flows start an automation with a click of a button
- Scheduled flows complete tasks like daily data uploads on a set schedule
- UI flows record clicks and keystrokes to play back manual steps
- Business process flows defines a set of steps for users to follow

Creating Power Automate flows requires an understanding of 3 important components:
- Trigger – An event that starts the flow process
- Action – A task to be completed in a specified application after a trigger
- Connector – The tool that connect accounts, actions, and triggers to build apps or workflows
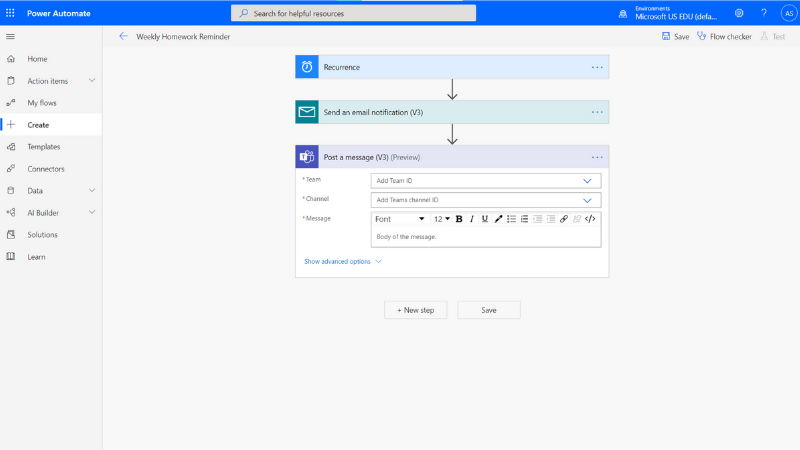
When creating a flow from a blank template, Power Automate provides a step-by-step guide. Each guide includes a description of the type of flow with examples of how the flow can be used. The visual display of the flow's development and connector integration is helpful for visual learners. To help find errors with a flow, use the Flow Checker and Test.
Uses for Power Automate in the school are limited only by the imagination. From automating weekly homework reminders to learners to backing up files, Power Automate is the tool for simplifying everyday tasks.