Exercise - Add a Blazor layout to reduce duplication in your code
As you added pages to the Blazing Pizza app, you might notice that we've been copying the navigation HTML. Blazor has built-in support to create this kind of page scaffolding in one place. They're called Blazor layouts.
We now have lots of duplicated HTML on several pages. Next, you create a layout for the whole app so that you can add navigation and company information in one single place.
In this exercise, you create a MainLayout component. You see how you can use this layout for specific pages and then make it the default layout for the whole app.
Add a MainLayout component
In Visual Studio Code, on the menu, select File > New Text File.
Select ASP.NET Razor as the language.
Create a layout component, and copy the navigation HTML from any page.
@inherits LayoutComponentBase <div id="app"> <header class="top-bar"> <a class="logo" href=""> <img src="img/logo.svg" /> </a> <NavLink href="" class="nav-tab" Match="NavLinkMatch.All"> <img src="img/pizza-slice.svg" /> <div>Get Pizza</div> </NavLink> <NavLink href="myorders" class="nav-tab"> <img src="img/bike.svg" /> <div>My Orders</div> </NavLink> </header> <div class="content"> @Body </div> <footer> © Blazing Pizza @DateTime.UtcNow.Year </footer> </div>This layout uses some of the markup in _Host.cshtml, so we need to remove it from there.
Save your changes by selecting Ctrl+S.
For the filename, use MainLayout.razor. Make sure you save the file in the Shared directory.
In the file explorer, expand Pages. Then select _Host.cshtml.
Change the elements surrounding the Blazor app component from this code:
<div id="app">
    <div class="content">
        <component type="typeof(App)" render-mode="ServerPrerendered" />
    </div>
</div>
To this code:
<component type="typeof(App)" render-mode="ServerPrerendered" />
Use a Blazor layout on a page component
In the file explorer, expand Pages. Then select Index.razor.
Delete the
top-bardiv element and, under the@pagedirective, add a reference to the new layout.@layout MainLayoutLet's also delete the old
<h1>Blazing Pizzas</h1>element. It's no longer needed because we have a top bar in the layout.In Visual Studio Code, select F5. Or on the Run menu, select Start Debugging.
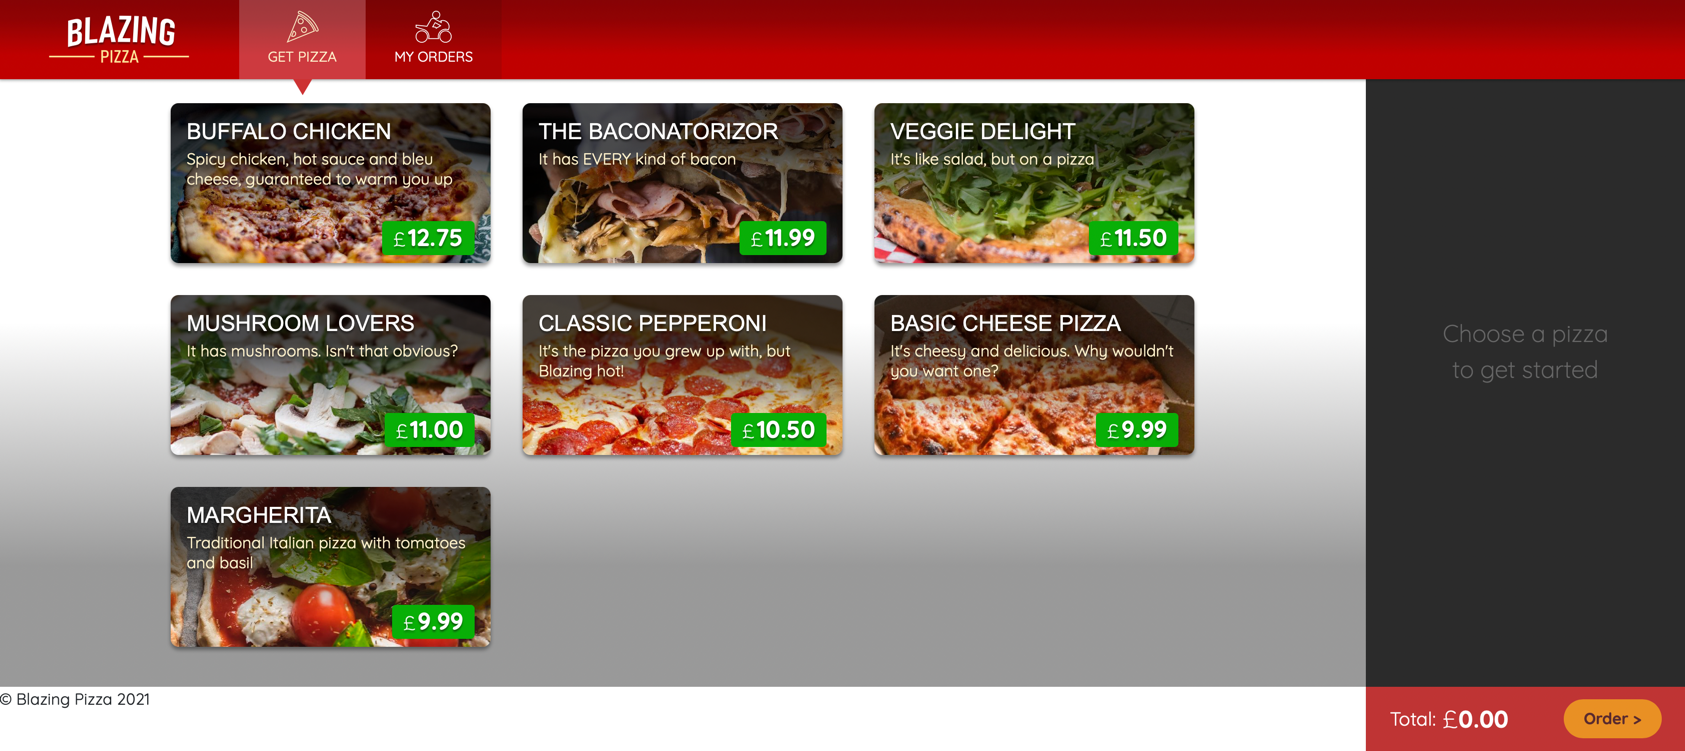
The new home page has a copyright footer for this year that automatically updates. To see what a page looks like that isn't using this layout, select My Orders. Or go to an invalid page like
(http://localhost:5000/help). At the moment, we haven't branded our 404 Page not found.
To stop the app, select Shift + F5.
Update all pages to the new layout
Now you could add the @layout MainLayout directive to all the pages in your app, but Blazor has a better solution. First, delete the layout directive just added to Index.razor.
- In the Index.razor component, delete
@layout MainLayout. - In the file explorer, expand Pages. Then select MyOrders.razor.
- Delete the
top-bardiv element. - In the file explorer, expand Pages. Then select OrderDetail.razor.
- Delete the
top-bardiv element. - In the file explorer, expand Pages. Then select Checkout.razor.
- Delete the
top-bardiv element.
The App.razor component is where we can change how pages are routed but also tell Blazor to use a default layout.
In the file explorer, select App.razor.
Add the
DefaultLayout="typeof(MainLayout)"declaration to the RouteView element.Add
Layout="typeof(MainLayout)"to LayoutView.App.razor should now look like this example:
<Router AppAssembly="typeof(Program).Assembly" Context="routeData">
    <Found>
        <RouteView RouteData="routeData" DefaultLayout="typeof(MainLayout)" />
    </Found>
    <NotFound>
        <LayoutView Layout="typeof(MainLayout)">
            <div class="main">Sorry, there's nothing at this address.</div>
        </LayoutView>
    </NotFound>
</Router>
Test the new layout
In Visual Studio Code, select F5. Or on the Run menu, select Start Debugging.
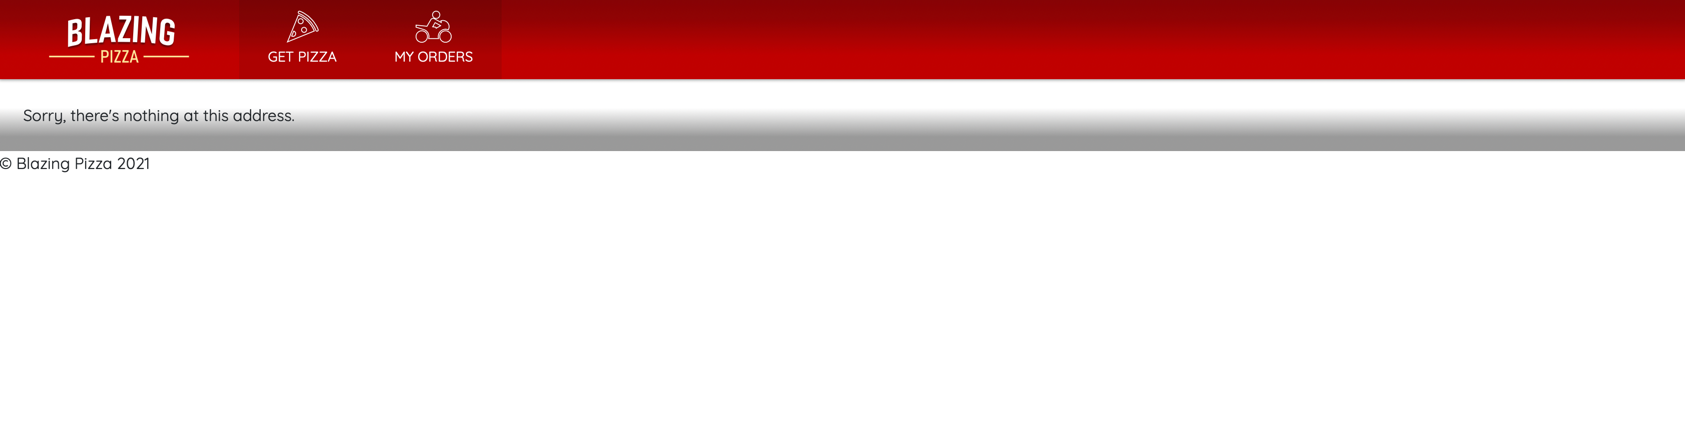
The benefit of using a default layout is that you can apply it to all pages and use it for the layout view for not found pages.
To stop the app, select Shift + F5.
The work you needed to do for the app is finished in this module. If you want to see how to handle forms and validation, finish the next module in this learning path.