Create with Copilot
Building a site with Copilot in Power Pages involves a few general steps:
Describe the website to Copilot.
Evaluate themes and choose one.
Add common pages, such as Contact Us and FAQ.
Edit and finish building your site with Copilot and the existing customization capabilities.
With your natural language prompt, Copilot in Power Pages creates a draft website for you to iterate on until it's ready for release. When you give details, such as the business name and function, Copilot uses that information to generate a site for you.
The following examples start with the same prompt:
My doggie daycare Contoso Pups needs a website for accepting new dogs.
After you submit more details, you can select from common ready-to-use pages. You can add these pages at this site-building stage only; however, you can edit, hide, or remove them later.
Next, Copilot creates your draft site by using relevant images and text based on your prompts.
Create more with Copilot
When you have a draft or working site, Copilot can help you continue to build it beyond the first iteration. As previously mentioned, you can create a natural language prompt, and Copilot drafts or makes suggestions based on it.
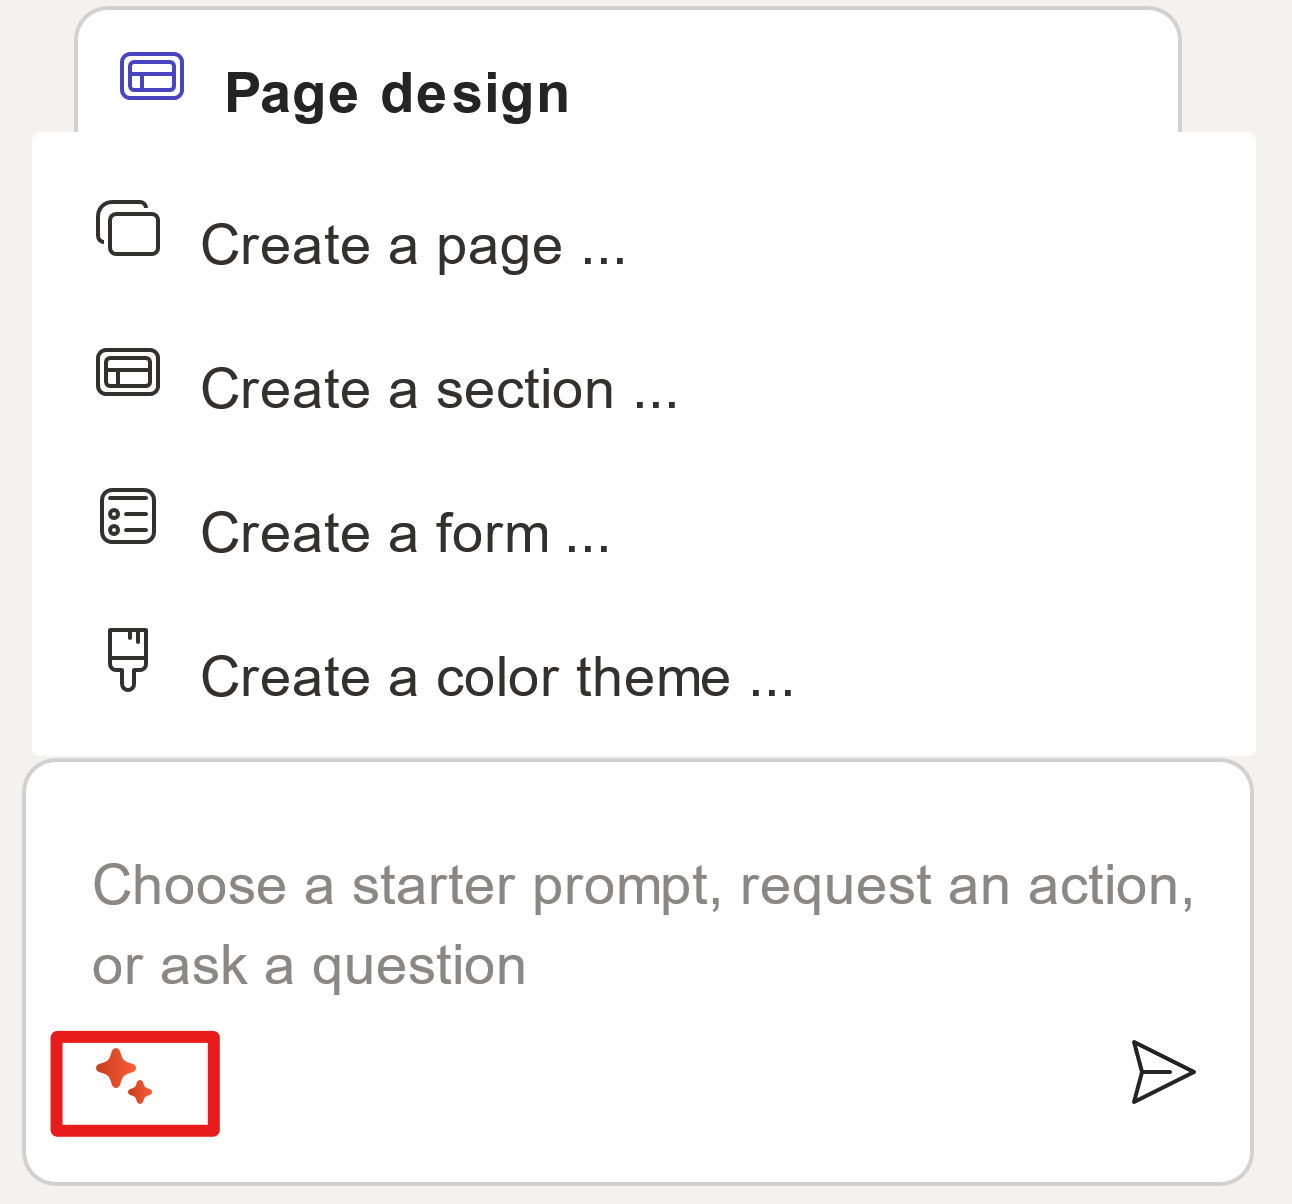
To learn more about Copilot, from Copilot, select the sparkle icon.
When you ask Copilot to make theme changes, it presents color options to you in the Copilot dialog. Then, you can select the color that you want Copilot to apply. If you want to try different color themes, you can continue to direct Copilot to show more options and try several colors before making your final selection.
When you ask Copilot to create a new page or new section, it generates the page or section and gives you a preview. You can accept or reject the new page or section before Copilot applies it. Notice the images that appear may not match the text, so it's important to review. After you accept the new page or section, you can continue to edit by using standard functionality in Power Pages.
When you ask Copilot to make a form, you have a few other considerations. When Copilot prompts you for the form, provide as much detail as you can. This approach gives you a more specific draft form to start with. Then, you can continue with prompts until you have the desired form ready to create. A form can be a single step or multiple steps depending on the need.
The following image shows the prompt to "add form for dog drop of." Notice the typo "of" instead of "off." Despite the typo, Copilot presents a form to meet the request.
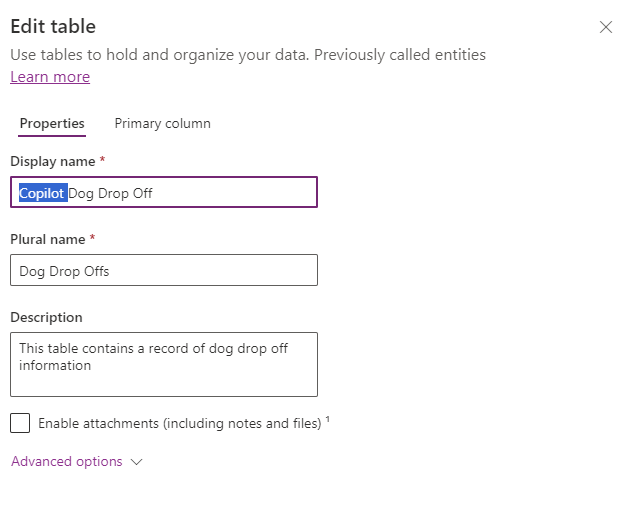
When you create a form in this way, Copilot also creates a new Microsoft Dataverse table to support the data that the new form collects. This new table is available for further customizations and automation through the Microsoft Power Apps maker portal. Each new table that's created in this way has a prefix of the word "Copilot" in the table's label. Because it's only the label and not the underlying schema, you can edit the label to remove this prefix if you want.
Considerations
While using Copilot to assist in and accelerate the creation of Power Pages sites, you should keep a few considerations in mind. Because a copilot is a quickly maturing assistant, expect these items to change as the copilot evolves.
What you should do at this point:
Write a brief description of the site that you want to create so that Copilot can transform your description into a fully functioning website.
Take advantage of Copilot’s capabilities to create a strong foundation to build your site on.
What you can do at this point:
Add a new page with a specific layout, organizing your content in a visually appealing manner.
Generate detailed forms, such as a checkout form, from brief descriptions, which ensures functionality and specificity. This approach also helps Copilot create the new Dataverse table for the added information.
Tailor the text and change the theme of your site to match your vision, which helps improve readability and user engagement.
What you can't do at this point:
Create a blank page without a specific layout. However, you can change the layout after creation by using the available Power Pages editing capabilities.
Rename [page name] to [new name].
Add a button that navigates to the [page name].
Remember that page components aren't named. Accordingly, you can't ask Copilot to move a component by name, change the property of a component by name, and so on.
Move, remove, or reorder pages in the site map.
Add a lookup field.
Assess the feasibility and alignment of Copilot's suggestions with your project goals. Then, you can choose to directly implement the suggested solution, customize it to fit your site better, or request alternative suggestions if needed. This process uses Copilot's capability to help you be more efficient, and it also empowers you to maintain control over the outcome, ensuring that the project remains aligned with your vision.


