Execute the Jupyter Notebook to produce an object detection model using AutoML
In this section, we'll continue to work in the Jupyter notebook to execute the steps that will produce our object detection model. This task will be accomplished using AutoML for computer vision. Performing inference on a test sample that was never before seen by the model during training allows you to see your model in action.
Execute the Jupyter Notebook to produce an object detection model using AutoML
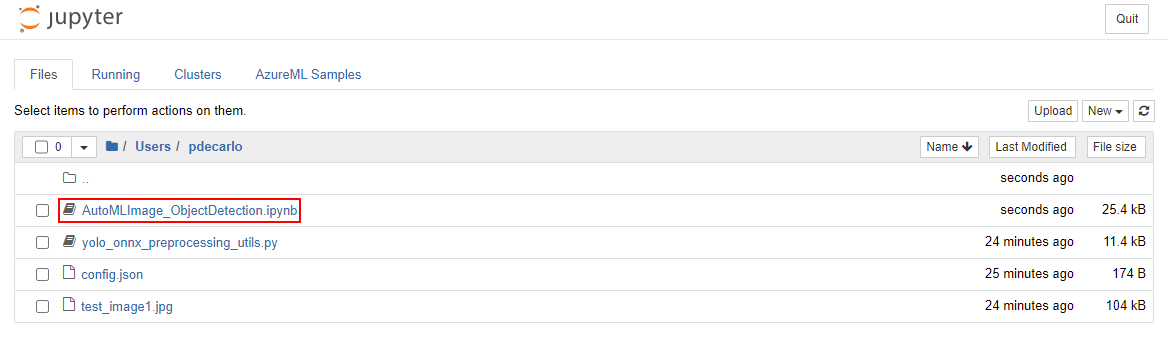
If you haven't already, navigate to your Jupyter workspace and select the AutoMLImage_ObjectDetection.ipynb file to open the Jupyter notebook.
Continue to the Configuring your AutoML run for image tasks section and begin executing the cell in the Using default hyperparameter values for the specified algorithm. This step will use an AutoMLImageConfig to create a model training configuration that will assign default hyperparameters to produce an optimized object detection model.
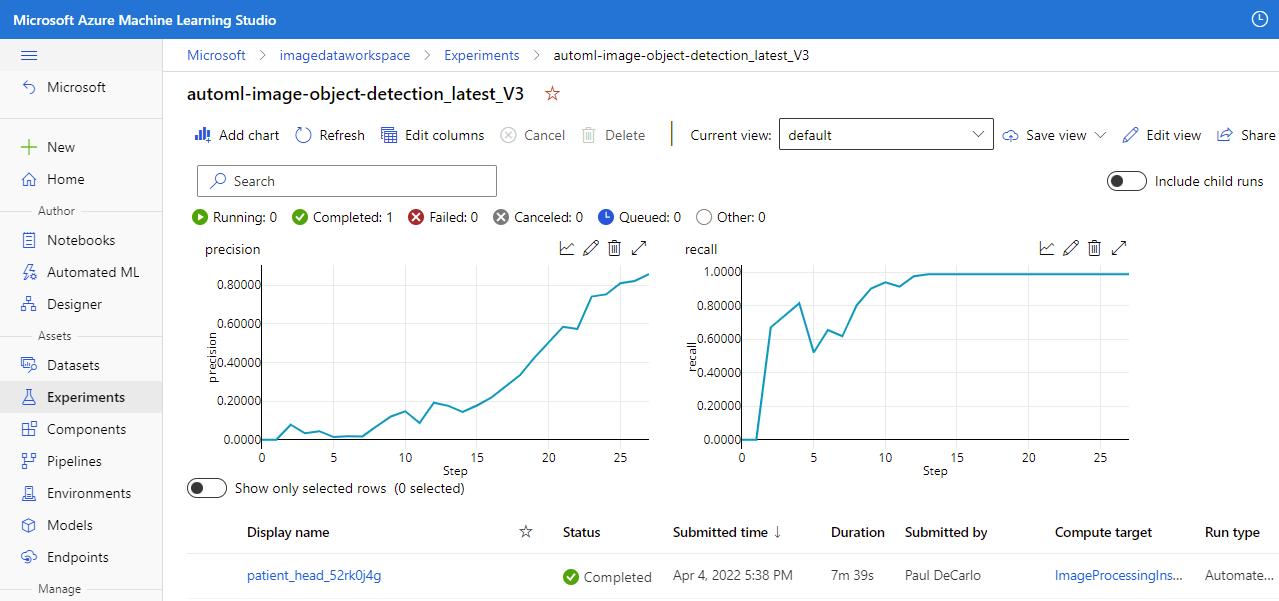
Continue to execute the cells in the Submitting an AutoML run for Computer Vision Tasks section. This operation will submit an experiment task that will run on the training instance that was assigned in the Compute target setup section. After executing these cells, you can monitor the progress in Azure Machine Learning studio by locating the Assets section on the left-hand pane and select Experiments.
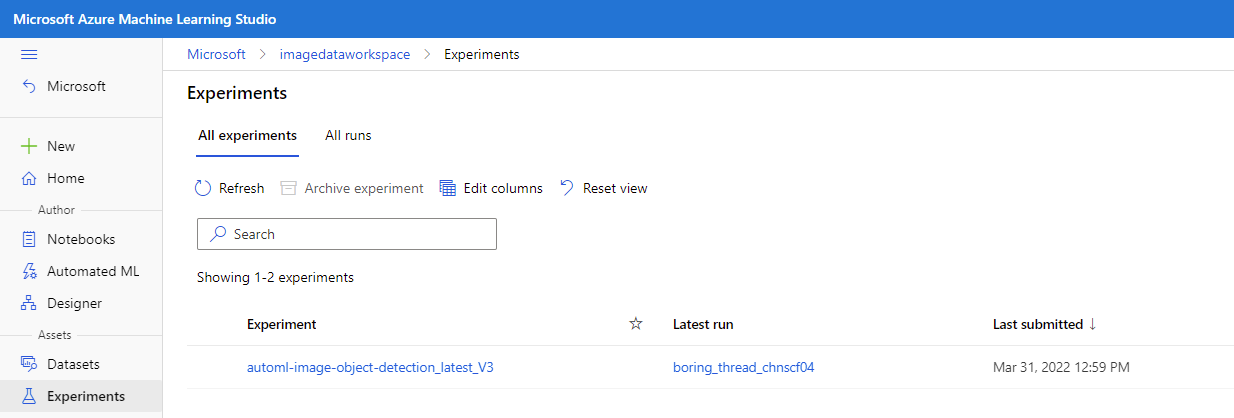
You can then select the running job, which should be named automl-image-object-detection_latest_V3. This action will allow you to view the progress of the model training.
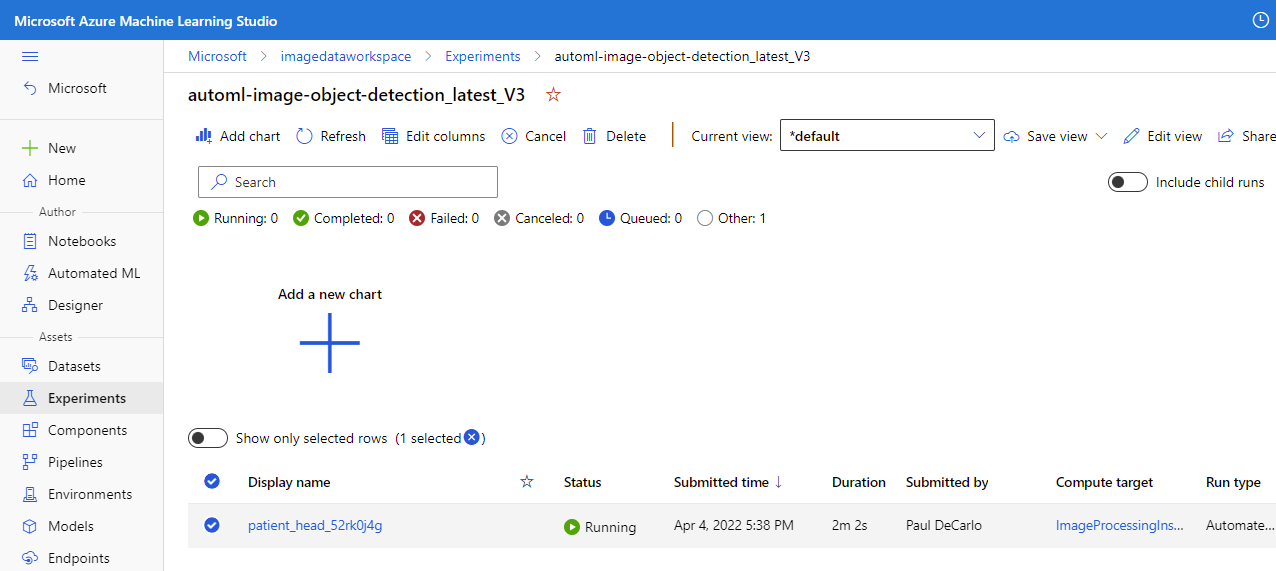
When the experiment has completed, you'll see the following.
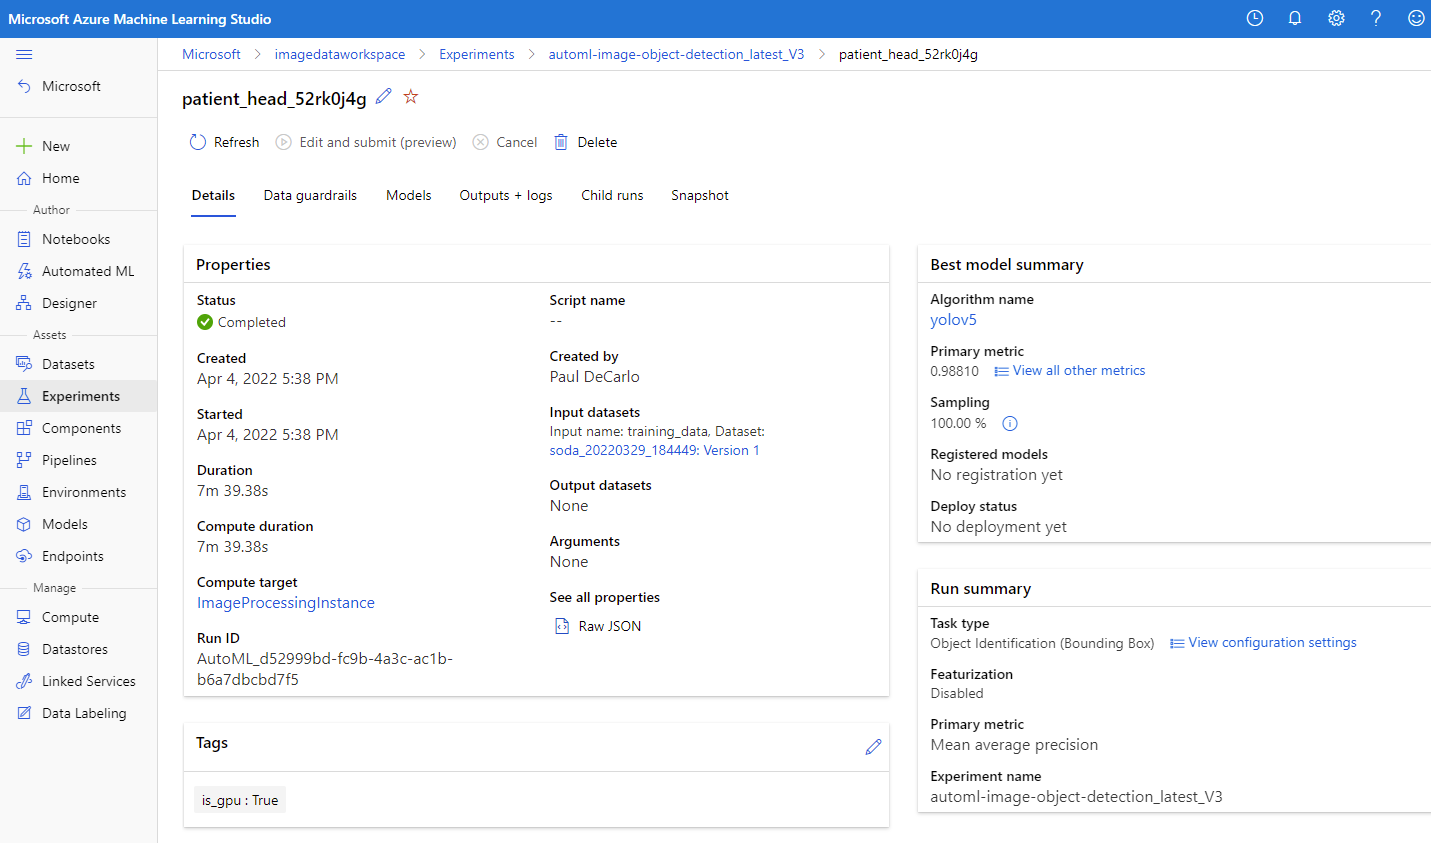
Select the job Display name to bring up the job Details where you can view the results of the model training.
Now that our model is trained, we can continue to execute the cells in the Register the optimal vision model from the AutoML run section. This process will automatically select the child run with the highest accuracy.
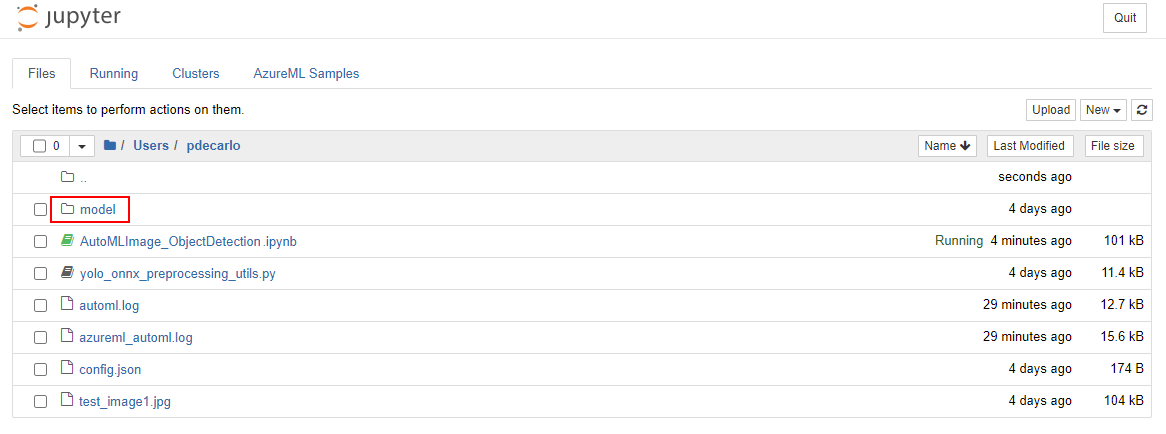
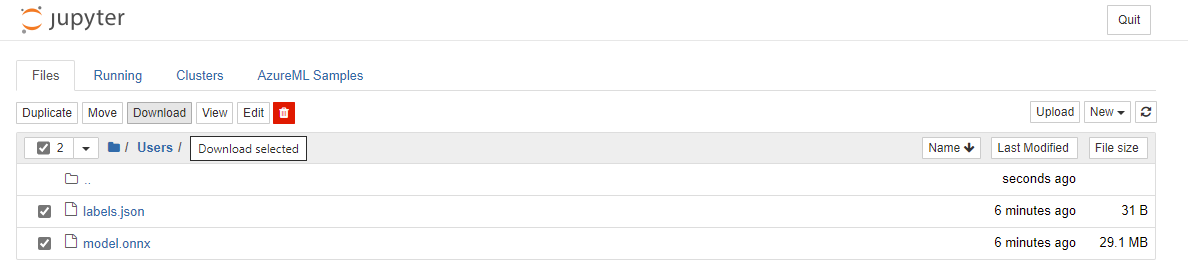
Continue to execute the cells in the Download the model and other associated files e.g. labels section. There's an optional cell that you can run by specifying a specific AutoML run_id. The output of either of these cells will supply the model and label into a newly created models folder that is accessible in your Jupyter workspace. Navigate to your Jupyter workspace and open the models folder and you'll see the labels.json and model.onnx output.
Select labels.json and model.onnx then Download the output files. These files are the trained model and it's associated labels.
Navigate back to the Jupyter notebook and execute all cells in the Load the labels and ONNX model files section. This step will load the model output and labels to prepare for execution.
Continue to execute the cells in the Get expected input and output details for an ONNX model. This task will analyze the model to determine the input and output shapes that define the Convolution Neural Network present in the model.
Continue to execute the cells in the Image Inferencing Preprocessing section. This will preprocess the test_image1.jpg sample that was uploaded to our workspace earlier. The preprocessing step will transform the image to match the expected input shape that was determined in the previous step.
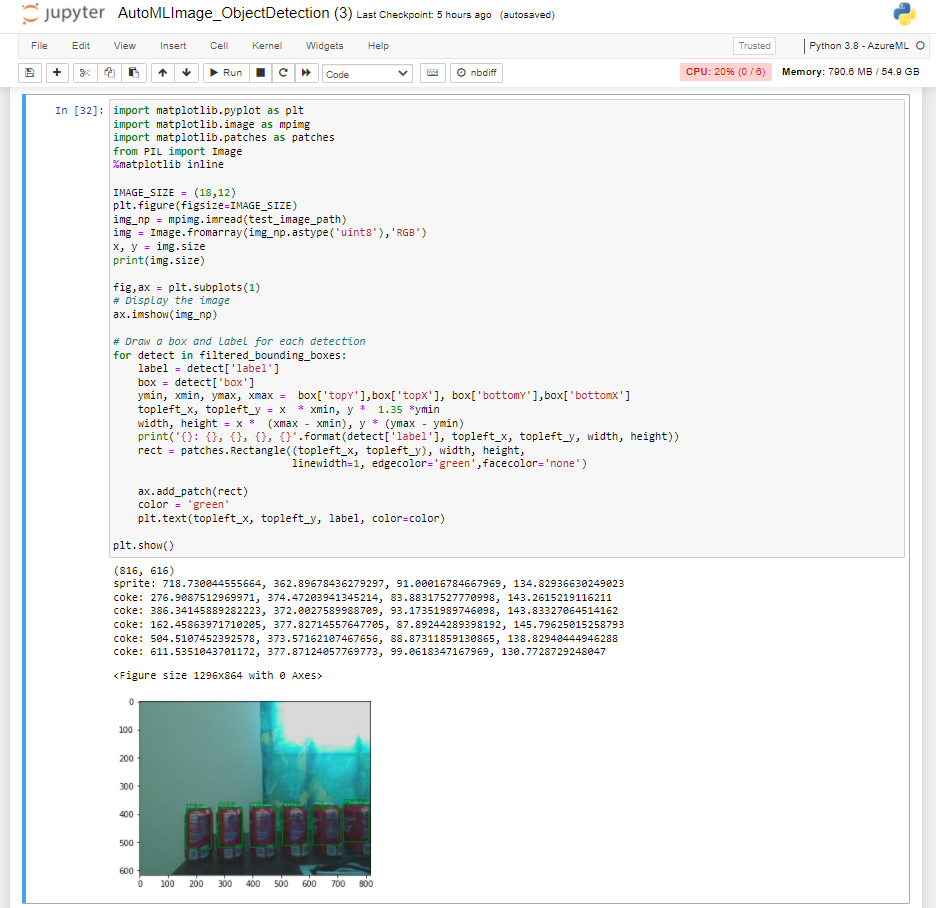
Continue to execute the cells in the Object detection with YOLO section. This section will perform inference on the test_image1.jpg sample and demonstrate the object detection model output visually in the final cell. Here you can see the accuracy of your model as it detects object on a never before seen image sample.