Configure the Jupyter notebook execution environment
In this section, we'll work with the Jupyter notebook that was uploaded to our Jupyter workspace. We'll execute commands that'll install dependencies to ensure that our environment can run later referenced AutoML tasks. This process will involve upgrading the Azure Machine Learning Python SDK and installing the torchvision Python package.
Configure the Jupyter notebook execution environment
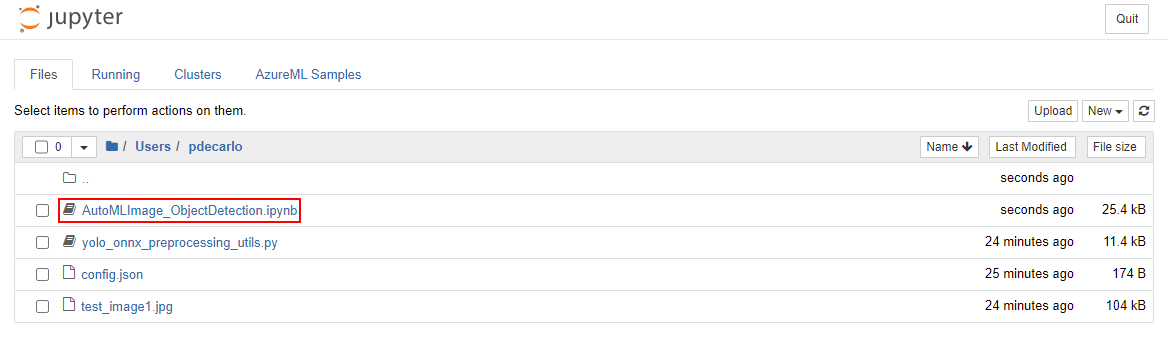
To open the Jupyter notebook, navigate to your Jupyter workspace and select the AutoMLImage_ObjectDetection.ipynb file.
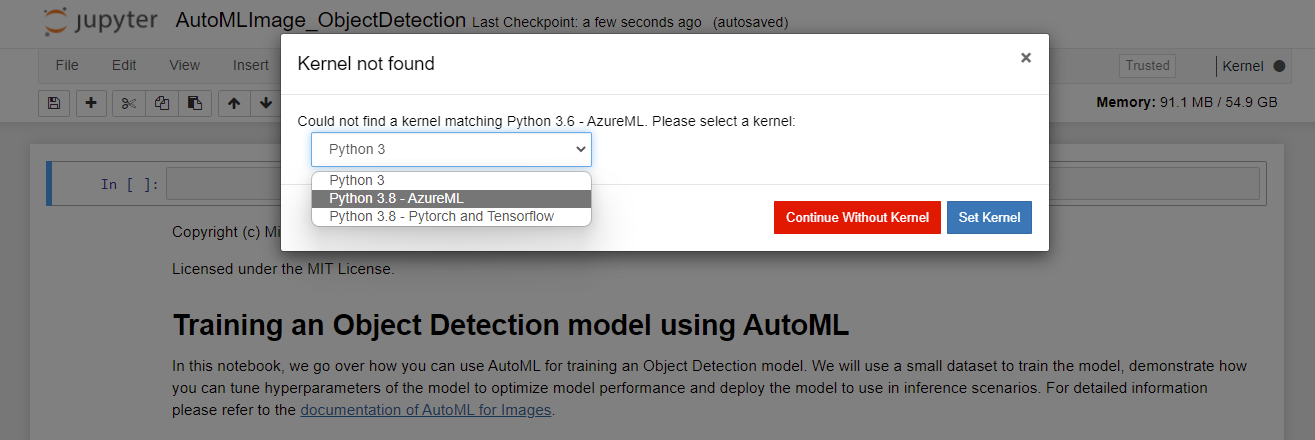
If you receive a Kernel not found prompt, select Python 3.8 - AzureML from the dropdown as shown then select Set Kernel.
Execute the cells in the Environment Setup section. This can be done by selecting the cell, then pressing Shift+Enter on the keyboard. Repeat this process for each cell and stop after running pip install torchvision==0.9.1.
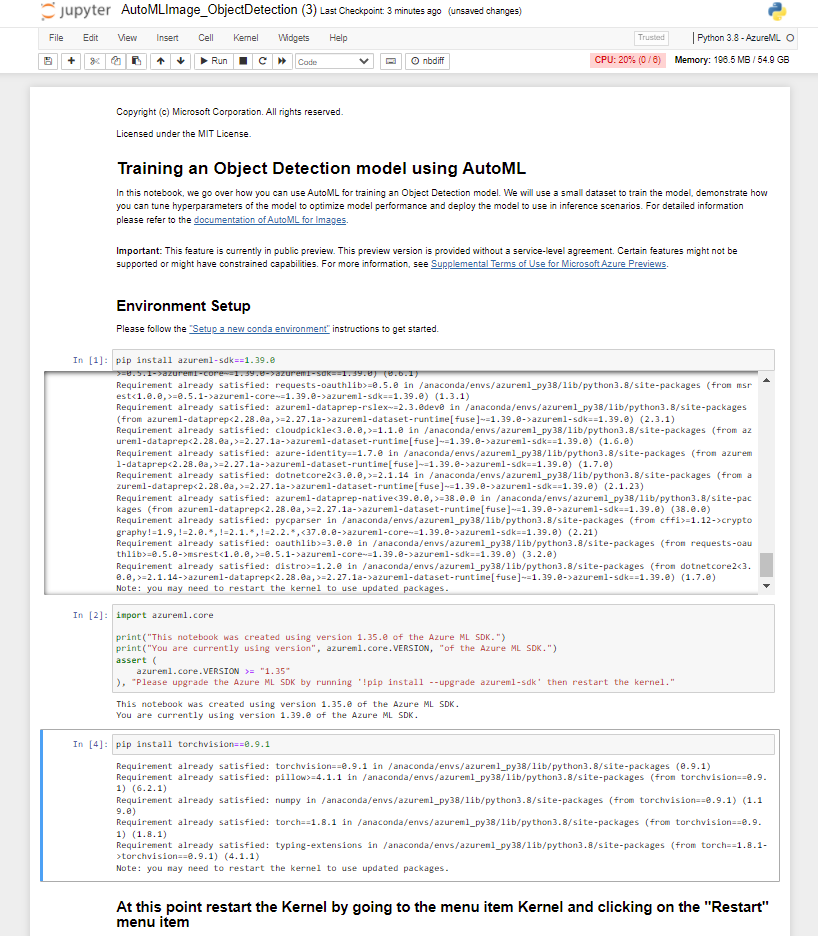
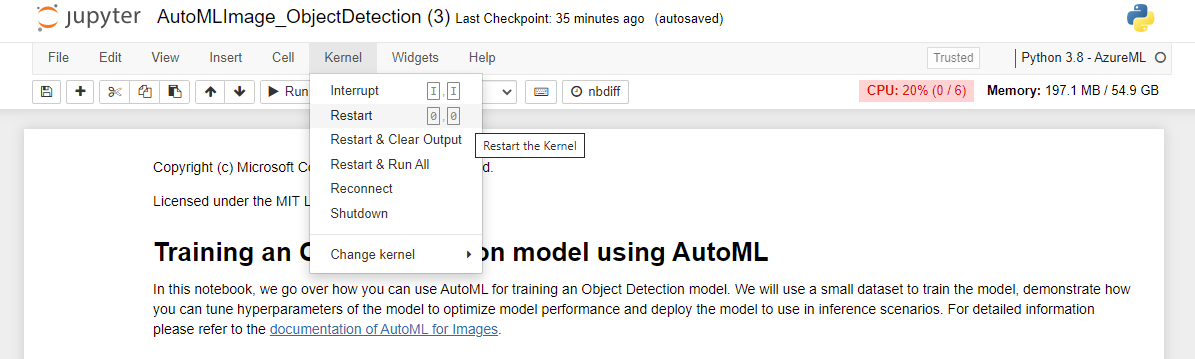
After you successfully execute the pip install torchvision==0.9.1 task, you need to restart the Kernel. To restart the kernel, select the Kernel menu item and choose Restart from the dropdown.
Execute the *pip freeze cell, which will list all installed python libraries. Then, execute the cell underneath it to import the libraries that will be used in further steps.
Continue to execute the cells in the Workspace setup section. This step will read in the config.json file that was uploaded earlier and allow us to execute tasks against your Azure Machine Learning workspace.
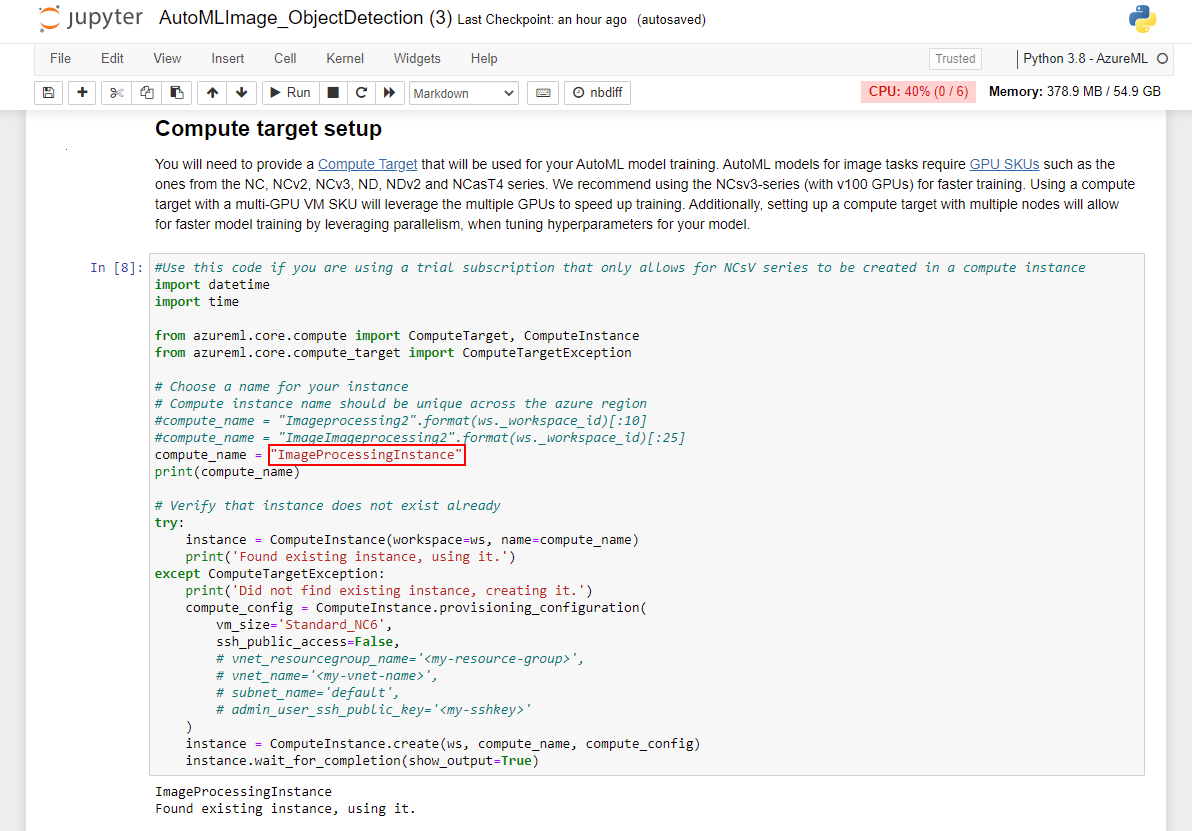
Continue to execute the cells in the Compute target setup section. You'll want to change the value of compute_name to match the name of the compute instance that exists in your Azure Machine Learning studio workspace. The script may fail to create the instance if an instance of the same name already exists in the same region, and it'll create a second instance. The subsequent steps will still work, but it won't use the existing resource.
Continue to execute the cells in the Experiment Setup section. This will create an Azure Machine Learning experiment that will allow us to track the status of the model during training.
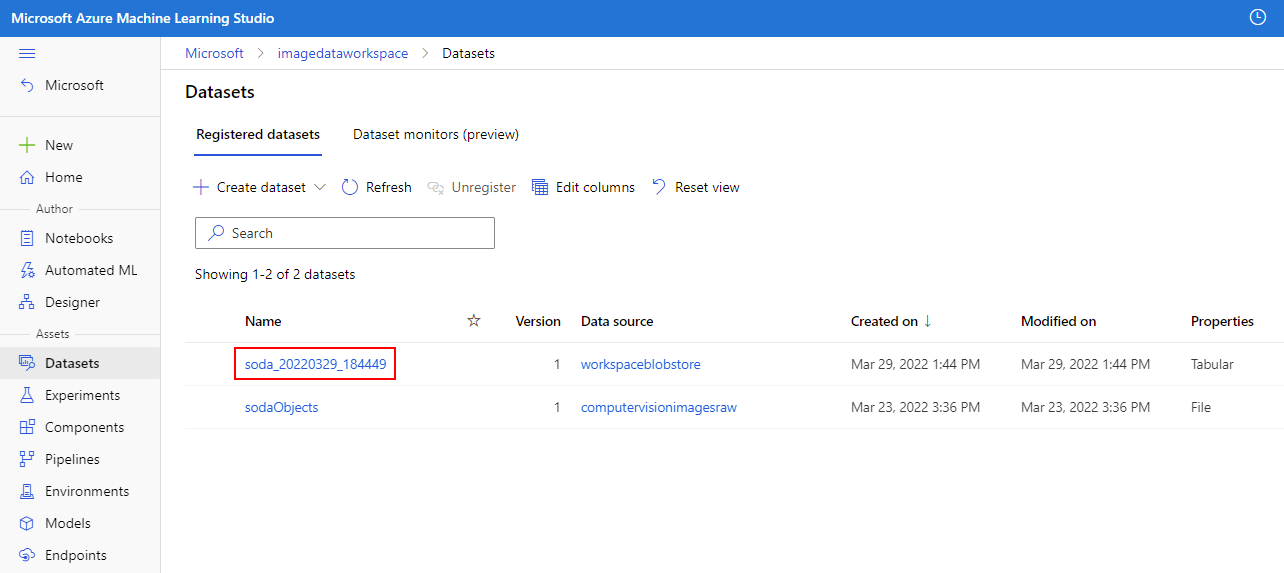
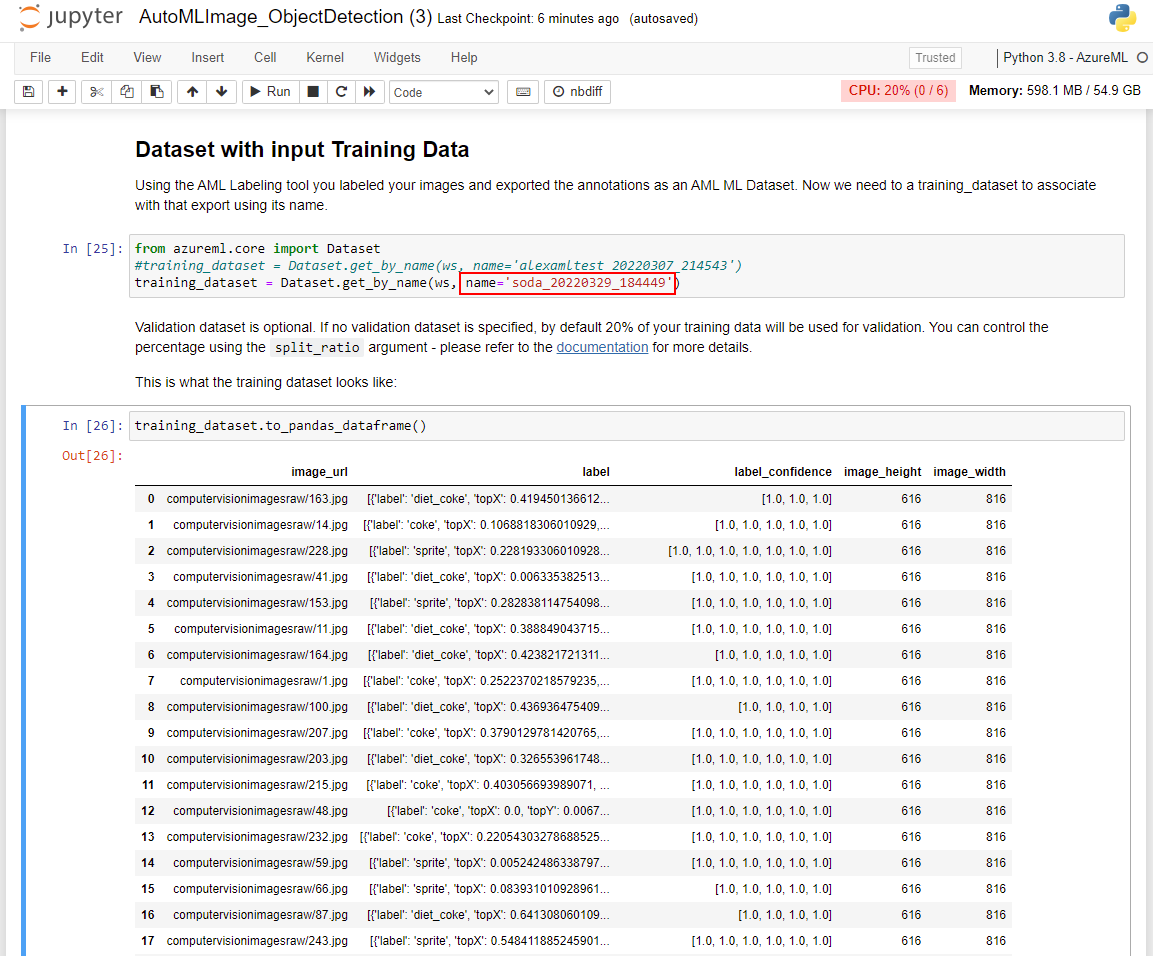
Continue to execute the cells in the Dataset with input Training Data section. Note that you'll need to replace the name variable with the name of the Dataset that was exported at the end of the previous module. This value can be obtained in your Azure Machine Learning studio instance in the left-hand pane. From there, locate the Assets section and select Datasets. You can validate that the Dataset was imported properly by viewing the output in the training_dataset.to_pandas_dataframe() cell.