Exercise - Create, review, and merge a pull request
You've completed the work to add a queue to your website. Now, the website development team is ready for you to merge the changes to your main branch. In this exercise, you'll create and merge a pull request for your changes.
During the process, you'll:
- Create a pull request.
- Review the pull request.
- Complete the pull request.
- Verify that the changes have been merged.
Create a pull request to merge the feature branch
Because you can't push changes directly to your repository's main branch, you need to create a pull request.
In your browser, go to Code.
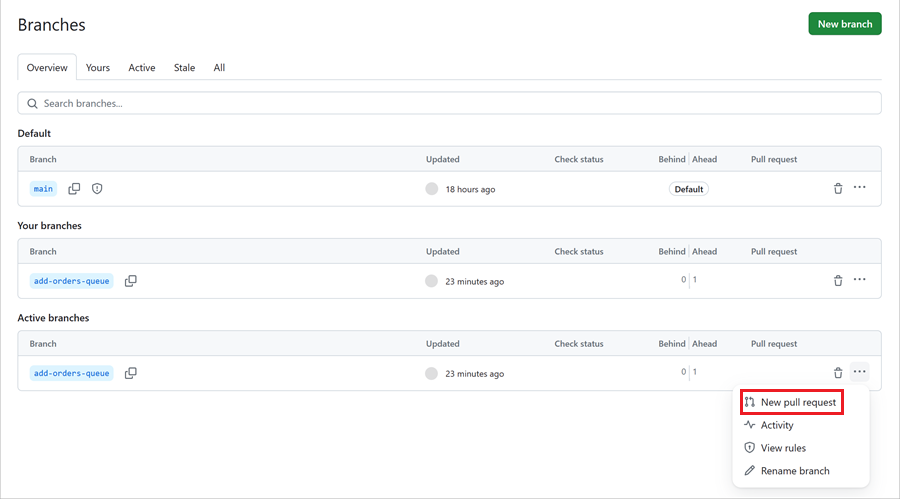
Select 2 branches to list the branches in your GitHub repository.

Next to add-orders-queue, select the More icon (...), then select New pull request.
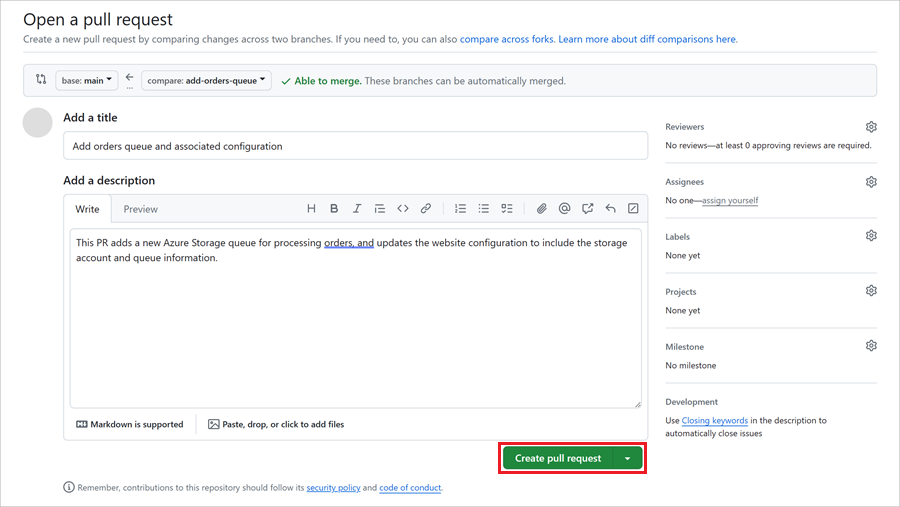
When you created the pull request, notice that GitHub automatically used the Git commit message as the pull request's title.
Update the description to the following text:
This PR adds a new Azure Storage queue for processing orders, and updates the website configuration to include the storage account and queue information.
Select Create pull request.
In your browser, go to Repos > Files.
Notice that Azure DevOps shows a banner that indicates there are changes in the add-orders-queue branch. The banner offers to create a pull request for those changes.
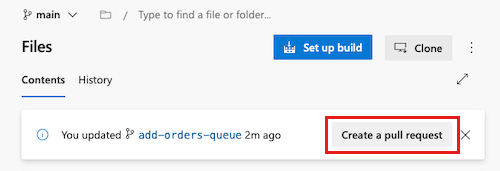
Select Create a pull request.
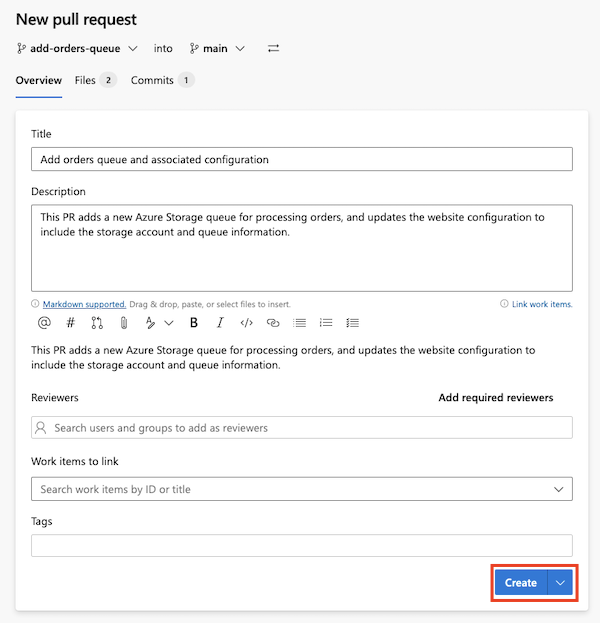
On the page for creating a pull request, notice that Azure DevOps automatically used the Git commit message as the pull request title.
Update the description to the following text:
This PR adds a new Azure Storage queue for processing orders, and updates the website configuration to include the storage account and queue information.
Select Create.
Review the pull request
Normally, a pull request is reviewed by someone other than its author. For this example, you'll pretend to be another team member and review your own pull request.
From the pull request page, select the Files changed tab.

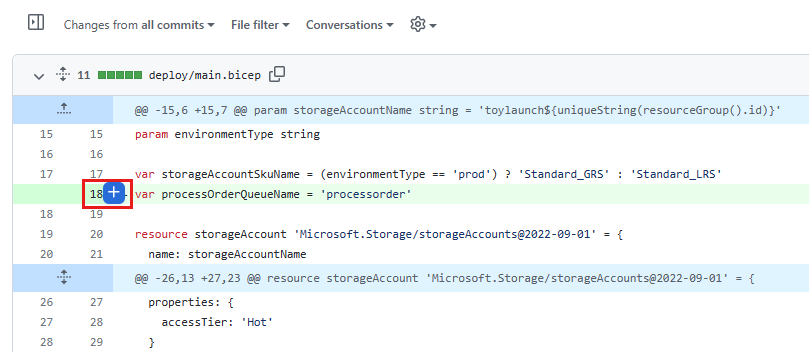
GitHub shows you the files that were changed in this pull request. Notice that it highlights all of the lines that have changed, so you can easily see what you should review.
Tip
Imagine that you're reviewing this for your own team. Would you make any suggestions?
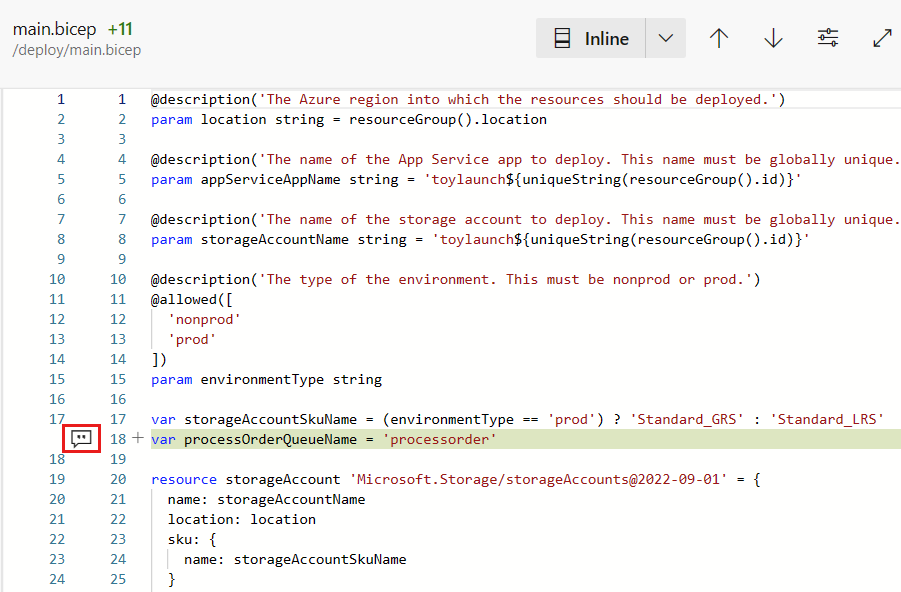
In the main.bicep file that was changed, hover over line 18 and select the button with the plus sign (+).
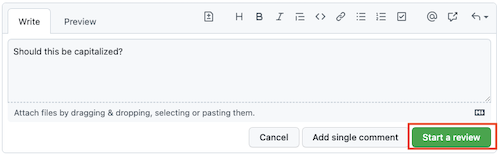
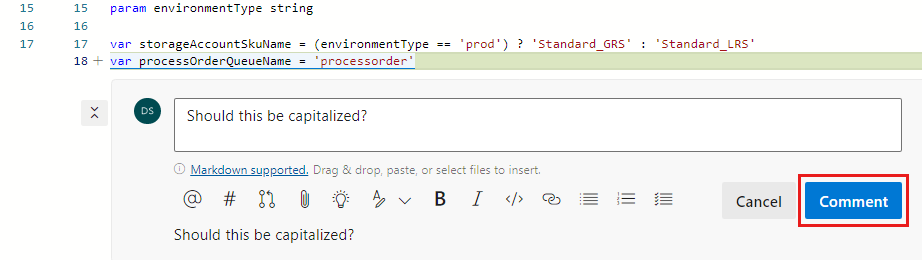
In the comment box, enter the following text: Should this be capitalized?
Select Start a review.
Tip
GitHub doesn't let you approve your own pull requests. Here, you'll comment on your pull request, but won't approve it. When you work with your own team's pull requests, this is the point at which you'd approve it to indicate you're happy for it to be merged.
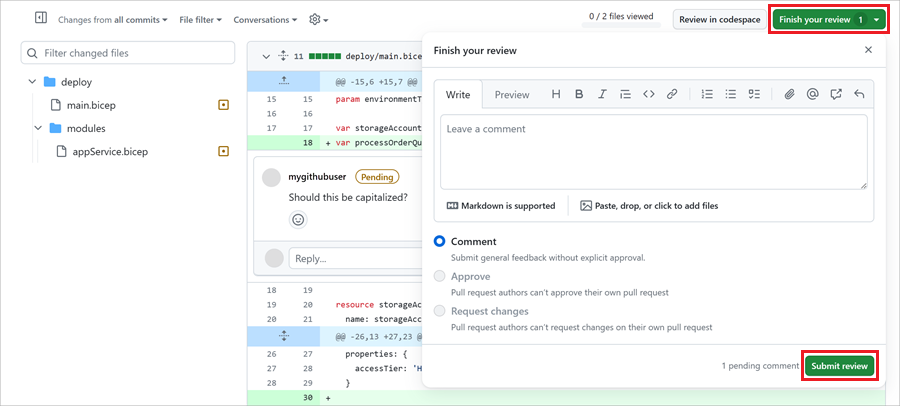
Select Finish your review.
In the review panel that appears, select Submit review.
GitHub returns you to the pull request's Conversation tab.
From the pull request page, select the Files tab.
Azure DevOps shows you the files that were changed in this pull request. Notice that it highlights all of the lines that have changed, so you can easily see what you should review.
Tip
Imagine that you're reviewing this for your own team. Would you make any suggestions?
In the main.bicep file that was changed, hover over line 18 and select the comment button.
In the comment box, enter the following text: Should this be capitalized?
Select Comment.
The width of your browser window can affect how the comment dialog box is displayed. The comment will open a Discussion dialog box rather than the inline comment as shown in the screenshot.
Select Approve.

After you select Approve, the Set auto-complete changes to Complete. You'll use that feature later in this unit.
Respond to the pull request review
When you create or review a pull request, you can participate in a conversation about its contents. Imagine that you're the author of this file and you want to respond to a comment from the reviewer.
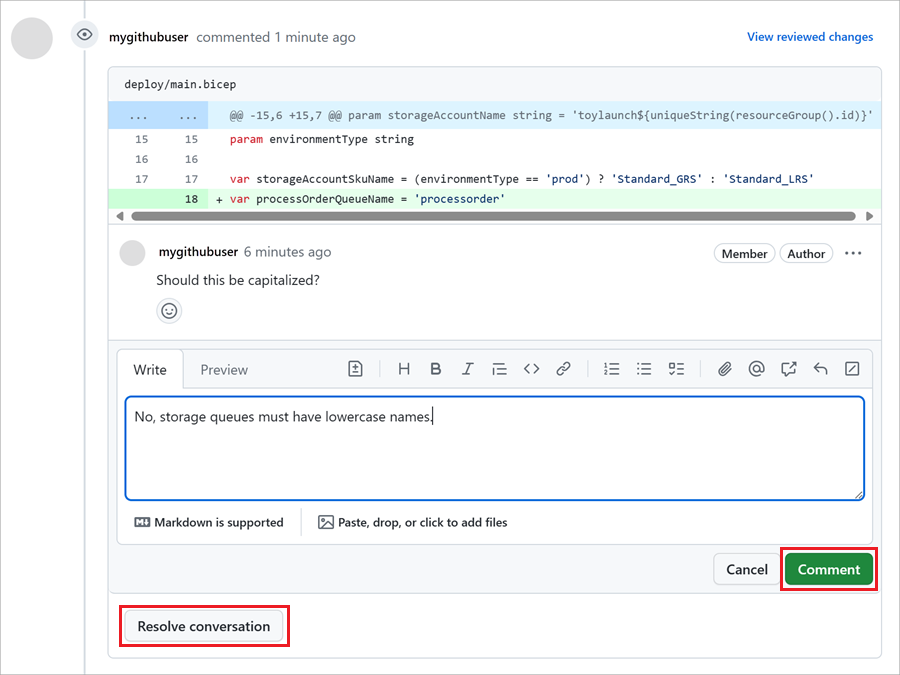
Respond to the review of the pull request with the following comment: No, storage queues must have lowercase names.
Select Comment, and then select Resolve conversation to indicate that the discussion on the line is over.
From the pull request page, select the Overview tab.

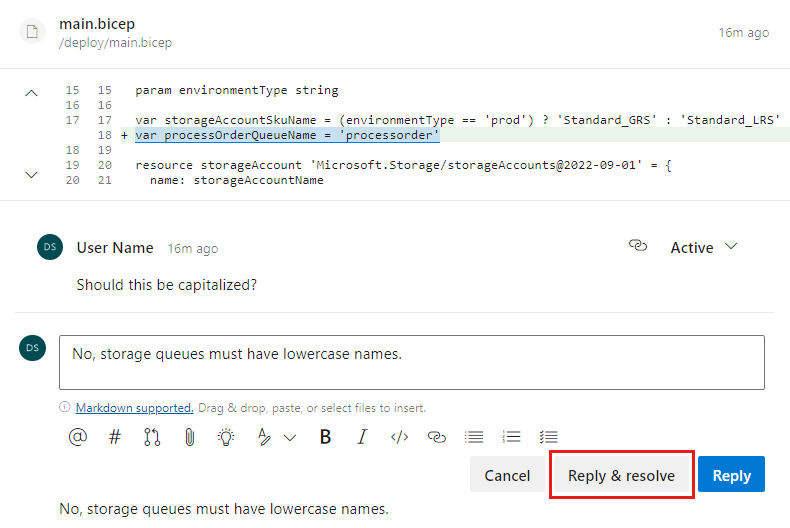
Now, imagine that you're the author of this file. Respond to the review of the pull request with the following comment: No, storage queues must have lowercase names.
Select Reply & resolve to indicate that the discussion on the line is over.
Complete the pull request
Your website's development team has confirmed it's ready for you to send the orders to the queue, so you're ready to complete and merge your pull request.
Your pull request has been approved. Your website's development team has confirmed it's ready for you to send the orders to the queue, so you're ready to complete and merge your pull request.
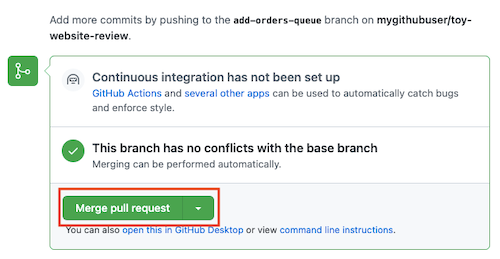
Select Merge pull request.
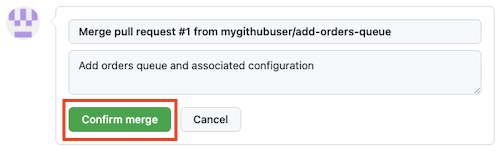
GitHub asks you to confirm the merge. When GitHub merges the pull request, it creates a commit and automatically generates a commit message. Select Confirm merge.
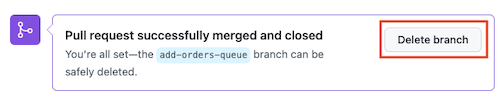
Your pull request is merged, and your new feature is now in the main branch of your repository.
It's a good practice to delete your feature branches when you're done with them. Deleting branches helps you avoid confusing team members in the future about which work is still in progress. Select Delete branch.
Select Complete.

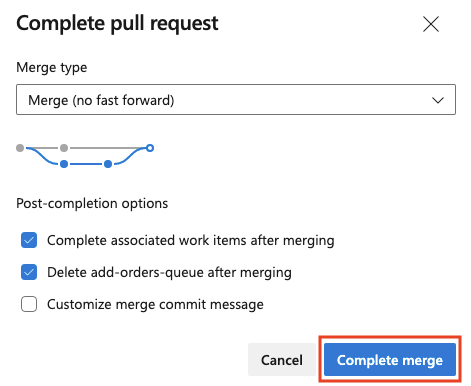
From Complete pull request, use the default settings. Select Complete merge.
Your pull request is merged, and your new feature is now in the main branch of your repository.
Azure DevOps automatically deleted the feature branch when you merged the pull request. It's a good practice to delete your feature branches when you're done with them. Deleting branches helps you avoid confusing team members in the future about which work is still in progress.
Verify the changes
After you merge a pull request, it's a good idea to confirm that the changes were merged successfully.
Go to Code.
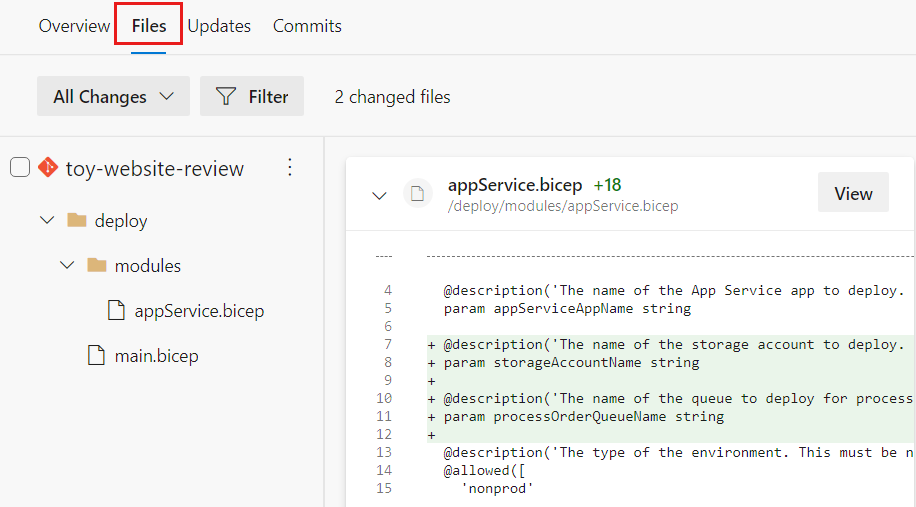
Go to the deploy/main.bicep file, and then to the deploy/modules/appService.bicep file.
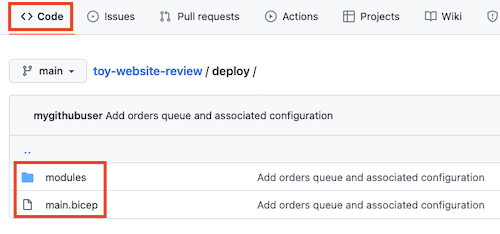
Notice that the queue and your other changes are now in the files.
Go to Repos > Files.
Go to the deploy/main.bicep file, and then to the deploy/modules/appService.bicep file.
Notice that the queue and your other changes are now in the files.