Set up the tenant
In this exercise, you assume the role of Oscar. You complete the following tasks as an administrator to create and set up a tenant to use in later exercises.
Task - Obtain a Microsoft 365 E3 (no Teams) trial
To create an Office tenant, complete the following steps:
Open an InPrivate or Incognito web browsing session and then go to Microsoft 365 E3 (no Teams) trial.
Select Try free for one month.

Enter your business email and then select Next.
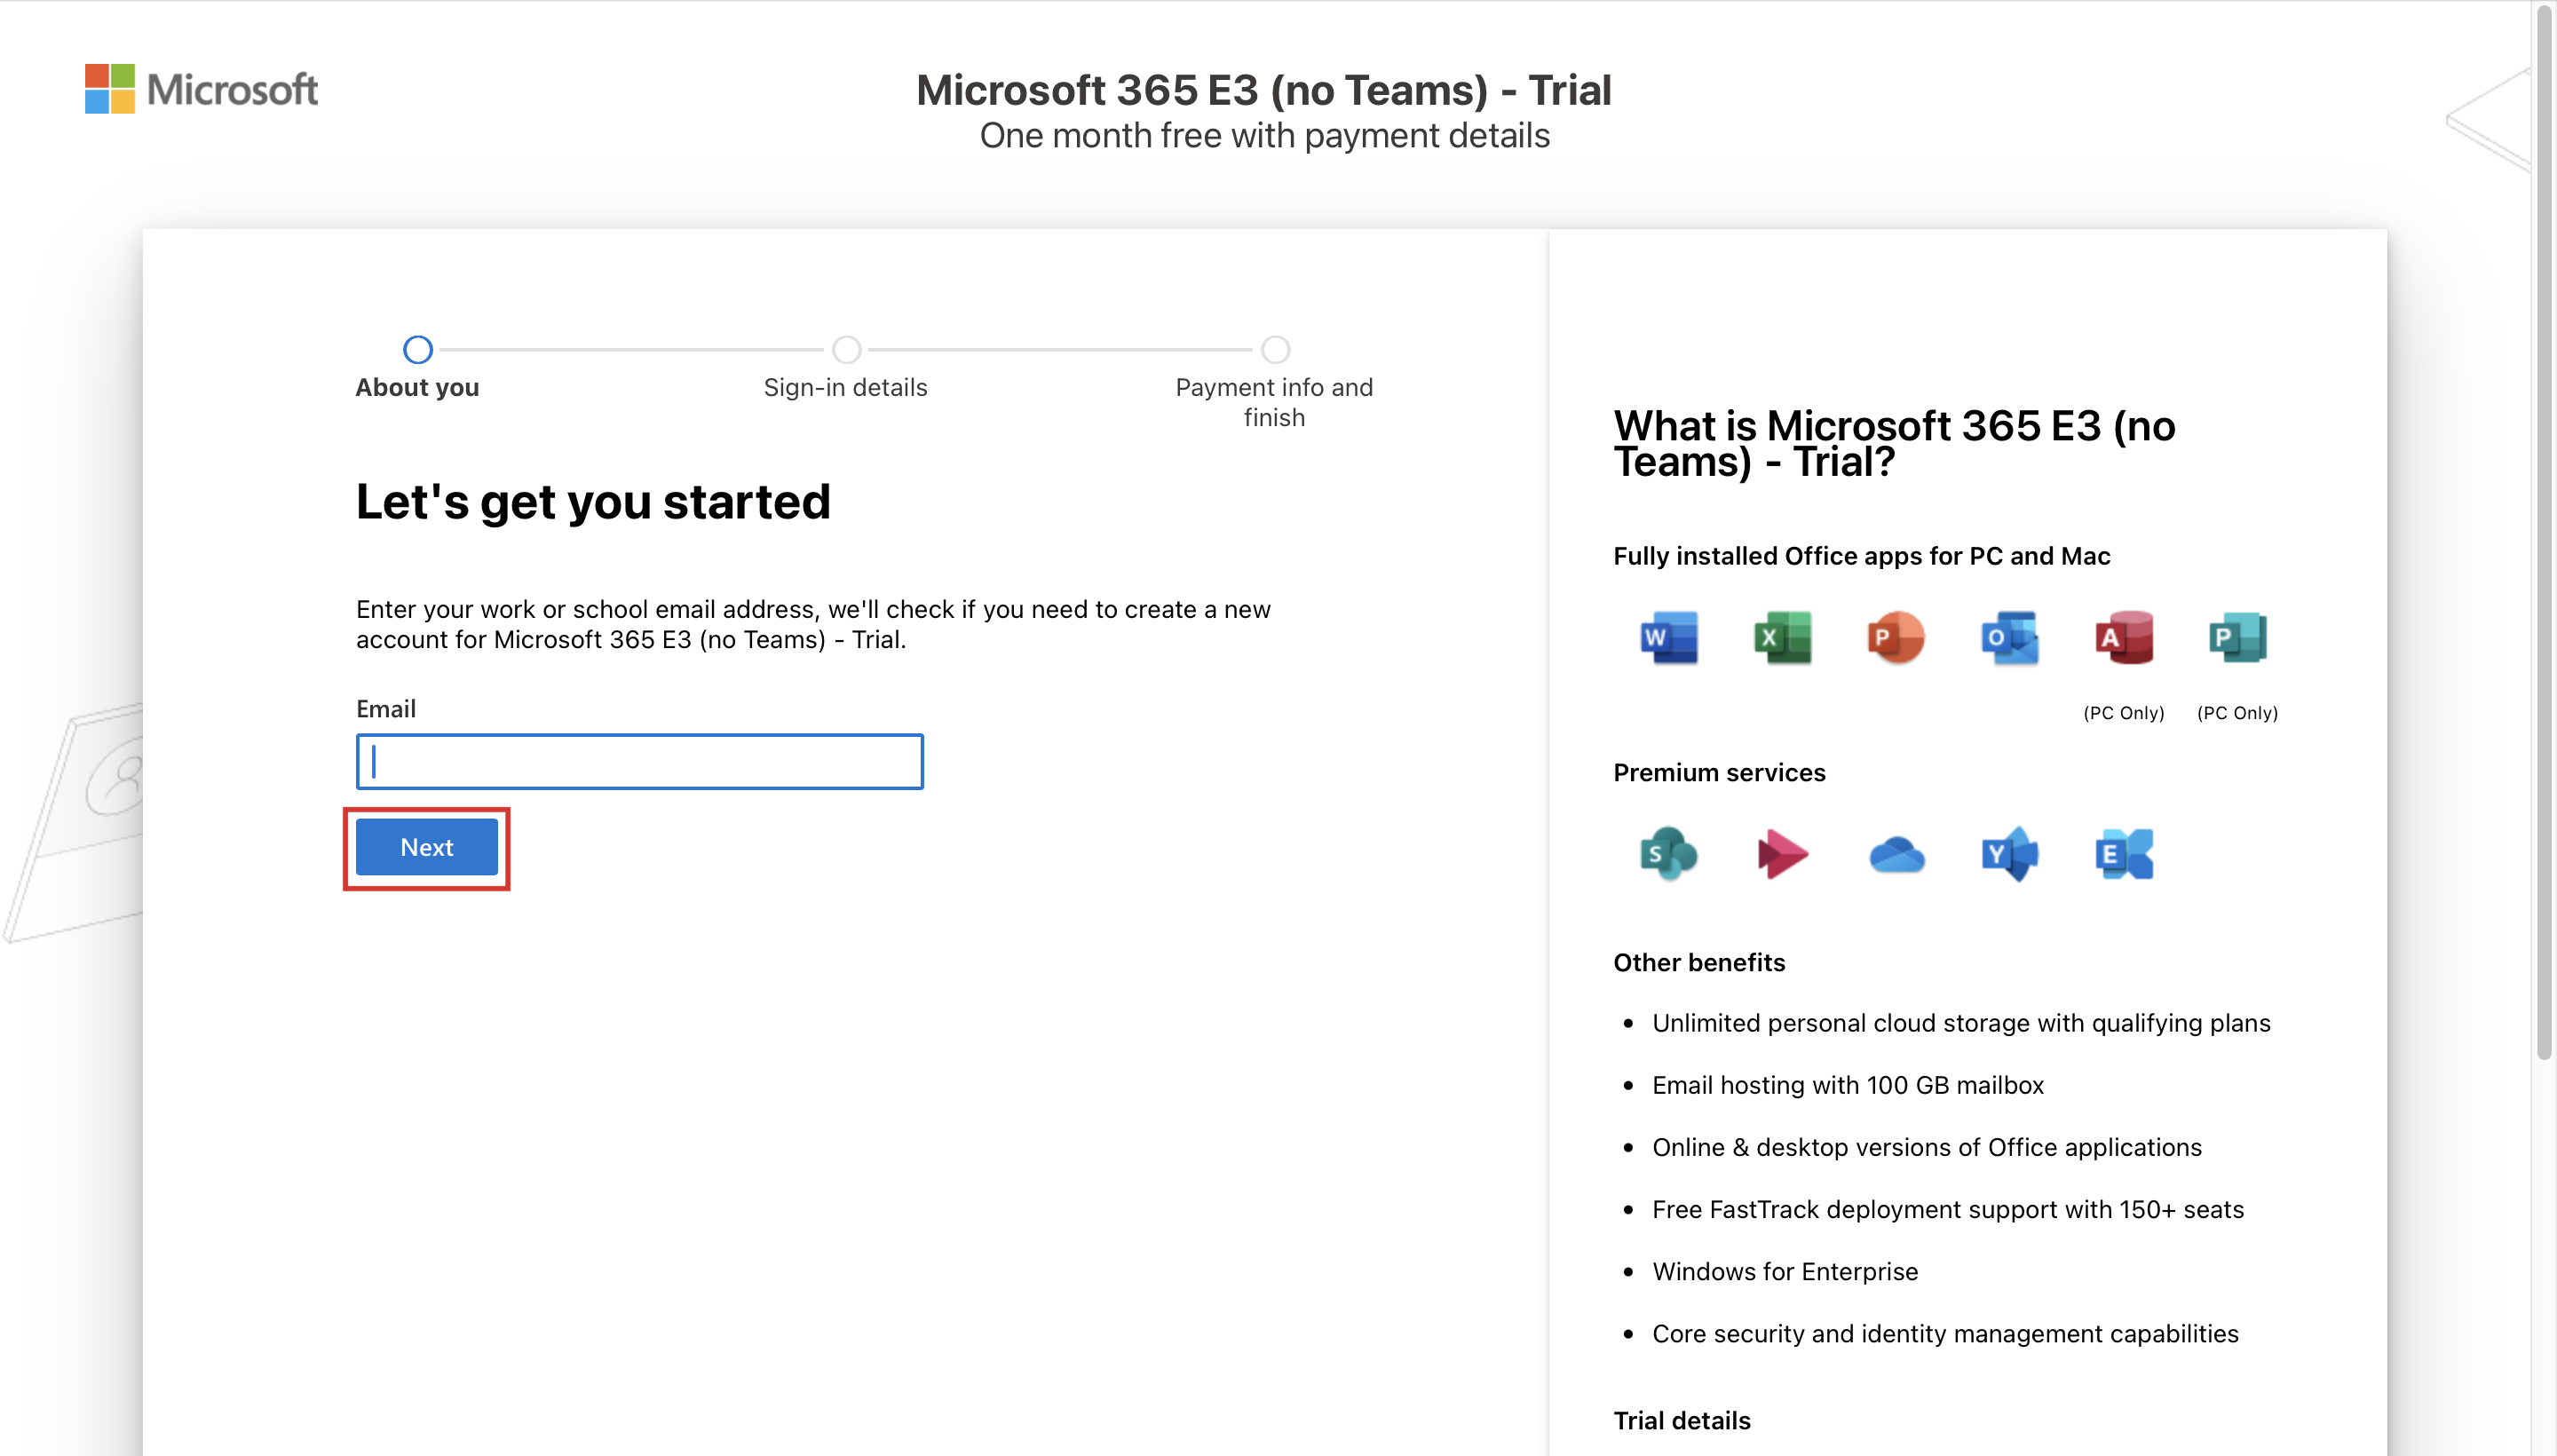
Select Create a new account instead.

Fill in the required information. Make sure that you select United States as the Country or Region. (Some services might not be available for other regions.). Select Next.

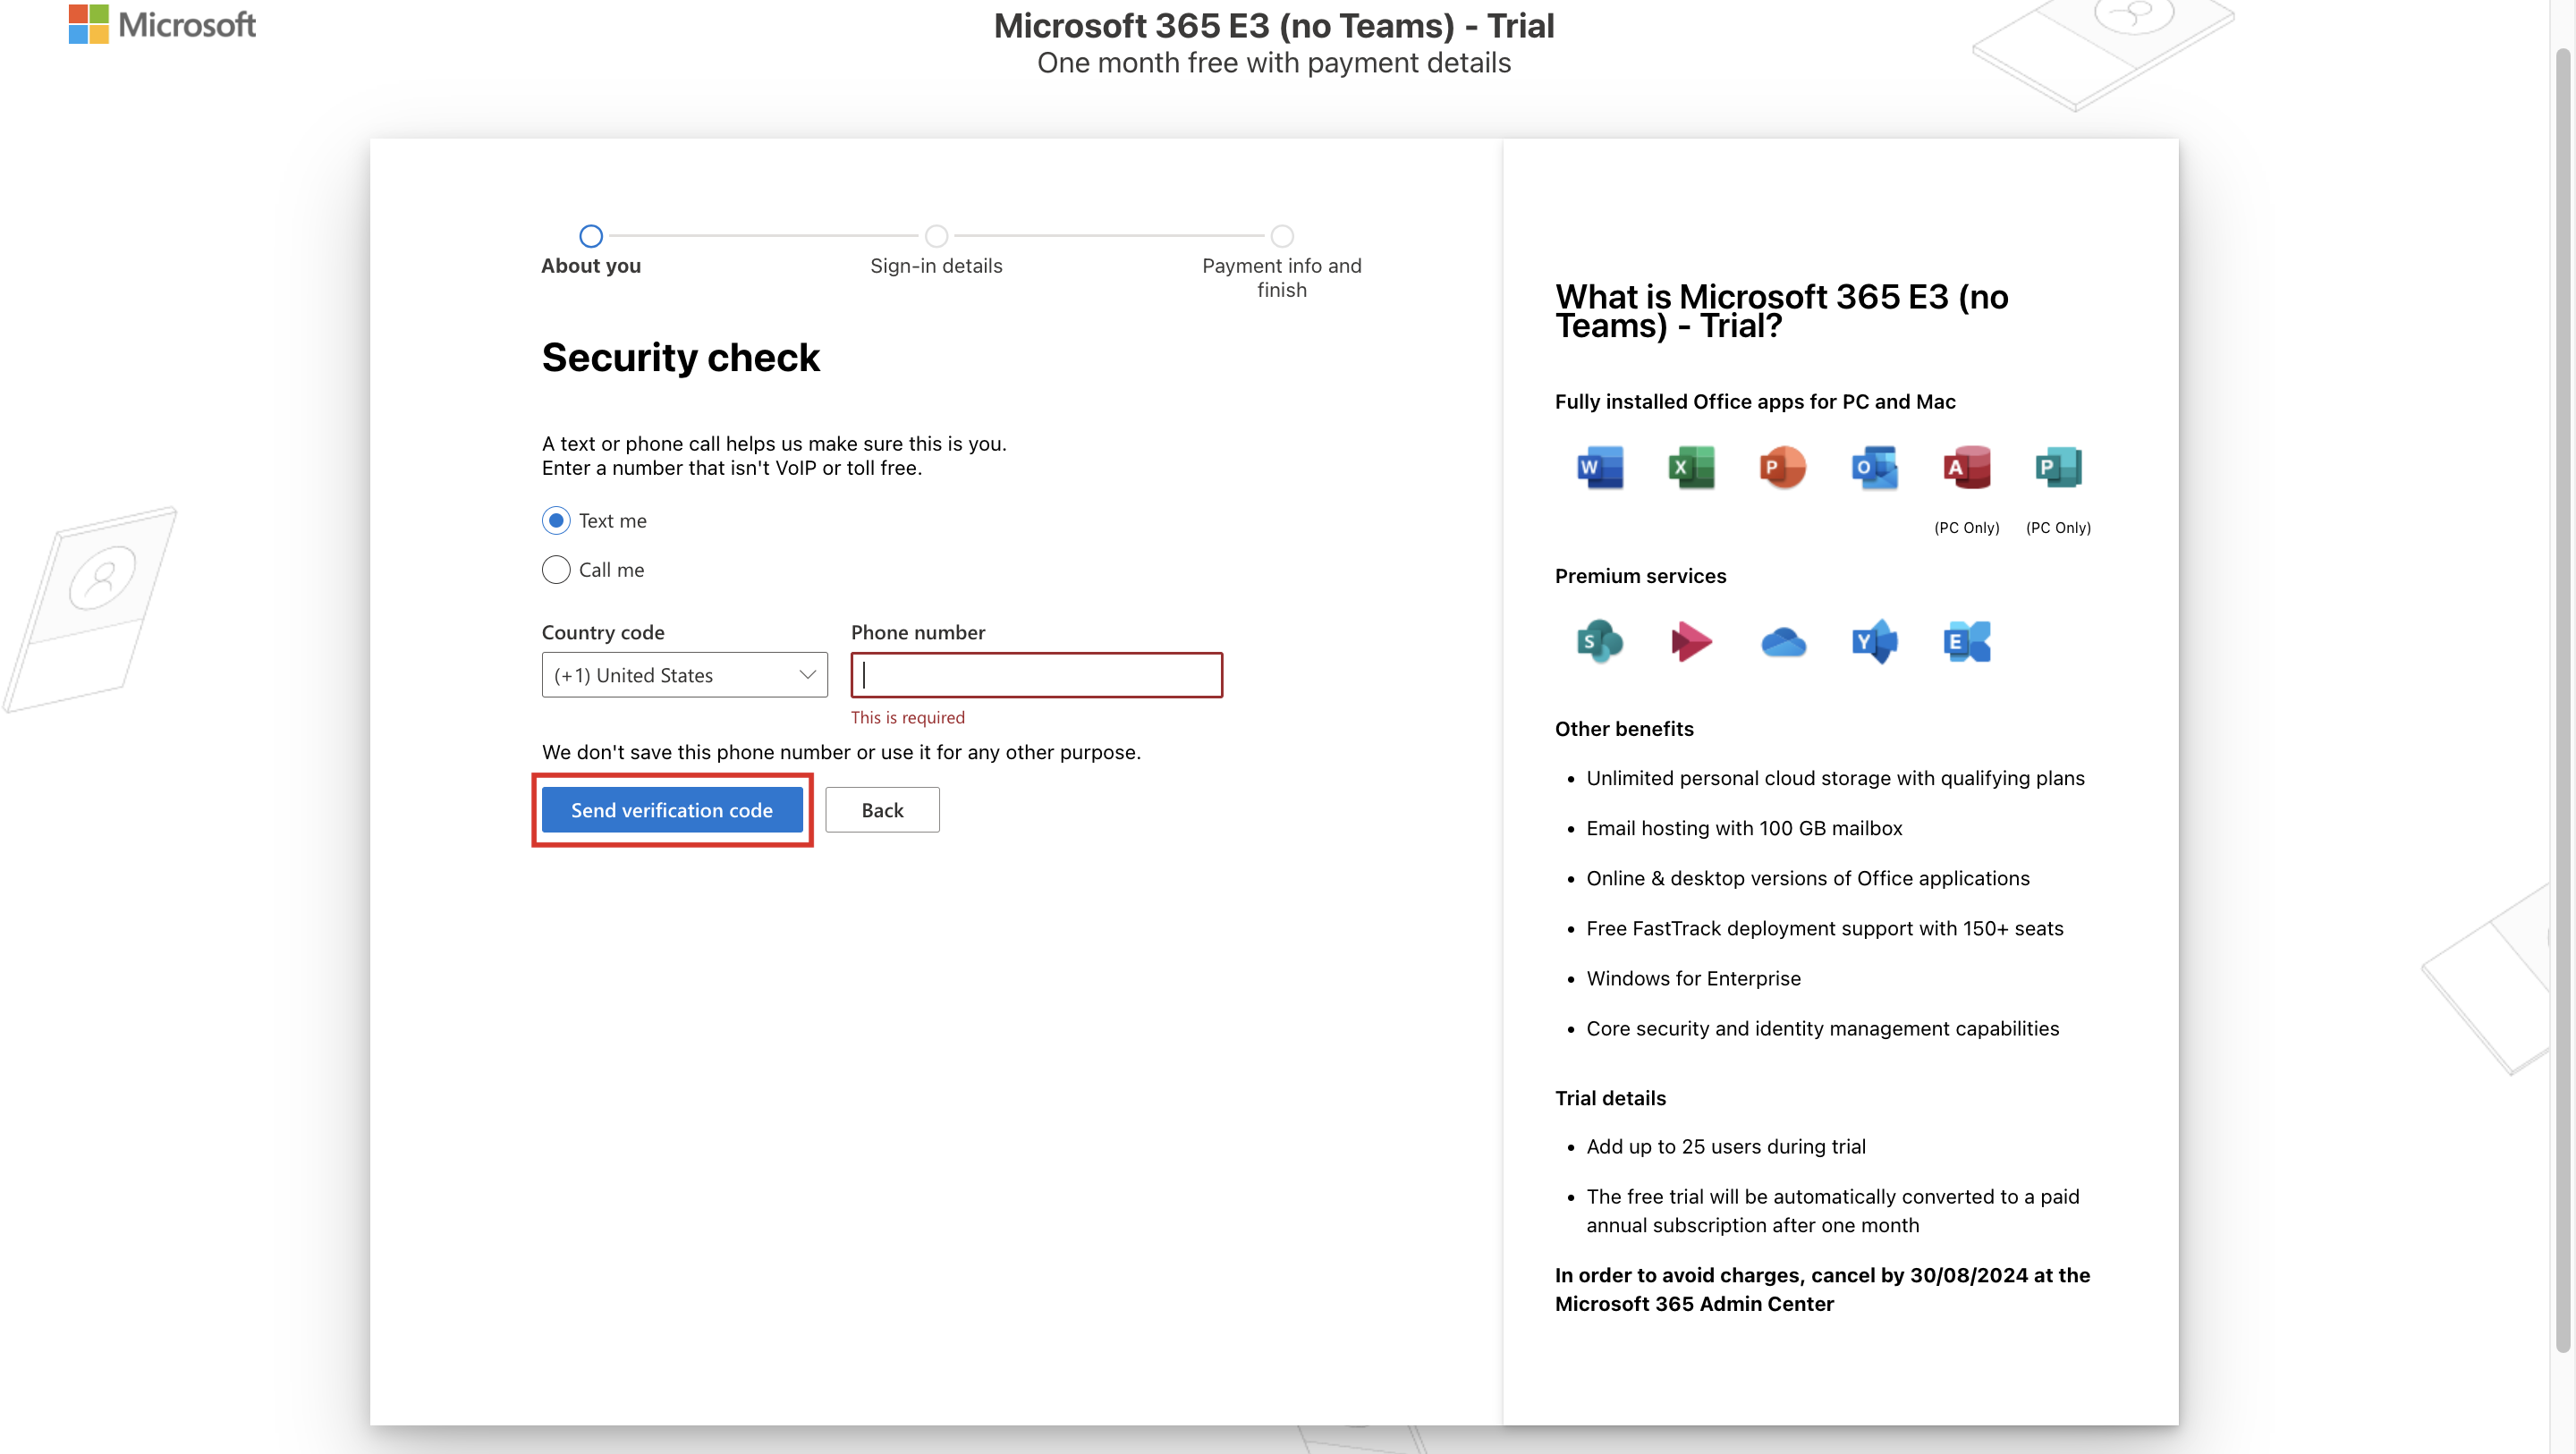
If asked, provide your mobile number and then select Send verification code to complete the verification.
Enter an email ID of oscar@m365x
uniquecode.onmicrosoft.com (the unique code can be any combination of numbers and/or letters) to create a new tenant to use for this learning path. Then, select Save to check if the tenant is available.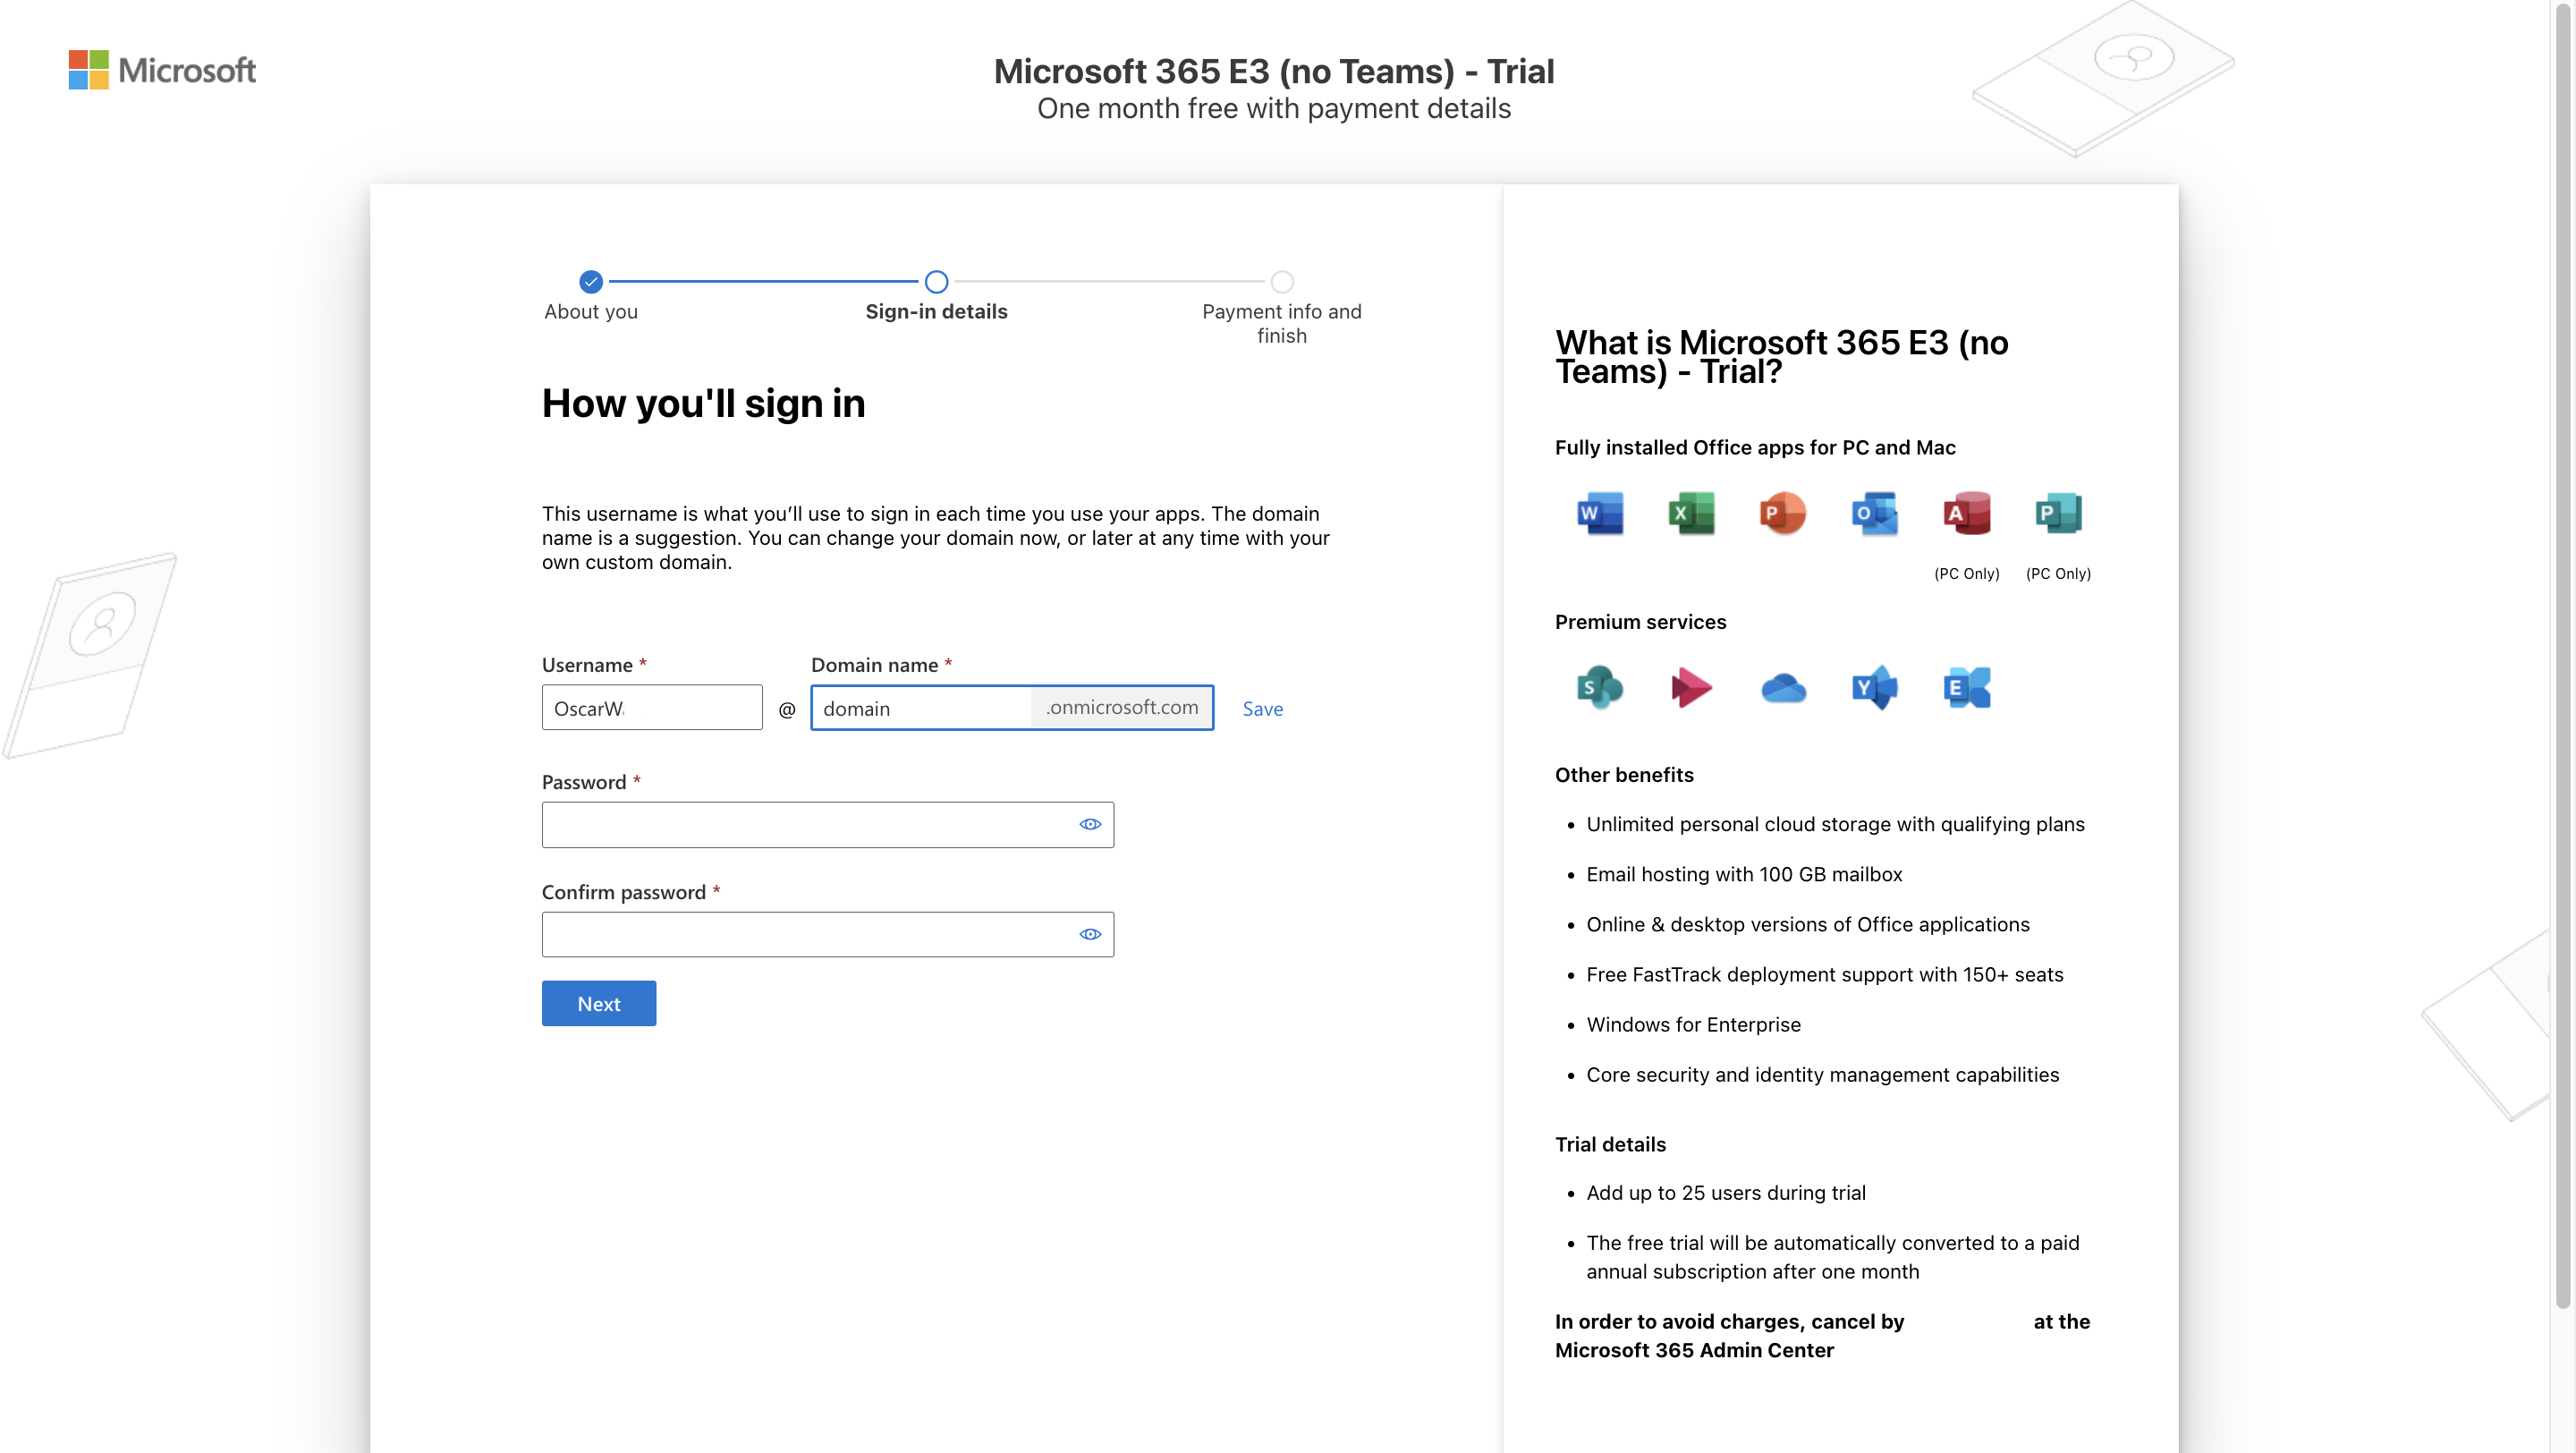
After you confirm the domain, add your password and confirm it. Then, select Next.
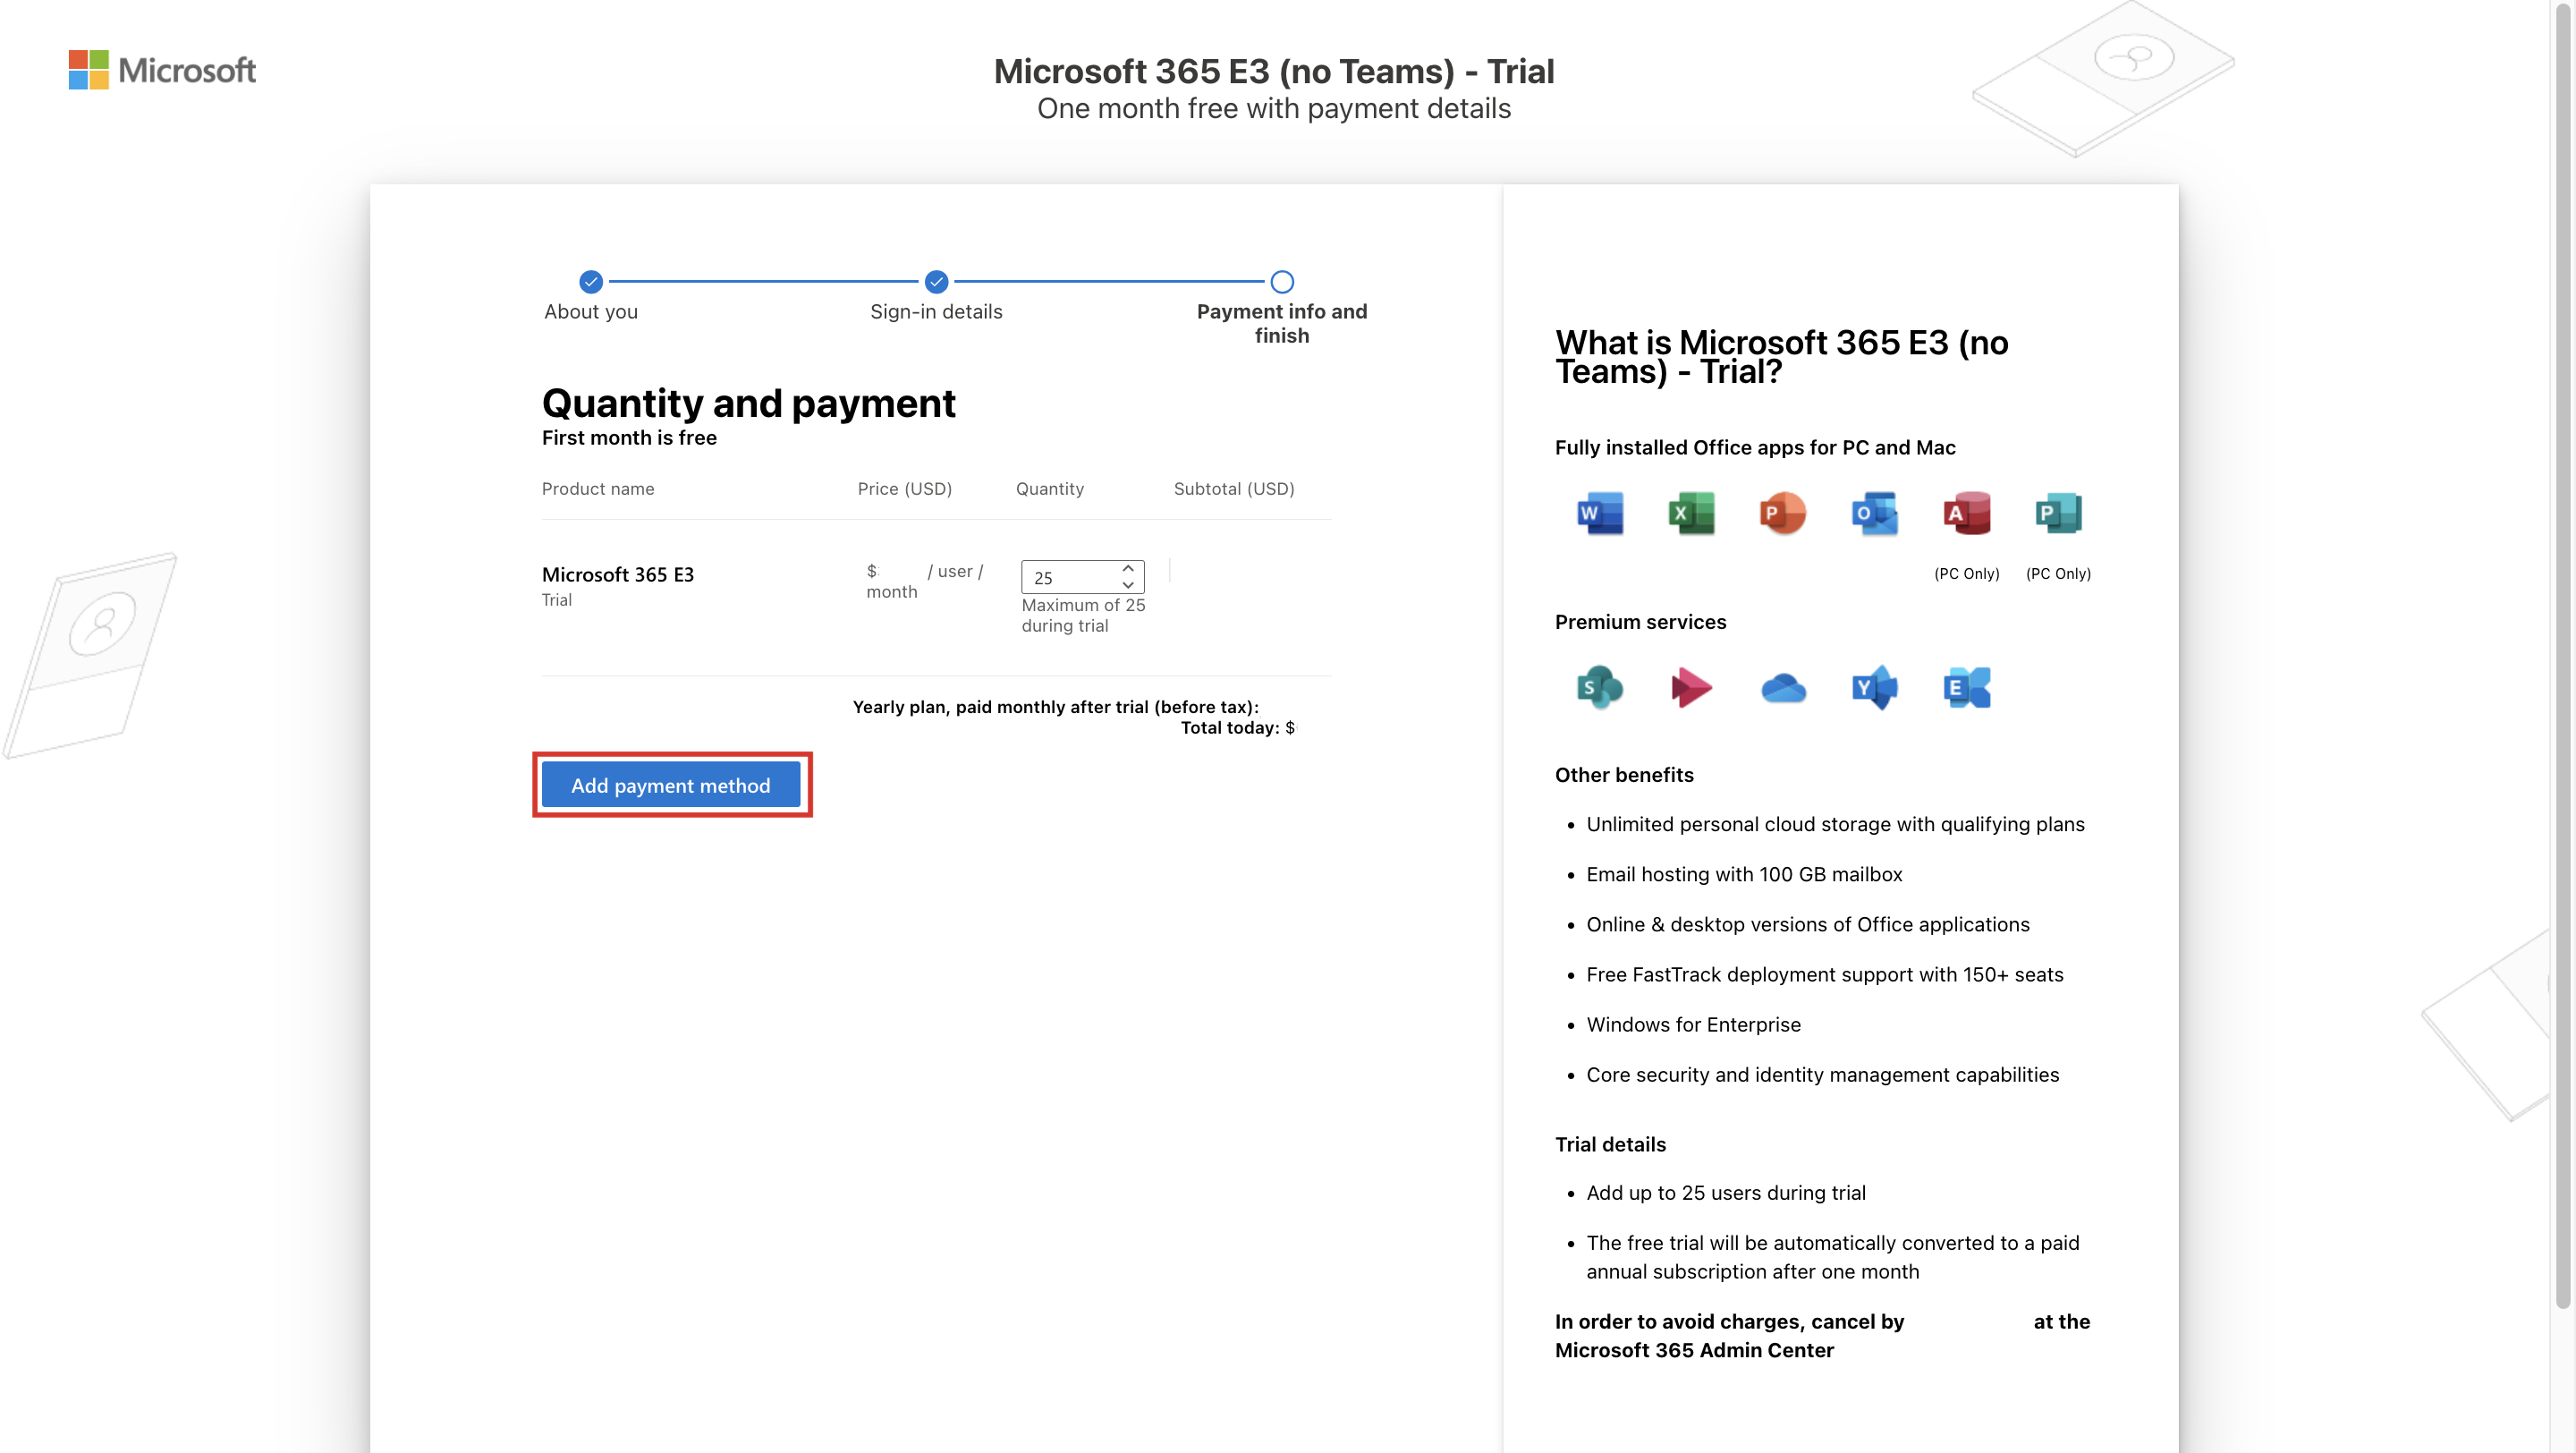
In the next step, increase the quantity to 5 and then select Update.
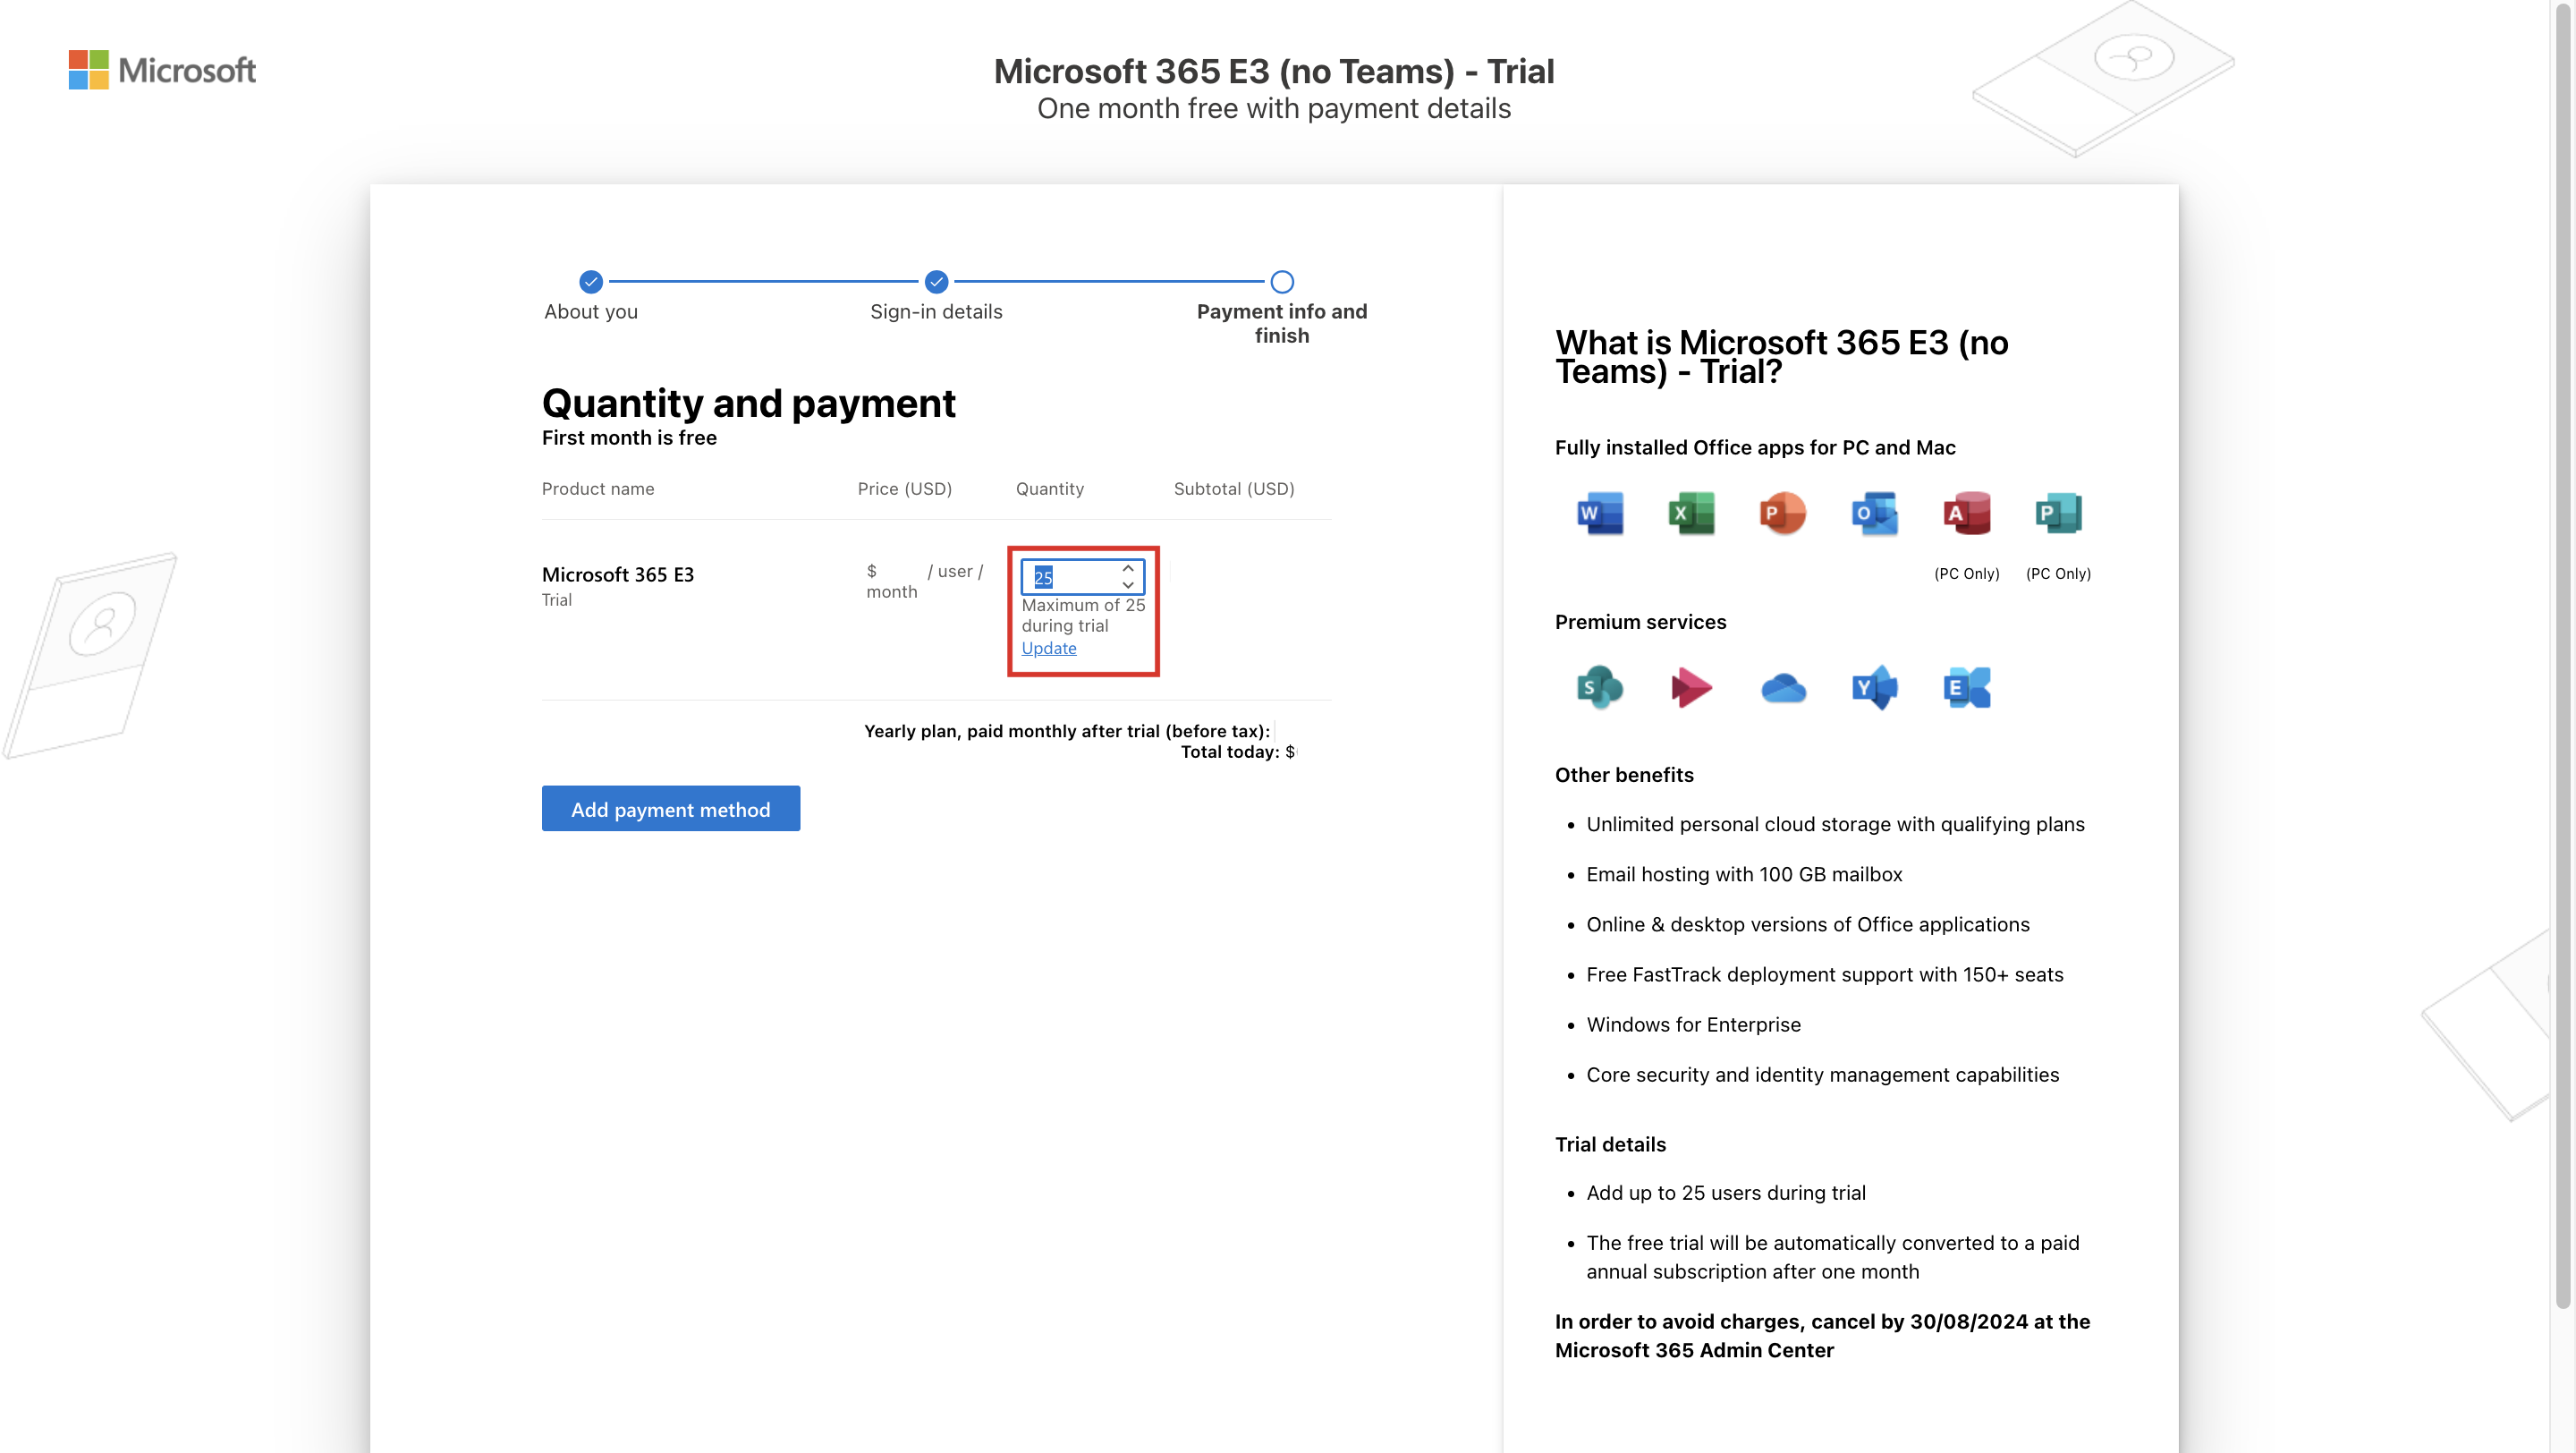
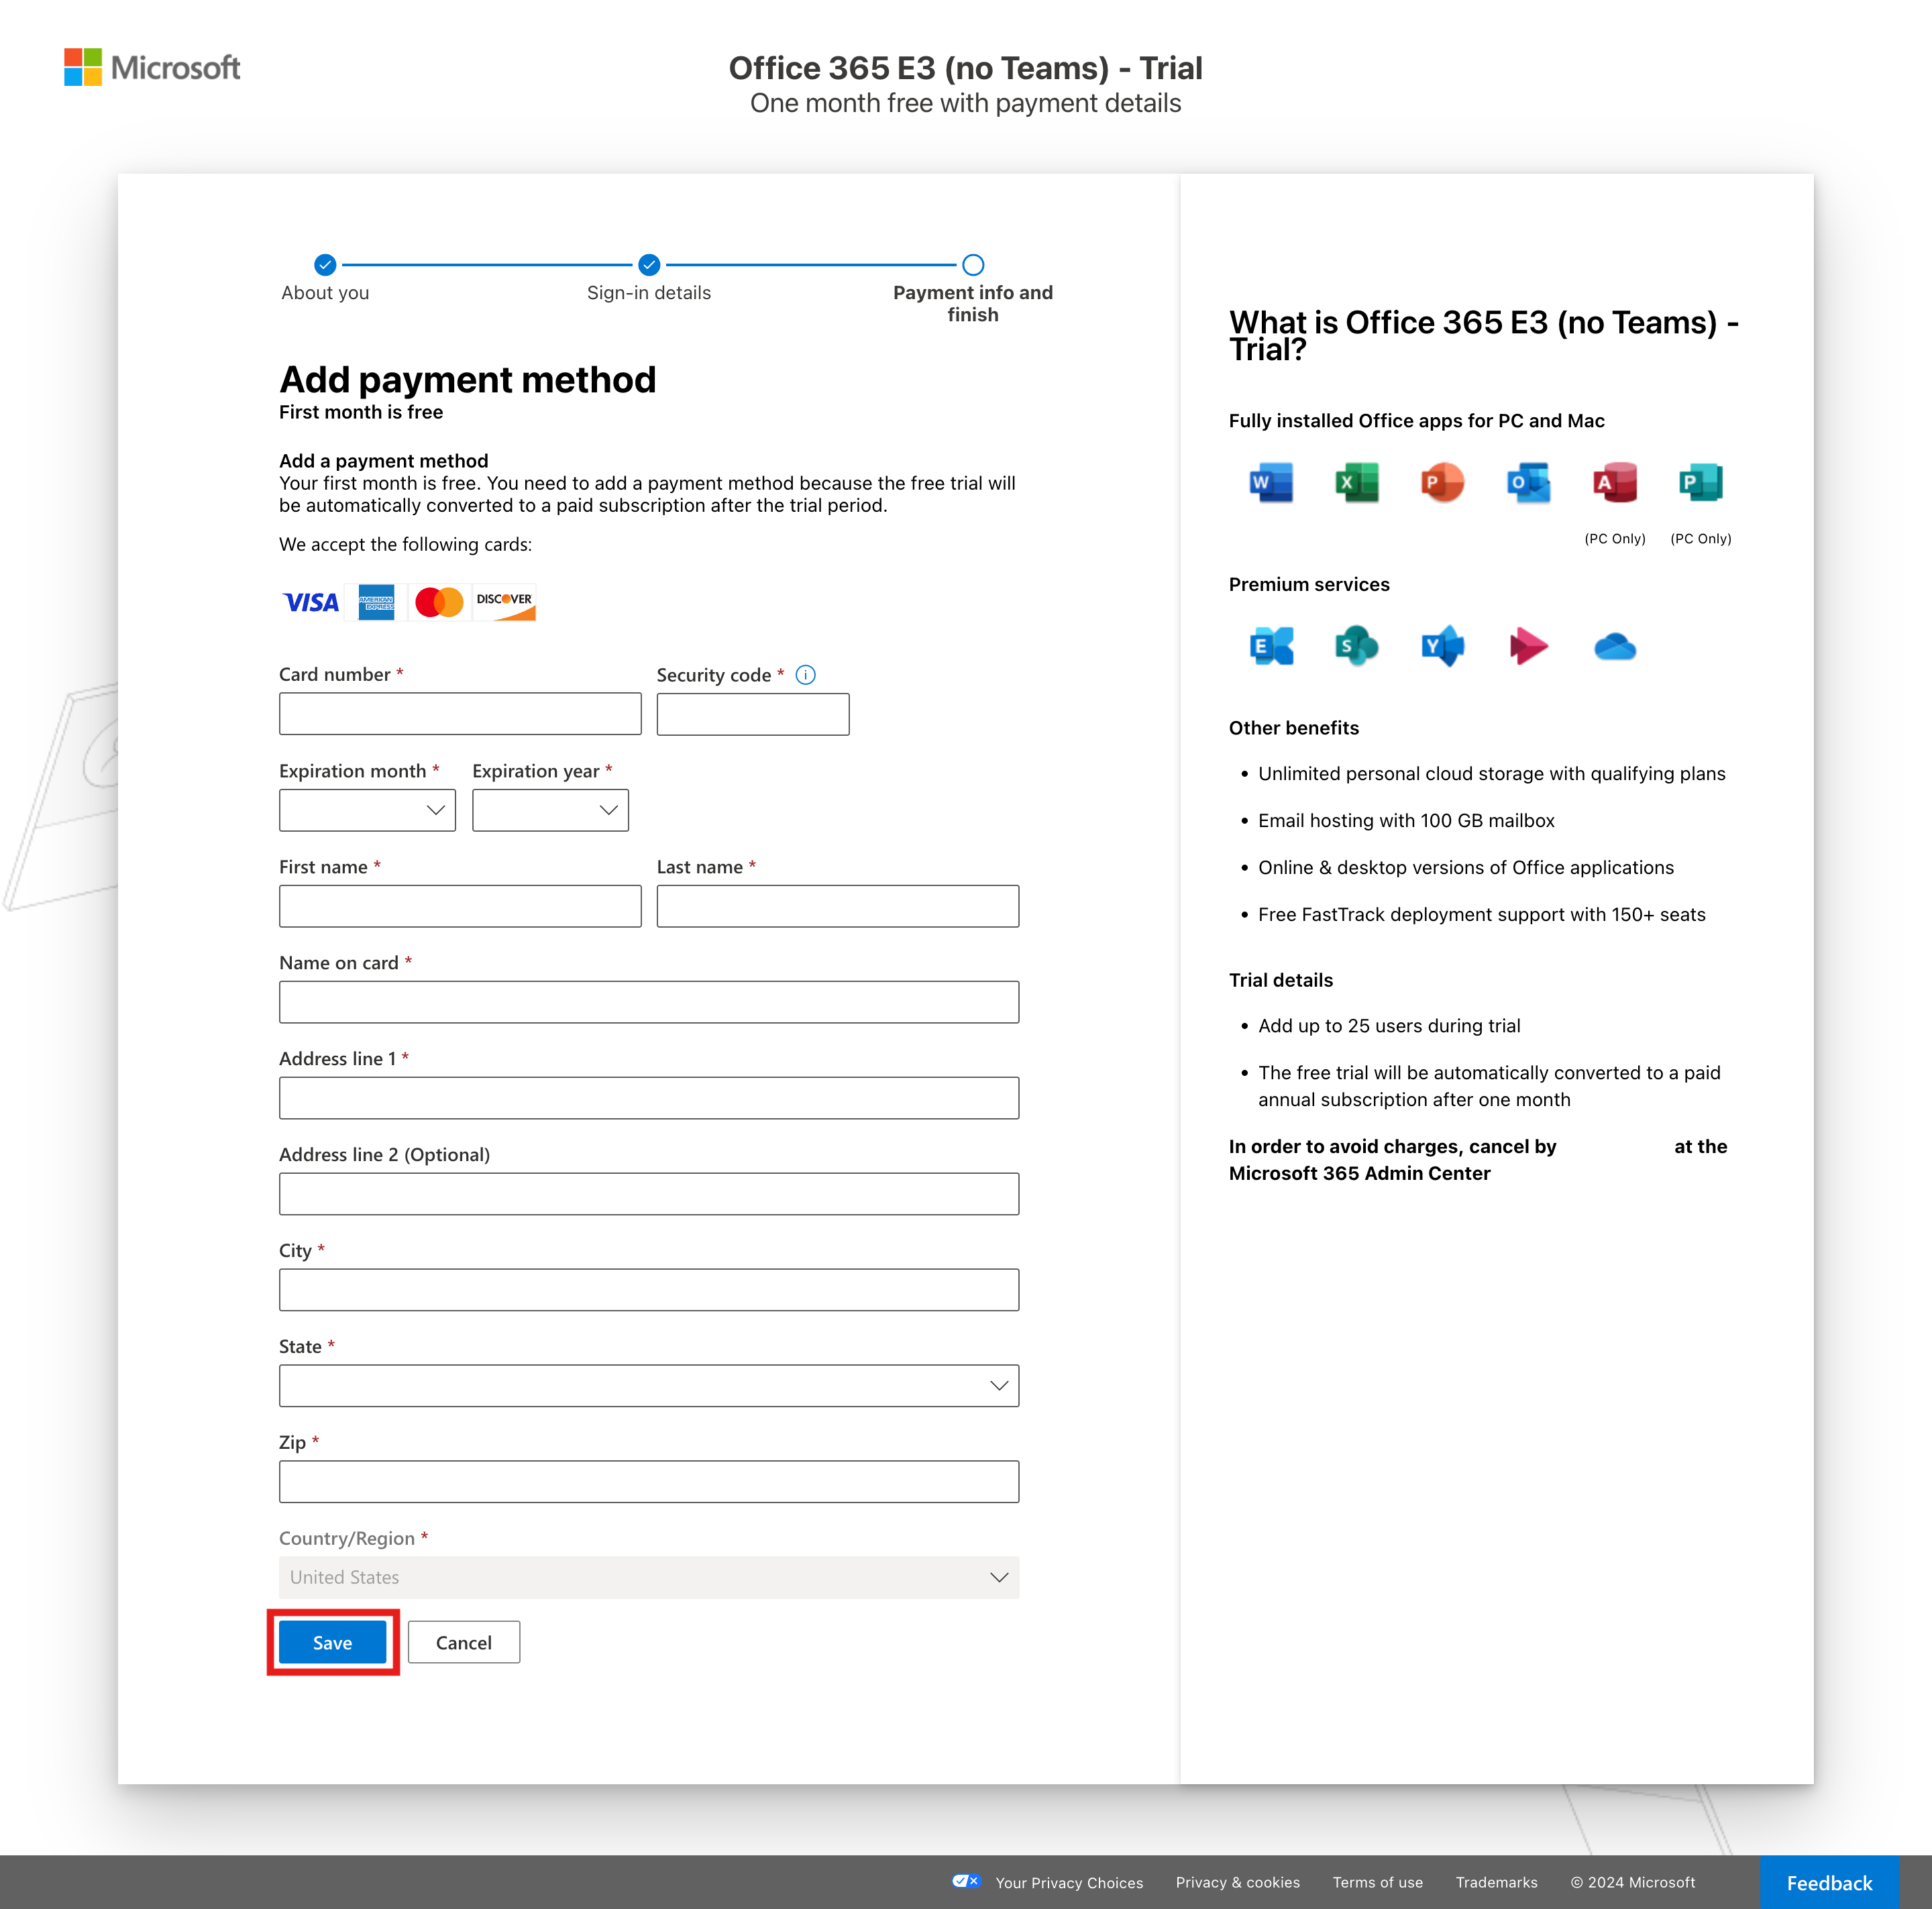
Select Add payment method.
Enter your payment method information and then select Save.
Important
To cancel your free trial any time and stop future charges, turn off recurring billing. If you don't turn off recurring billing, after your one-month free trial ends, the system charges you with the applicable subscription fee. If your trial subscription doesn't have a payment method associated with it, you can let it expire at the end of the trial period so that the system doesn't charge you. If you need more time, you can extend the trial for a certain period that's mentioned on your product page. If you no longer need the trial, you can cancel the subscription.
During the process of adding a payment method, the system makes a reversible charge of USD 1.00 to verify your credit card.
The system also asks you for MFA configuration. You can configure MFA within 14 days of creating the tenant. If you don't configure it, you can't access the tenant after 14 days.
On the Review and confirm page, update the quantity to 25, and then select Start trial.

On the confirmation page, select Start using Microsoft 365 E3 (no Teams) - Trial.
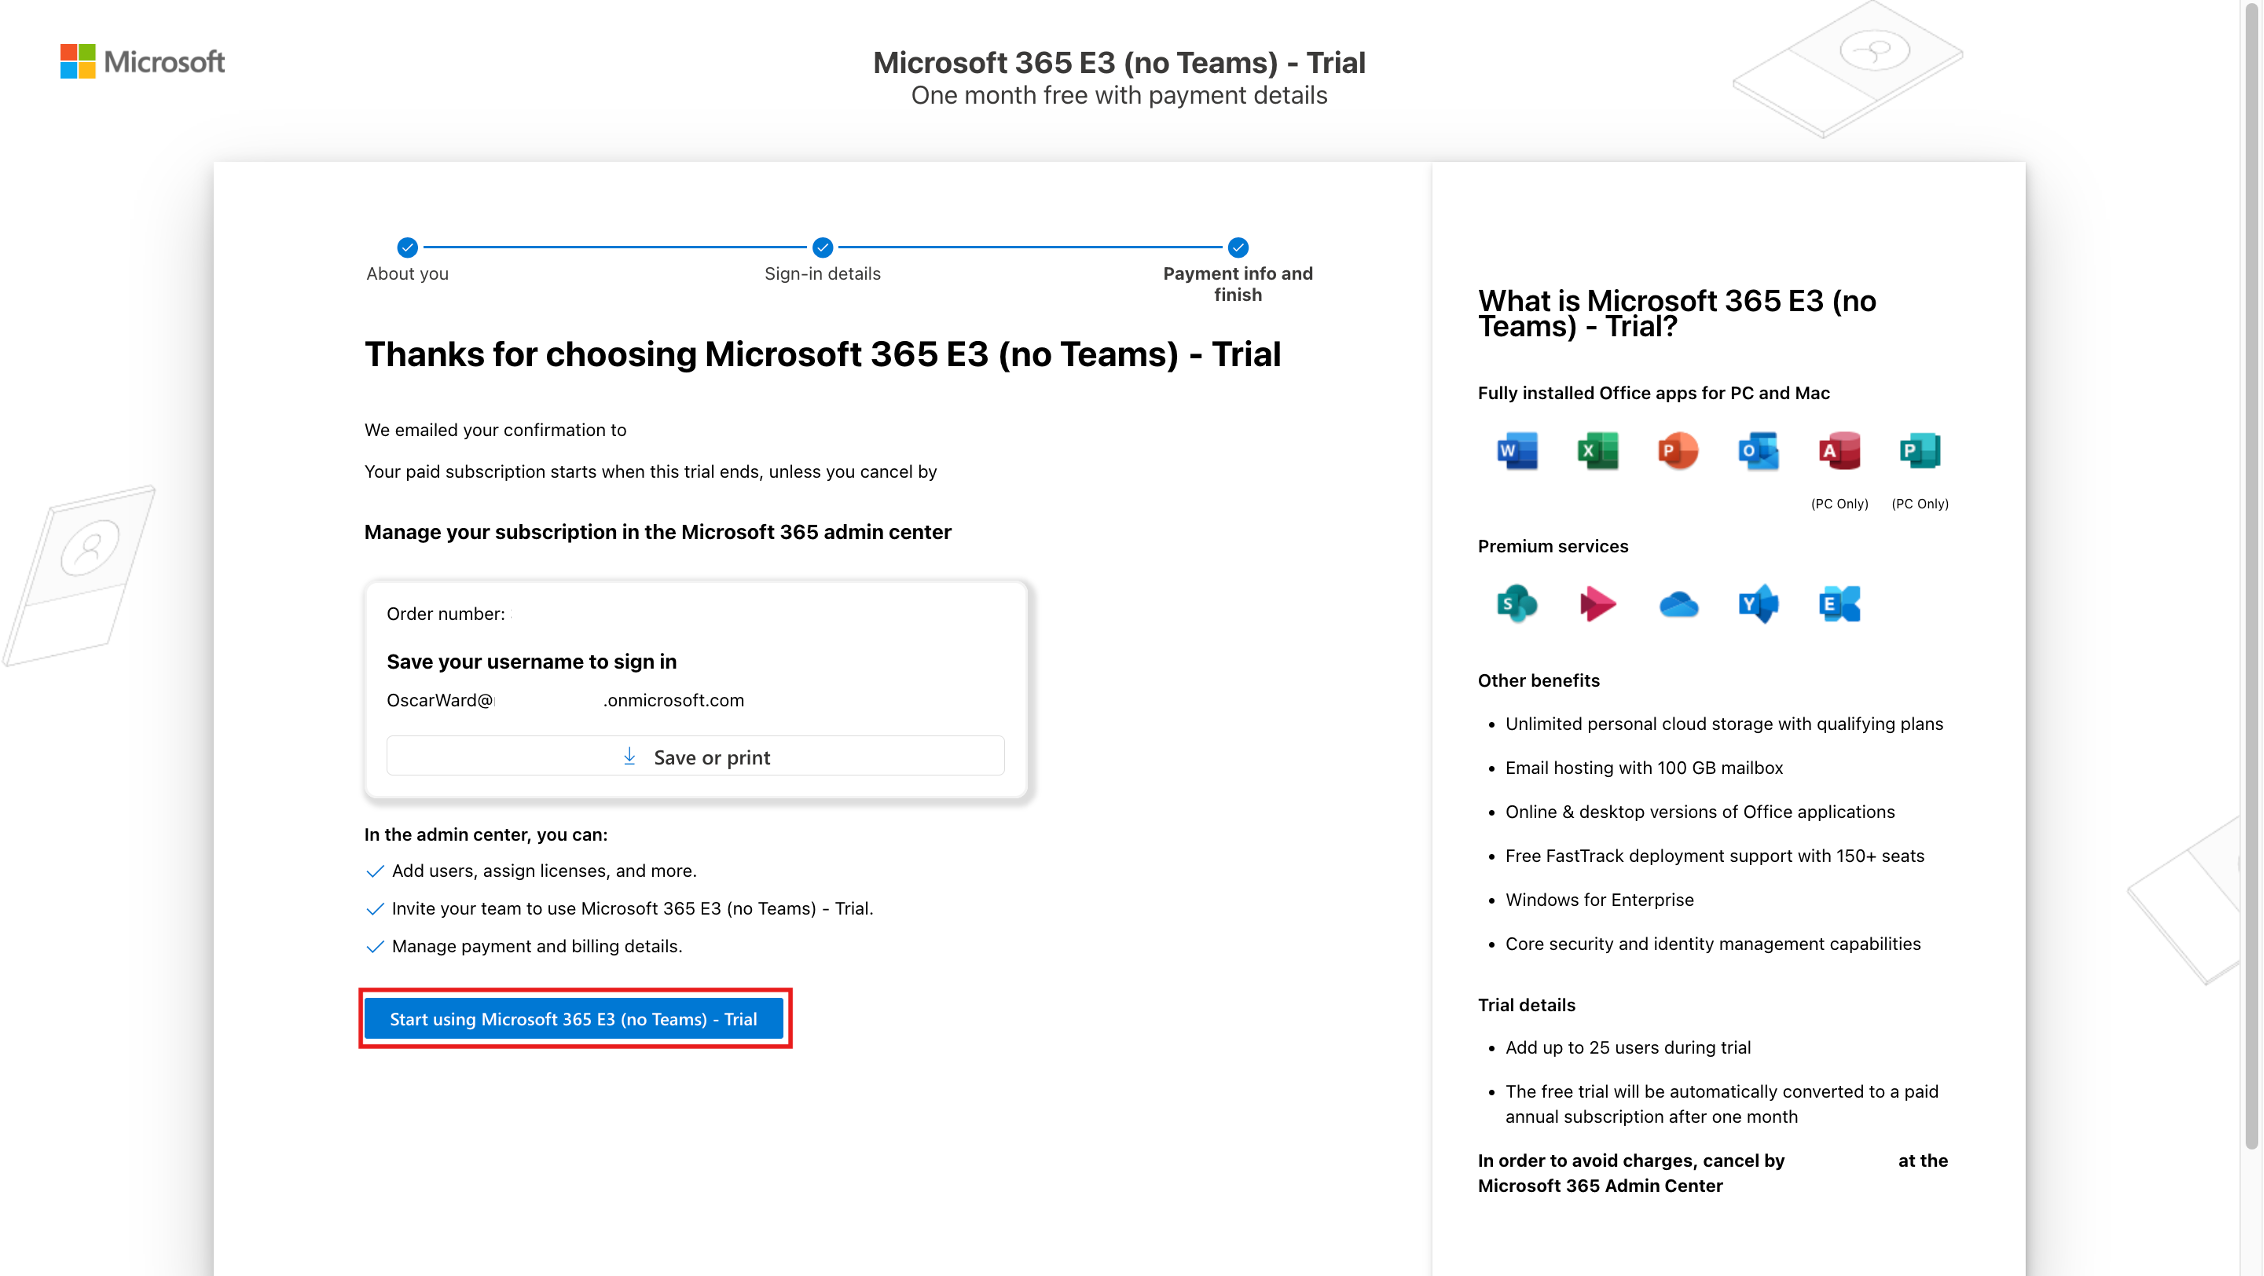


You get a confirmation email detailing your purchase.
Task - Set up users
To create the Contoso persona users, complete the following steps:
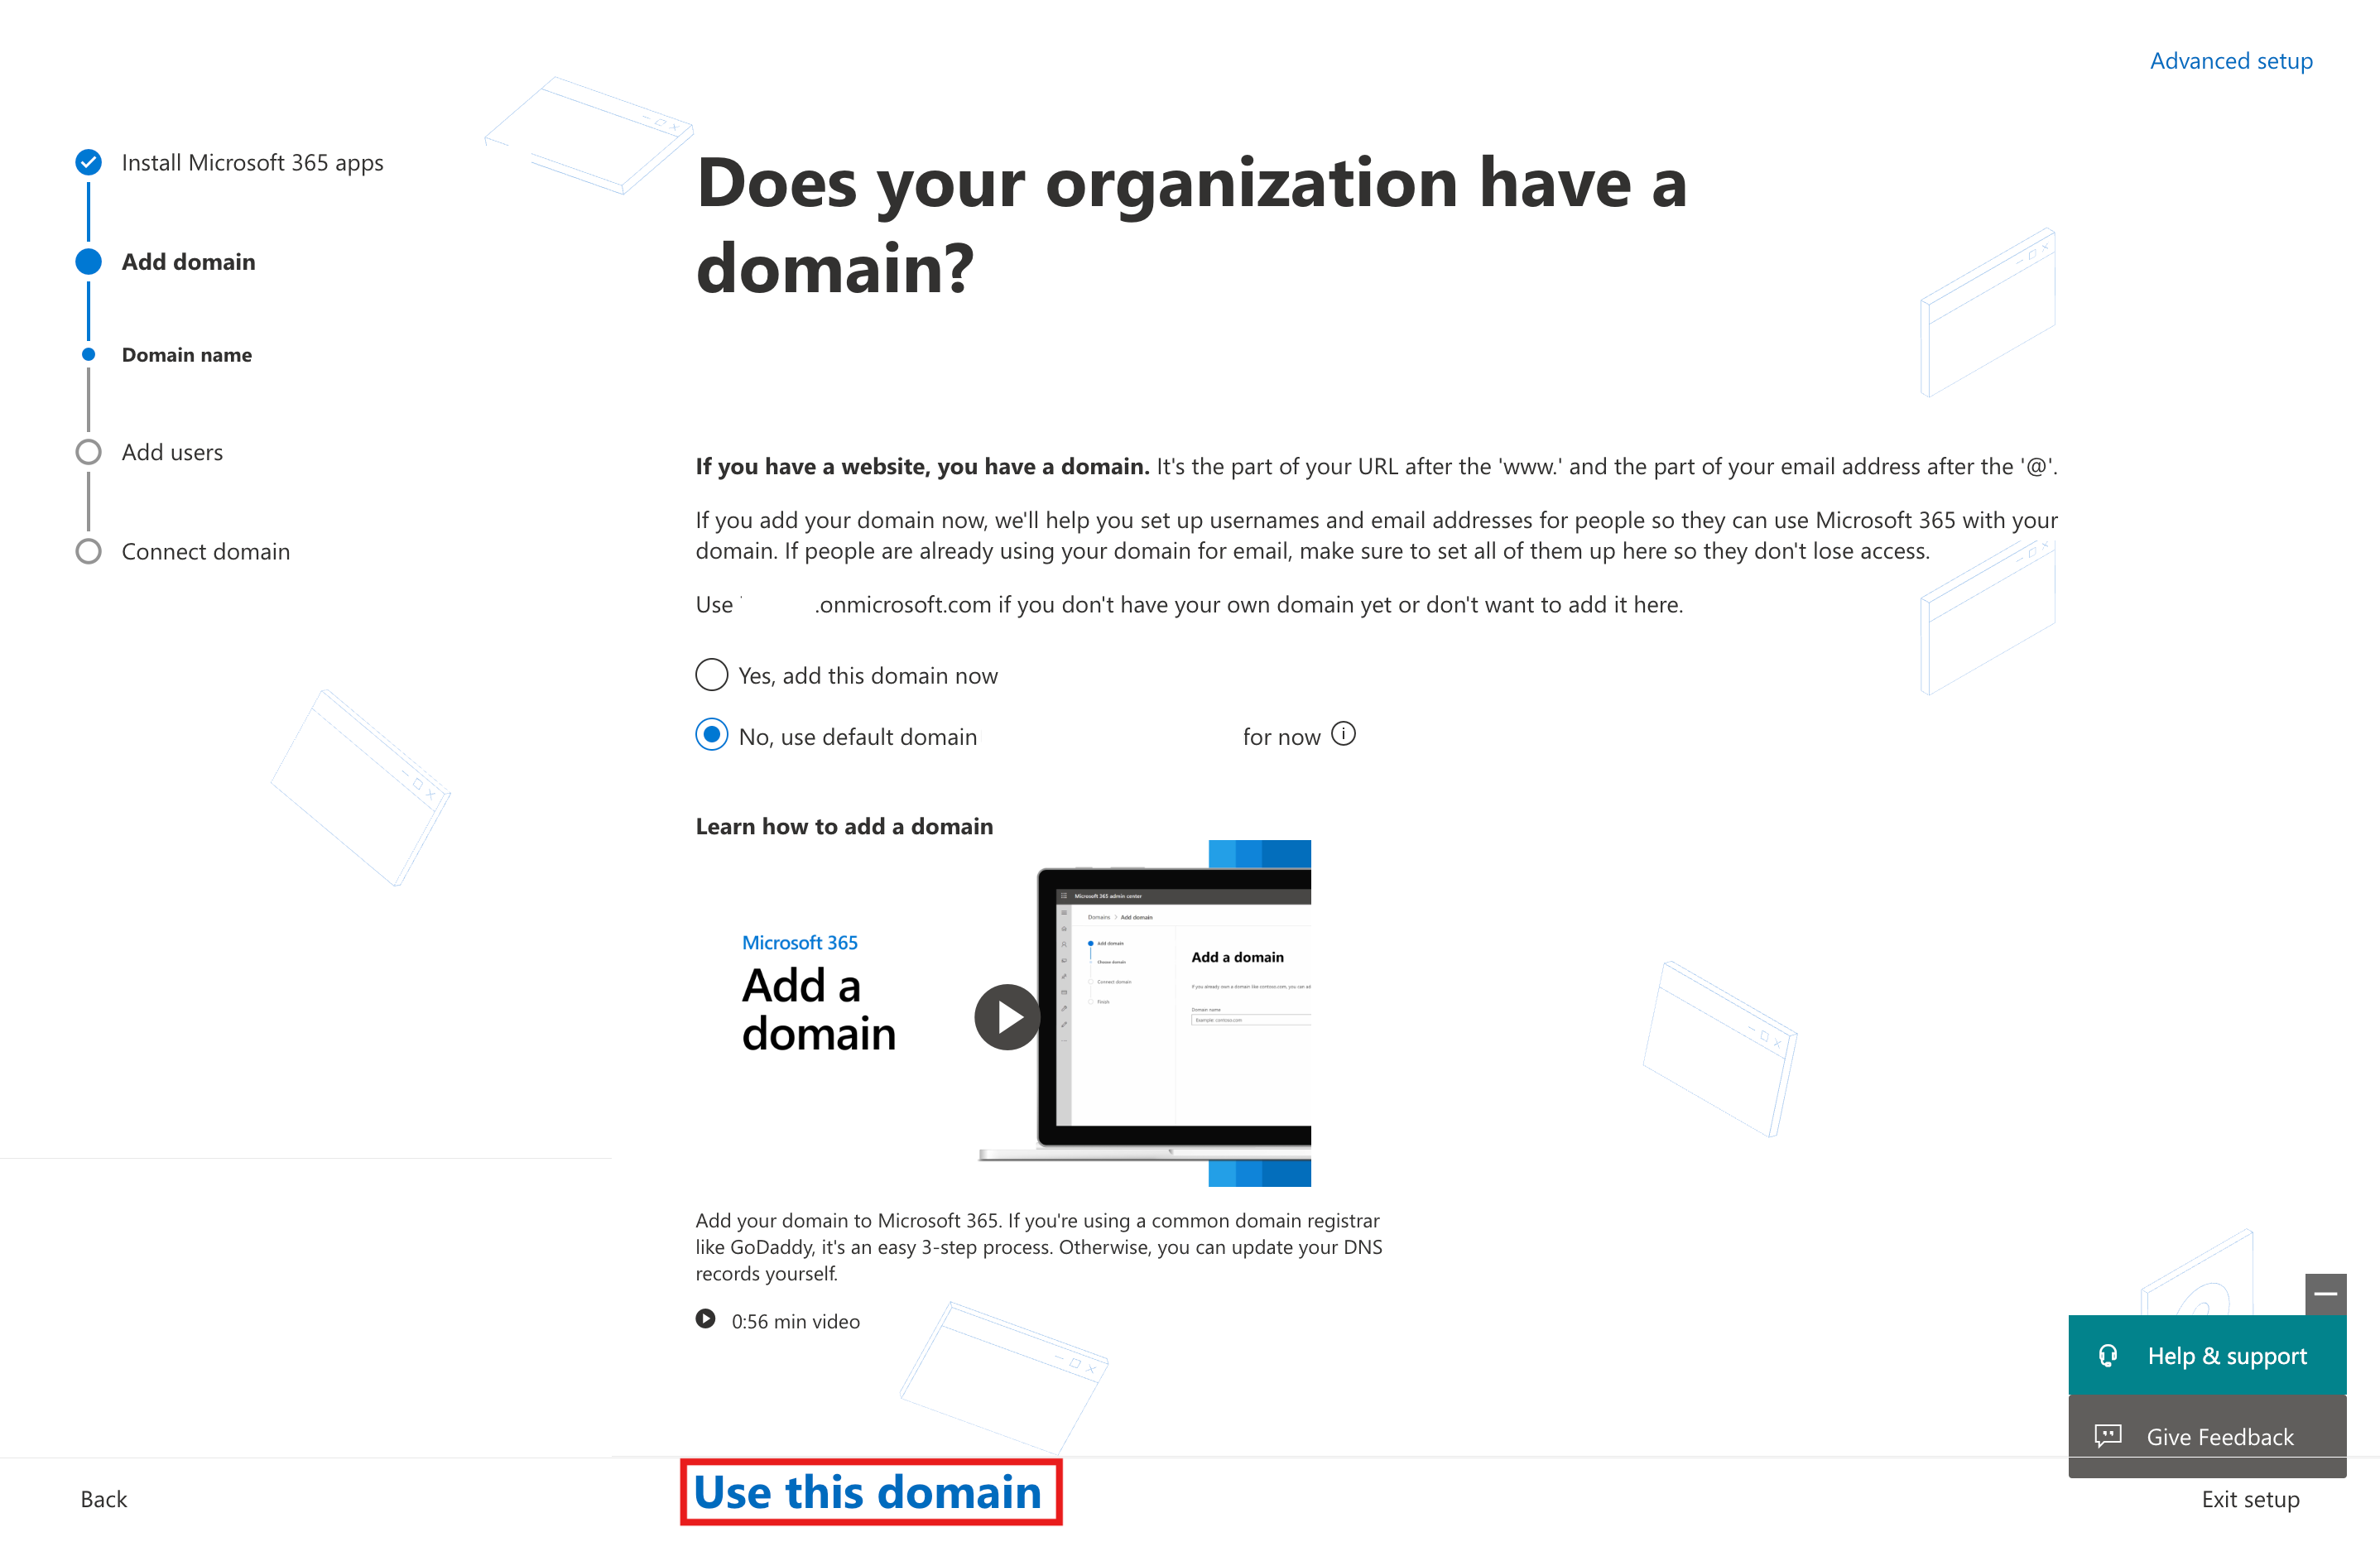
On the Start using Microsoft 365 E3 (no Teams) - Trial wizard, select Continue on the Install Microsoft 365 page.

On the Add domain page, select the No, use default domain option, and then select Use this domain.
Add the following users and then select Add users and assign licenses.
First name Family name Username Email ID Jessie Irwin jessiei @domain.onmicrosoft.com Monica Rodriguez monicar @domain.onmicrosoft.com Megan Bowen meganb @domain.onmicrosoft.com Joni Sherman jonis @domain.onmicrosoft.com 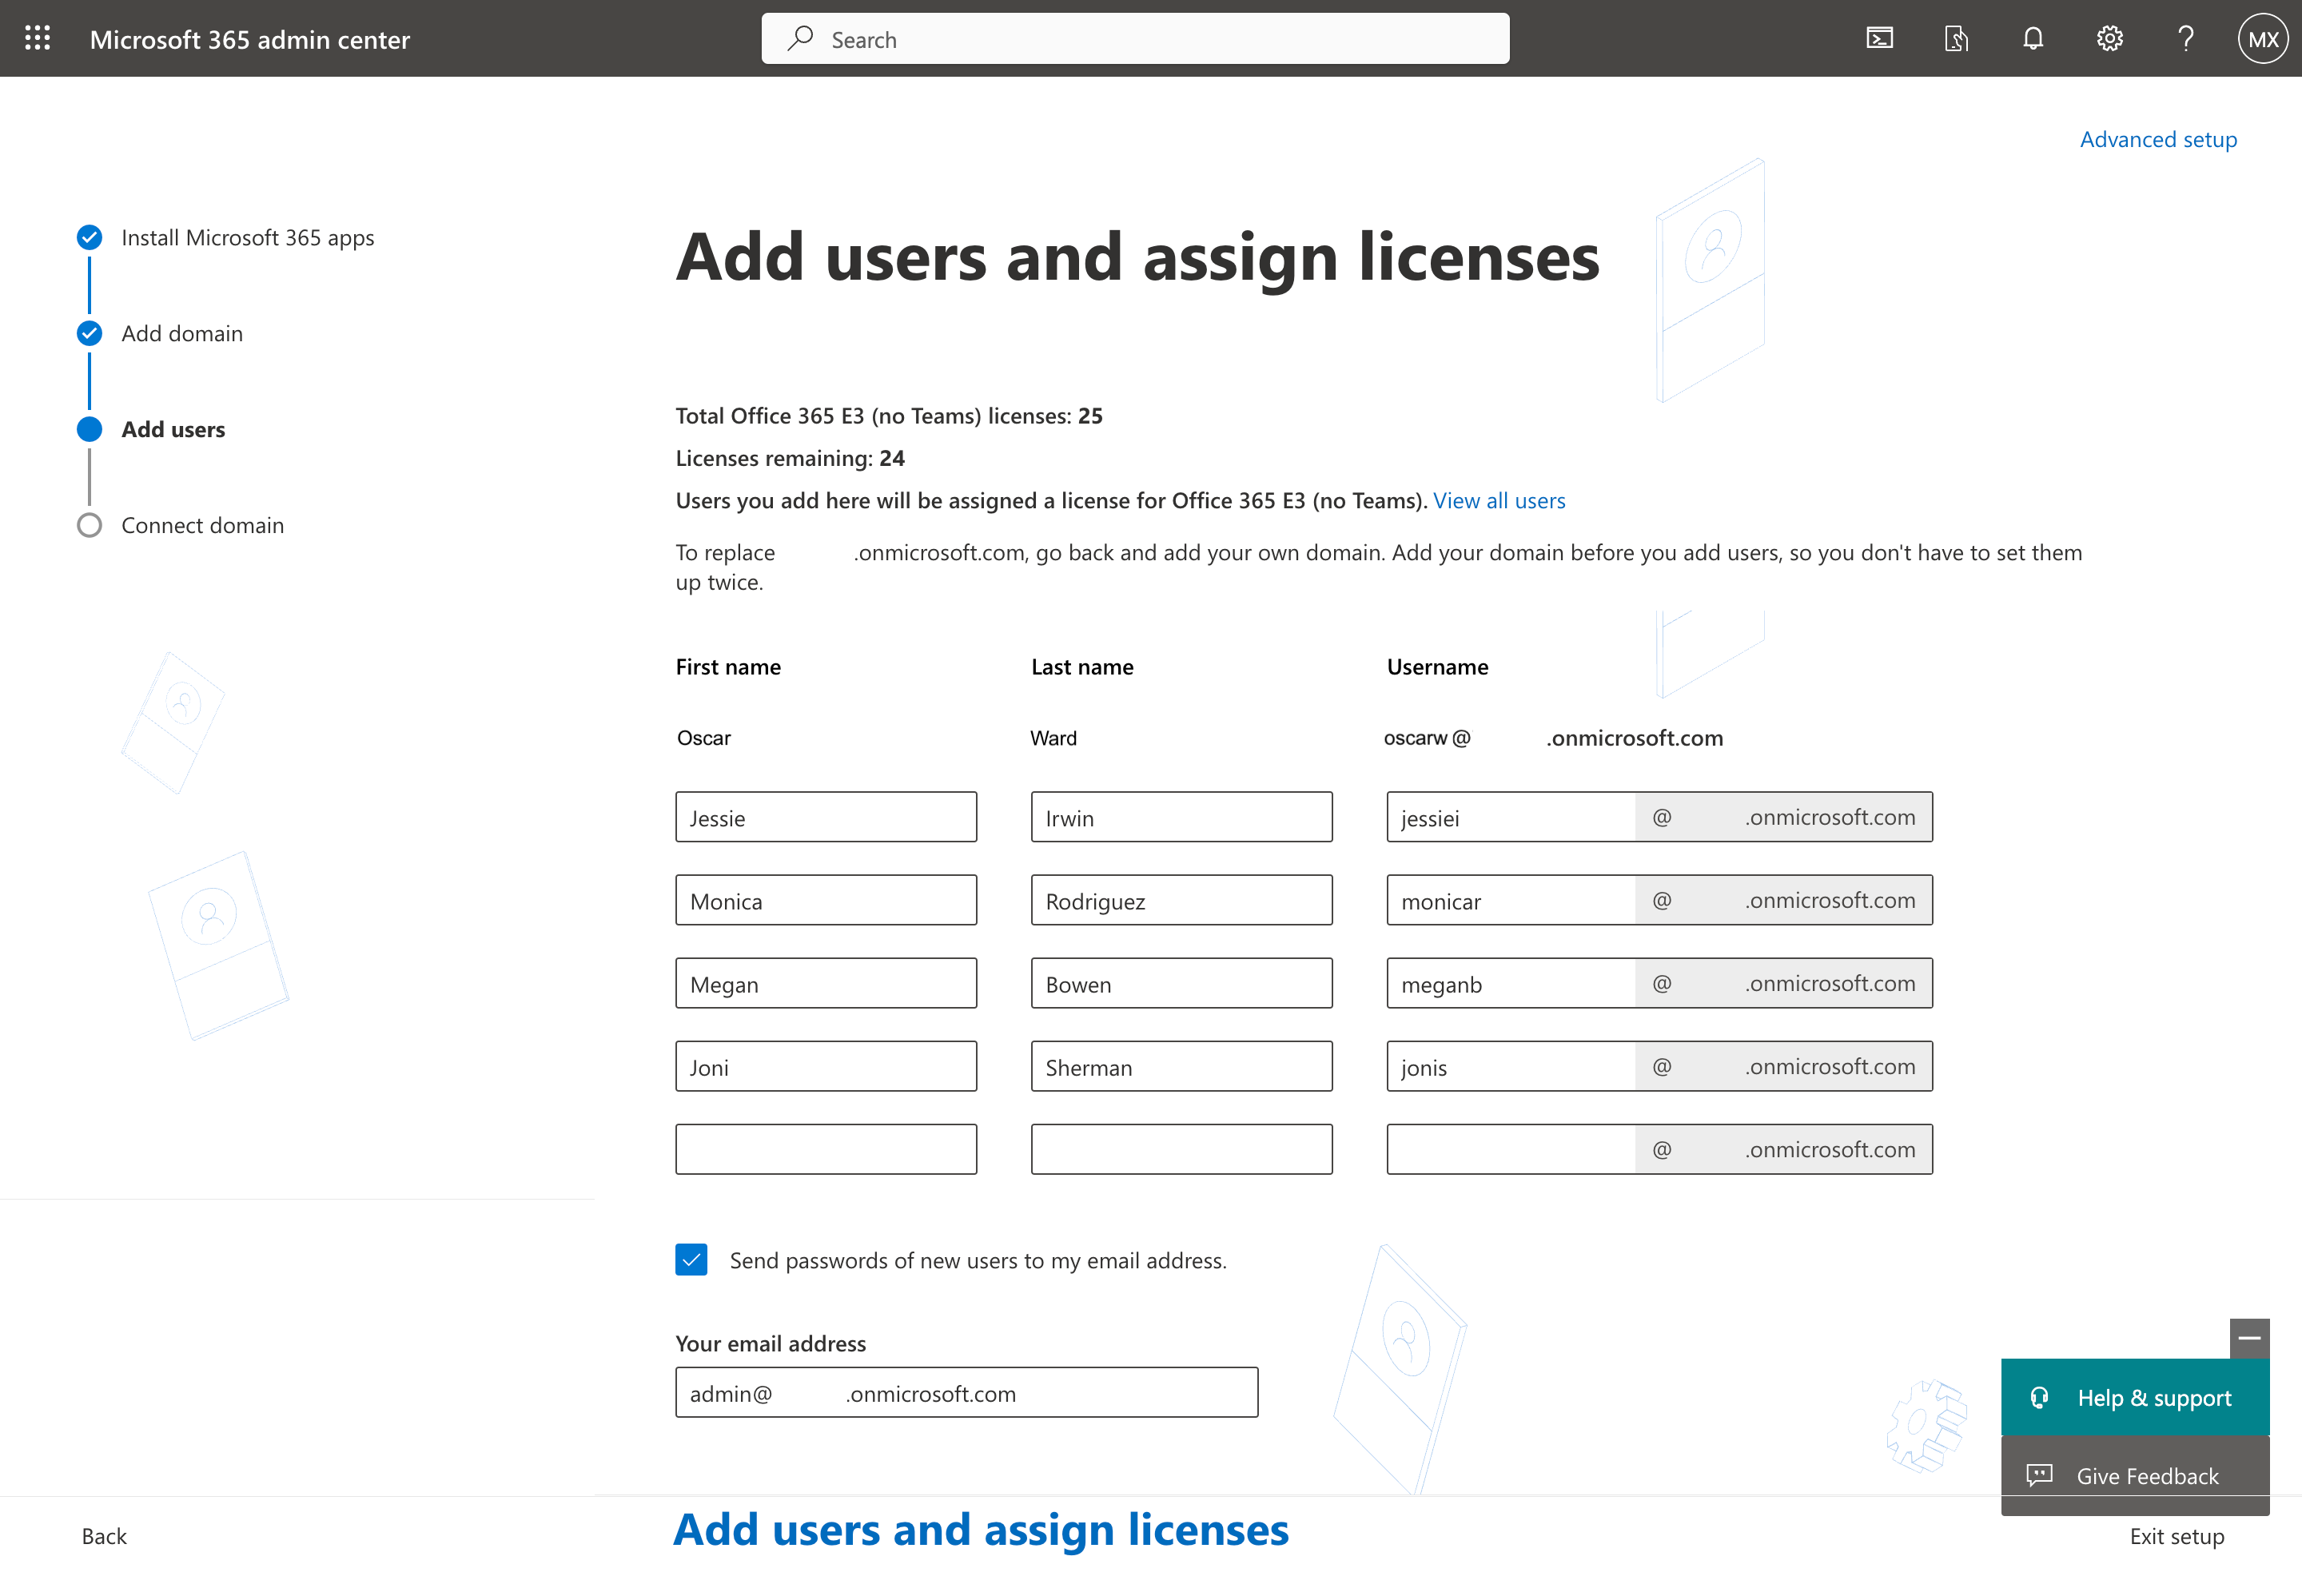
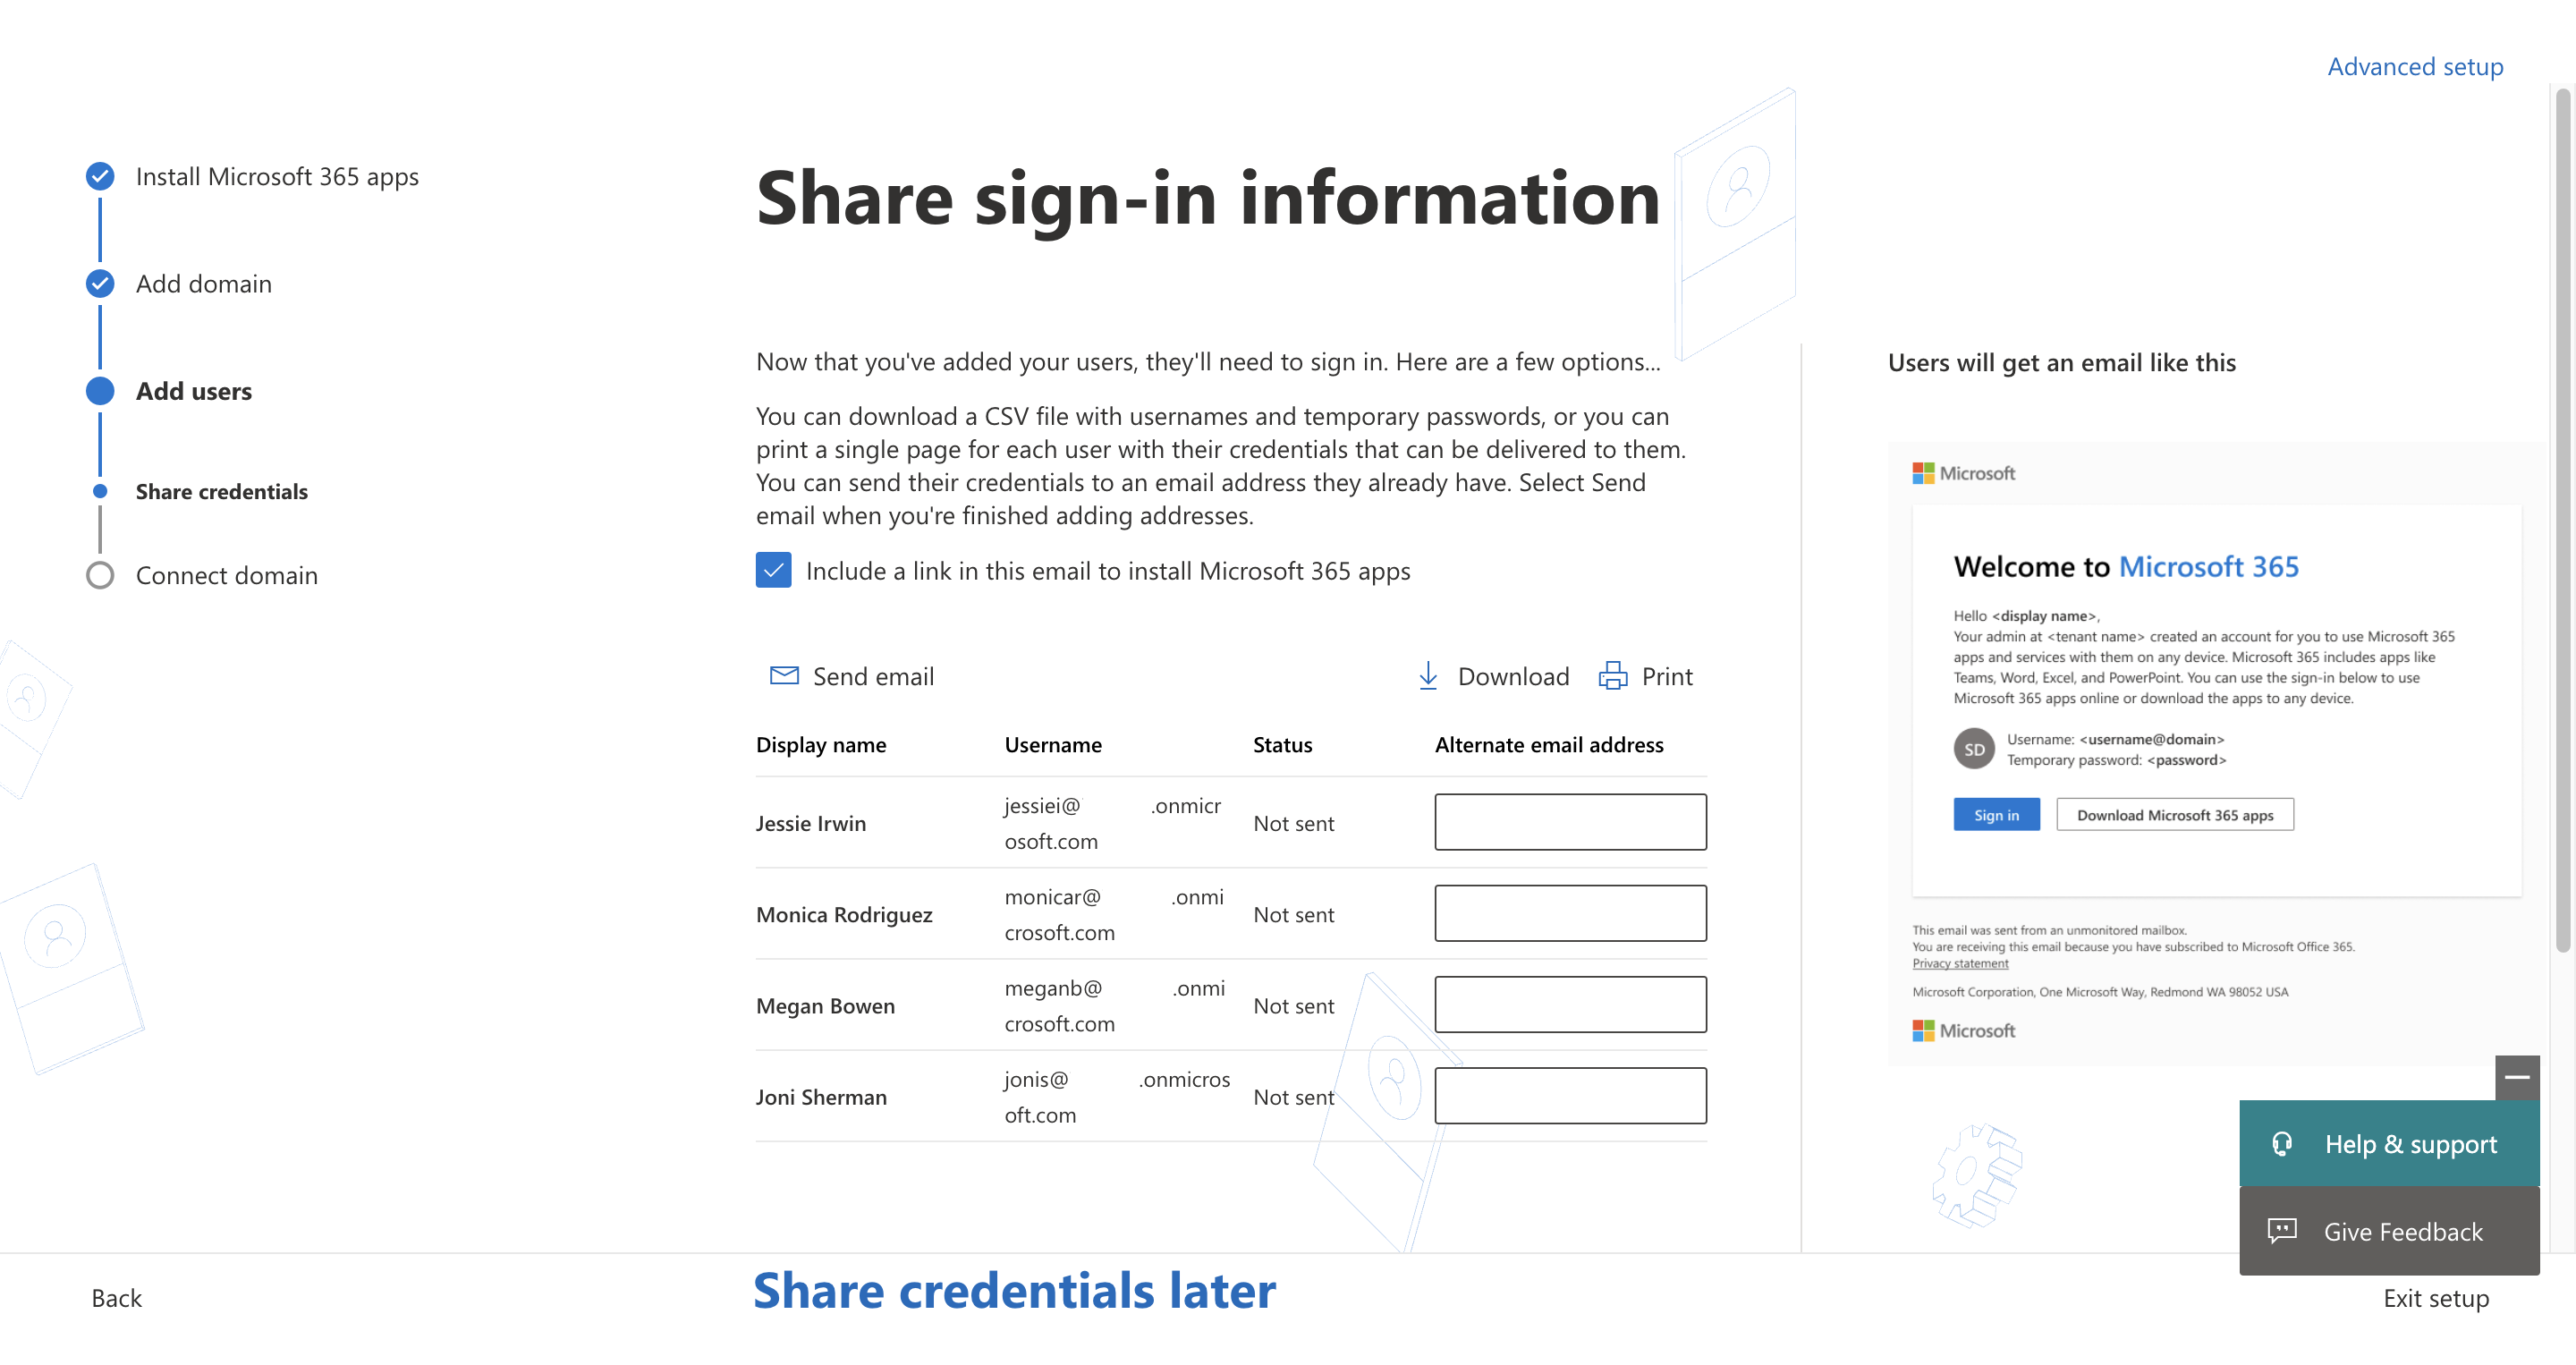
Download the credentials and then select Continue.
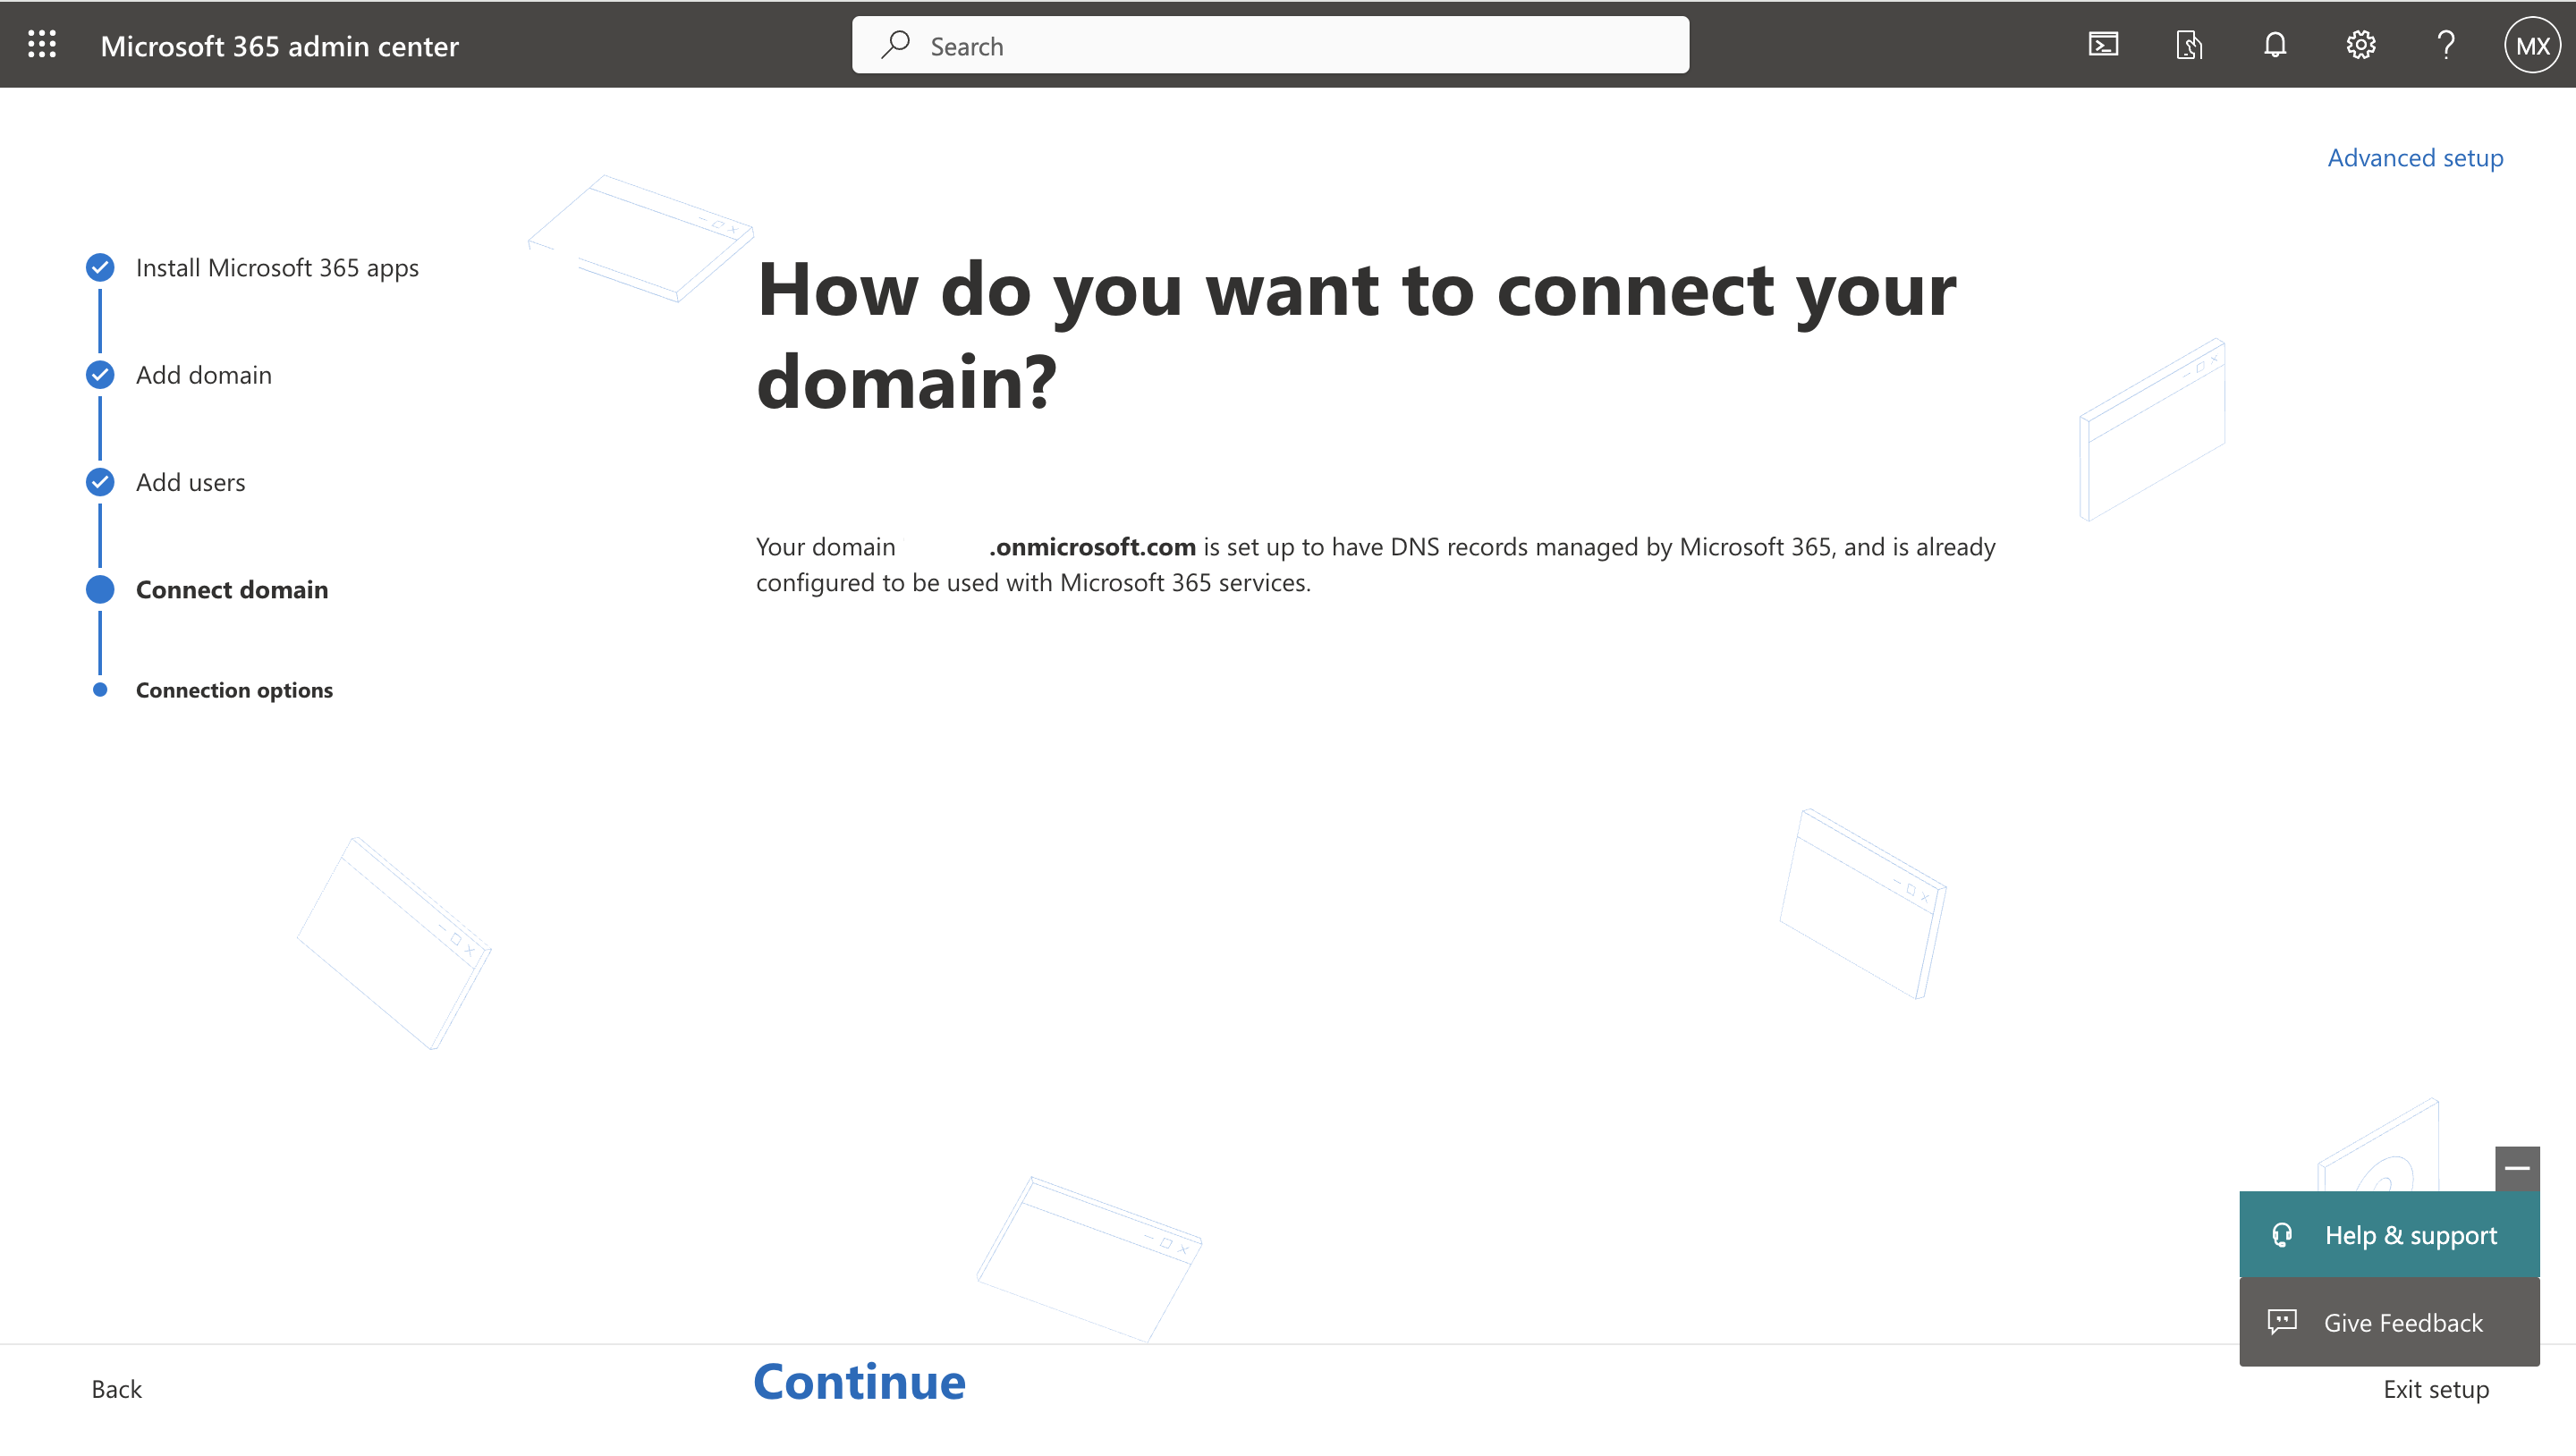
On the Connect domain page, select Continue.
In the Feedback page, select Go to admin center. The system redirects you to the home page of the Microsoft 365 admin center.
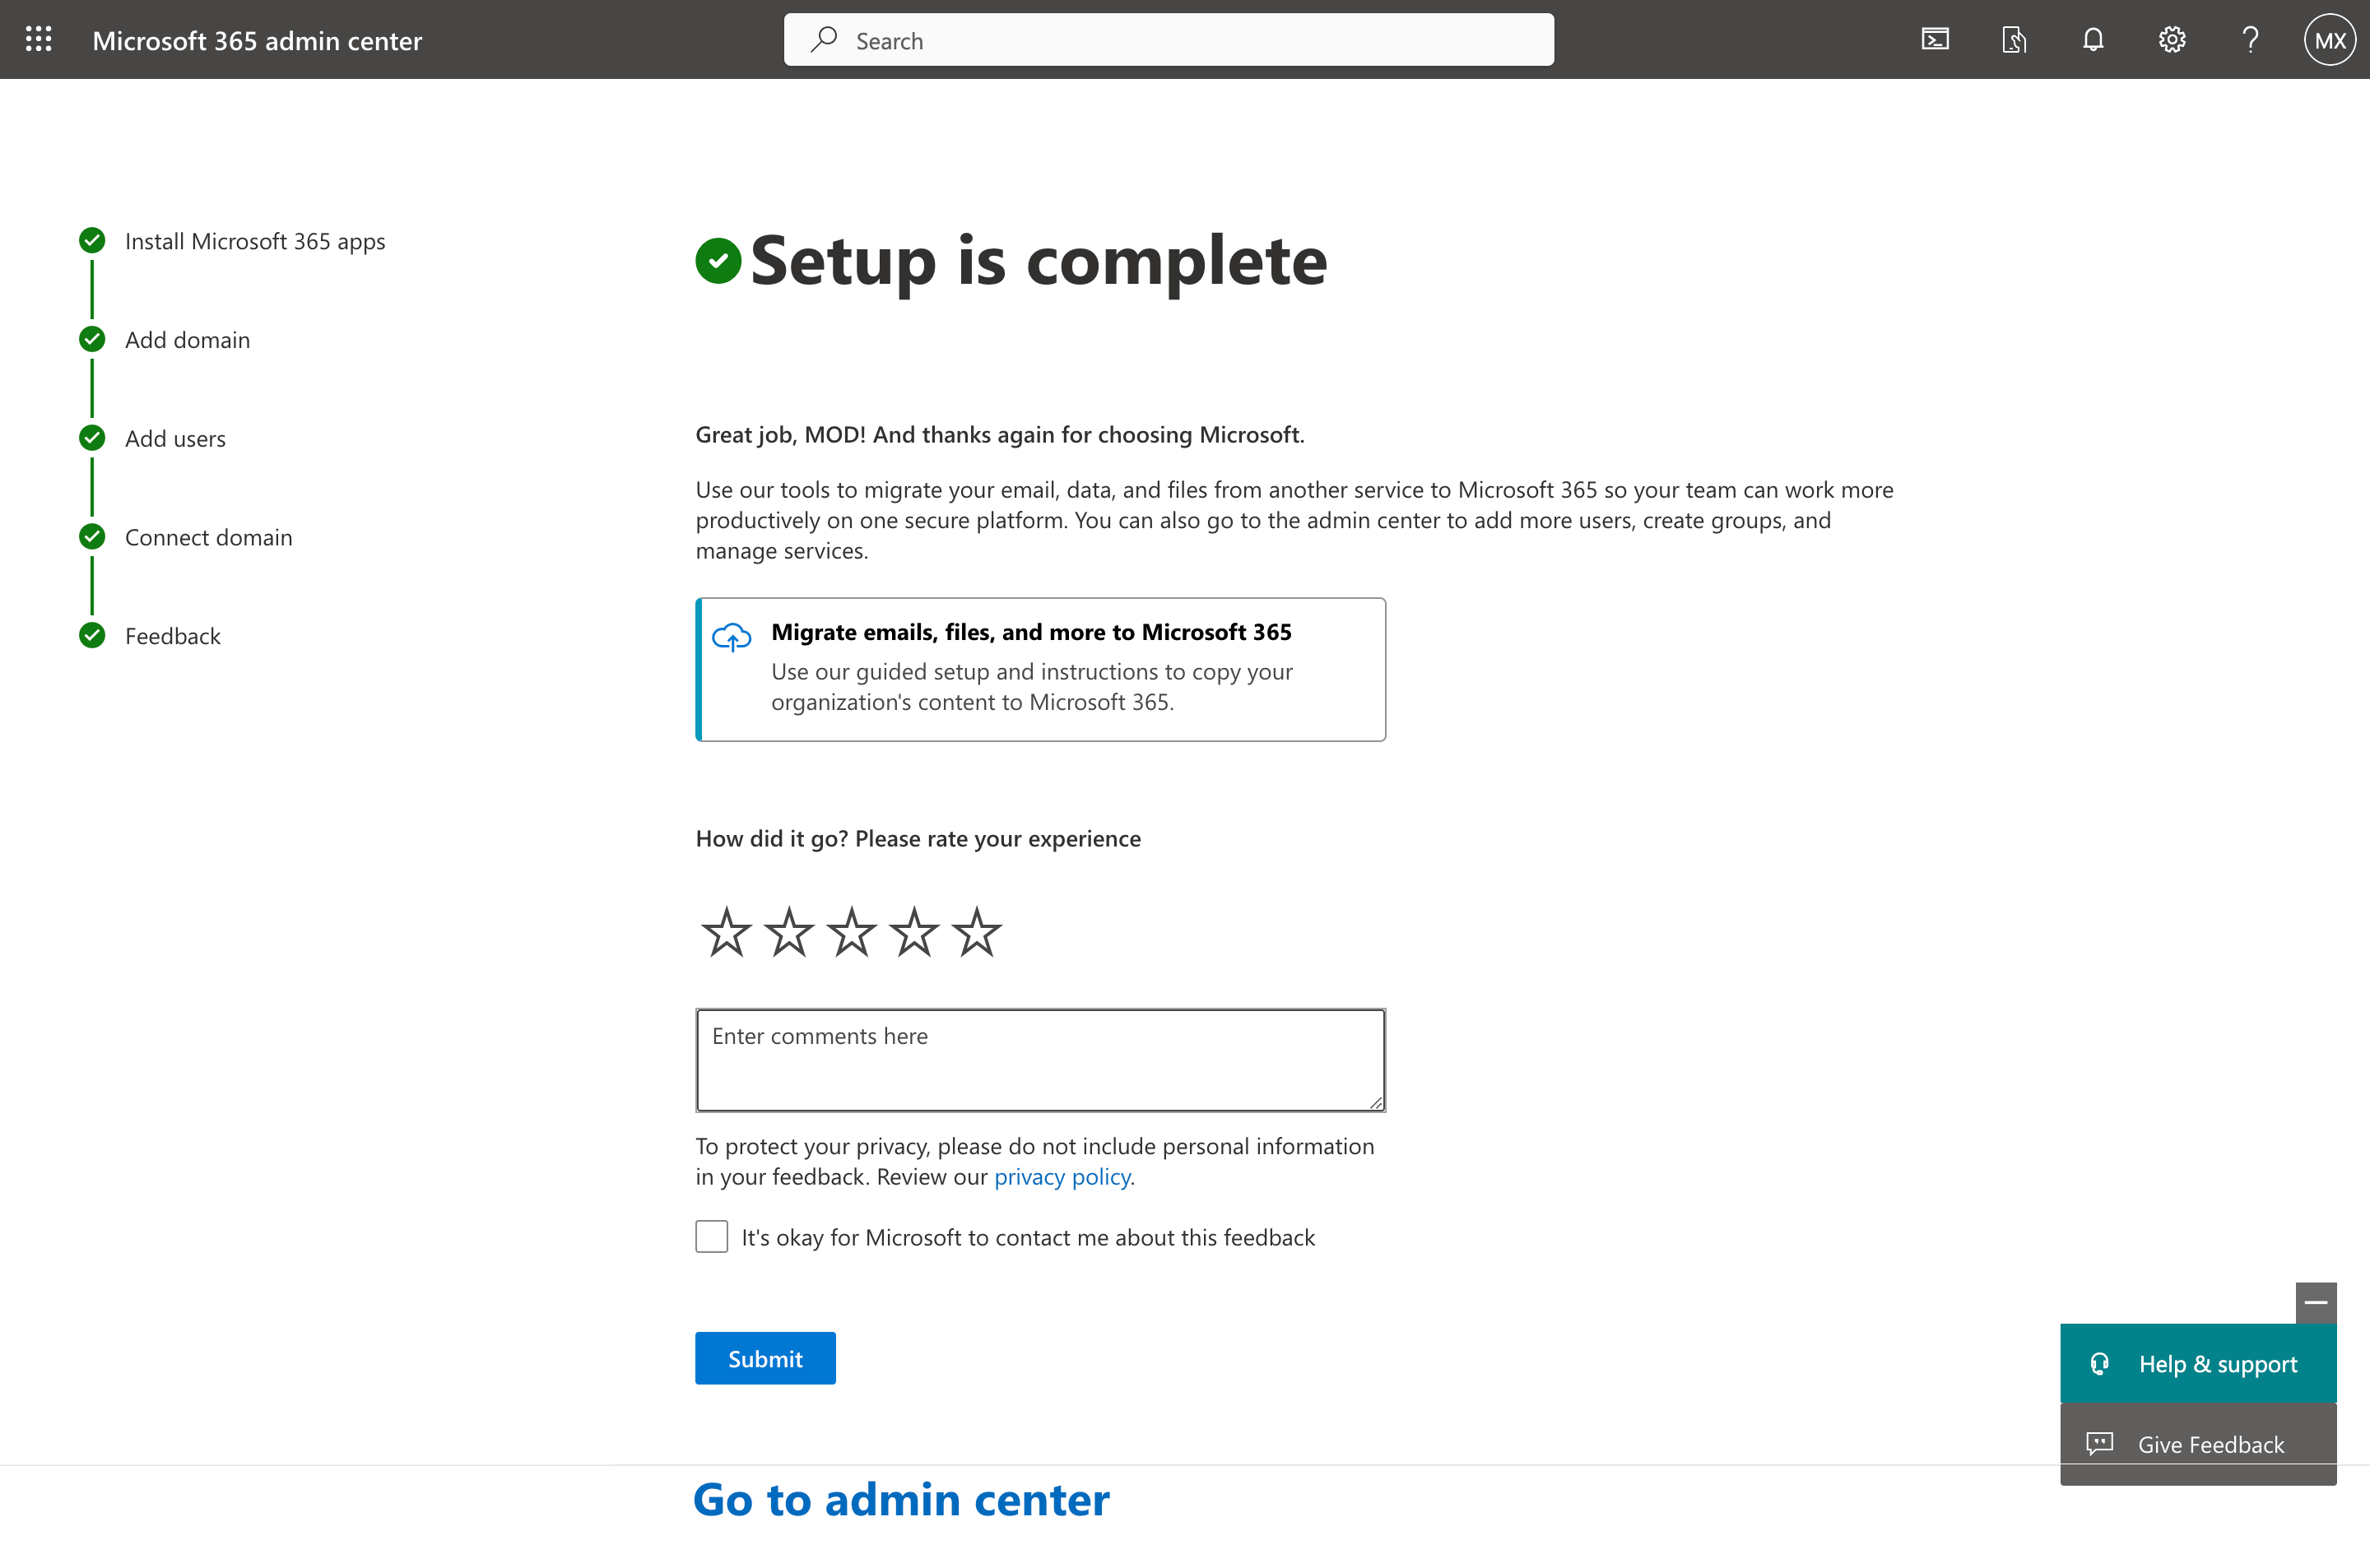


Congratulations, you created the persona users and assigned them the licenses for Microsoft 365 apps.