Exercise - Run a disaster recovery drill
Azure Site Recovery is flexible enough to support many different recovery scenarios. You can choose to fail over individual machines or our entire infrastructure with recovery plans. The flexibility enables you to simulate various disasters, like losing only part of your infrastructure. Multiple recovery plans can be defined to allow for all the different kinds of disaster drills you want to run.
With Site Recovery in place, the head of Operations has asked you to test how long it takes to fail over all your infrastructure. You've investigated the different options, and decided to create a recovery plan so that you can fail over all the VMs. With the plan in place, you'll run a test failover and monitor its progress.
In this exercise, you'll complete the steps needed to run a DR drill using a recovery plan on the portal.
Note
For Azure Site Recovery to efficiently function, a minimum memory of 1 GB is required on each VM.
Create a recovery plan
Sign in to the Azure portal with your credentials.
On the home page, select All resources.
From the list of resources, select the Recovery Services vault named asr-vault.
On the left menu pane, select Recovery Plans (Site Recovery) under Manage.
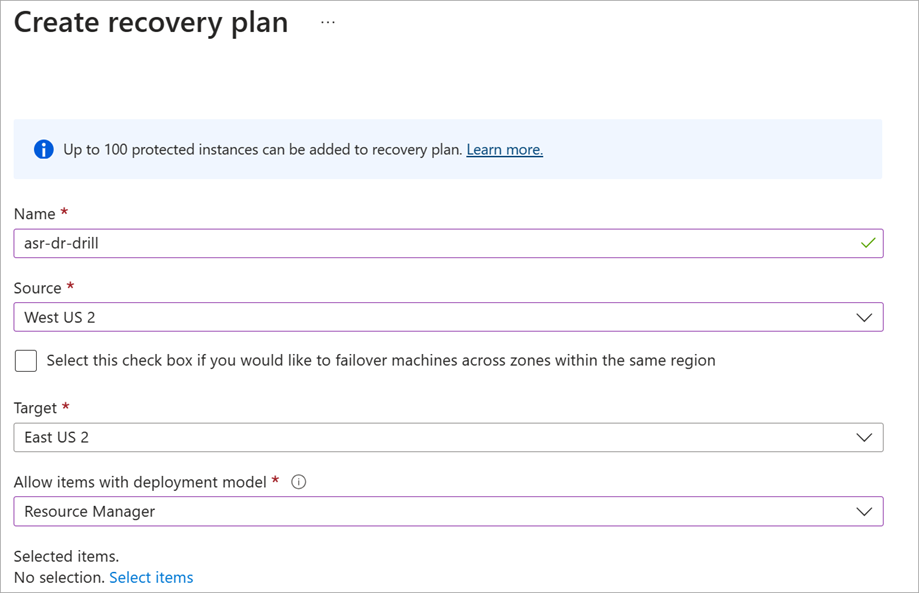
In the top menu bar, select Recovery plan. The Create recovery plan pane appears.
Enter the following values for each setting:
Setting Value Name asr-dr-drill Source West US 2 Target East US 2 Select Resource Manager in the Allow items with deployment model drop-down.
Select the Select items link. The Select items pane appears.
Select your company's two VMs, and then select OK. The Create recovery plan reappears.
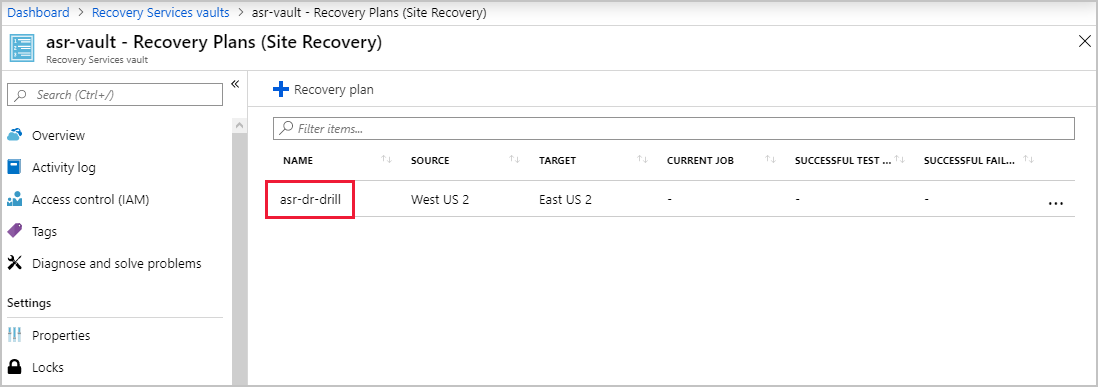
Select Create. The Recovery Plans (Site Recovery) pane reappears.
Note
It can happen that the configuration fails. If the configuration fails, delete the plan and create a new plan.
Run a test failover using a recovery plan
View the details of the recovery plan you previously created by selecting asr-dr-drill.
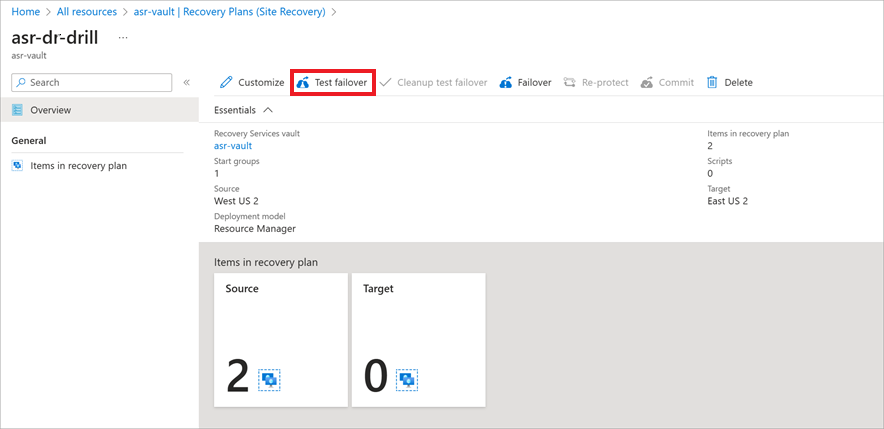
The Recovery Services vault pane named asr-dr-drill appears.
In the top menu bar, select Test failover.
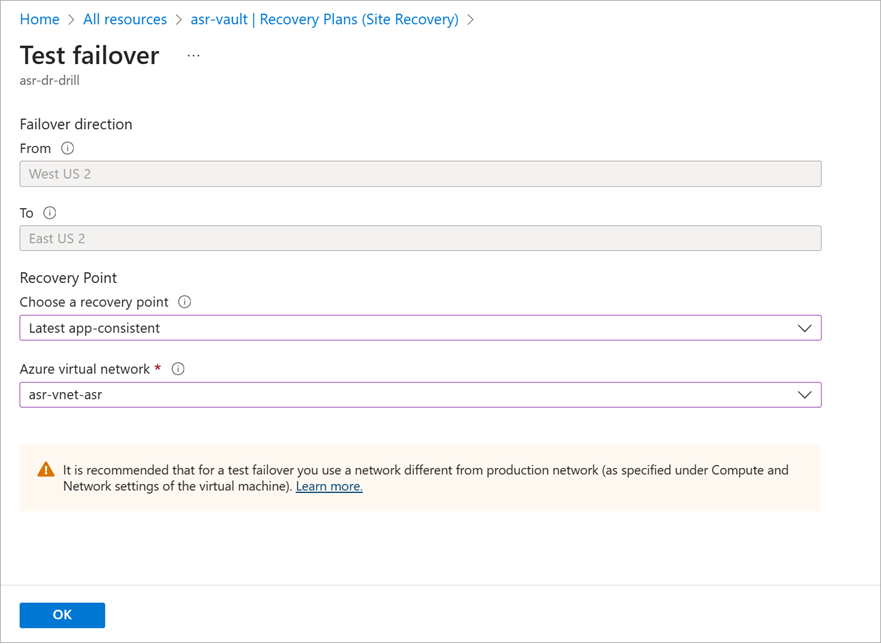
The Test failover pane appears.
Enter the following values for each setting:
Important
The network configuration failover support for each VM can take several minutes to auto-configure as each VM also needs to complete an initial synchronization. Running a failover test may not be available immediately.
For Failover direction:
Setting Value Failover direction From West US 2 To* East US 2 Recovery Point Choose a recovery point From the dropdown list, select Latest (Lowest RPO) Azure virtual network From the dropdown list, select asr-vnet-asr. To begin the failover, select OK.
Monitor failover progress
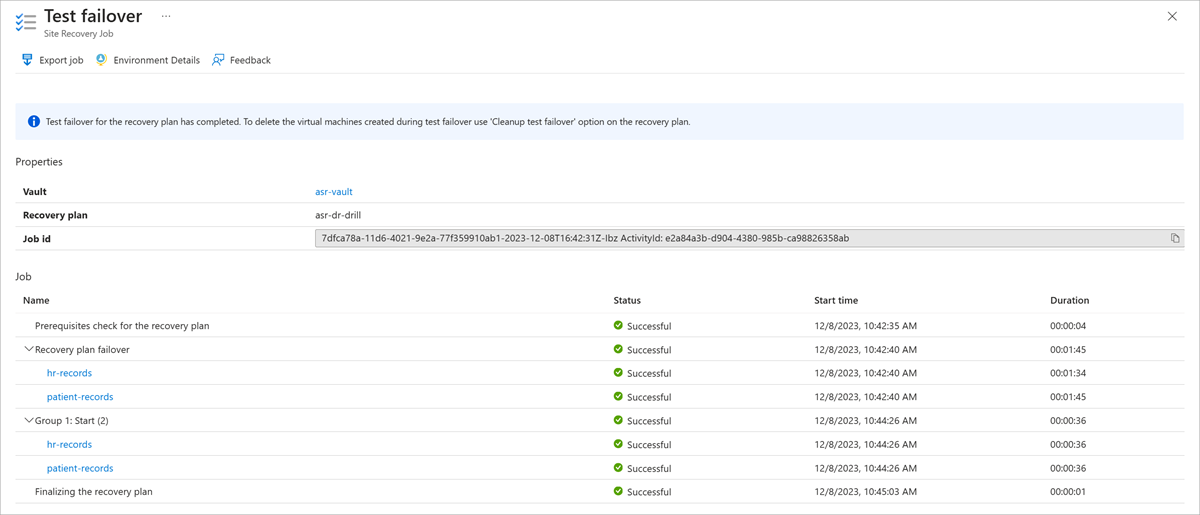
Select the Notifications icon, then select the Test failover of 'asr-dr'drill' is in progress link to view the status of your failover test jobs.
You'll use the information on this pane to report back to the Ops manager that an Azure failover for your company's current infrastructure will take less than three minutes to complete. These jobs are running in parallel (rather than a simple sum of all of jobs), to work out the total of time taken.
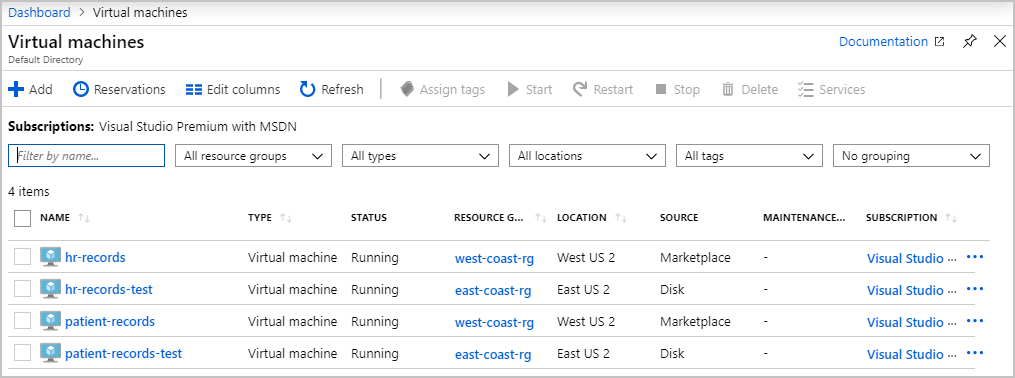
After all the jobs have completed successfully, select Virtual machines from the Azure home page.
Select one of the new test VMs.
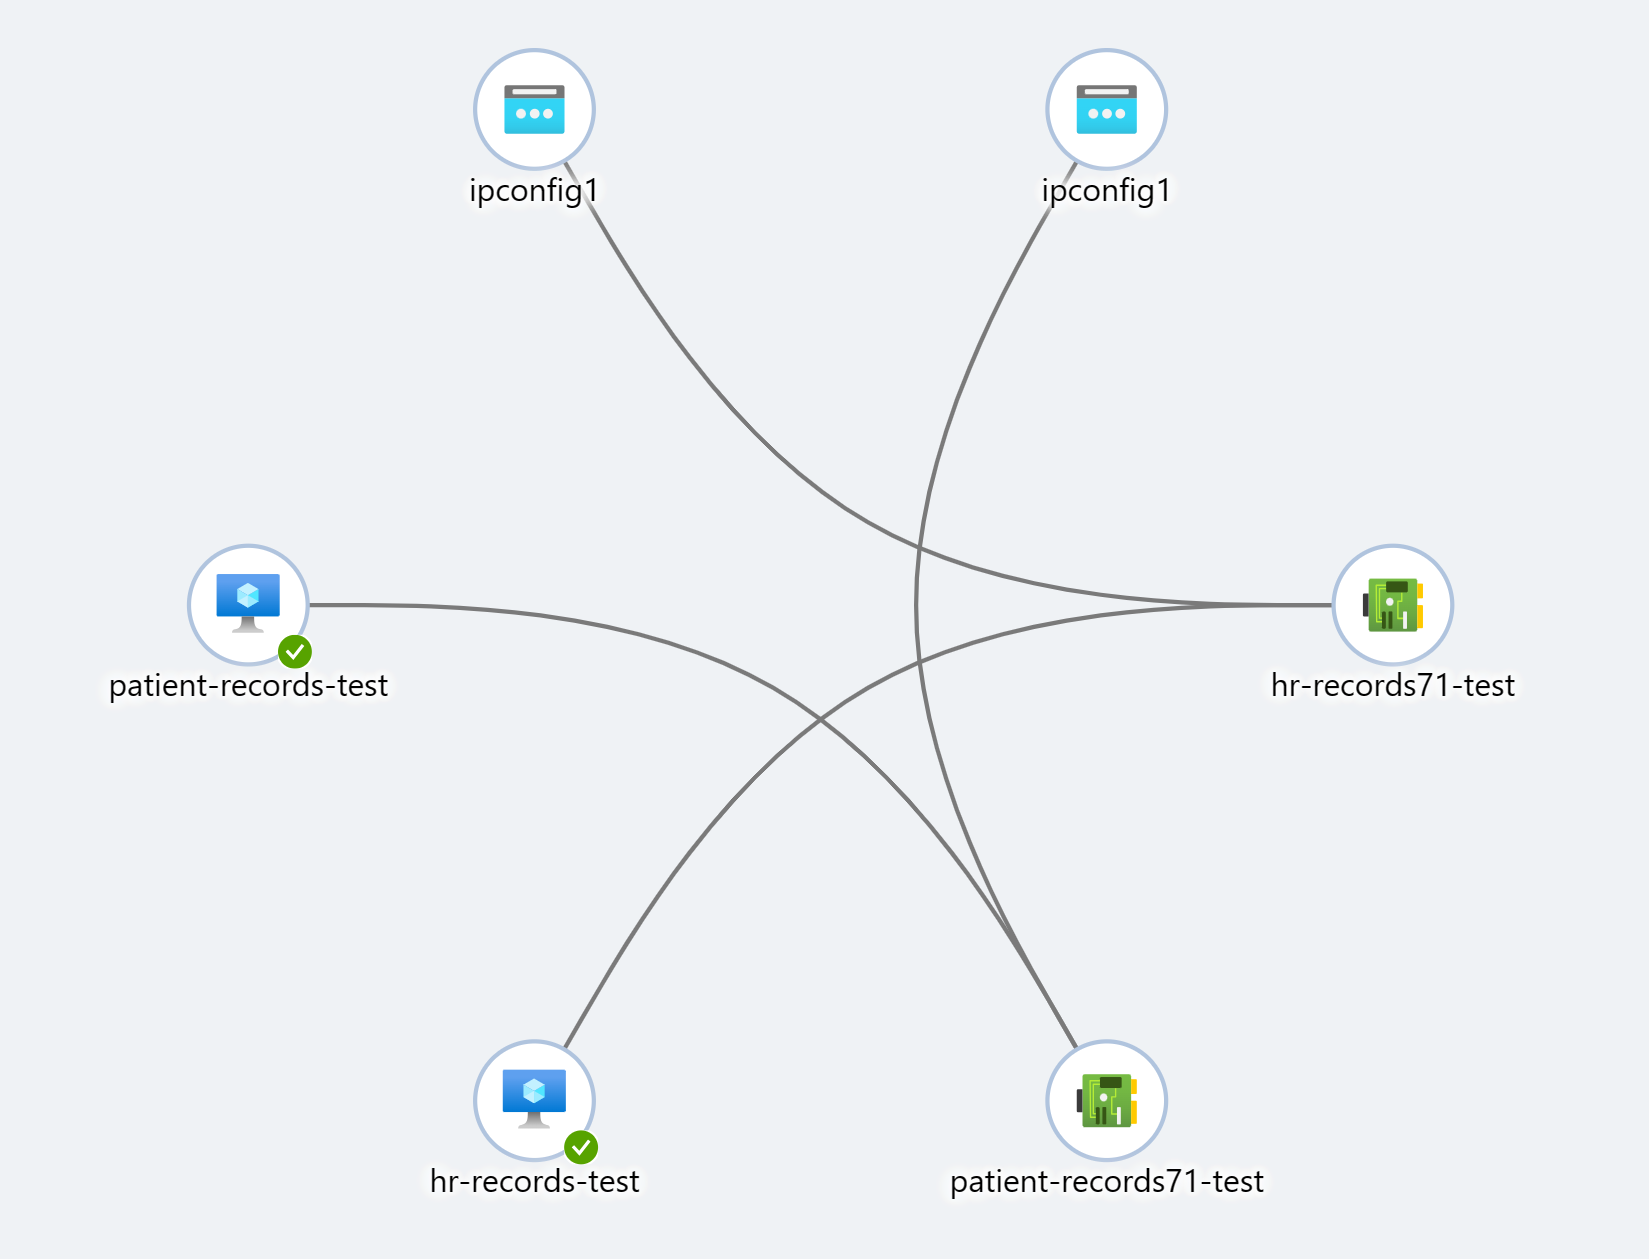
In the left menu pane, under Settings, select Networking, and then select Topology. You'll see an image similar to the following:
Note
Both the patient-records and hr-records VMs have been failed over by Site Recovery. The VMs are running in their own disaster recovery virtual network.
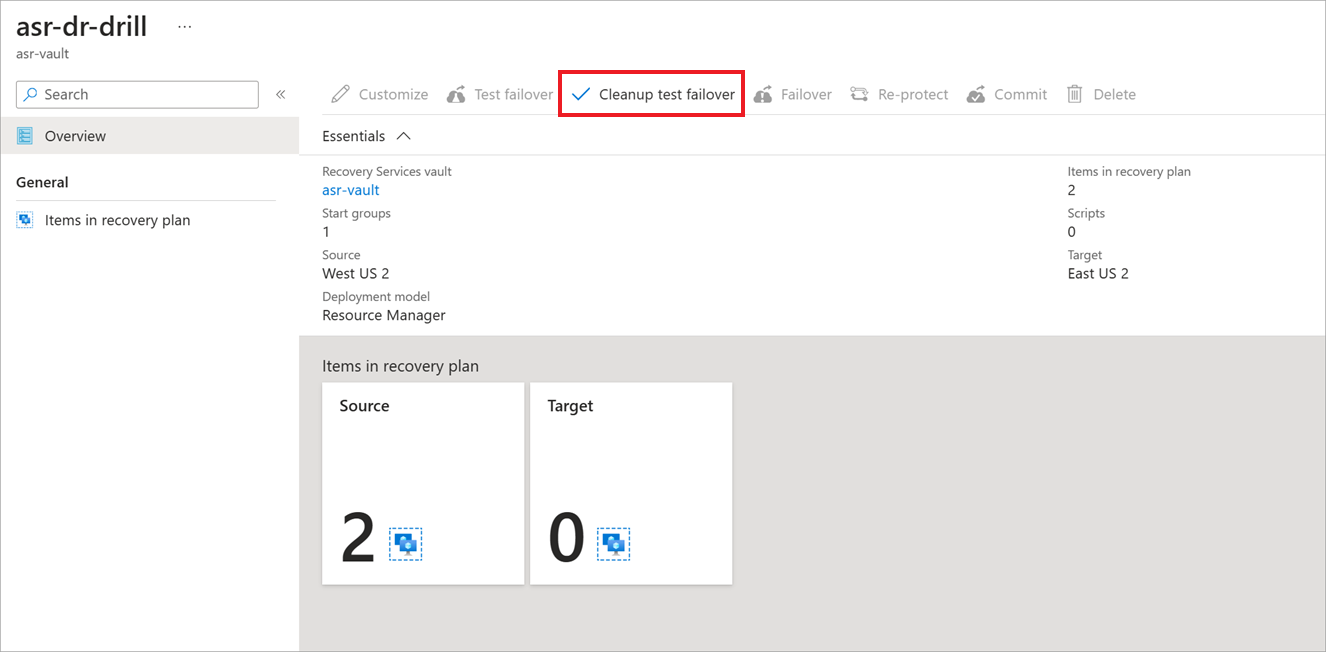
After you're satisfied with the test results, make sure to capture any notes about the test outcome. You'll now switch back to your asr-dr-drill site recovery plan, and in the top menu bar, select Cleanup test failover to delete the replicated VMs.
To complete the cleanup process, select the Testing is complete checkbox, then select OK. This step can take a few minutes to complete.
