Exercise - Implement configuration settings in Azure App Configuration instance
A new requirement to the application now says to allow a feature flag to control a discount for a product. This exercise shows you how to do that.
- Add a configuration setting to the Azure App Configuration instance.
- Add code to use the new setting to discount product prices.
- Build and test the app.
Add the configuration setting to the App Configuration store
In Azure App Configuration, now create a new key-value pair to store the sales discount percentage. Complete the following steps:
- In another browser tab, sign into the Azure portal with the same account and directory as the Azure CLI.
- Use the search box to find and open the App Configuration resource prefixed with eshop-app-features.
- In the Operations section, select Configuration explorer.
- In the top menu, select + Create and select Key-value.
- In the Key text box, enter eShopLite__Store__DiscountPercent.
- In the Value text box, enter 0.8.
- Select Apply.
Add code to use the new configuration setting
The product page needs to be updated to use the new configuration setting. Complete the following steps:
In Visual Studio Code, open the Store/Components/Pages/Products.razor file.
In the @code section, add the following variable to store the state of the feature flag:
private decimal discountPercentage;In the OnInitializedAsync method, add the following code to retrieve the value of the configuration setting:
if (saleOn) {
  discountPercentage = Convert.ToDecimal(Configuration.GetSection("eShopLite__Store__DiscountPercent").Value);
}
The method should now look like the following code:
protected override async Task OnInitializedAsync()
{
    saleOn = await FeatureManager.IsEnabledAsync("SeasonalDiscount");

    // Simulate asynchronous loading to demonstrate streaming rendering
    products = await ProductService.GetProducts();

    if (saleOn) {
      discountPercentage = Convert.ToDecimal(Configuration.GetSection("eShopLite__Store__DiscountPercent").Value);
    }
}
The above code uses the Configuration object to retrieve the value of the configuration setting. The value is stored in the
discountPercentagevariable as a decimal.
Display the discounted prices
The product page needs to be updated to display the discounted prices. Complete the following steps:
Replace
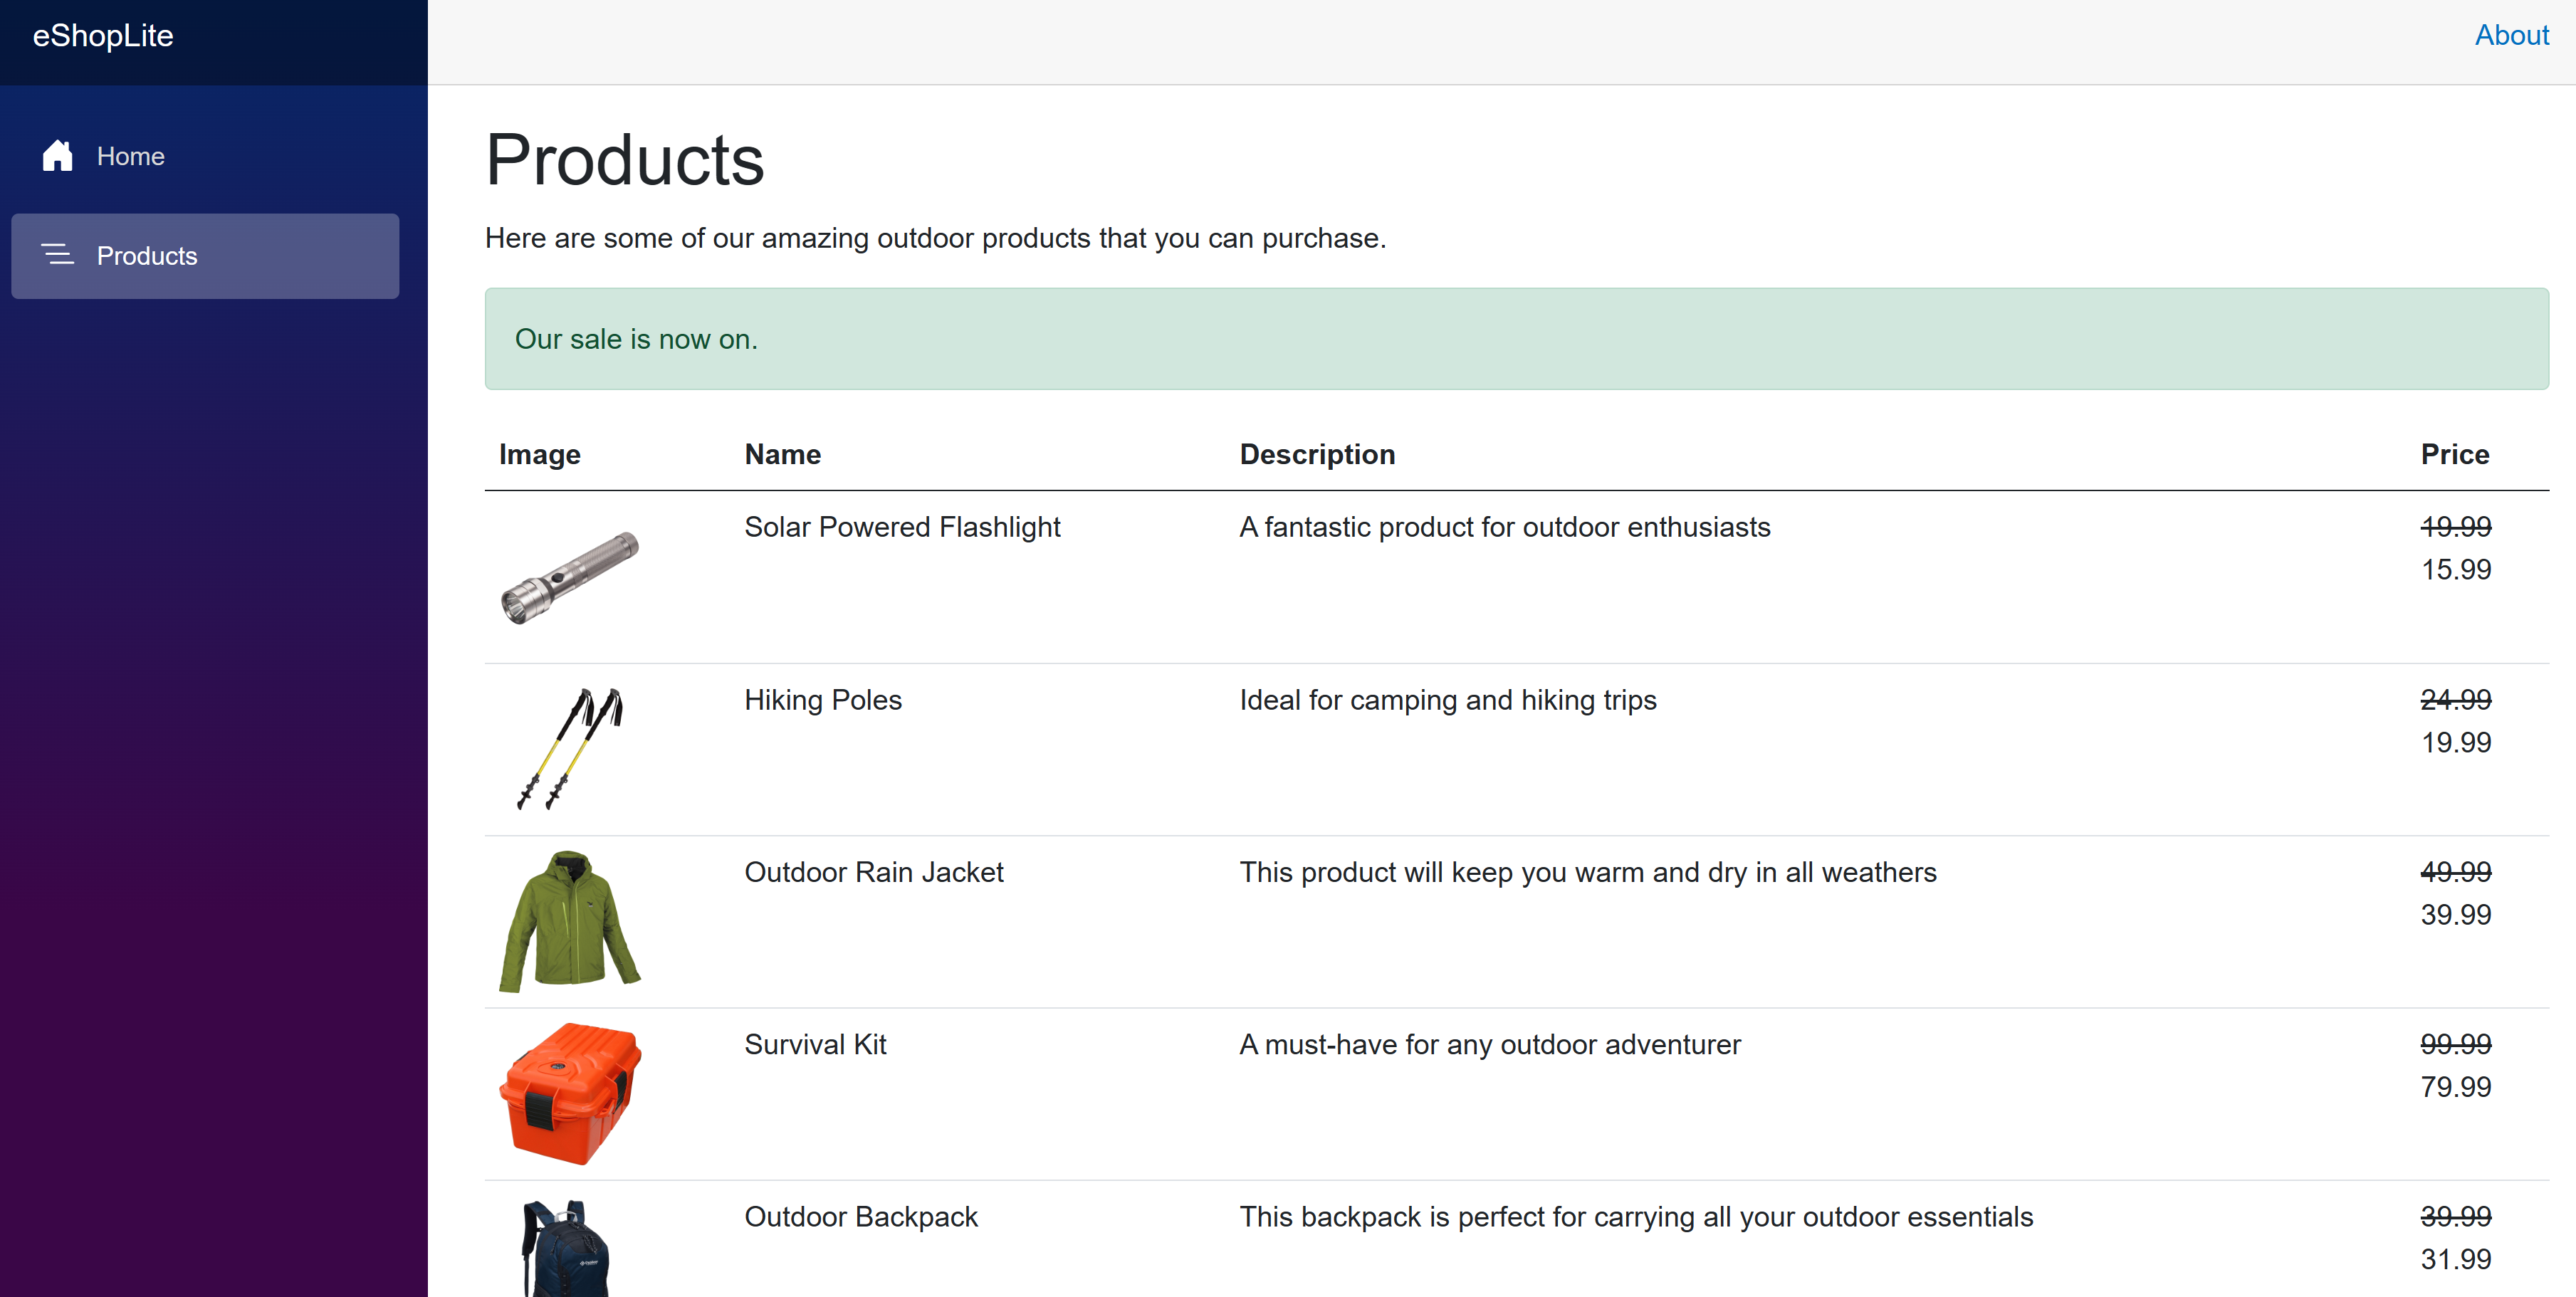
<td>@product.Price</td>with this code:<td> @if (saleOn) { <strike>@(product.Price)</strike><br> @((product.Price * discountPercentage).ToString("#.##")) } else { @product.Price } </td>The above code checks if the seasonal sale is enabled. If it's enabled, the original price is displayed with a strike-through and the discounted price is displayed below it. If the seasonal sale isn't enabled, the original price is displayed.
Build the app
Ensure you've saved all your changes, and are in the dotnet-feature-flags directory. In the terminal, run the following command:
dotnet publish /p:PublishProfile=DefaultContainerRun the app using docker:
docker compose up
Test the price discount feature
To verify the feature flag works as expected in a codespace, complete the following steps:
- Switch to the PORTS tab, then to the right of the local address for the Front End port, select the globe icon. The browser opens a new tab at the homepage.
- Select Products.
If you're using Visual Studio Code locally, open http://localhost:32000/products.
To test the feature flag is controlling the seasonal sale, complete the following steps:
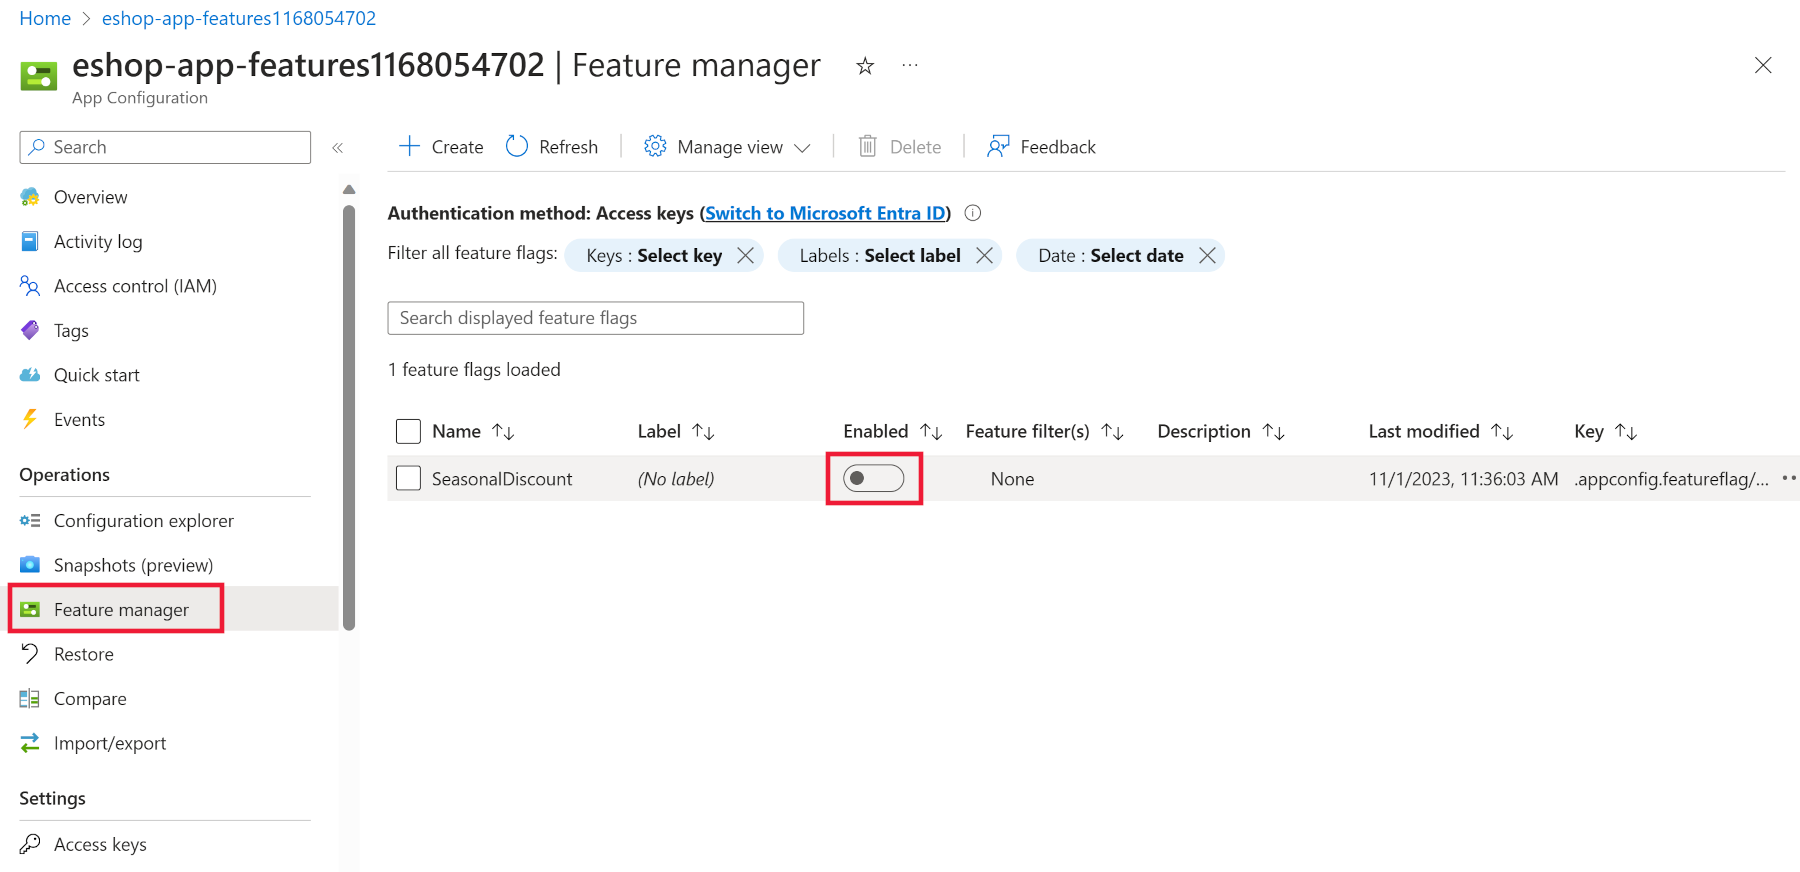
In the Azure portal, navigate to the Azure App Configuration resource prefixed with eshop-app-features.
In the Operations section, select Feature manager.
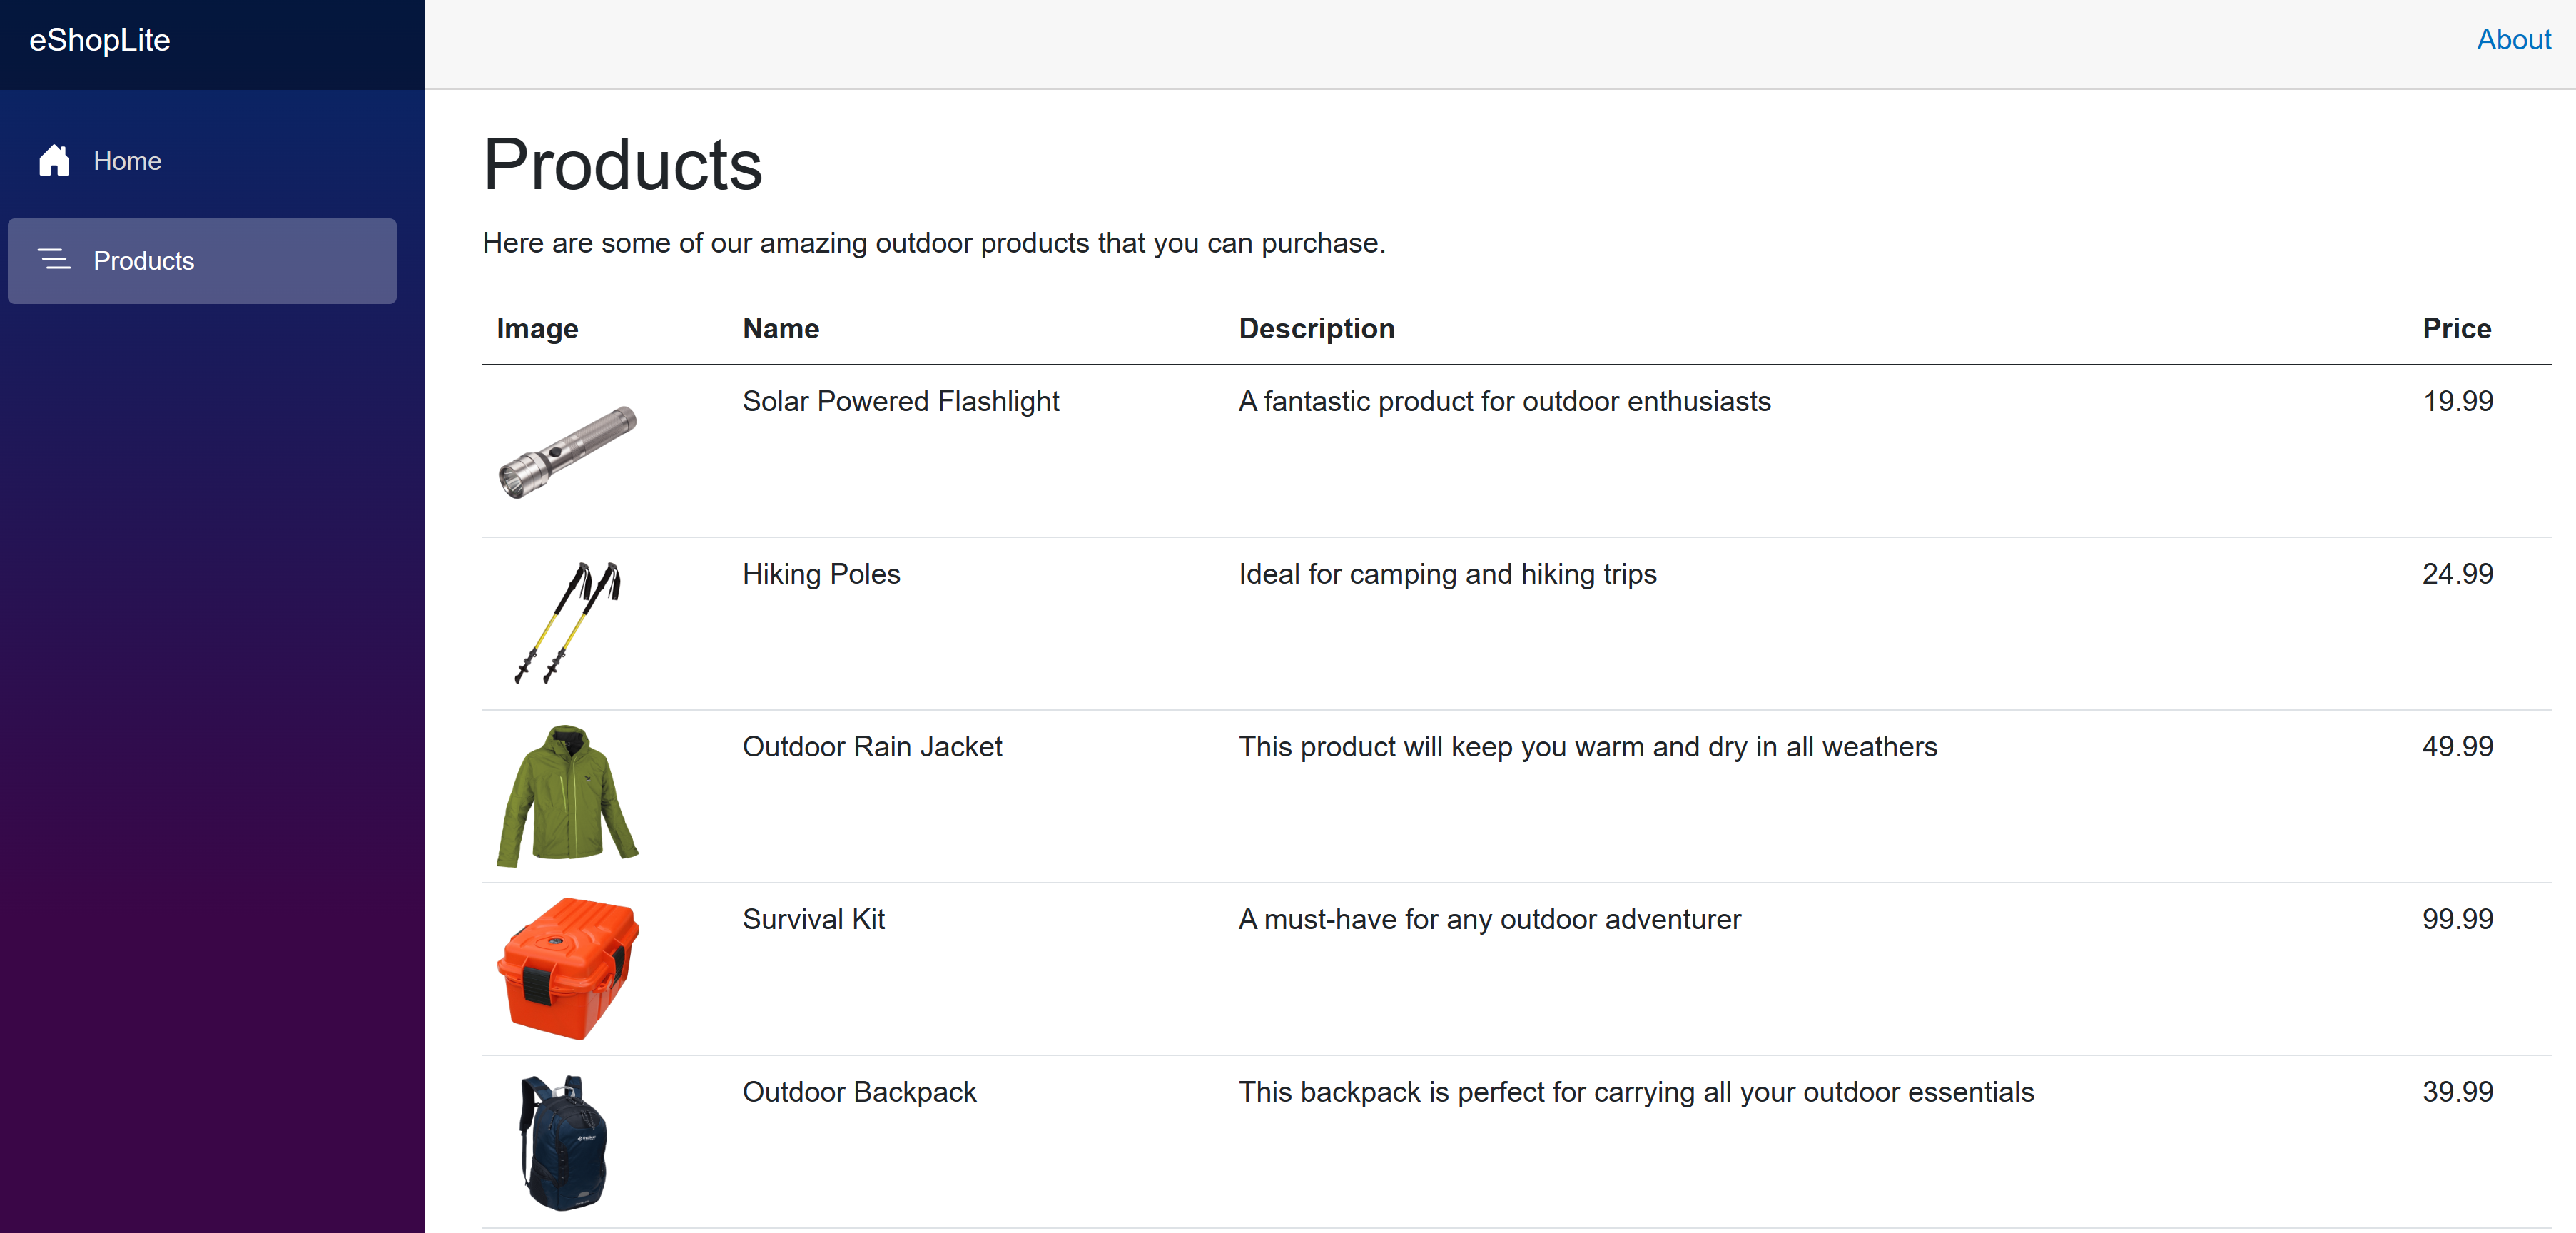
Select the SeasonalDiscount enabled toggle to switch off this feature.
In your browser, return to the application.
Select the Home page, then the Products page.
It can take up to 30 seconds for the cache to be cleared. If the sales banner is still being shown, wait a few seconds and refresh the page again.


