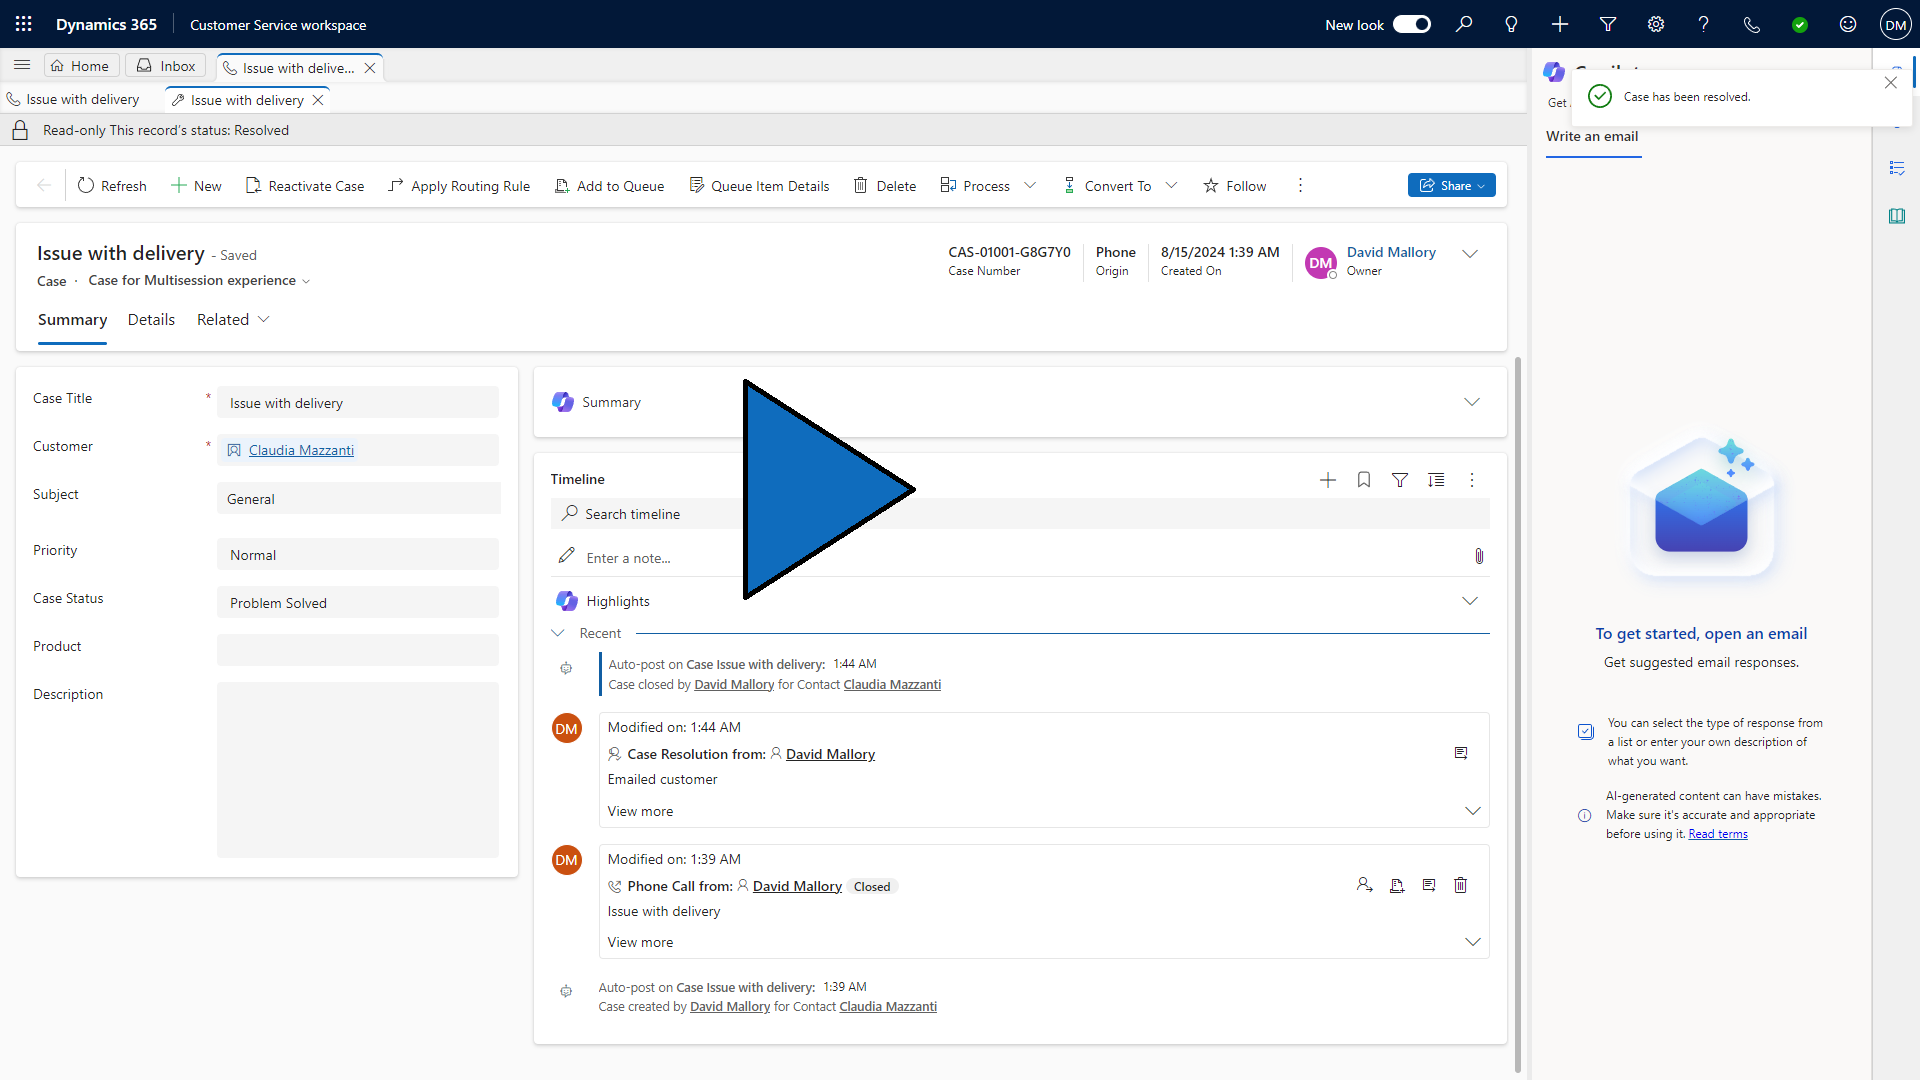
Simulation - Create and resolve cases
This exercise walks you through the steps to create a phone call activity, convert it to a case, resolve the case, then reactivate, modify, and resolve the case.
Note
Select the thumbnail image to start the lab simulation. When you're done, be sure to return to this page so you can continue learning.
Create a phone call activity
Launch Dynamics 365 Customer Service Hub.
Once Customer Service Hub is open, use the navigation on the left to select Activities from under the My Work group.
Using the command bar, select the Phone Call button.
Complete the Phone Call as follows:
Subject: Issue with Delivery
Call From: Your user's name
Call To: Rene Valdes (if you have a different data set, choose a contact that you have in your list)
Direction: Outgoing
Regarding: A. Datum Corporation
Select the Save button to save the phone call and leave it open.
Convert the phone call activity to a case
On the command bar, select the Convert To button.
From the menu that appears, select To Case.
In the Convert to Case window, select the following options:
Customer: A. Datum Corporation
Subject: Service > Delivery
Open the new case: Yes
Change the task status to Completed and close the form: Yes
Select the Convert button.
Leave the newly created case open, so you can use it in the next task.
Resolve the case
On the case forms command bar, select the Resolve Case button.
In the Resolve Case dialog box, select Information Provided for the Resolution Type.
In the Resolution box, Enter the text Emailed customer.
In the Billable Time drop-down list, select 15 minutes and select Resolve.
Reactivate, modify, and resolve the case
Using the navigation on the left, select Cases to navigate back to cases.
Select the drop-down arrow next to My Active Cases. From the menu that appears, select the My Resolved Cases view.
In the My Resolved Cases view, select the Issue with Delivery case you resolved.
On the command bar, select the Reactivate Case button.
When the reactivate case screen opens, select the Reactivate button.
On the Phone to Case business process, select the Identify stage.
Select the Next Stage button to advance to the Research stage.
Using the Related section of the right side of the case record, select the Knowledge Base Search (book) icon.
Select an article from the article suggestions and select the Link this article to the current case icon.
On the Phone to Case business process, select the Next Stage button until you are at the Resolve stage.
On the Resolve stage, select Finish.
Using the command bar, select the Resolve Case button.
On the Resolve a Case resolution window, in the Resolution field, enter the text Talked to customer and sent a new part.
In the Billable Time field, type 1 Hour.
Select the Resolve button to resolve the case.
