Create jobs and positions
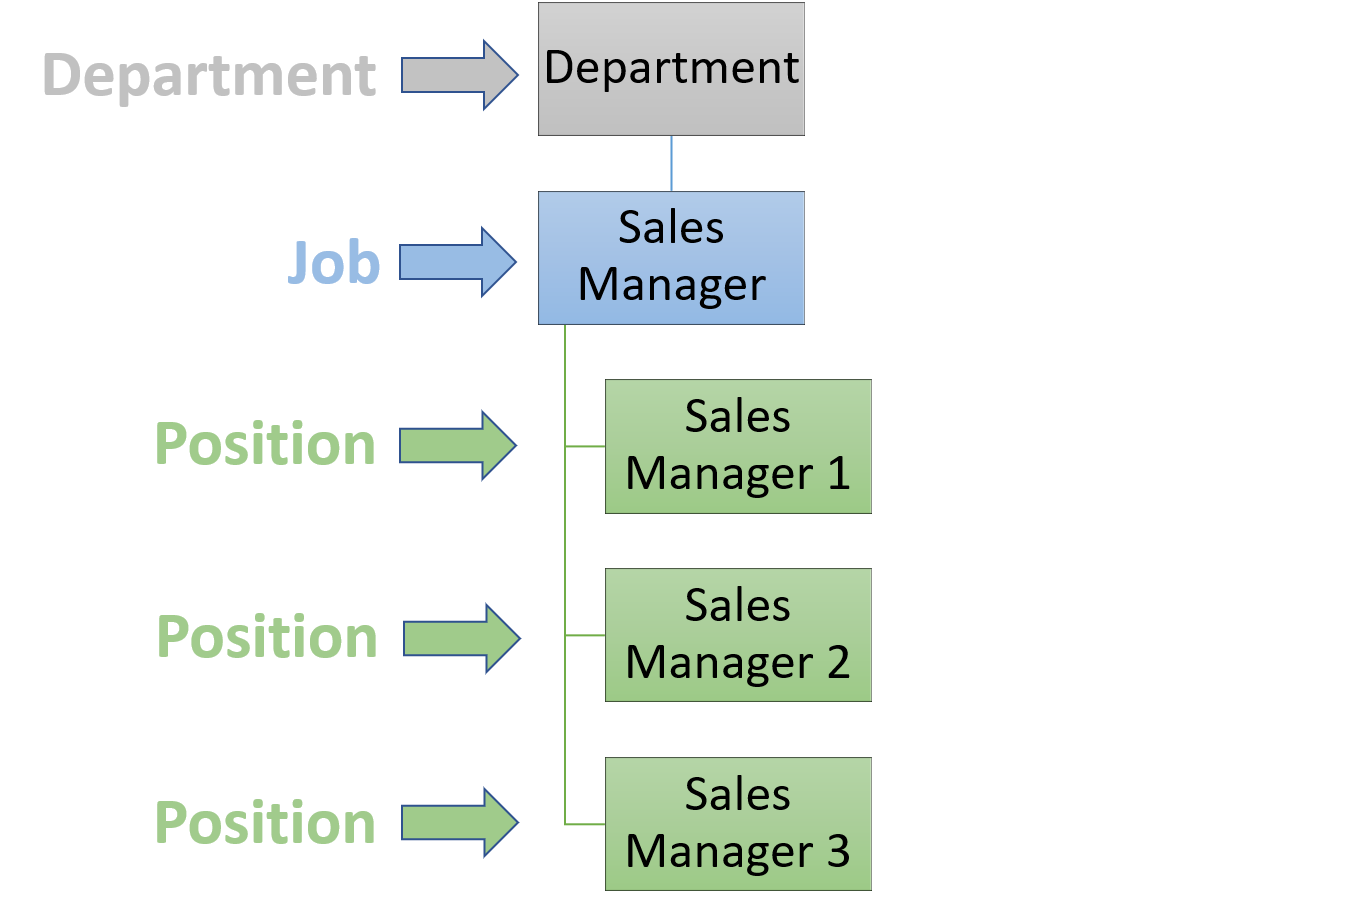
After you have organized your departments in the manner that you want for your organization, it is time to staff them with various jobs and positions. A job is a term that refers to a specific role within your organization, for example, sales manager. On the other hand, a position refers to how many people can have a specific job such as sales manager. For instance, if Contoso has a job listed for sales manager, and they are hiring three sales managers, those three job openings would be considered a position.
Follow these steps to create a new job:
Go to Human Resource > Jobs > Jobs.
Select New.
In the Job field, enter a value.
In the Description field, enter a value.
Select a standard title that will be used for the job. The title that you enter will be used as a default for new positions that are assigned to the job.
In the Maximum number of positions group, select Maximum positions.
Enter the maximum number of positions. Position assignments won't be allowed above the maximum value that is entered in this field.
Expand the Description section.
In the Note field, enter Enter a standard description for the job. The description applies to all positions that are assigned to the job that is defined in this field.
Expand the Job classification section.
Select a job function that will be used in standard reporting within Human Resources.
Select a job type to further classify jobs within your organization. Job types can be used in reporting throughout Human Resources.
Expand the Compensation section.
Select Add to create a compensation level. Select a Level and Survey company from the options in the drop-down menu.
Note
The compensation level will define the minimum and maximum compensation that an employee can have for the job. Compensation rules will determine if employee compensation can be outside the range.
Expand the Skills section and select Add. Select a Skill and Level from the options in the drop-down menu.
Note
A description will auto-populate when you have selected a Skill.
Select Save.
Select Copy from.
Select Copy from template.
In the Job template field, select the drop-down button to open the lookup and select the corresponding Job template.
Modify the toggle options under Copy as desired. When these functionalities are enabled, only the items that you select will be copied to the selected job.
Select OK.
Expand the Certificates section.
Expand the Education section.
Select Save.
