Create departments
Organizational units that represent a specific functional area of a business, such as sales or accounting, are referred to as departments. Many companies have organizational hierarchies that represent relationships between the various departments within the company.
Before you configure a department hierarchy, you must set up the departments within your organization. To do this, follow these steps.
Go to Organization administration > Organizations > Operating units.
Select New in the Action pane and select Department.
Select OK.
In the Name field, enter the Name of the new Department. For example Marketing.
You can continue adding additional details for the department such as address, contact information, and assign a Manager to the department.
When you are done configuring the new department, select Save in the Action pane.
When you have completed setting up the departments needed for your workforce, you can incorporate the departments into an organization's departmental hierarchy.
Follow these steps to create a new Department hierarchy:
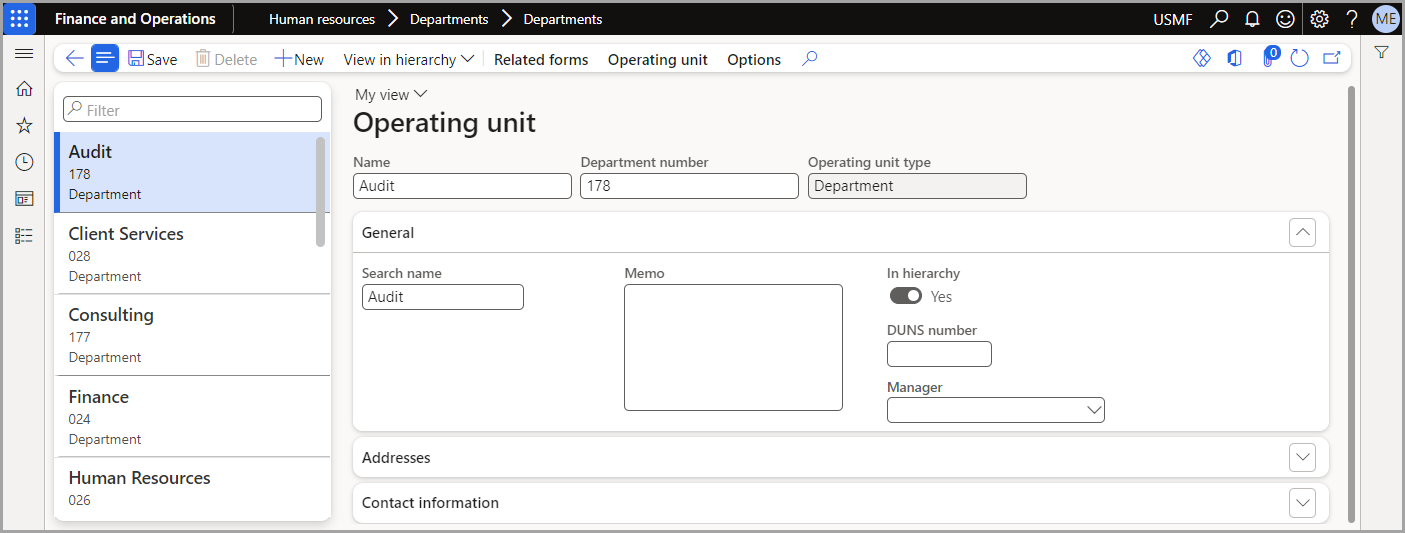
Go to Human resources > Departments > Departments.
Select New in the Action pane.
In the Name field, enter a value, for example: Project billing.
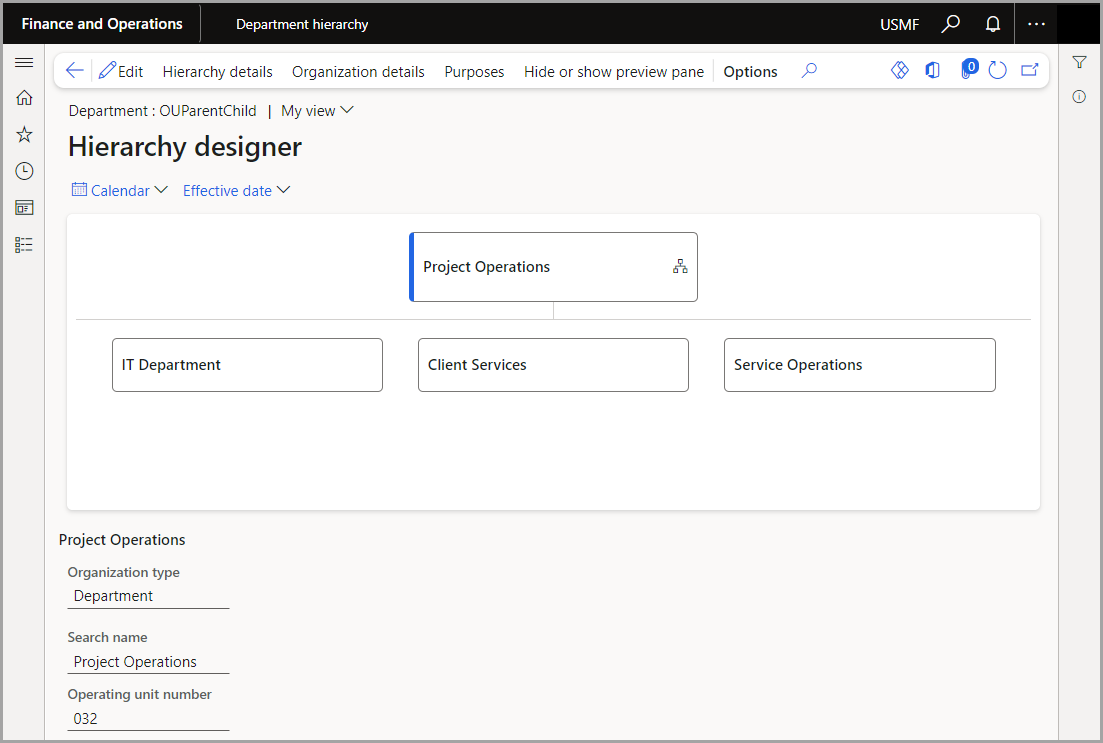
Now, you can begin setting up the hierarchy. Go to Human resources > Departments > Departments hierarchy.
Go to Human resources > Departments > Department hierarchy.
Select Edit.
Enter a name for the Hierarchy.
Select Insert and select Department in the drop down list.
Select your department to add to the hierarchy.
Select Save. You will receive a message stating that a draft version of the hierarchy has been created.
Select Publish in the FastTab.
Under Publish Changes, enter an Effective date. After you have entered the required information, select Publish.

