Exercise - Bind controls to data in Blazor applications
The Blazing Pizza app needs to update the interface when customers amend pizzas and add them to their orders. Blazor allows you to bind HTML controls to C# properties to update when their values change.
Customers should see what pizzas they're ordering and how the size they choose affects the price they'll pay.
In this exercise, you'll get the Blazing Pizza app in a position where orders can be updated and edited. You'll see how to bind controls to the properties of a pizza and recalculate prices on these changes.
Display a customer's pizza order
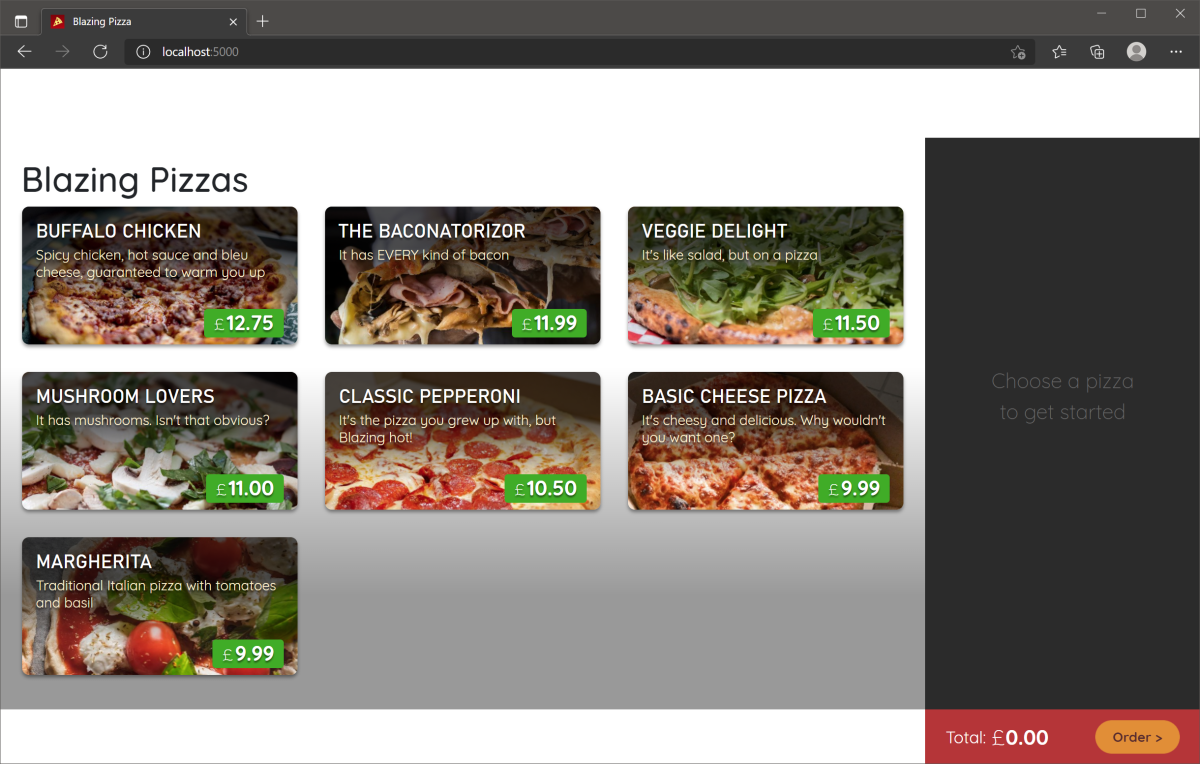
You're going to add a sidebar that will display all the pizzas that a customer has added to their order.
Stop the app if it's still running.
In Visual Studio Code, in the file explorer, expand Pages and then select Index.razor.
Between the
@ifand@codeblocks, add this code:<div class="sidebar"> @if (order.Pizzas.Any()) { <div class="order-contents"> <h2>Your order</h2> @foreach (var configuredPizza in order.Pizzas) { <div class="cart-item"> <div class="title">@(configuredPizza.Size)" @configuredPizza.Special.Name</div> <div class="item-price"> @configuredPizza.GetFormattedTotalPrice() </div> </div> } </div> } else { <div class="empty-cart">Choose a pizza<br>to get started</div> } <div class="order-total @(order.Pizzas.Any() ? "" : "hidden")"> Total: <span class="total-price">@order.GetFormattedTotalPrice()</span> <a href="checkout" class="@(OrderState.Order.Pizzas.Count == 0 ? "btn btn-warning disabled" : "btn btn-warning")"> Order > </a> </div> </div>This HTML adds a sidebar to the page. If there are any pizzas in
OrderState.Order, it displays them. If there are no orders, customers are prompted to add some.You'll see some errors because the component doesn't know what the orders are.
In the
@codeblock underList<PizzaSpecial> specials = new();, add this code:Order order => OrderState.Order;Select F5 or select Run. Then select Start Debugging.

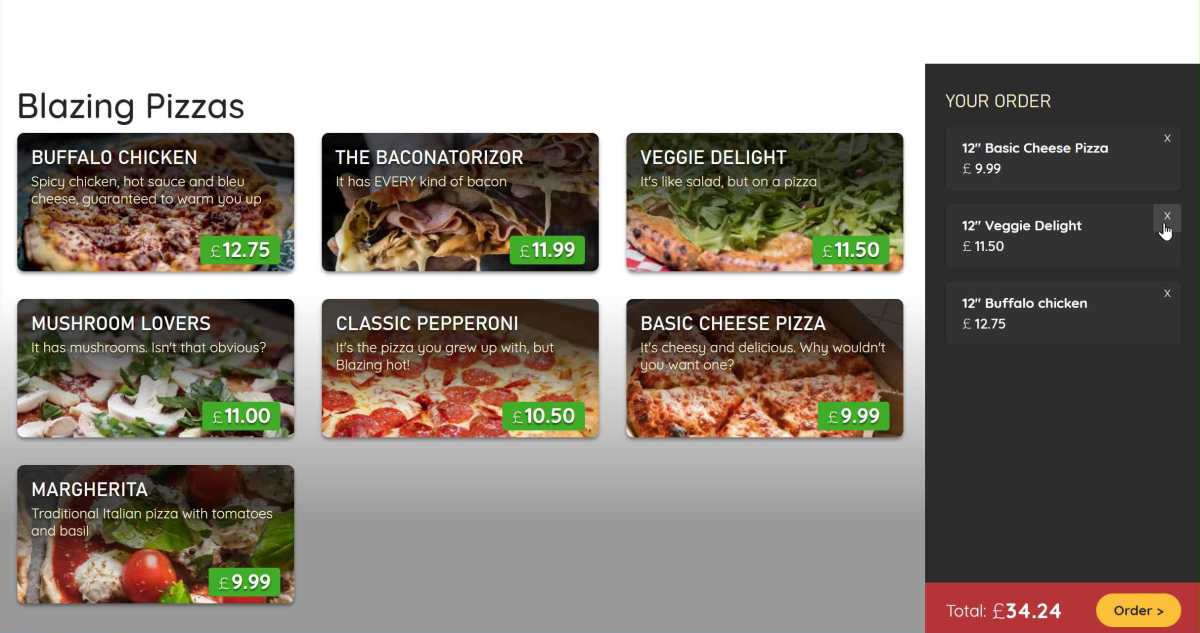
Try ordering some pizzas and canceling some. You'll see they get added to the basket and the order total updates.
Select Shift+F5 or select Stop Debugging.
Remove a pizza from a customer's order
You might have noticed that there's no way to remove a configured pizza from the customer's shopping basket. Let's add that functionality.
The first step is to update the OrderState service so that it can provide a method to remove pizzas from an order.
In the file explorer, select Services/OrderState.cs.
At the bottom of the class, add this method:
public void RemoveConfiguredPizza(Pizza pizza)
{
    Order.Pizzas.Remove(pizza);
}
In the file explorer, expand Pages and then select Index.razor.
In
<div class="cart-item">, add an<a>tag before the closing</div>to create a remove button:<a @onclick="@(() => OrderState.RemoveConfiguredPizza(configuredPizza))" class="delete-item">x</a>This tag adds an
Xto each pizza in the order sidebar. When it's selected, it calls theRemoveConfiguredPizzamethod in theOrderStateservice.Select F5 or select Run. Then select Start Debugging.

Select Shift+F5 or select Stop Debugging.
Configure a pizza size dynamically
The pizza configuration dialog doesn't update when the size slider is changed. The component needs a way to update the pizza and the size, and then recalculate the price.
In the file explorer, expand Shared and then select ConfigurePizzaDialog.razor.
Add code to the
inputHTML control to bind its value to the pizza size:<input type="range" min="@Pizza.MinimumSize" max="@Pizza.MaximumSize" step="1" @bind="Pizza.Size"/>Select F5 or select Run. Then select Start Debugging.
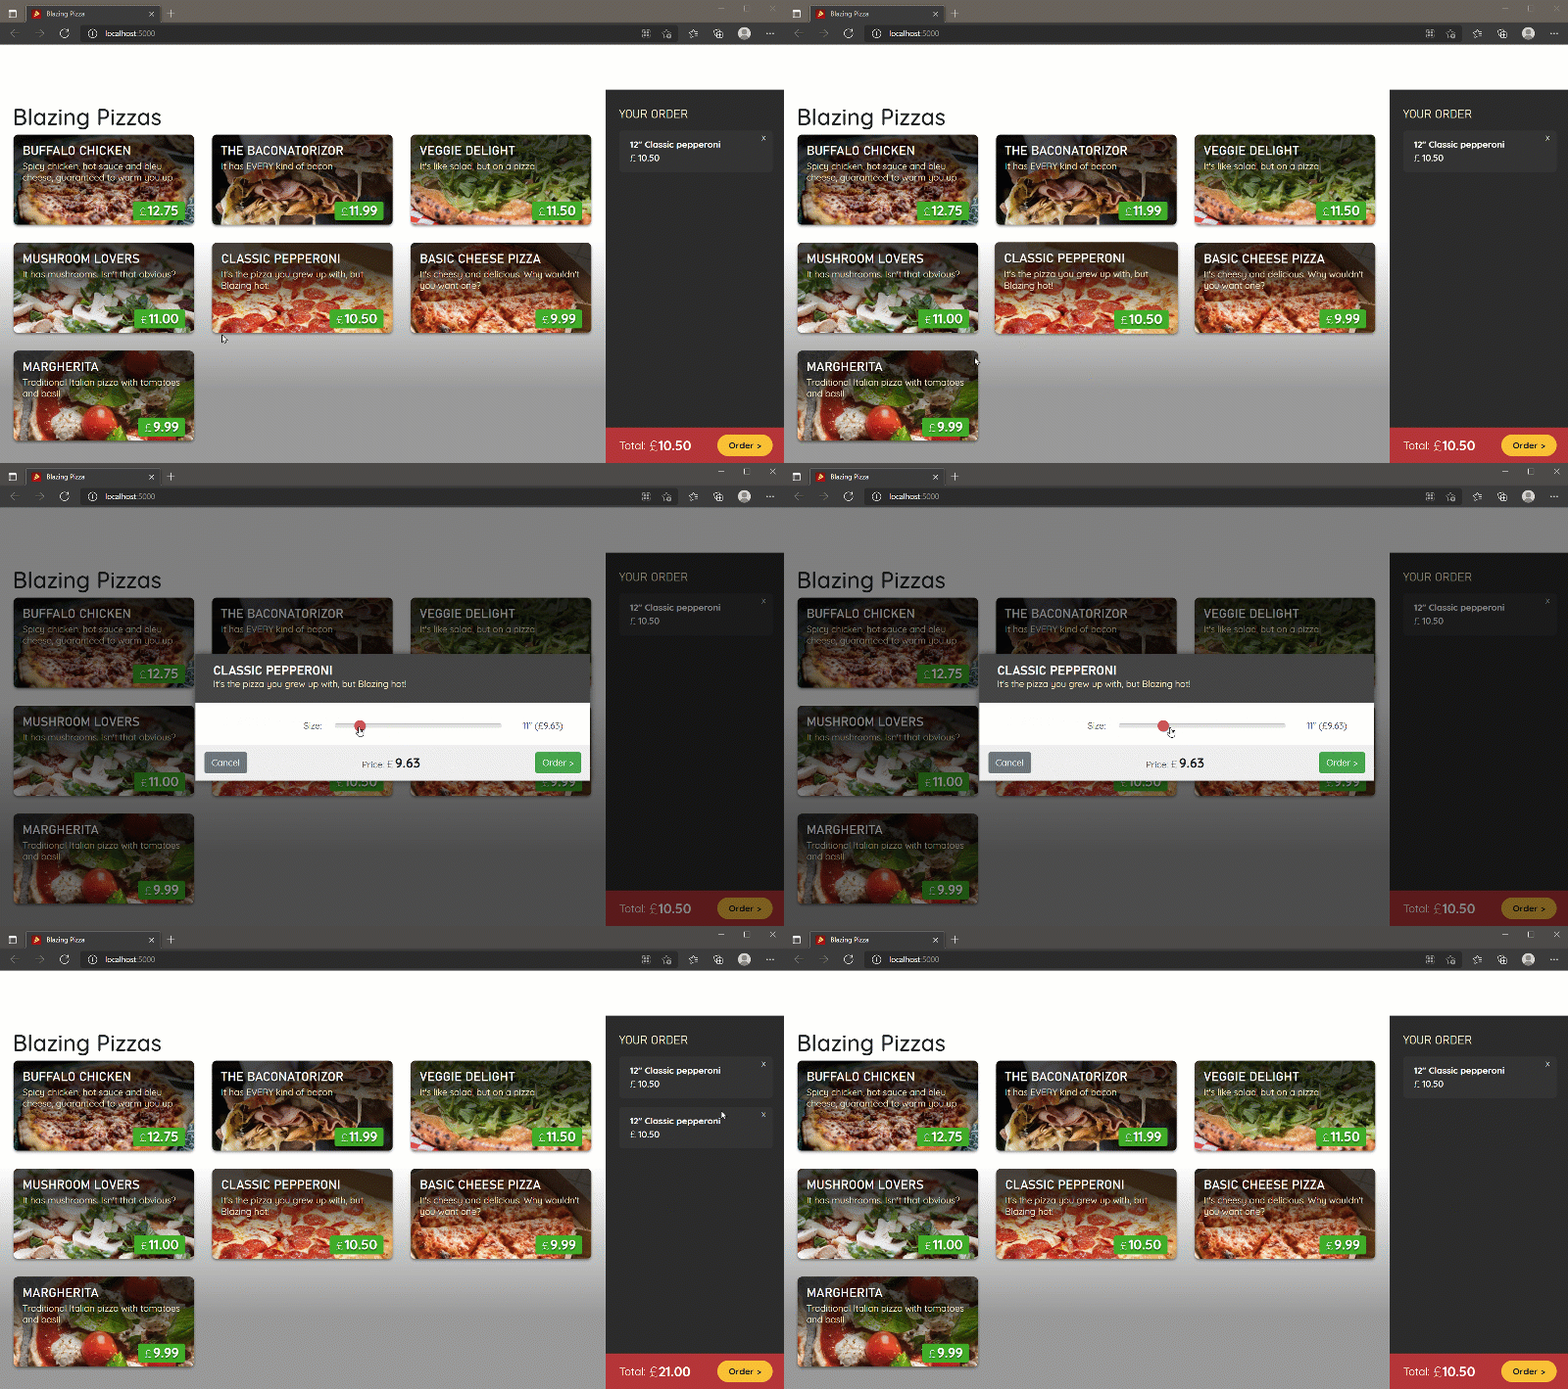
Use the updated dialog to add some different-sized pizzas to your order. Click the slider bar instead of dragging. Observe that the pizza size updates on the mouse-up event on the control.
If you drag the slider, the size won't change until you release the mouse. Let's fix that.
Select Shift+F5 or select Stop Debugging.
Add the event the control should be bound to:
<input type="range" min="@Pizza.MinimumSize" max="@Pizza.MaximumSize" step="1" @bind="Pizza.Size" @bind:event="oninput" />Select F5 or select Run. Then select Start Debugging.

How did adding the @bind="Pizza.Size" code provide so much functionality? If you examine the whole of the ConfigurePizzaDialog.razor code, you'll see that your team had already connected the other elements to the pizza's properties.
For example, the price updates because of this code:
Price: <span class="price">@(Pizza.GetFormattedTotalPrice())</span>
The price updates as the pizza size changes because the method on the pizza GetFormattedTotalPrice() uses the pizza size to calculate the total price.
You've made progress on the Blazing Pizza app. If you want to continue to improve it, complete the next module in this learning path.