Using a Redis distributed cache
In a cloud-native app, separate teams build microservices with their preferred technologies on their own schedules. The microservices usually operate completely independently. They may benefit from caching but, if they run separate caches, they may be unable to realize the optimal performance improvement. If you provide a single cache for multiple microservices, those services can retrieve information from the cache that has been stored by another microservice.
Imagine you work for an outdoor equipment retailer. You've decided to implement caching using a Redis server in your shopping cart microservice. However, you also want to ensure that other microservices can benefit from the information you cache.
In this unit, you'll learn how a distributed Redis cache can optimize performance for multiple microservices in your app. You'll also see how .NET Aspire makes it easy to implement a distributed cache.
What is distributed caching?
A distributed cache is one that is shared between several calling services. In a cloud-native application, the calling services are usually microservices. When you store some information, for example the details of a popular product in your catalog, in the distributed cache, all the microservices in your app can potentially use it and gain from the performance improvement.
Setting up distributed caching in .NET Aspire
To use distributed caching, changes are required in both the app host project and the microservices that use the cache.
Configure the app host
In your solution's app host project, start by installing the distributed caching hosting integration:
dotnet add package Aspire.Hosting.Redis --prerelease
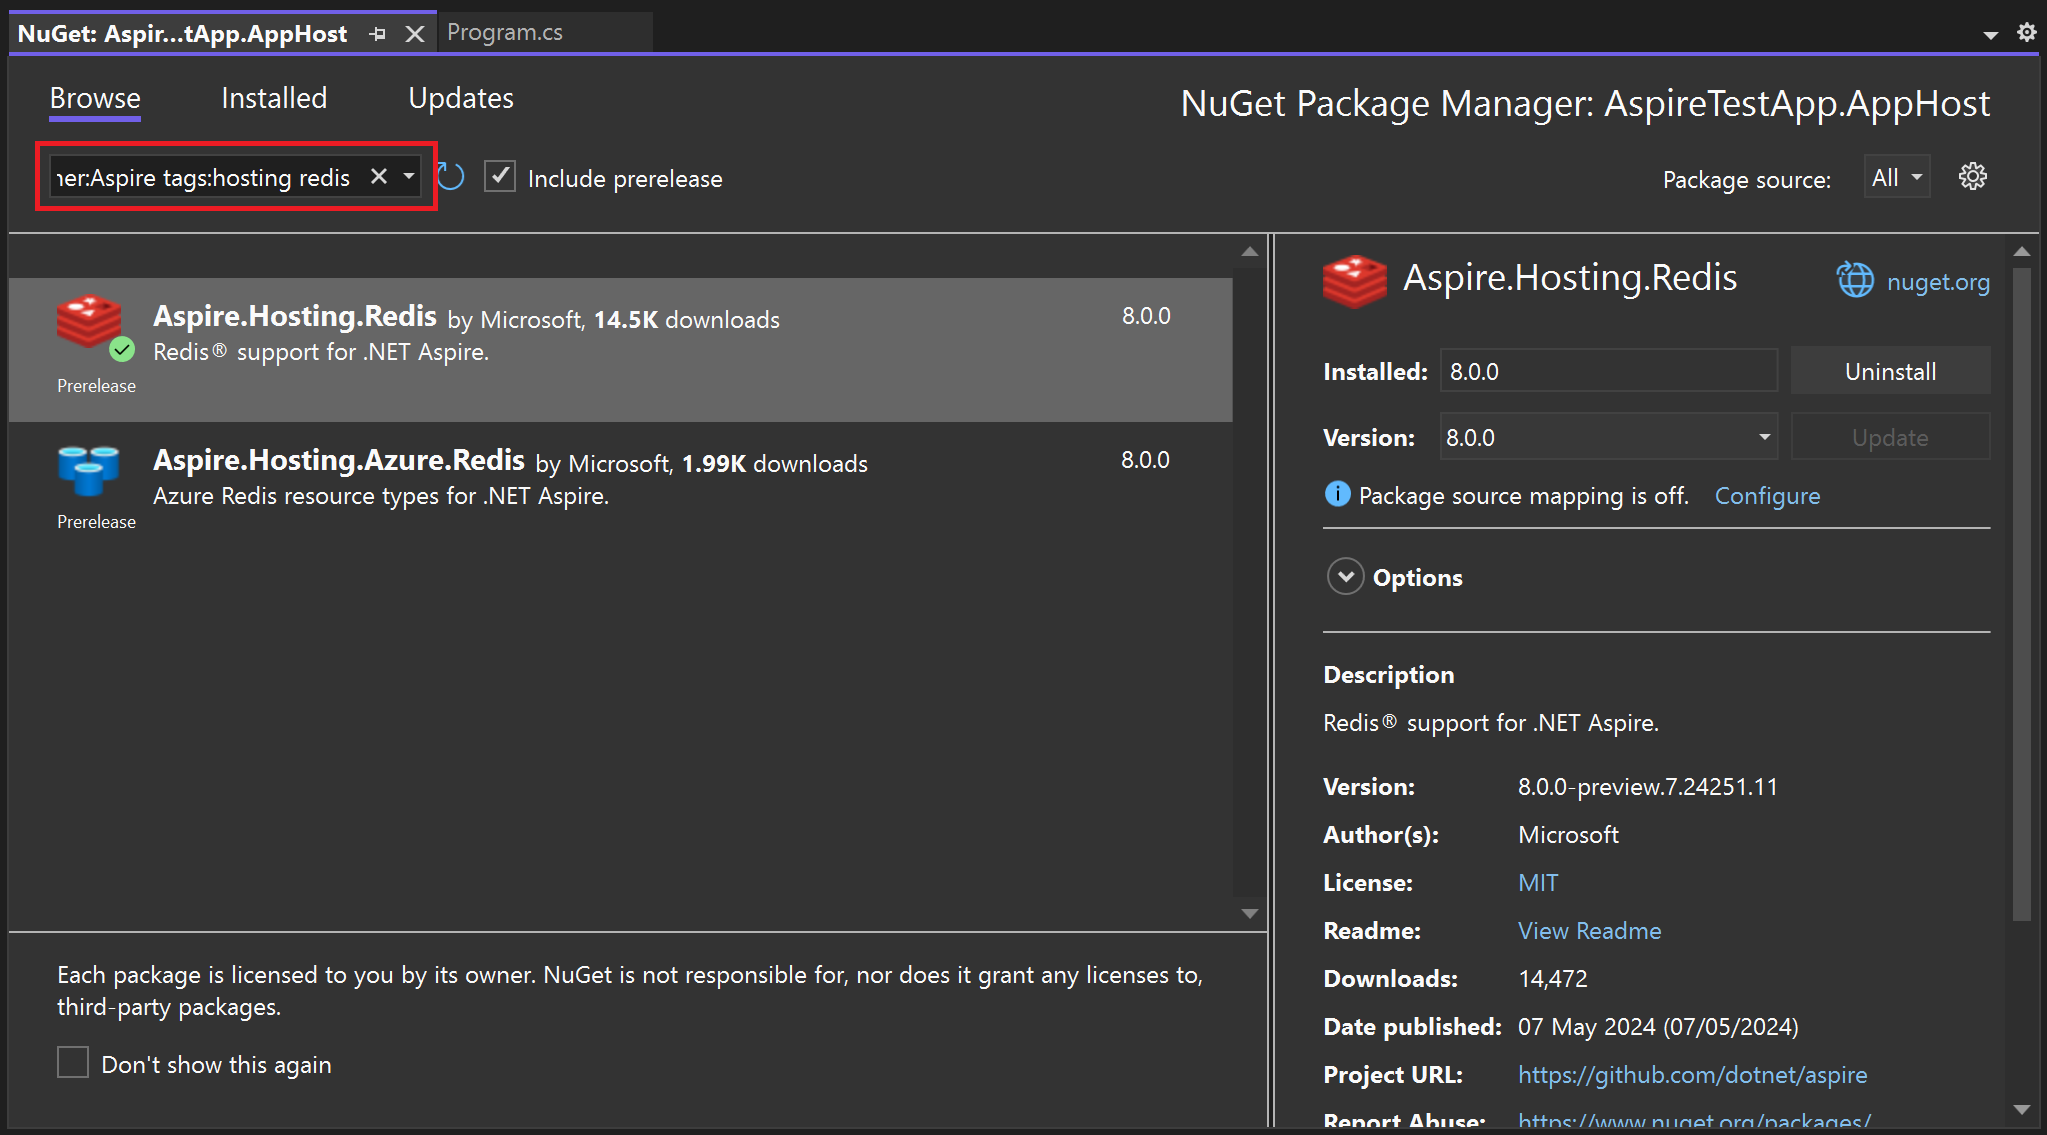
Alternatively, you can use the Add > .NET Aspire package shortcut in Visual Studio to install the integration from the NuGet package manager:
Once the hosting integration is installed, code in the app host's Program.cs file registers the cache and passes it to projects that use the cache:
// Register the cache
var redis = builder.AddRedis("redis");

// Initiate the consuming project and pass the cache
builder.AddProject<Projects.ConsumingProject>()
       .WithReference(redis);
Configure the consuming projects
To install the .NET Aspire Distributed Cache integration in a microservice, use a command like this one in your .NET Aspire projects:
dotnet add package Aspire.StackExchange.Redis.DistributedCache --prerelease
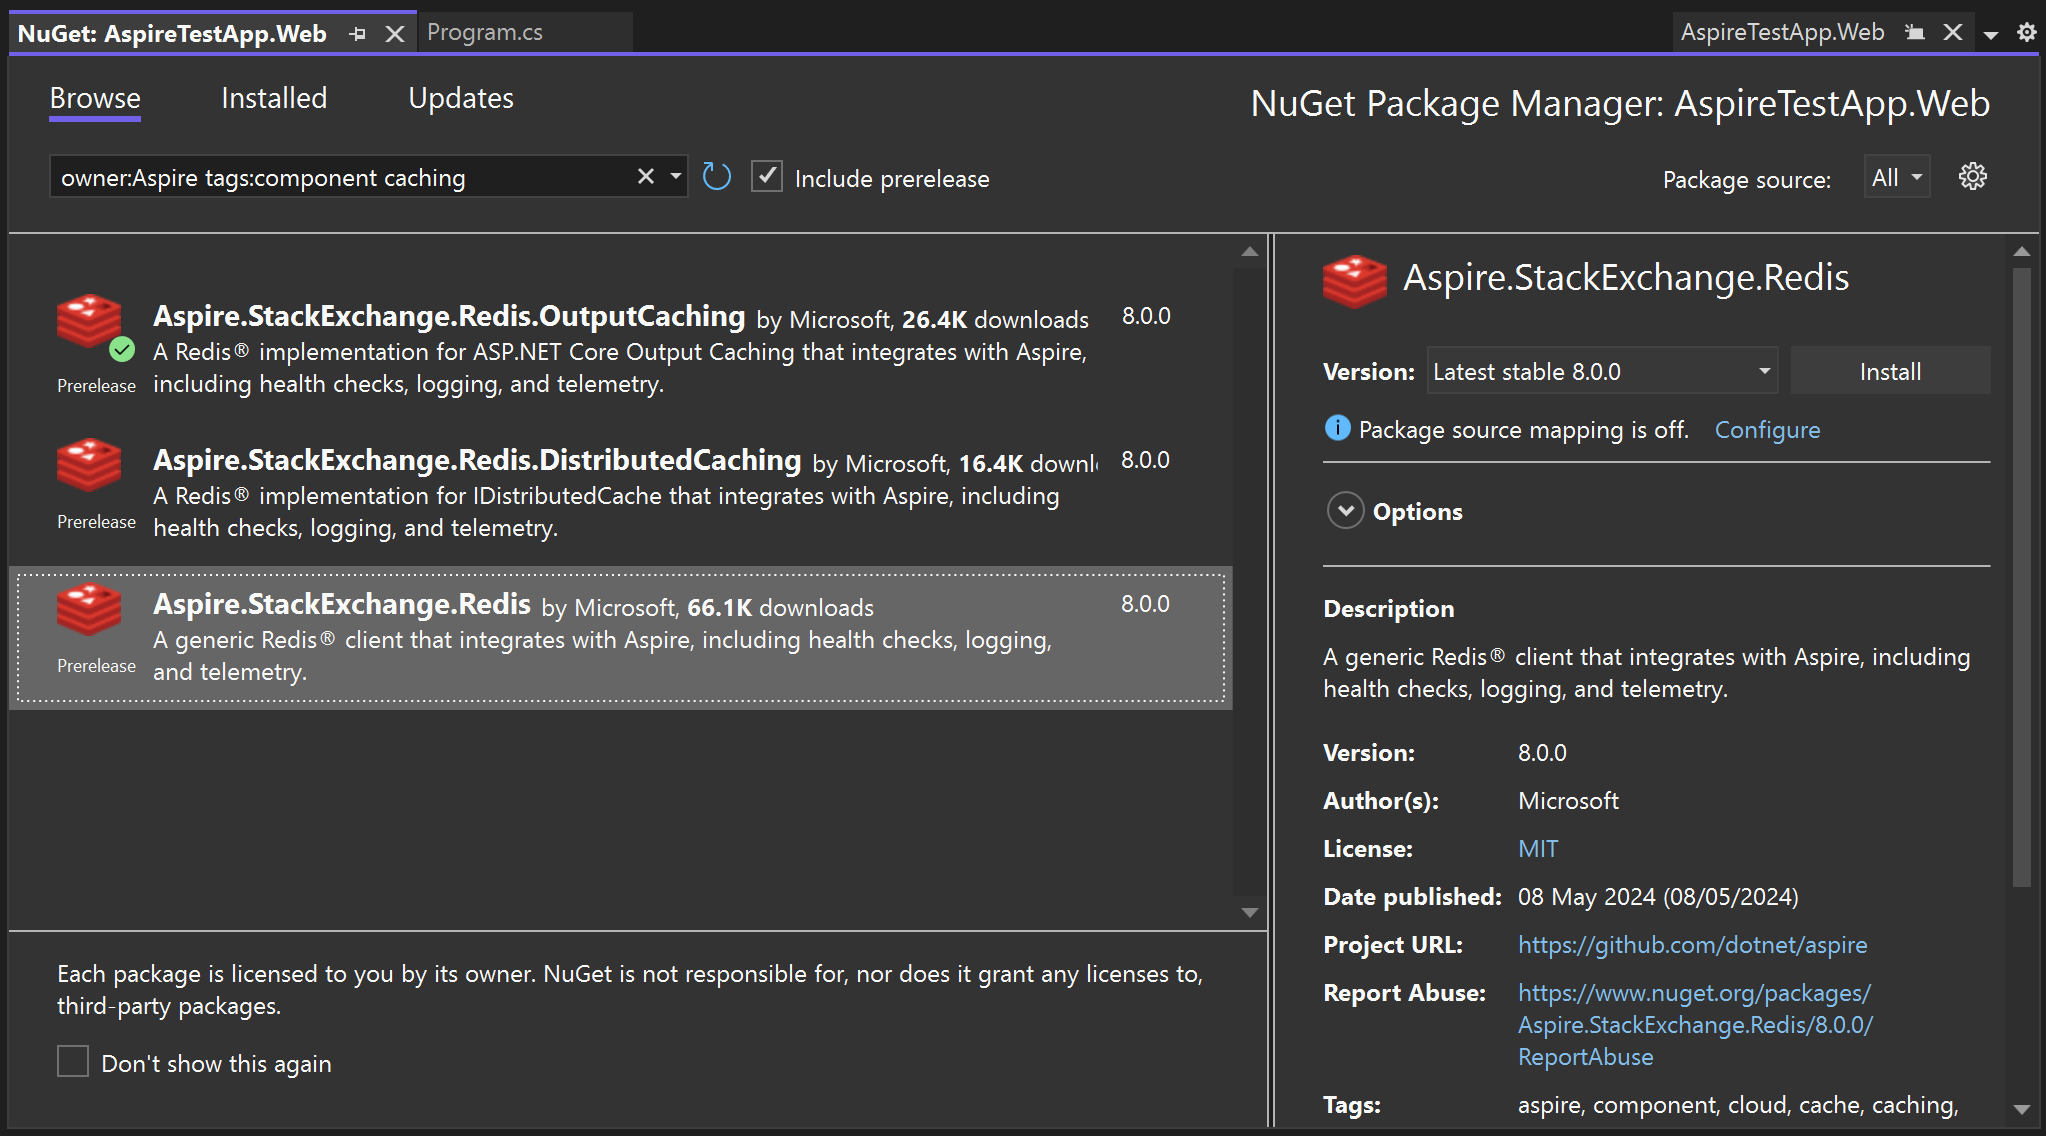
Again, you can alternatively choose to use the NuGet package manager to install the integration:
Using a distributed cache
In any project where you want to use the cache, you must obtain a distributed cache object, which represents the connection to Redis. In the Program.cs file, this code registers the distributed cache:
builder.AddRedisDistributedCache("cache")
Once the cache is registered in the consuming project, you can retrieve the distributed cache anytime you need it by using dependency injection:
public class MyService(IDistributedCache cache)
{
   public async Task InitializeAsync()
   {
      // Check if there is cached content
      var cachedInfo = await cache.GetAsync("myinfo")

      if (cachedInfo is null)
      {
         // There's no content in the cache so formulate it here
         // For example, query databases.

        // Store the content in the cache
        await cache.SetAsync("myinfo", cachedInformation, new()
           { AbsoluteExpiration = DateTime.Now.AddSeconds(60) }
        );
      }
   }
}
Configuration
For the microservices to connect to the Redis distributed cache, you must tell them where it is by providing a connection string. The above call to the AddRedisDistributedCache() method specified a connection string called redis.
Use a ConnectionStrings section in your configuration file, for example in appsettings.json, to configure the connection string:
{
  "ConnectionStrings": {
    "redis": "redis.contoso.com:6379"
  }
}
You can also use appsettings.json to configure the behavior of the distributed caching integration. For example, this code configures the connection to time out after five seconds and retry three times:
{
  "Aspire": {
    "StackExchange": {
      "Redis": {
        "ConfigurationOptions": {
          "ConnectTimeout": 5000,
          "ConnectRetry": 3
        }
      }
    }
  }
}
You can also configure the connection using inline delegates on the AddRedisDistributedCache() method. This code configures the same properties as the previous JSON example:
builder.AddRedisDistributedCache(
   "redis",
   configureOptions: options => options.ConnectTimeout = 5000
);

