Exercise – Add new tabs for each related table
After you have a new Main form for the Contact table, you can add a new tab for each virtual table in your solution. On this tab, you can display data that's related to a contact that resides in Dataverse while all related data resides in the FHIR service.
Prerequisites
To complete the steps in this exercise, you need to meet the following prerequisites:
Microsoft Cloud for Healthcare Trial with Data integration toolkit installed
For more information, see Microsoft Cloud for Healthcare training environment preparation.
System Administrator rights are granted for the user on a Microsoft Power Platform environment
Add new tabs
Your first task in this exercise is to add the new tabs by following these steps:
Open the Virtual Health Data Tables (VirtualHealthDataTables) solution.
In the left navigation pane, go to the Tables section and then select the Contact table.
Expand the Contact options and then select Form to view the available forms.
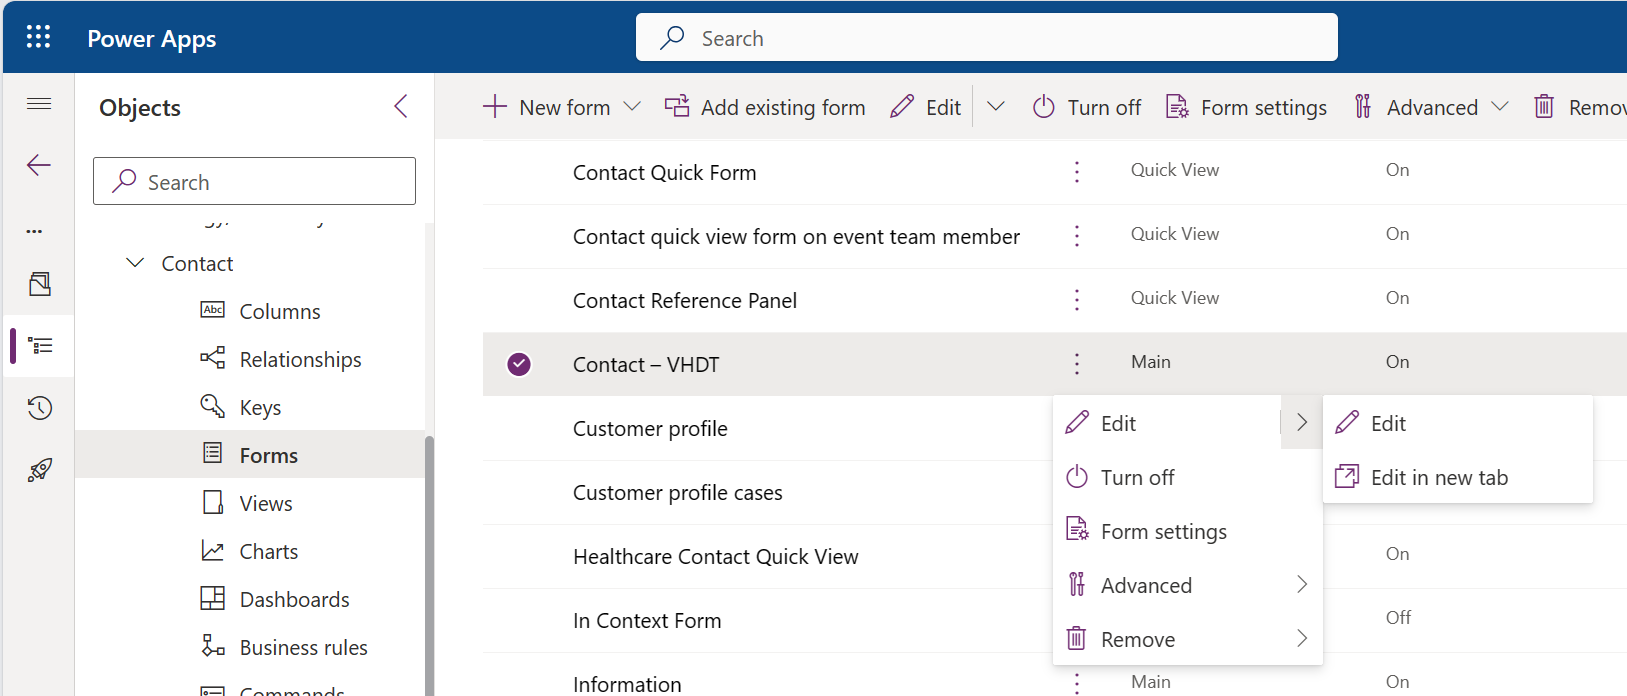
Select the new Contact - VHDT form that you created in the previous exercise Add a new Main form for the Patient table.
Select the ellipsis (...) menu next to the form name and then select Edit in new tab.
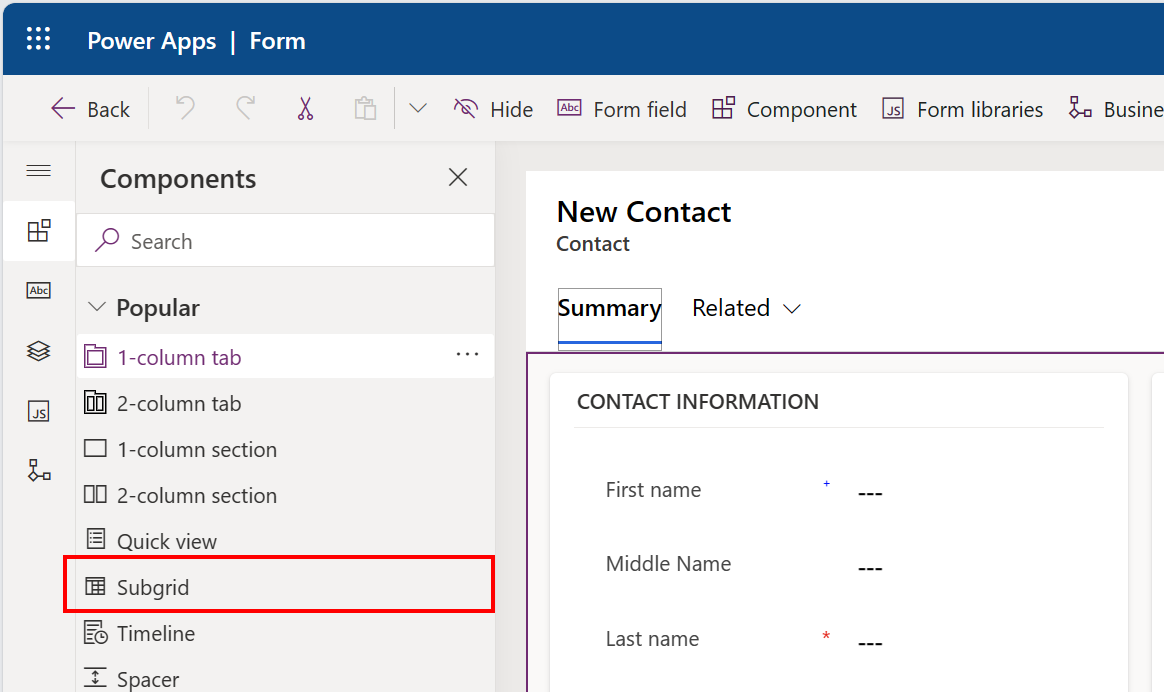
From the Forms designer tools, select Component to view the list of available components to add.
From the Components list, select 1-column tab.
On the New Tab pane on the right, enter the details about the tab. For this first new tab, enter the following values.
Label Name Allergy/Sensitivity tab_allergy Repeat the previous steps to enter the following sets of values for the remaining tabs:
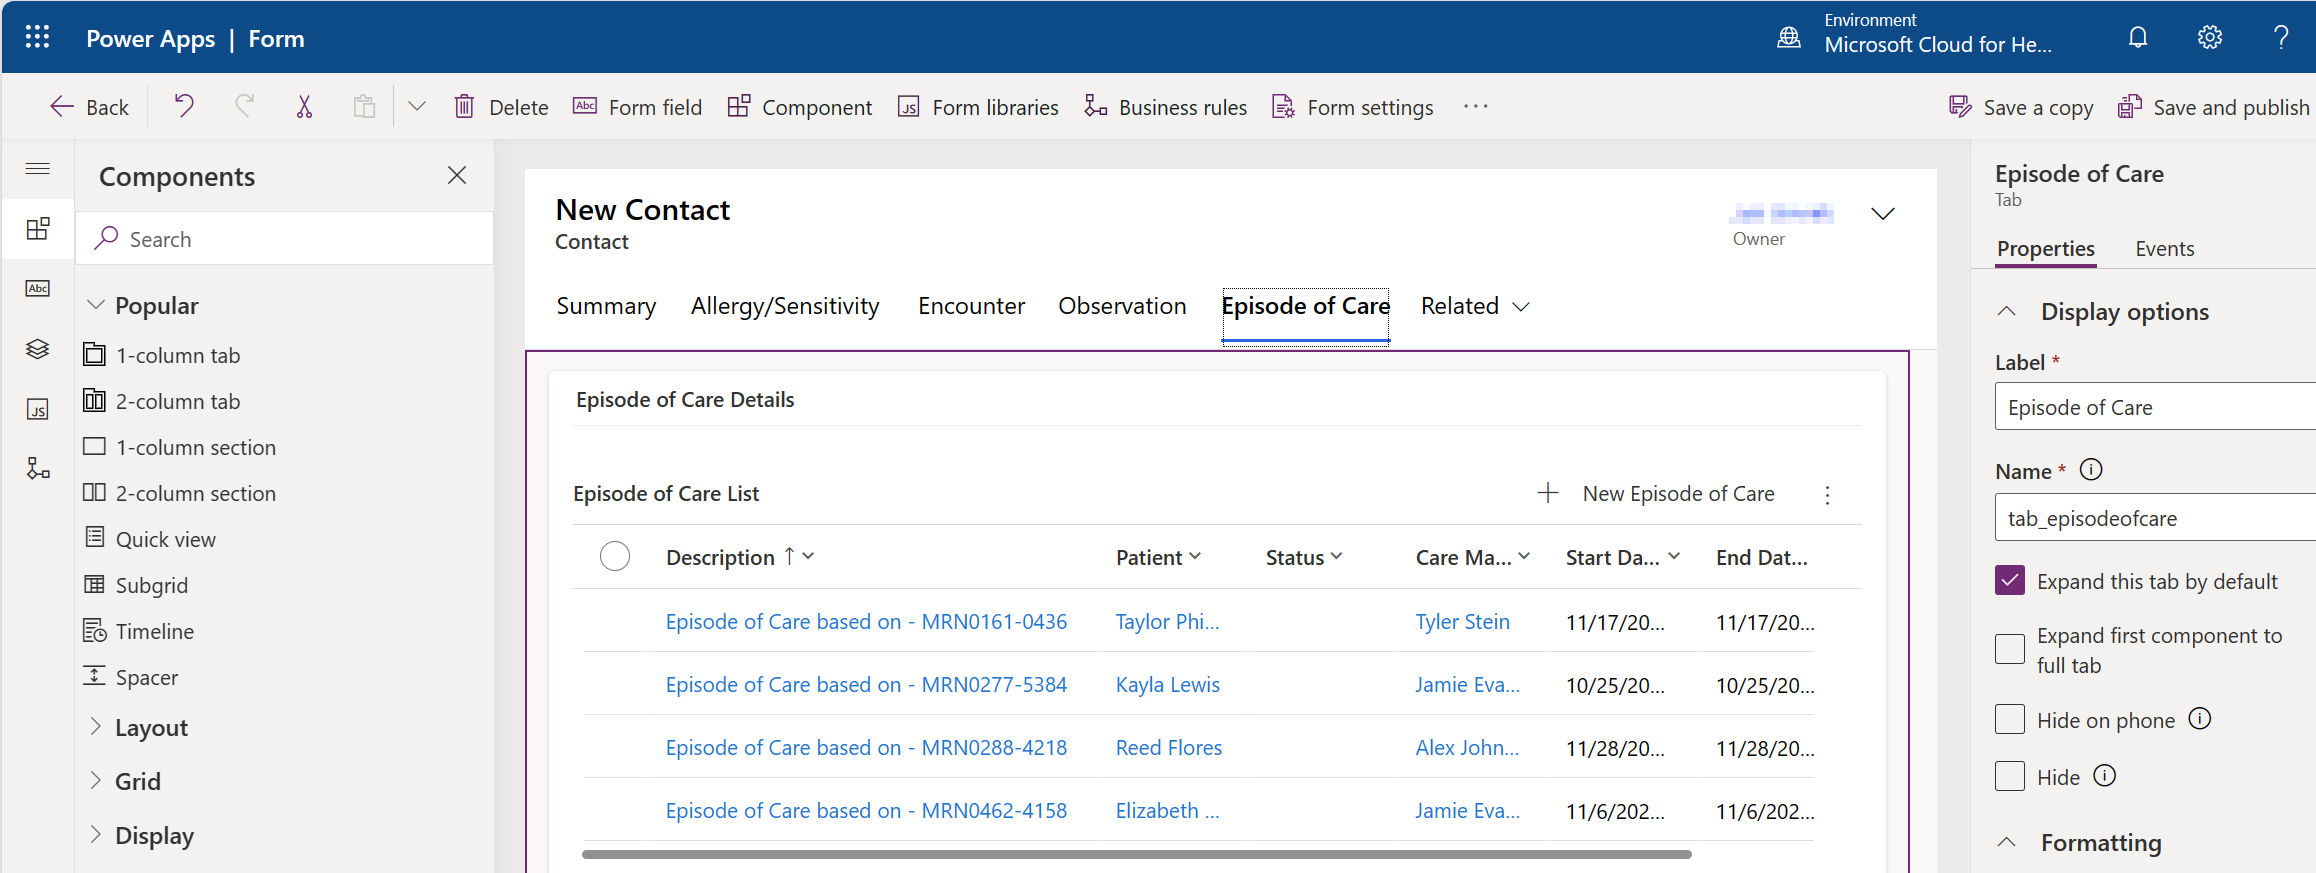
Label Name Encounter tab_encounter Observation tab_ observation Episode of Care tab_episodeofcare Update the default section for each tab to match the tab contents.
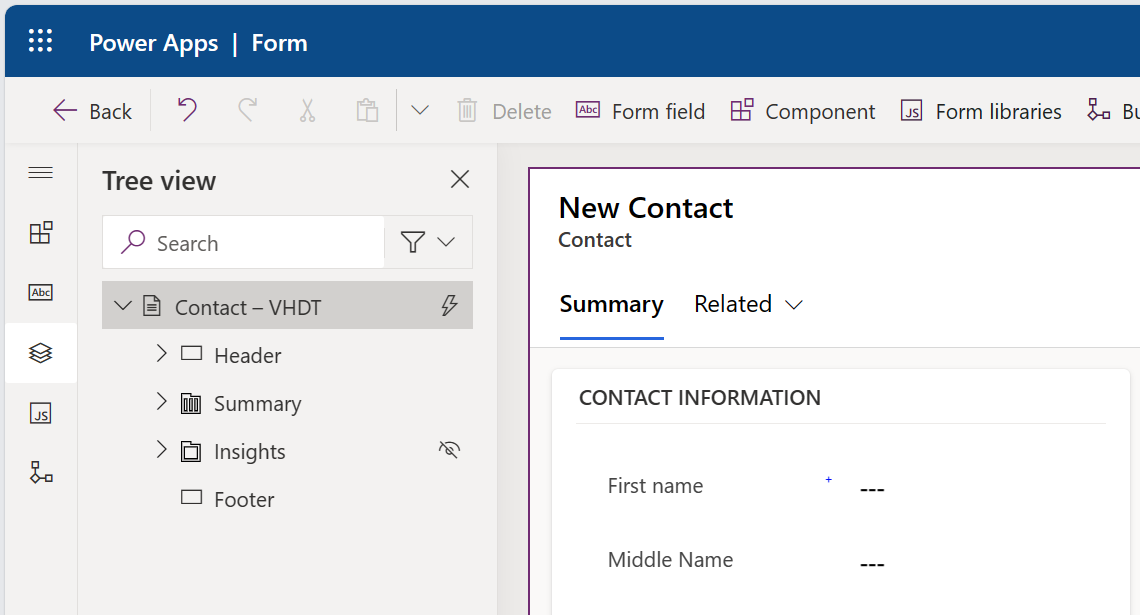
Select the Allergy/Sensitivity tab and then select the default section.
In the Section details pane, update the details with the following information:
Label Name Allergy/Sensitivity Details tab_allergy_section_main Repeat the previous steps to enter the following default section for the remaining tabs:
Label Name Encounter Details tab_encounter_section_main Observation Details tab_ observation_section_main Episode of Care Details tab_episodeofcare_section_main Your updated form should now contain the new tabs with unique labels and names, each with a default section.
Select Save and publish on the Forms designer tools.
Add the subgrids to each tab
Your next task is to update the tabs and display the virtual data.
Select the Allergy/Sensitivity tab and then select the default section.
From the Forms designer tools, select Component to view the list of available components to add.
Select Subgrid from the Components list.
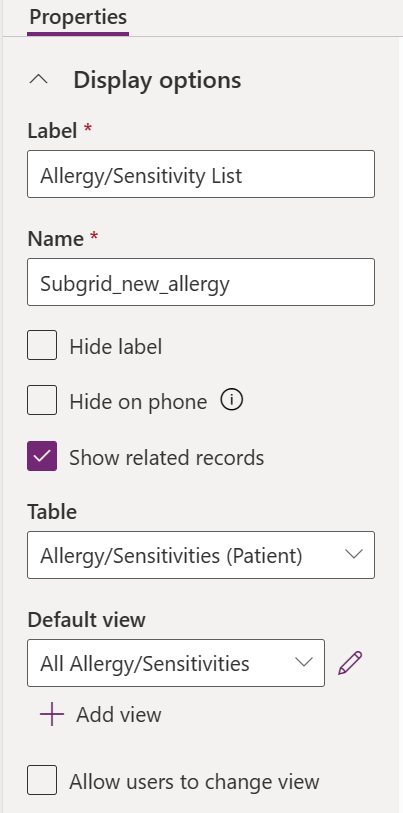
In the Select subgrid views dialog, select Show related records.
In the Tables selector, expand the list and then select Allergy/Sensitivities (Patient) from the list. Select All Allergy/Sensitivities for the Default view.
After the subgrid is added, verify the settings. For Allergy/Sensitivity, the following values should display. Notice that Show related records is selected and that the table shows the name of the relationship between Allergy/Sensitivity and Patient.
In the New Subgrid pane to the right, enter details about the newly added subgrid. For this first new tab, enter the following values.
Label Name View Allergy/Sensitivity List Subgrid_new_allergy All Allergy/Sensitivities Repeat the previous steps with the following set of values for the remaining subgrids:
Table Label Name View Encounters (msemr_ve_encounter) Encounter List Subgrid_new_encounter All Encounters Observations (msemr_ve_observation) Observation List Subgrid_new_observation All Observations Episodes of Care Episode of Care List Subgrid_new_episodeofcare Episodes of Care The updated form contains the tabs with a single section and subgrid that displays a distinct set of data.
Select Save and publish from the Forms designer tools.
The new Contact form for Patient now displays patient record data that resides in Dataverse. Additionally, it includes tabs for related records that show virtual tables where you can store the data in a remote FHIR server.
