Hardware component accessibility
In this unit, learn accessibility considerations and best practices related to accessible hardware connections and the operation of mechanical parts. By applying this learning, you can create more accessible experiences for players.
Provide standard hardware connections
Many players who use assistive technologies (AT) like Braille readers or adaptive input devices must connect their AT directly to their gaming device. Players who are unable to directly connect their AT to their gaming device can be blocked from gameplay altogether.
Many AT devices only support standard hardware connection types. Standard hardware connections are nonproprietary forms of connecting one device to another. USB is considered the standard connection for physical connection types. For wireless connections, Bluetooth is considered the standard.
In addition to any other connection types that your device features, standard connections like USB ports and Bluetooth pairing compatibility should also be provided. Standard connections ensure that players can connect and use their assistive technologies to engage in gameplay.
Consider device weight and shape
Think about how a customer might grab or pick up their device. Devices that are heavy or difficult to grasp, such as a console, can be easily dropped and damaged. When you consider ways to make devices lighter and easier to pick up, all customers benefit.
Improve accessible operation of mechanical parts
When you create accessible hardware experiences for players, consider the strength, dexterity, and fine motor skills required to interact with and operate the device. Consider the actions a player might need to perform. For example, they typically need to press buttons or open battery doors. If a player can't physically press the power button, make volume adjustments, or pair the device, they might stop using the device altogether.
The following aspects of hardware components can be optimized to create hardware experiences that are accessible for more players. These players might have limited strength, dexterity, coordination, or fine motor skills in their arms, hands, or fingers.
Button size
The physical surface area of a button can affect whether a user with disabilities can activate it. Buttons on devices are designed under the assumption that players can isolate and use a single fingertip to press the button. Some players might need to use larger body parts, like a knuckle, residual limb following amputation, or palm, to activate controls. Intentional decisions made to maximize button size on devices can create more accessible experiences for players who must use body parts other than fingertips to access buttons.
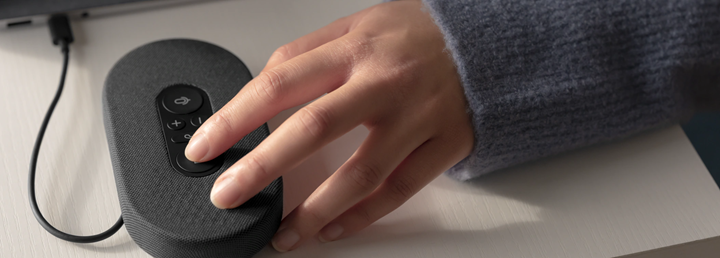
The following image shows a person's hand as they press a button on a USB speaker device. The larger buttons on the device are about the size of a US penny. The increased surface area of the buttons on this device can make it easier for players to control the speaker device.
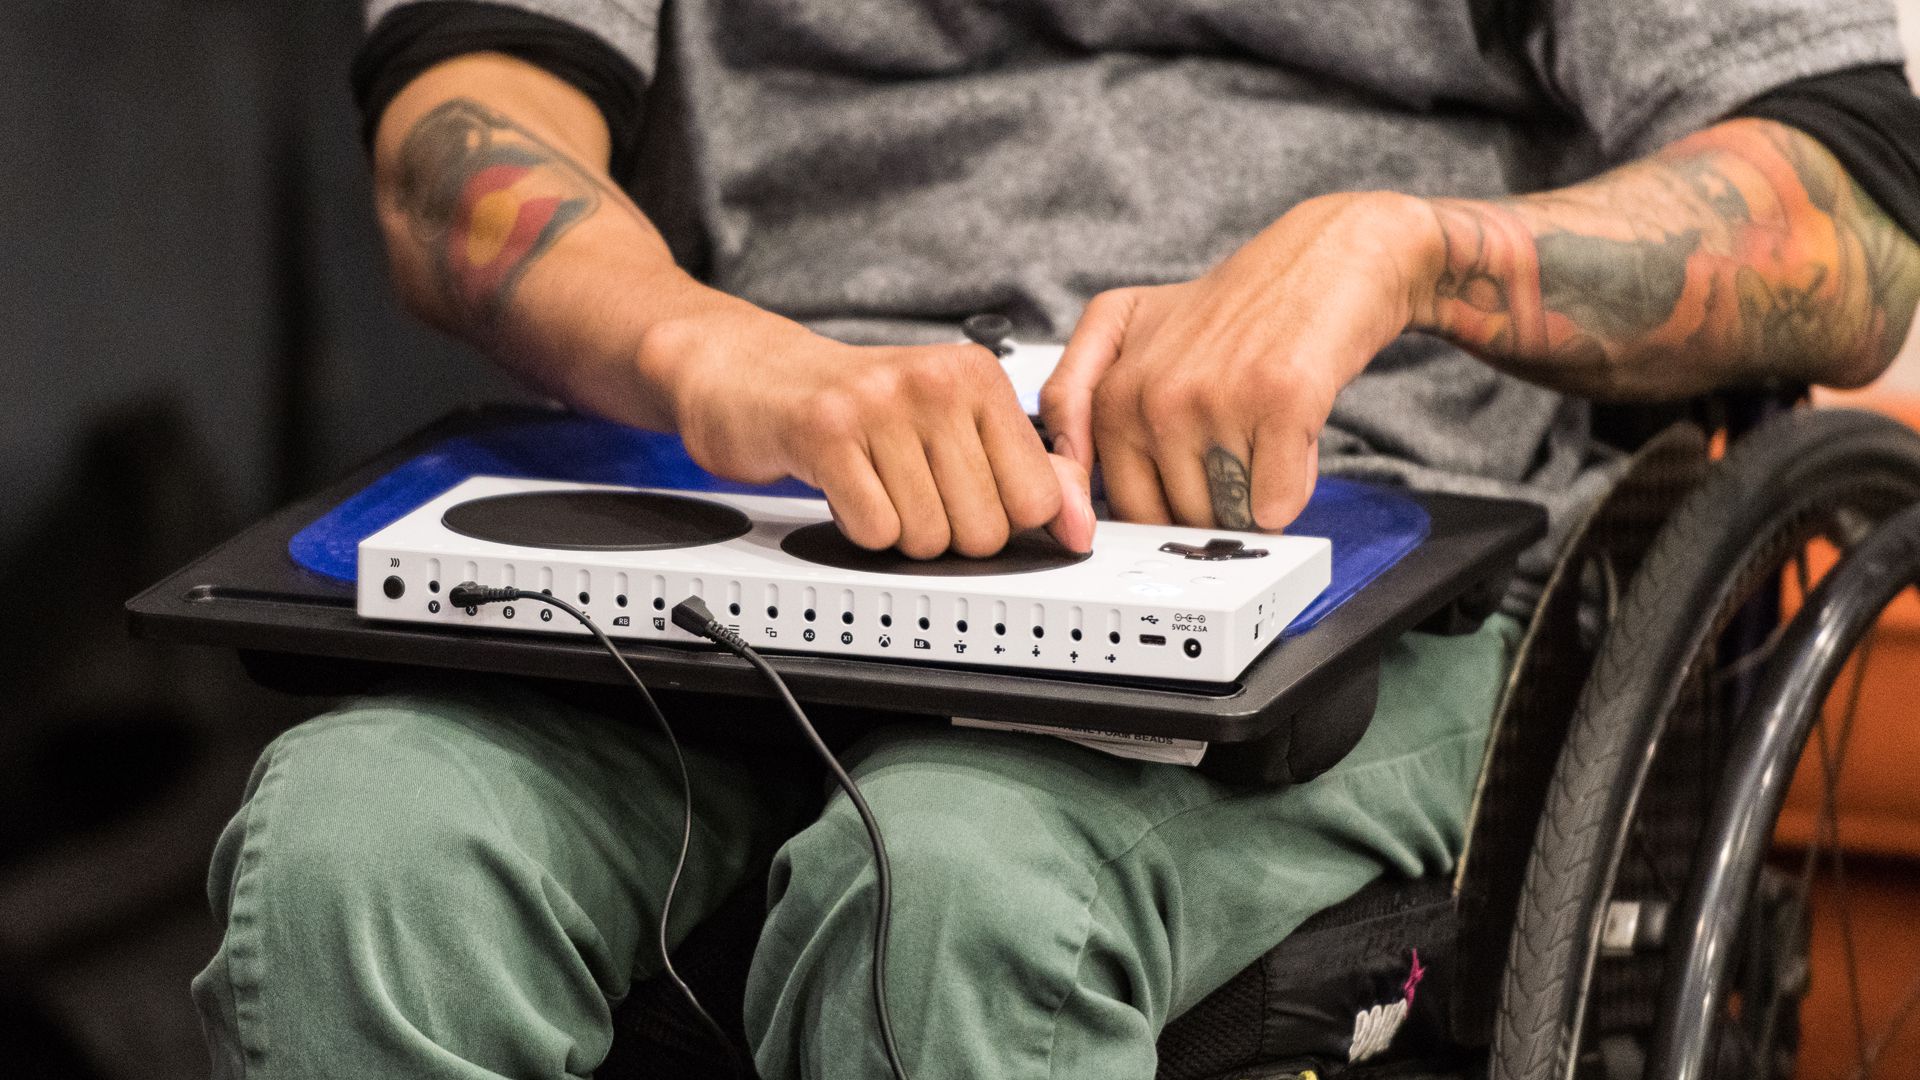
Similarly, the size of the A and B buttons on the Xbox Adaptive Controller were, by design, made larger. The larger size helps players use the controller even though they might not be able to isolate a single finger to press the buttons.
Button height
For this module, the term "button height" refers to the difference in height between the top of the button and its surrounding material. Ask yourself, Is the button raised, or is it completely flush with the rest of the device?
Buttons that are flush with the surrounding device material can create accessibility barriers. For users without vision, buttons might be located through touch. Buttons that are flush with their surrounding might not be discernable by touch. If the user can't find the button, they can't use it to perform the desired action. Buttons that are raised from the surface of the device can help users discover the button location.
Design for accidental activation should be balanced with removing accessibility barriers when button height is determined. Players with disabilities should be able to discover and press buttons.
Activation force
Another important aspect of hardware accessibility is the amount of force a player must exert to activate a button or generate input. To prevent accidental activation, developers might intentionally configure an item to require more force to perform an action. For example, items often carried in backpacks, like a headset, might be intentionally designed to require a higher activation force for buttons so they aren't activated accidentally in transit.
Considerations around the force needed to operate controls should be factored into hardware design and development. The 2010 Americans with Disabilities Act Standards for Accessible Design suggests a maximum of 5 lb, or 22.N Newtons, for activation force of operable parts. For smaller parts like buttons and keys, lower activation forces should be considered. Activation force is commonly measured in units of gram-force, or just grams. For example:
- The Xbox One console's touch-based power button can be activated with 0 grams (g) of force.
- Most keys on a standard keyboard can be activated with 45 g to 70 g of force.
- Ultra-light assistive technology switches can be activated with as low as 20 g of force.
Button size and activation force are equally important when you create accessible experiences for players.
Methods of activation
The movements a player must perform to use a device also influence device accessibility. For example, to adjust settings for a volume "knob," players must grasp and twist their hand or wrist to either side. These motions can pose difficulty for some players. Holding down a button for a prolonged period to initiate Bluetooth pairing mode can also place physical demands on some players.
When you design and create new devices, consider avoiding activation methods that require players to perform twisting motions or prolonged time to complete an action. In cases where this avoidance isn't possible, provide alternative methods to perform these actions that are less physically demanding. For example, consider software-based device management applications that can run on the player's phone, console, or PC.
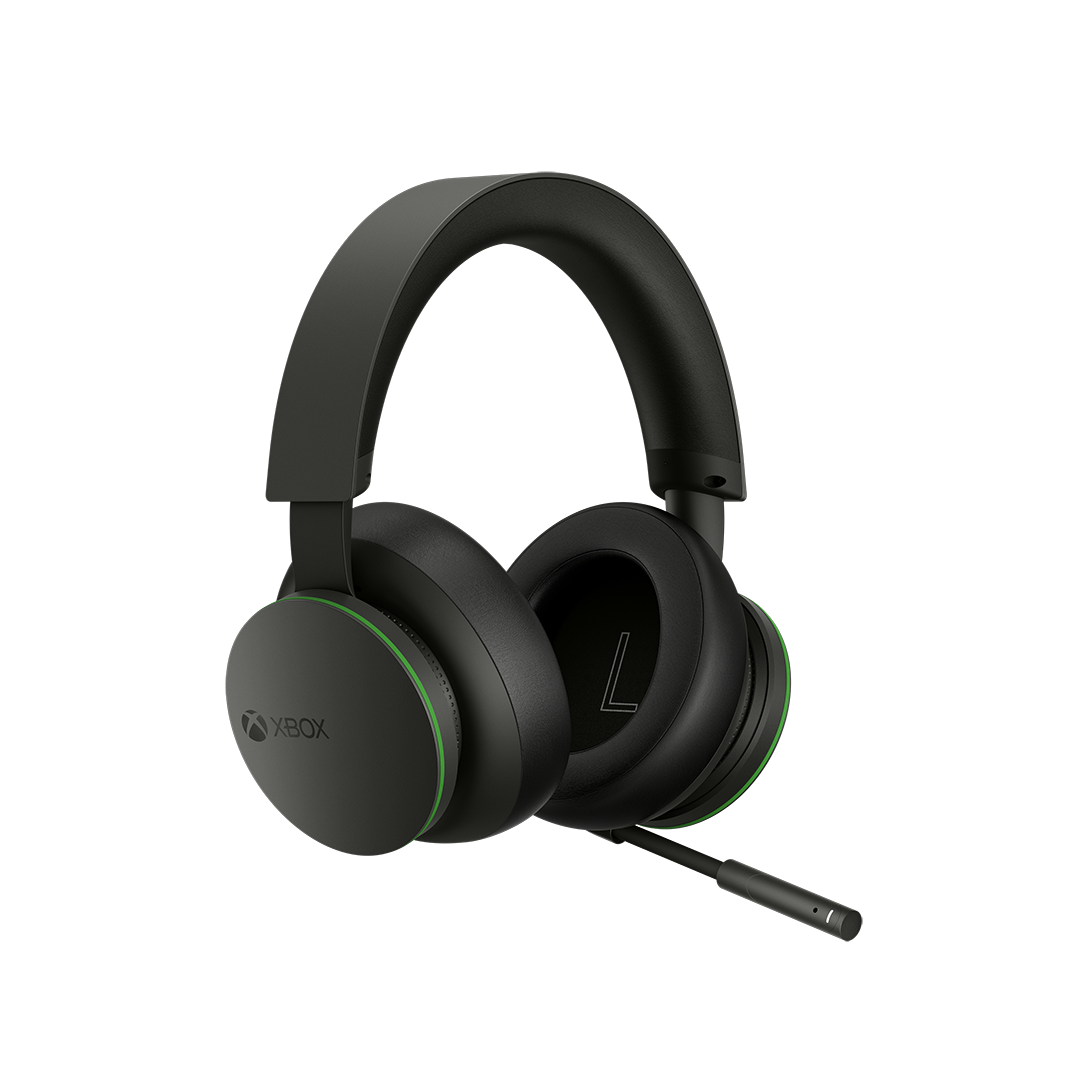
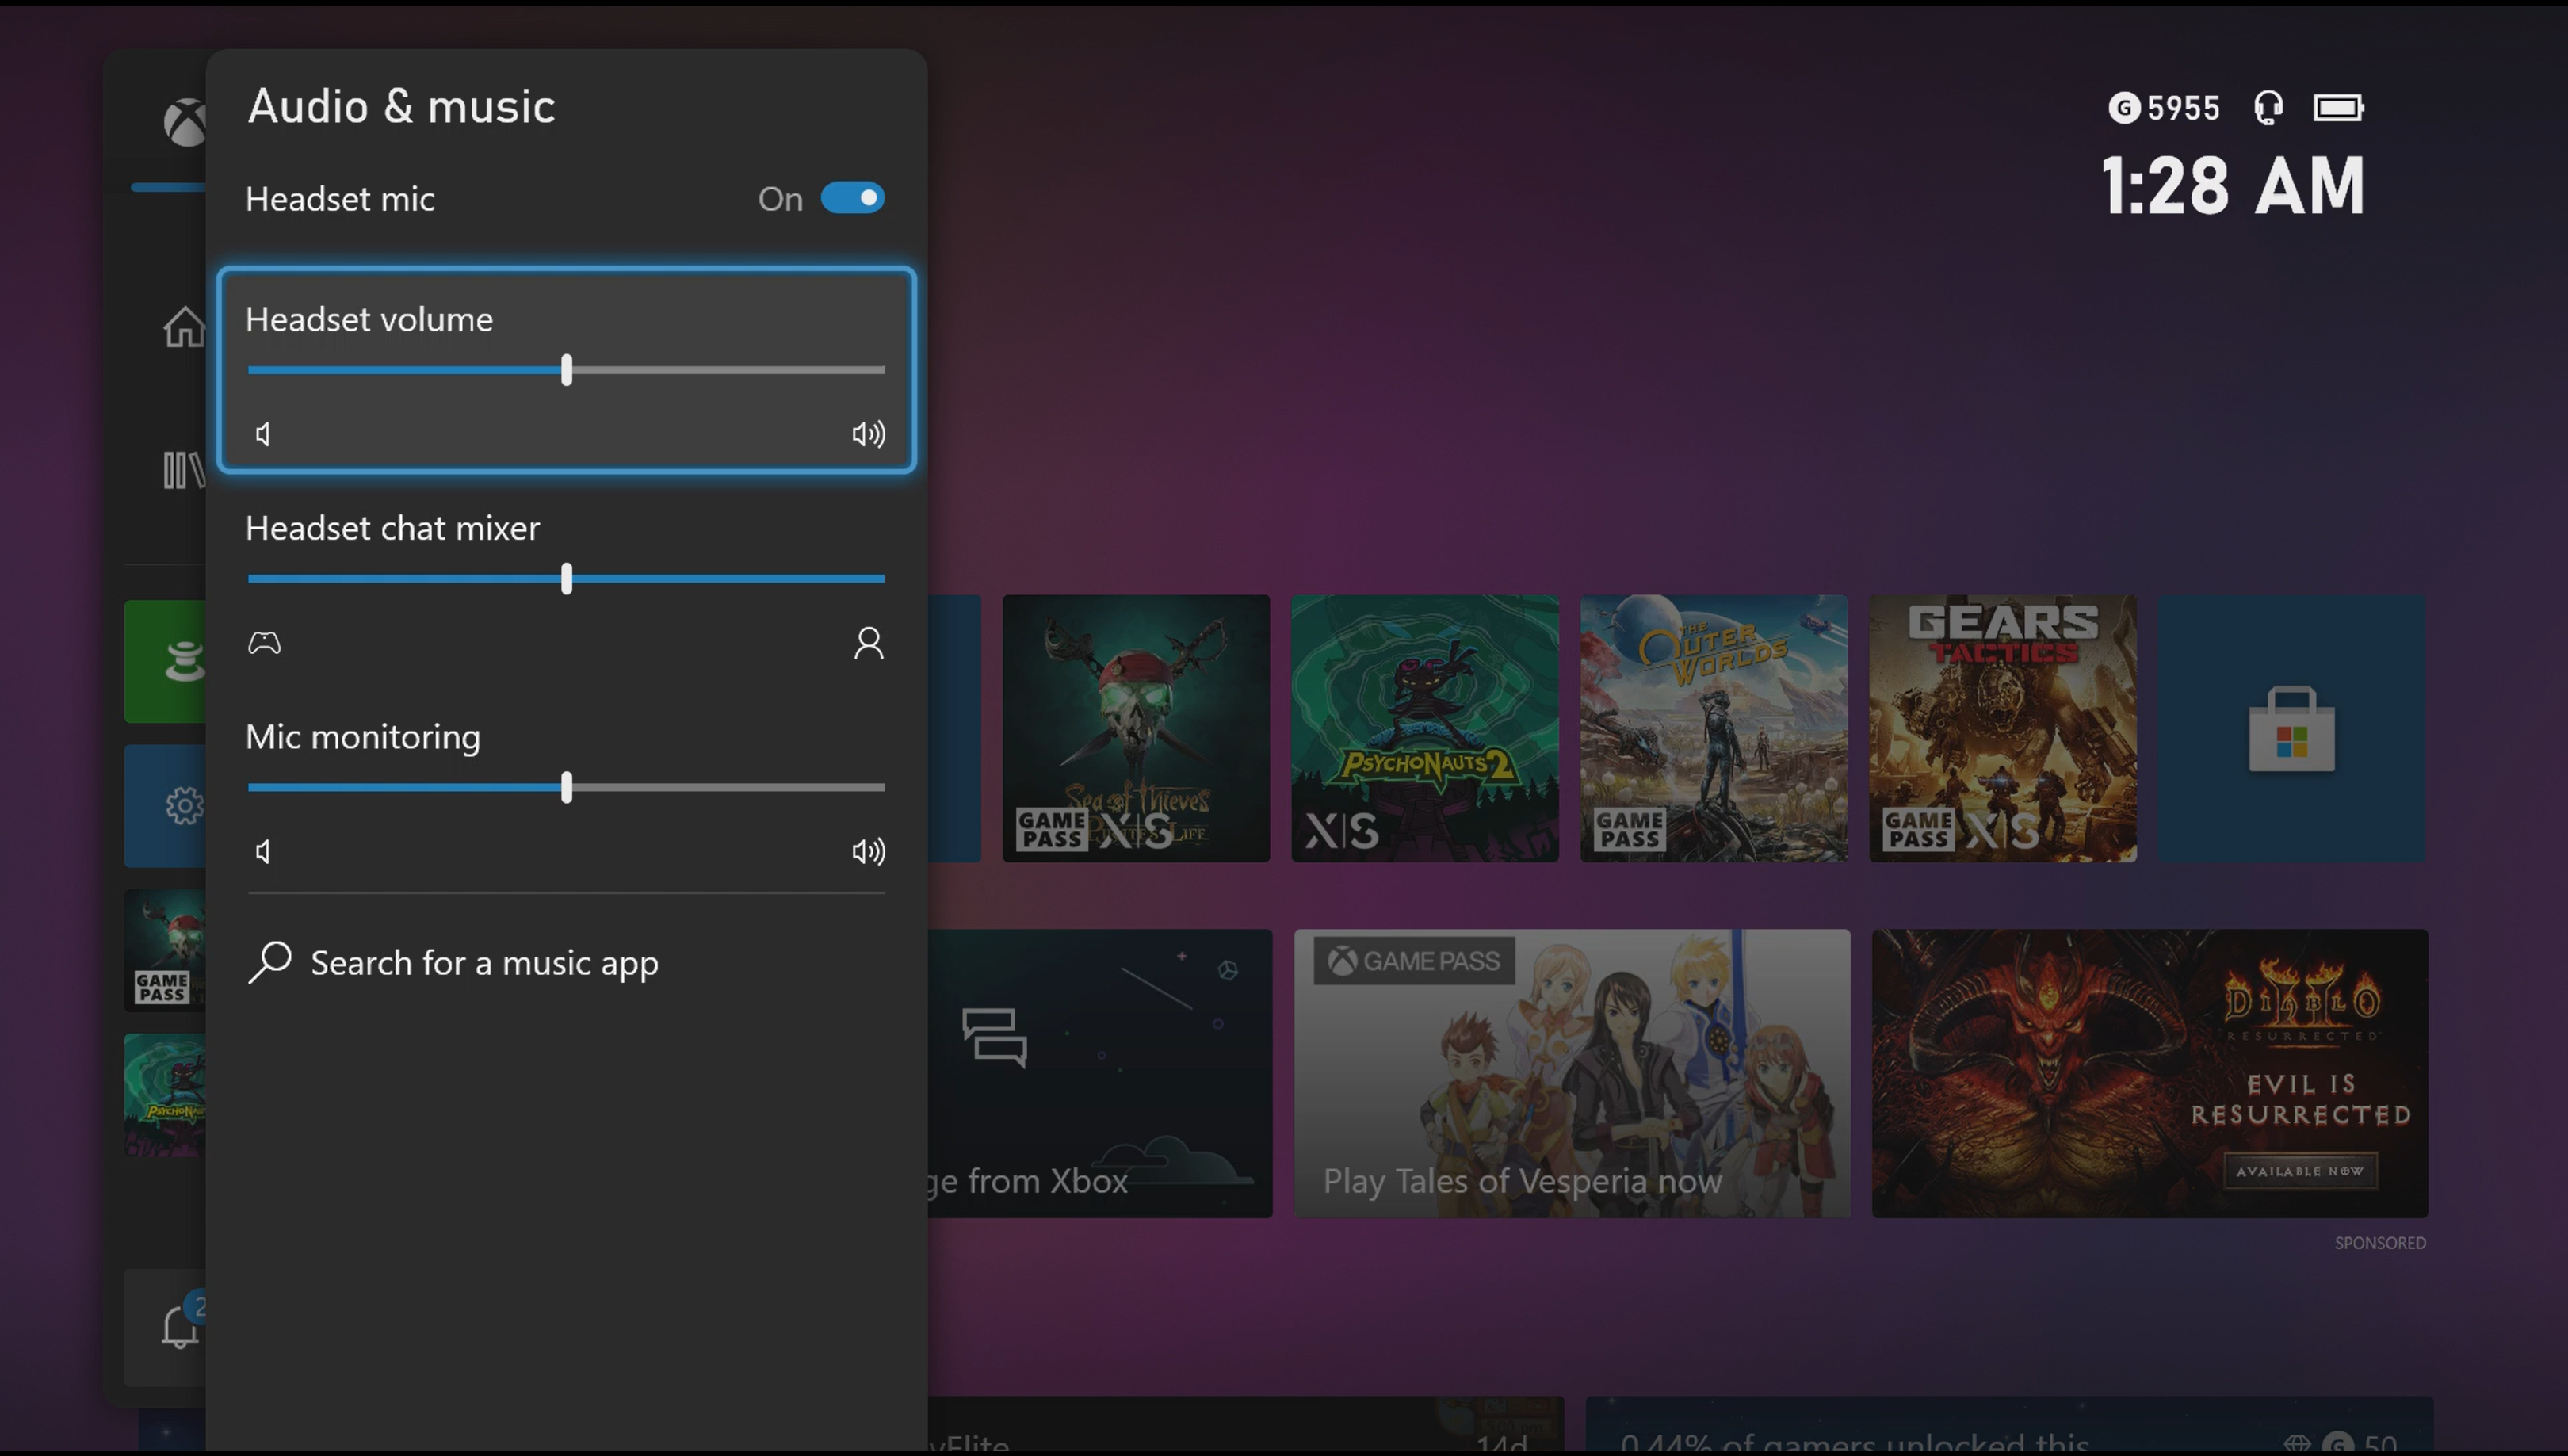
The following image shows the ear cup dials on an Xbox gaming headset. Players must twist the dials to adjust the volume and chat mixer values. For players who are unable to perform twisting motions, an opportunity to adjust volume and chat mixer volumes is provided through the Xbox Accessories app. This app allows players to use the input device of their choice to raise and lower headset values without hands-on twisting motions.
Component location
Another important consideration is the location of the controls on a device. Consider a headset with the volume controls located on the left ear cup and the noise cancellation controls located on the right ear cup. A player with limited movement in one arm or an amputation might only be able to reach the side with volume controls. They might not be able to reach the noise cancellation controls on the other side of the device.
In this situation, the location of the controls can't be moved. An alternative approach could include a software option that allows players to swap the controls for volume and noise cancellation between the right and left ear cups. This option would support this player in "accessing" both control types despite only being able to physically reach one side of their device while it's on their head.
Other general best practices considerations to account for hardware component location include:
- Provide players with an alternative, accessible way to control the device, such as adding a volume control to the auxiliary cord that connects the headphones to the gaming device.
- Provide controls on a separate device that can be placed in a convenient location, such as a dial that can be placed on a table.
- Provide accessibility settings that allow players to customize the functions of each physical control through software.
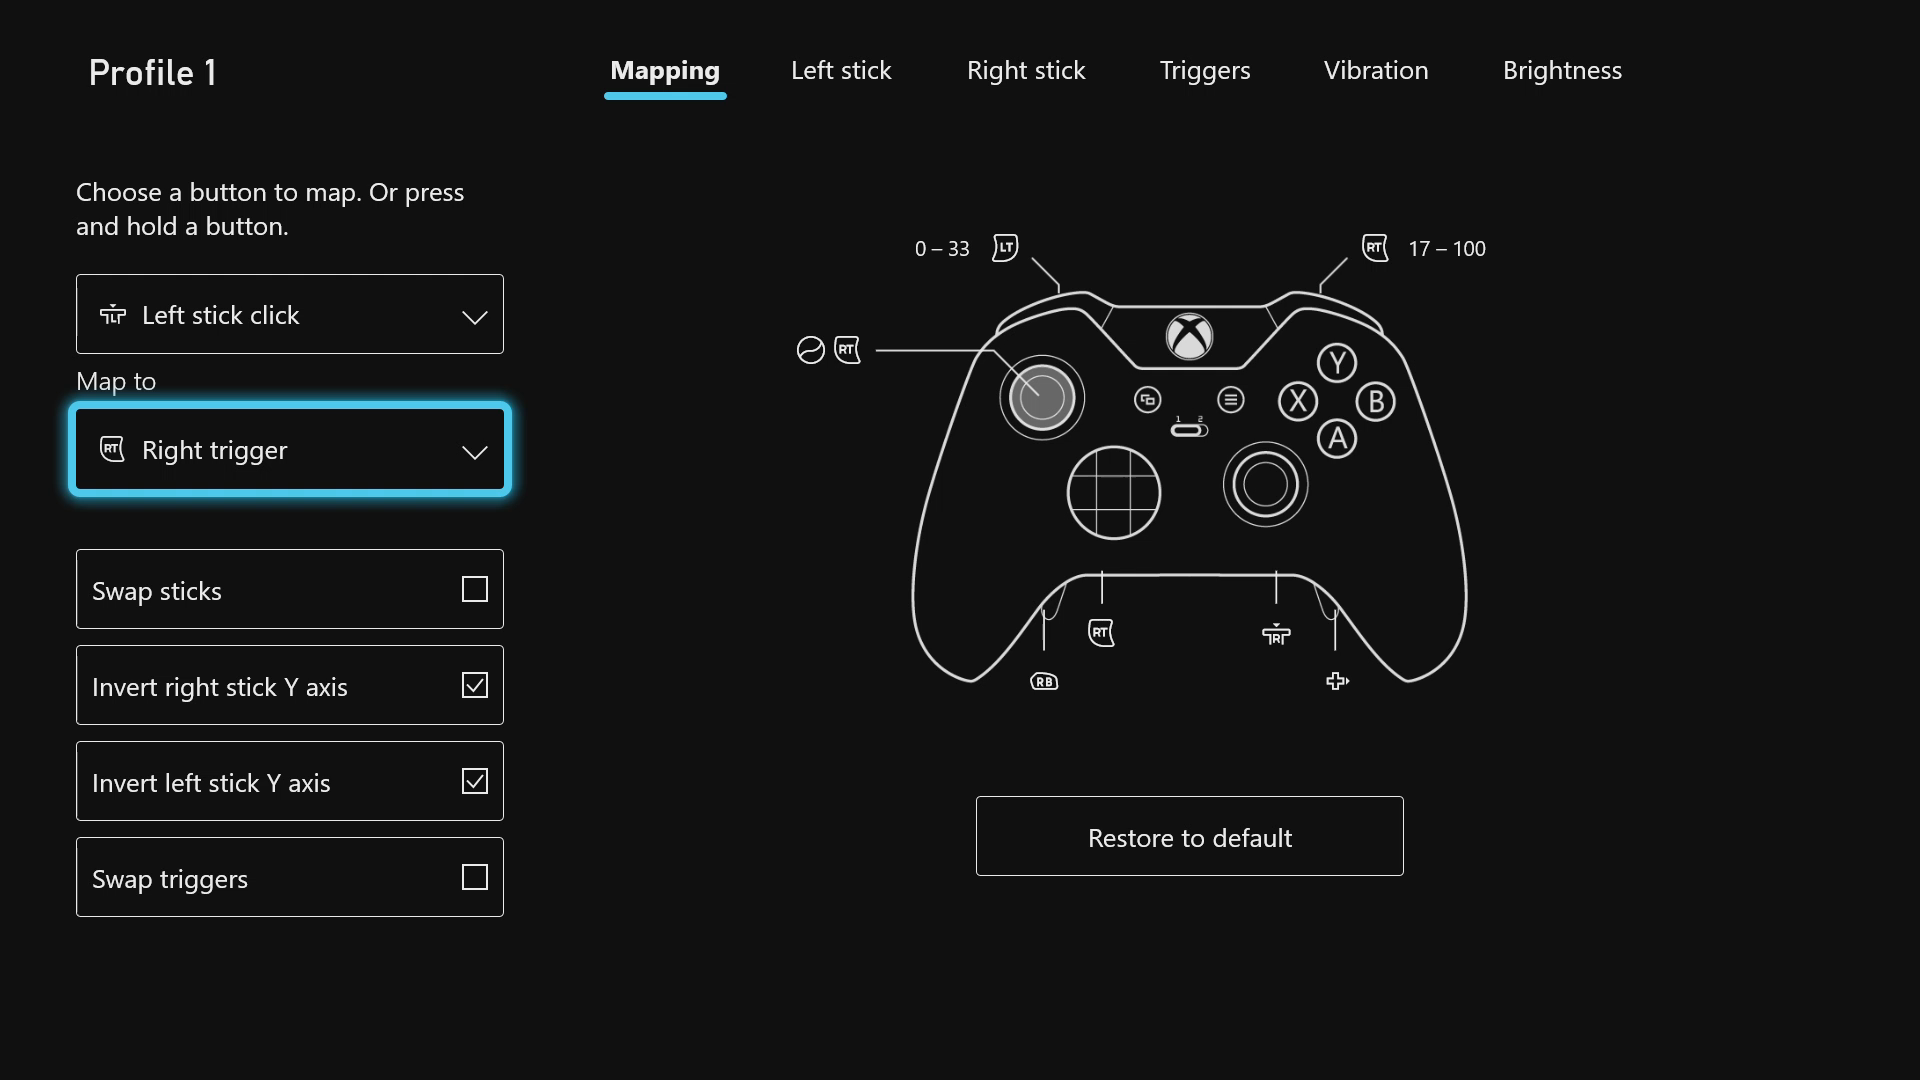
The following image shows the controller remapping screen for the Xbox Elite Controller. The player who created this profile has difficulty accessing the Left stick click control. Through software, they reassigned this control to an option that they can more easily reach and press. In this case, it's the right trigger.