Remove artifacts, create status badges, and configure environment protections
In this unit, you learn how to remove workflow artifacts from GitHub and change the default retention period. Next, you learn how to create a workflow status badge and add it to your README.md file. Finally, you identify some important workflow environment protections and learn how to enable them.
Remove workflow artifacts from GitHub
By default, GitHub stores any build logs and uploaded artifacts for 90 days before it deletes them. You can customize this retention period based on the type of repository and the usage limits set for your specific GitHub product. There's a lot more information about usage limits and artifact retention in Usage limits, billing, and administration.
But suppose you're reaching your organization's storage limit for GitHub artifacts and packages. You want to remove old artifacts without increasing your usage limits and blocking your workflows. You can reclaim used GitHub Actions storage by deleting artifacts before they expire on GitHub. You can do this two ways, as described in the following sections. Both methods require write access to the repository.
Warning
Keep in mind that once you delete an artifact, it can't be restored.
Manually delete artifacts from your repository
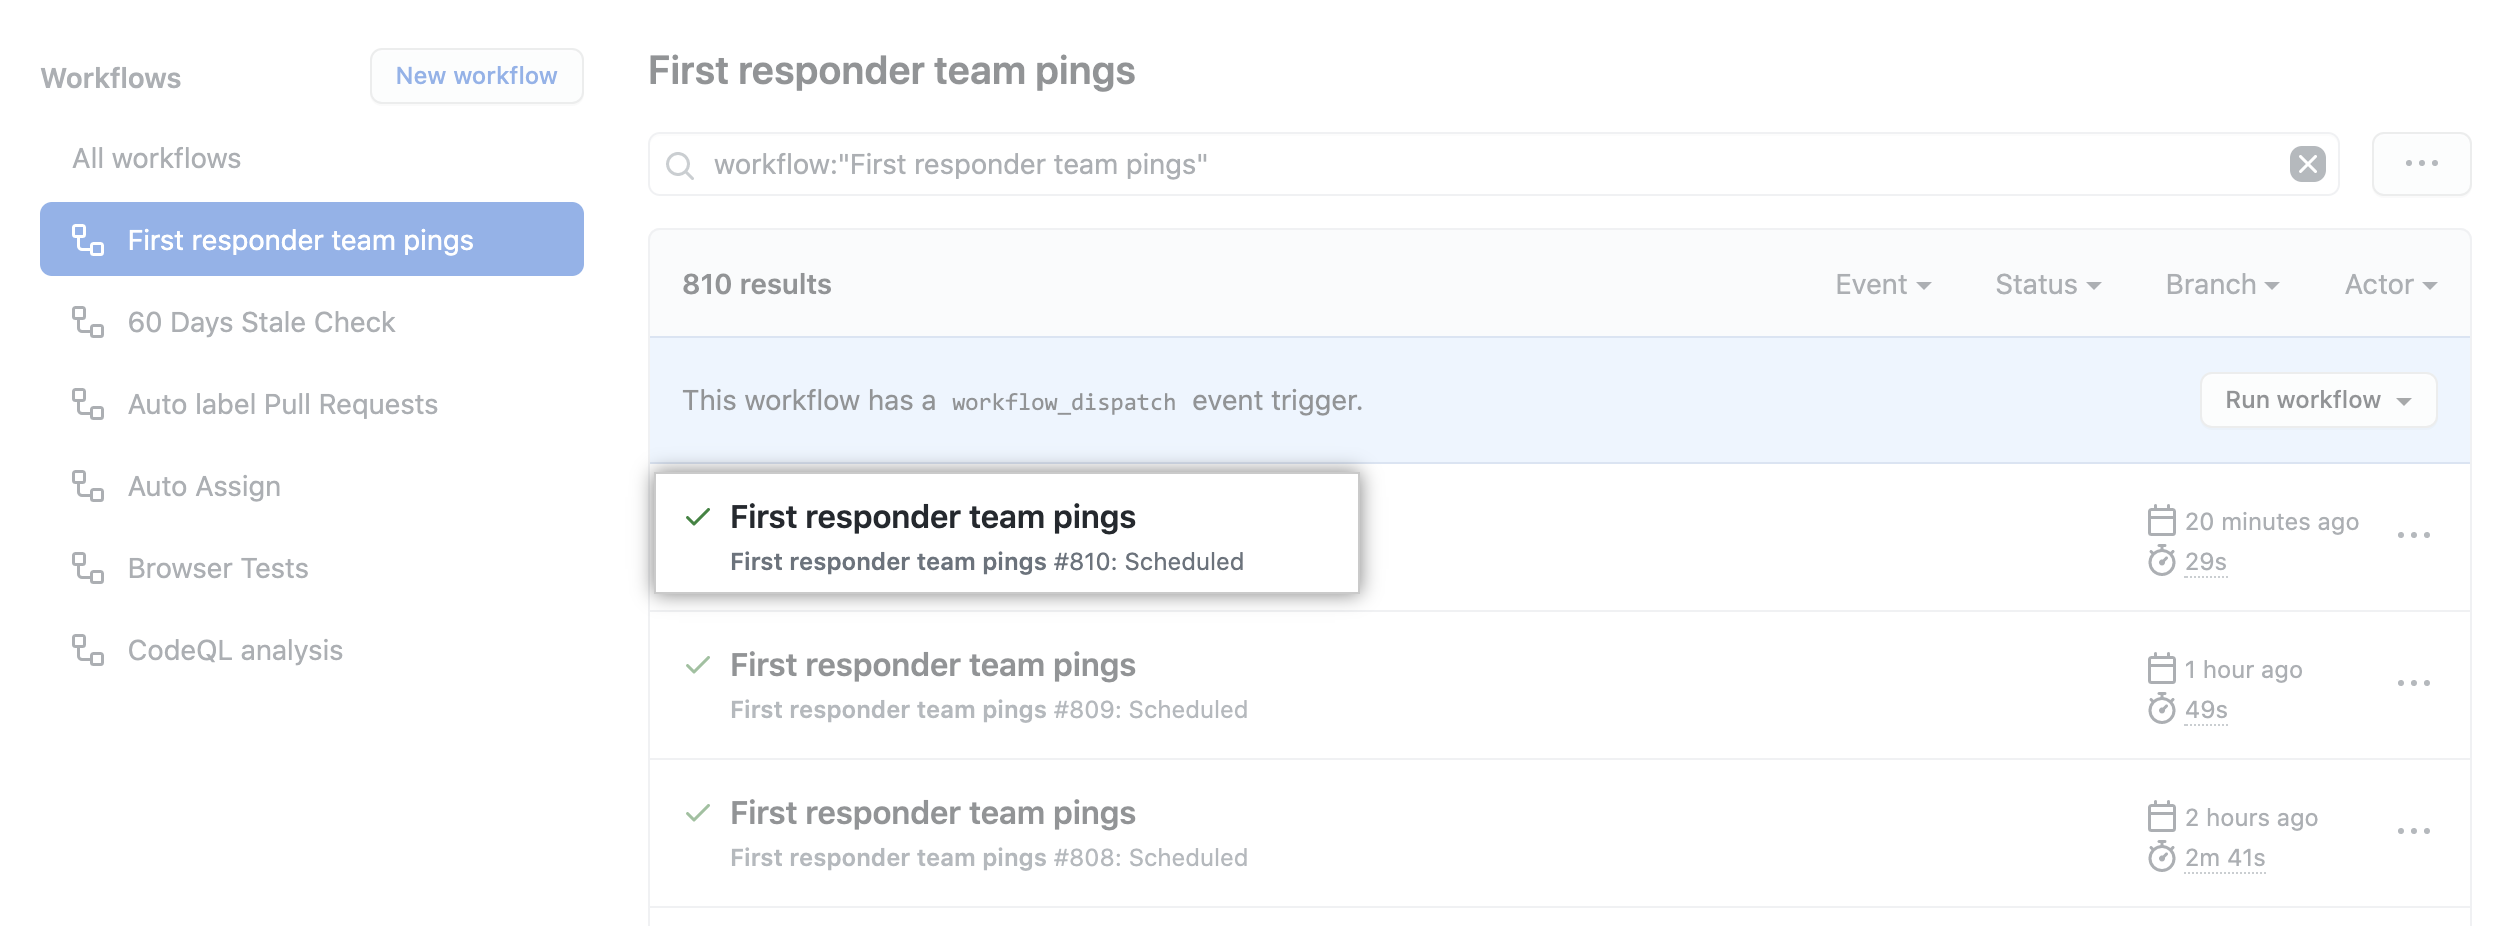
To manually delete an artifact on GitHub, navigate to the Actions tab, select the workflow from the left sidebar, and then select the run you want to see.

Under Artifacts, delete the artifact you want to remove.

You can also use the Artifacts REST API to delete artifacts. This API also allows you to download and retrieve information about work artifacts.
Change the default retention period
You can change the default artifact and log retention period for your repository, organization, or enterprise account. Keep in mind that changing the retention period only applies to new artifacts and log files. It doesn't apply to existing objects. The process to configure these settings is a bit different for a repository, organization, or enterprise. Check the summary at the end of this module for more information on configuring artifacts and log retentions.
In addition to configured settings across a repository, organization, or enterprise, you can define a custom retention period for individual artifacts right within the workflow file. This practice is good for individual use cases where you want a specific artifact's retention to be different than the default or configured setting. You can do this using a retention-days value within the step with the upload-artifact action.
The following example uploads an artifact that persists for 10 days instead of the default 90 days:
- name: 'Upload Artifact'
  uses: actions/upload-artifact@v2
  with:
    name: my-artifact
    path: my_file.txt
    retention-days: 10
Add a workflow status badge to your repository
It's helpful to know a workflow's status without having to visit the Actions tab to see if it successfully completed. Adding workflow status badges to your repository README.md file allows you to quickly see if your workflows are passing or failing. While it's common to add a status badge to a repository README.md file, you can also add it any web page. By default, status badges display the workflow statuses on your default branch, but you can also display workflow status badges on other branches using the branch and event parameters.
Here's an example of what you need to add to a file to see a workflow status badge:

For example, adding the branch parameter along with the desired branch name at the end of the URL shows the workflow status badge for that branch instead of the default branch. This practice makes it easy to create a table-like view within your README.md file to display workflow statuses based on branches, events, services, or environments to name a few.

You can also create a status badge using GitHub. Navigate to the workflows section within the Actions tab and select a specific workflow. The Create status badge option allows you to generate the markdown for that workflow and set the branch and event parameters.

Add workflow environment protections
Security is a big deal, so it makes sense to configure your workflow environment with protection rules and secrets. With these elements in place, a job doesn't start or access any defined secrets in the environment until all of the environment's protection rules pass. Currently, protection rules and environment secrets only apply to public repositories.
There are two environment protection rules that you can apply to workflows within public repositories, required reviewers and wait timer.
- Required reviewers allow you to set a specific person or team to approve workflow jobs that reference the job's environment.
- You can use Wait timer to delay a job for a specific amount of time after the job has been triggered.
Suppose you need to create a workflow to a production environment that a dev team needs to approve before the deployment occurs. Use the following steps:
- Create a production environment within the repository.
- Configure the required reviewers environment protection to require an approval from the specific dev team.
- Configure the specific job within the workflow to look for the production environment.
You can create and configure new repository environments from the repository's Settings tab under Environments.