Exercise - Send an email to a manager when a new item is added to Dataverse
This exercise demonstrates how to create a flow that dynamically retrieves a manager's contact information and notifies them when someone adds a new item to Dataverse.
Scenario
Your organization tracks tasks in Dataverse, and managers need to be notified whenever someone adds a new task. Instead of manually notifying them, you decide to automate this process with Power Automate.

Prepare your Dataverse table
To complete this exercise, you need a Dataverse table to store task data. To do so, go to the Microsoft Power Apps home page (https://make.powerapps.com) and ensure that you're in the same environment where you plan to create your flow.
Then, follow these steps to create the required Dataverse table:
On the Power Apps home page, select Tables from the left sidebar.
Select New table > Create new tables.

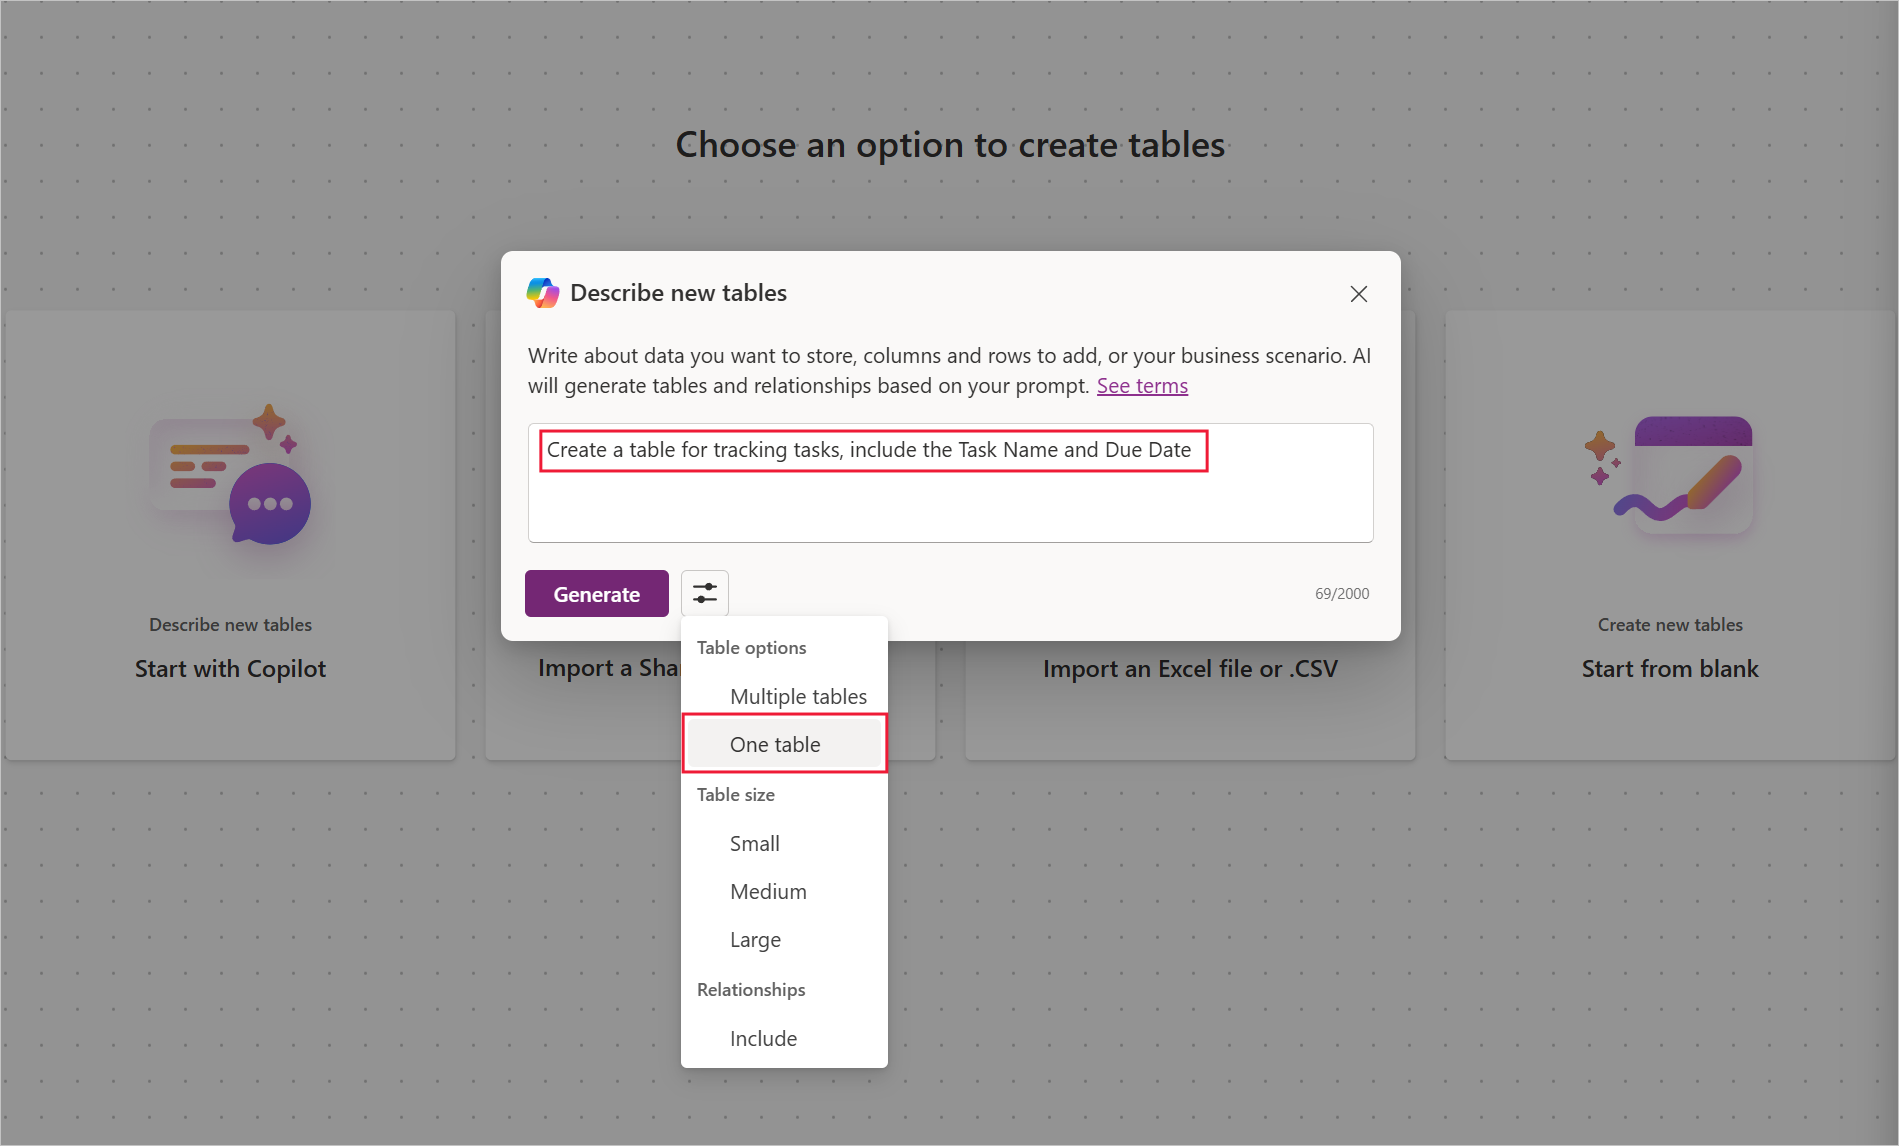
Use Microsoft Copilot to create your table by selecting Start with Copilot.
For your table description, enter Create a table for tracking tasks, include the Task Name and Due Date.
Select the Table options icon and then select One table.
Select Generate.
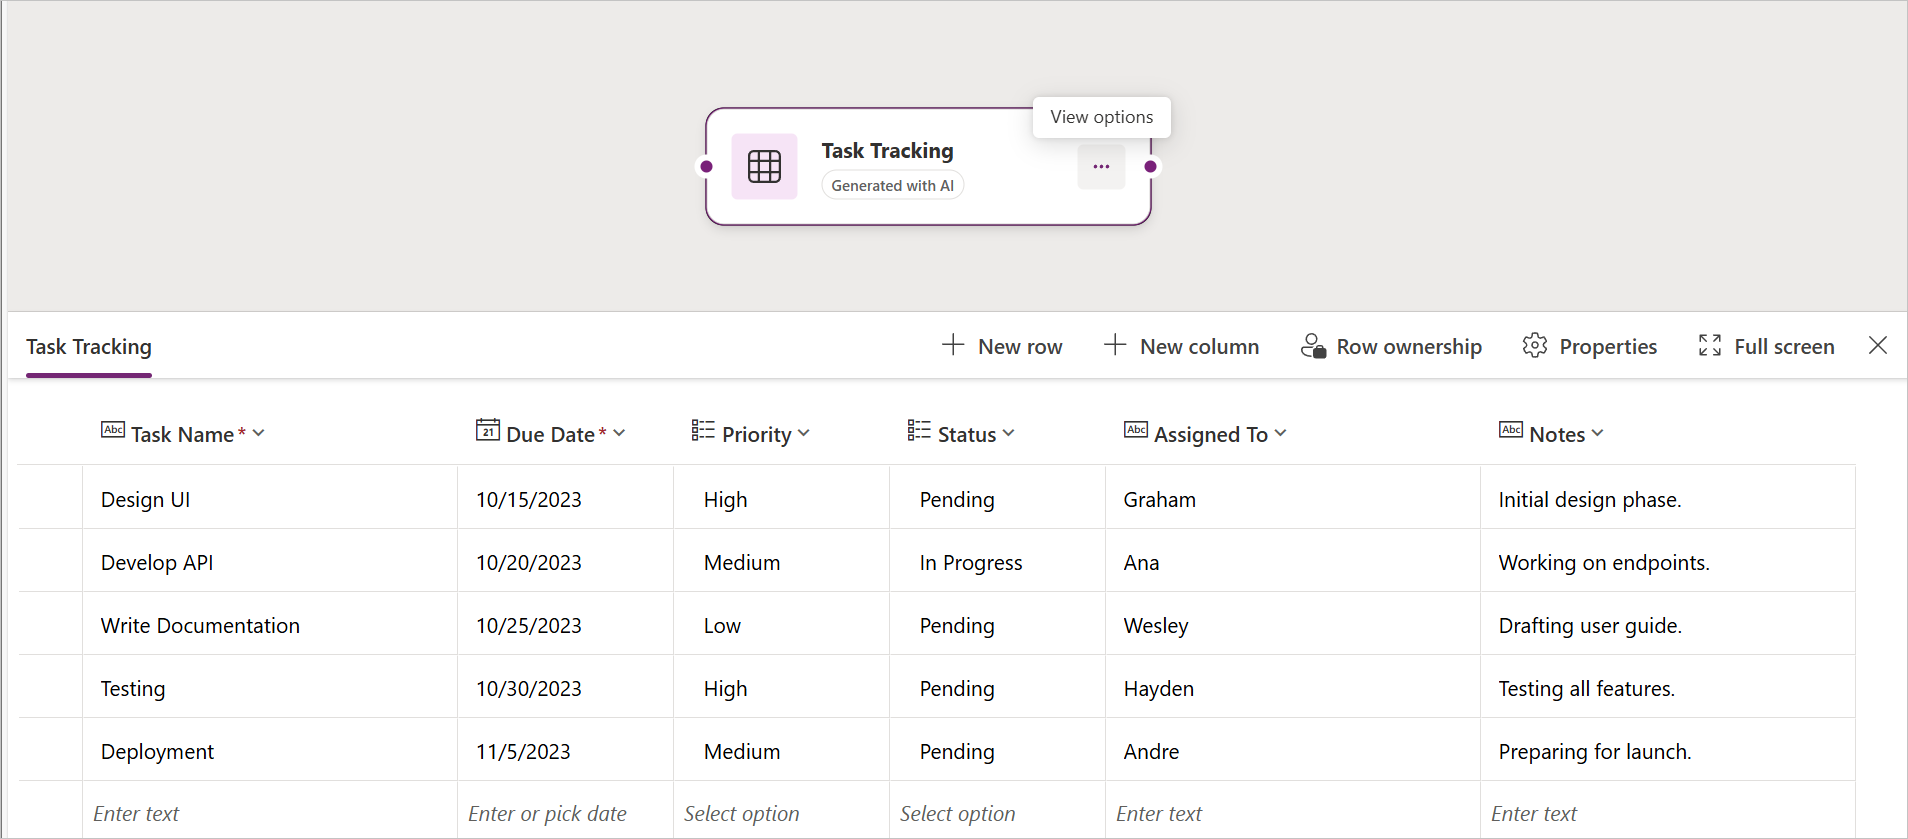
Select the View options ellipsis (...) to the right of the table name of your AI-generated table and then select View Data. The result should resemble the following screenshot.
Note
The exact table name and columns aren't important; make sure that you have a column for your Task Name and a Due Date.
To save your table, select Save and exit in the upper part of the screen. If prompted, you can select Save and exit again. Wait a few moments while Power Apps creates the table. Leave this browser tab open because you manually add a task to it after you create the flow.


Create the flow
After creating your Dataverse table, you can now create the flow:
- Open a new browser tab and then go to the Power Automate home page (https://make.powerautomate.com).
- Select Create from the left sidebar.
- Select Automated cloud flow.
- In the pop-up window, complete the following tasks:
Enter a meaningful name for your flow, such as Notify Manager on New Dataverse Task.
In the Choose your flow's trigger search box, enter When a row is added.
Select When a row is added, modified, or deleted (Dataverse), and then select Create.


Configure the trigger
The next task is to configure the trigger by following these steps:
- Select the trigger card to open its parameters on the left.
- Create a connection by selecting Change connection in the lower part of the blade. Select Add new, make sure that OAuth is selected for Authentication, and then Sign in. Follow the prompts to complete your connection.
- After you complete your connection, configure the following items in the trigger:
Change Type - Select Added.
Table Name - Search for and select the table that you created at the start of this exercise.
Note
The system might present you with the plural name that Dataverse automatically generates when creating tables. As a result, your Task Tracking table might appear as Task Trackings in the list of tables.
Scope - Select Organization.


Add the Get a row by ID action
To add the Get a row by ID action, follow these steps:
Select the plus (+) icon under the trigger card and then select Add an action.
In the search box, enter Get a row by ID.
Select the Get a row by ID action under the Microsoft Dataverse connector.
Configure the following parameters:
- Table Name - Users
- Row ID - Select the lightning bolt icon, and in the search box, enter created. Select Created By (Value) under the When a row is added, modified, or deleted heading. This action collects the user information that you need for the next task.


Add the Get manager (V2) action
To add the Get manager (V2) action, follow these steps:
Select the plus (+) icon under the trigger card and then select Add an action.
In the search box, enter Get manager (V2).
Select the Get manager (V2) action under the Office 365 Users connector.
If prompted, Sign in to create a connection to Office 365 Users and then follow the prompts.
In the User (UPN) field, select the lightning bolt icon.
In the search box, enter windows and then select Windows Live ID under the Get a row by ID heading. This dynamically fetches the principal name of the user who created the Dataverse row.


Add the Send an email (V2) action
To add the Send an email (V2) action, follow these steps:
Select the plus (+) icon under the Get manager (V2) action and then select Add an action.
In the search box, enter Send an email (V2).
Select the Send an email (V2) action under the Office 365 Outlook connector.
Configure the following email parameters:
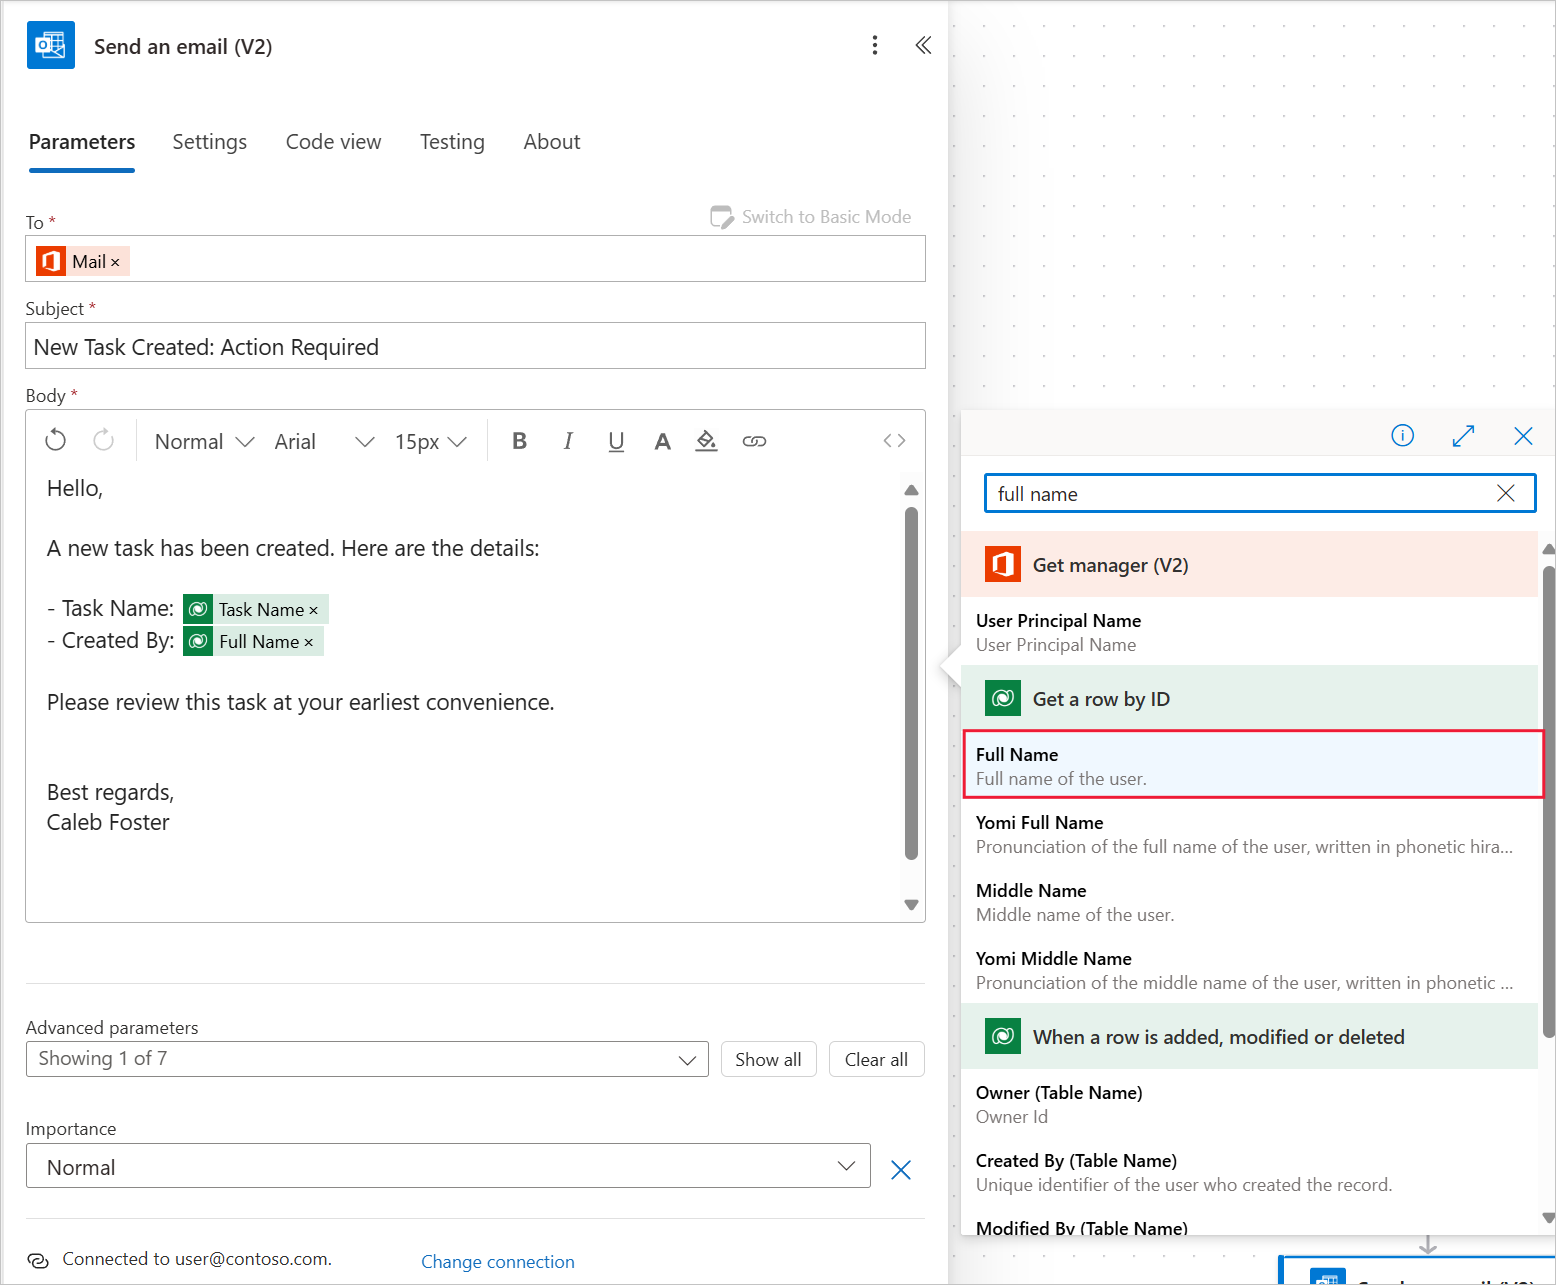
To - Select Switch to Advanced Mode. Place your cursor in the To field and then select the lightning bolt icon.
Search box - Enter the word Mail. Select Mail under the Get manager (V2) heading. This action captures the manager's email address.
Subject - Enter a meaningful subject, such as New Task Created: Action Required.
Body - Use a combination of static text and dynamic content, for example:
   Hello,
   A new task has been created. Here are the details:
   - Task Name: [Dynamic Content: Task Name]
   - Created By: [Dynamic Content: Full Name]
   Please review this task at your earliest convenience.
   Best regards,
   [Your Name]
Replace placeholders such as [Dynamic Content: Task Name] with values from the Dynamic content panel by selecting the lightning bolt icon and searching for the corresponding column from your Dataverse table under the When a row is added, modified, or deleted heading. For user information about the creator of the task, search for content under the Get row by ID heading, such as Full Name.

Don't test yet
Before testing your flow in this exercise, you should complete this section. If you're performing this exercise in a work environment, adding a row to the Task Tracker table sends an email to your own manager. To test the flow without notifying your manager, complete this key testing step.
- In the To parameter, replace Mail with your own email address.
- Select the plus (+) icon under the Send an email (V2) action and then select Add an action.
- In the search box, enter Compose.
- Select Compose under the Data Operation connector.
- Select the Inputs box and then select the lightning bolt icon.
- In the Seach box, enter the word Mail. Select Mail under the Get manager (V2) heading.
This action assigns the manager's email address to the Compose action so that you can view the results of the Get manager (V2) action without sending an email. In real-world scenarios, you can use this approach to preview dynamic data during testing, which substitutes placeholders for actions, such as emails, Microsoft Teams notifications, or text messages, until the flow is ready for production.
Test the flow
Now it's time to test your flow:
Select Save in the upper part of the screen.
Select Test > Manually > Test.
Return to your Dataverse table, select Edit , and then add a new row with relevant task details. After you confirm that the data has saved, return to Power Automate.
Verify that:
- The flow runs successfully in Power Automate.
- You receive an email with the correct task details.
- The output from the Compose action shows your manager's email address.


This exercise demonstrated how to dynamically retrieve a manager's contact information and use it to automate email notifications. In the next exercise, you build on this action by learning how to search for any Office 365 user based on specific criteria, which allows for more versatile and dynamic workflows.