Exercise - Blazor
In this exercise, we create a Blazor project and we start building an app that becomes a "Connect Four" game throughout the course of the module.
Create a new Blazor project
First, let's create a new project for our game using Visual Studio 2022.
Create a new Blazor app in Visual Studio 2022 by choosing the File > New > Project menu.
Choose "Blazor Web App" from the list of templates and name it ConnectFour. Select Next.
Choose .NET 8 for the framework version. The Authentication type should be set to None, Interactive render mode should be set to Server, and Interactivity location should be set to Per page/component. Leave all other options as the defaults.
This action should create a ConnectFour directory containing our app.
Run the app by pressing F5 in Visual Studio 2022.
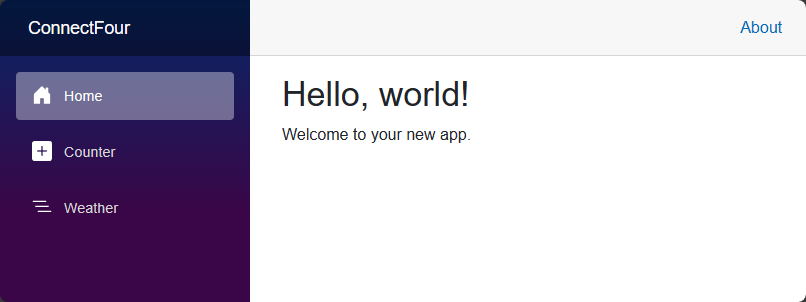
You should now see the Blazor app running in your browser:

Congratulations! You created your first Blazor app!
Create a board component
Next, let's create a game board component to be used by players in our game. The component is defined using Razor syntax, which is a mix of HTML and C#.
Right-click on the Components folder in the Solution Explorer of Visual Studio. Choose Add > Razor Component from the context menu and name the file Board.razor.
We use this component to hold everything needed for the game-board layout and managing interactions with it. The initial contents of this new component are an
h3tag and a@codeblock indicating where C# code should be written:<h3>Board</h3> @code { }Prepare the
Homepage by opening the Components/Pages/Home.razor file and clearing out everything after the third line with the `PageTitle`` tag.@page "/" <PageTitle>Home</PageTitle>Add our
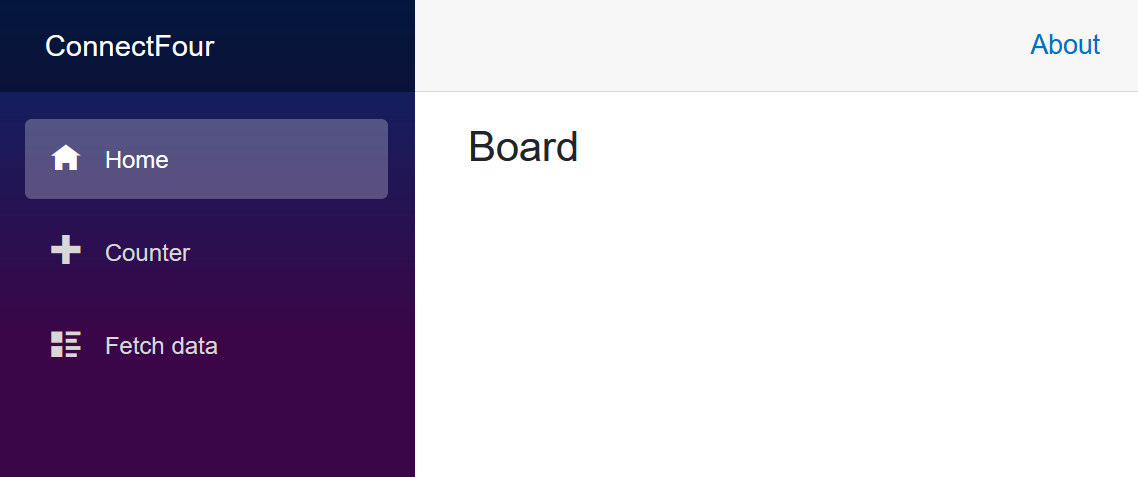
Boardcomponent to theHomepage by adding a<Board />tag, which matches the filename of our new component.@page "/" <PageTitle>Index</PageTitle> <Board />To see the changes, run the app with F5. If the app is already running, tap the Hot Reload button next to the Run/Continue button to apply the changes to the running app.
Tip
Select the Hot Reload on File Save option from the Hot Reload menu to apply changes to the running app whenever you change a file.

Congratulations! You built your first component and used it on a Blazor page.
Adding content and style to the game board
Let's start defining a game board with the seven columns and six rows. Then, add a little style to bring our board to life.
In the Board.razor file, remove the HTML at the top and add the following content to define a board with 42 places for game pieces.
We can use a C#
forloop to generate the 42 board positions. The containerspantag is picked up and repeated with its contents 42 times to represent our board.<div> <div class="board"> @for (var i = 0; i < 42; i++) { <span class="container"> <span></span> </span> } </div> </div>
When we save the board component, our app refreshes and it appears as an empty page, thanks to the Hot Reload functionality that rebuilds and launches the updated app.
Note
You may be prompted by Visual Studio to restart your app as files change. Confirm that the app should be rebuilt on code edits, and the app will automatically restart and refresh the browser as you add features.
Styling the component
Let's add some style to the Board component by defining some colors for the frame of the board and the players above the first div tag in the Board.razor file:
<HeadContent>
    <style>
        :root {
            --board-bg: yellow;  /** the color of the board **/
            --player1: red;      /** Player 1's piece color **/
            --player2: blue;     /** Player 2's piece color **/
        }
    </style>
</HeadContent>
These CSS variables --board-bg, --player1: red, --player2: blue are picked up and used in the rest of our stylesheet for this component.
Next, we add a completed stylesheet for the game to the Board component.
Right-click in the Solution Explorer on the Components folder and create a new CSS file called Board.razor.css.
Copy the following content into the new Board.razor.css file:
div{position:relative}nav{top:4em;width:30em;display:inline-flex;flex-direction:row;margin-left:10px}nav span{width:4em;text-align:center;cursor:pointer;font-size:1em}div.board{margin-top:1em;flex-wrap:wrap;width:30em;height:24em;overflow:hidden;display:inline-flex;flex-direction:row;flex-wrap:wrap;z-index:-5;row-gap:0;pointer-events:none;border-left:10px solid var(--board-bg)}span.container{width:4em;height:4em;margin:0;padding:4px;overflow:hidden;background-color:transparent;position:relative;z-index:-2;pointer-events:none}.container span{width:3.5em;height:3.5em;border-radius:50%;box-shadow:0 0 0 3em var(--board-bg);left:0;position:absolute;display:block;z-index:5;pointer-events:none}.player1,.player2{width:3.5em;height:3.5em;border-radius:50%;left:0;top:0;position:absolute;display:block;z-index:-8}.player1{background-color:var(--player1);animation-timing-function:cubic-bezier(.5,.05,1,.5);animation-iteration-count:1;animation-fill-mode:forwards;box-shadow:0 0 0 4px var(--player1)}.player2{background-color:var(--player2);animation-timing-function:cubic-bezier(.5,.05,1,.5);animation-iteration-count:1;animation-fill-mode:forwards;box-shadow:0 0 0 4px var(--player2)}.col0{left:calc(0em + 9px)}.col1{left:calc(4em + 9px)}.col2{left:calc(8em + 9px)}.col3{left:calc(12em + 9px)}.col4{left:calc(16em + 9px)}.col5{left:calc(20em + 9px)}.col6{left:calc(24em + 9px)}.drop1{animation-duration:1s;animation-name:drop1}.drop2{animation-duration:1.5s;animation-name:drop2}.drop3{animation-duration:1.6s;animation-name:drop3}.drop4{animation-duration:1.7s;animation-name:drop4}.drop5{animation-duration:1.8s;animation-name:drop5}.drop6{animation-duration:1.9s;animation-name:drop6}@keyframes drop1{100%,75%,90%,97%{transform:translateY(1.27em)}80%{transform:translateY(.4em)}95%{transform:translateY(.8em)}99%{transform:translateY(1em)}}@keyframes drop2{100%,75%,90%,97%{transform:translateY(5.27em)}80%{transform:translateY(3.8em)}95%{transform:translateY(4.6em)}99%{transform:translateY(4.9em)}}@keyframes drop3{100%,75%,90%,97%{transform:translateY(9.27em)}80%{transform:translateY(7.2em)}95%{transform:translateY(8.3em)}99%{transform:translateY(8.8em)}}@keyframes drop4{100%,75%,90%,97%{transform:translateY(13.27em)}80%{transform:translateY(10.6em)}95%{transform:translateY(12em)}99%{transform:translateY(12.7em)}}@keyframes drop5{100%,75%,90%,97%{transform:translateY(17.27em)}80%{transform:translateY(14em)}95%{transform:translateY(15.7em)}99%{transform:translateY(16.5em)}}@keyframes drop6{100%,75%,90%,97%{transform:translateY(21.27em)}80%{transform:translateY(17.4em)}95%{transform:translateY(19.4em)}99%{transform:translateY(20.4em)}}Here's a selection of some of the CSS used to format the board and "punch holes" for each of the spaces. There's more content available in the CSS file for the game pieces and their animations on screen.
div.board {
    margin-top: 1em;
    flex-wrap: wrap;
    width: 30em;
    height: 24em;
    overflow: hidden;
    display: inline-flex;
    flex-direction: row;
    flex-wrap: wrap;
    z-index: -5;
    row-gap: 0;
    pointer-events: none;
    border-left: 10px solid var(--board-bg);
}

span.container {
    width: 4em;
    height: 4em;
    margin: 0;
    padding: 4px;
    overflow: hidden;
    background-color: transparent;
    position: relative;
    z-index: -2;
    pointer-events: none;
}

.container span {
    width: 3.5em;
    height: 3.5em;
    border-radius: 50%;
    box-shadow: 0 0 0 3em var(--board-bg);
    left: 0px;
    position: absolute;
    display: block;
    z-index: 5;
    pointer-events: none;
}
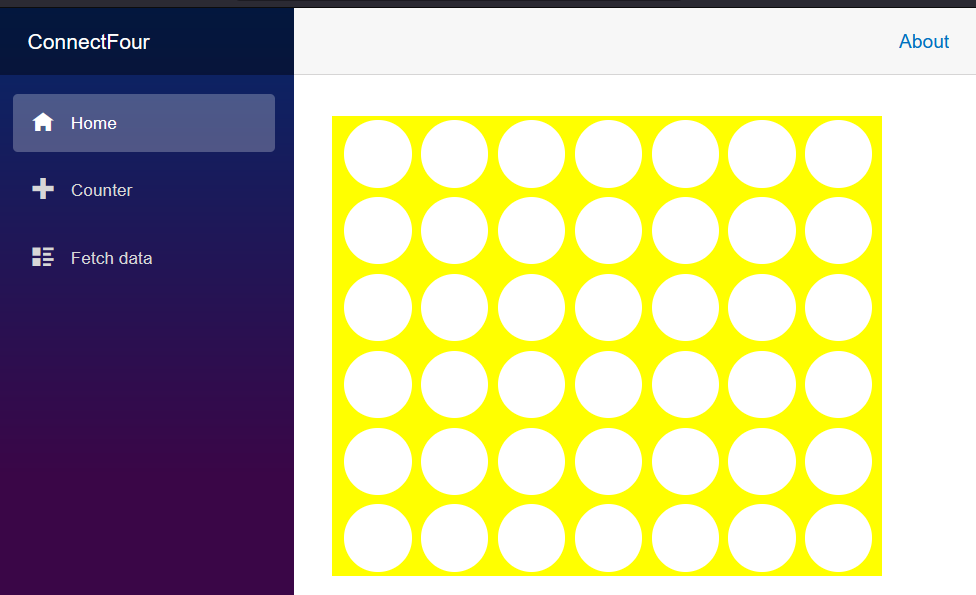
The browser should update for you (if not, you can manually refresh the browser with F5), and you should be greeted with a proper yellow Connect Four board:

Congratulations, you now have the start of game. In later units, we add game logic to it.