Plan for Azure Virtual Desktop client deployment - Remote Desktop Protocol (RDP)
The Remote Desktop web client lets you use a compatible web browser to access your organization's remote resources (apps and desktops) published to you by your admin. You'll be able to interact with the remote apps and desktops like you would with a local PC no matter where you are, without having to use another desktop computer.
Once your admin sets up your remote resources all you need are your domain, user name, password, the URL your admin sent you, and web browser.
The web client doesn't currently have mobile OS support.
Supported operating systems and browsers
While any HTML5-capable browser should work, we officially support the following operating systems and browsers.
Browser
Supported OS
Notes
Microsoft Edge
Windows
Internet Explorer
Windows
Version 11 or later
Apple Safari
macOS
Mozilla Firefox
Windows, macOS, Linux
Version 55 or later
Google Chrome
Windows, macOS, Linux, Chrome OS
What you'll need to use the web client
- For the web client, you'll need a PC running Windows, macOS, ChromeOS, or Linux.
- A modern browser like Microsoft Edge, Internet Explorer 11, Google Chrome, Safari, or Mozilla Firefox (v55.0 and later).
- The URL your admin sent you.

Using the Remote Desktop client
To sign in to the client, go to the URL your admin sent you. At the sign in page, enter your domain and user name in the format DOMAIN\username, enter your password, and then select Sign in.
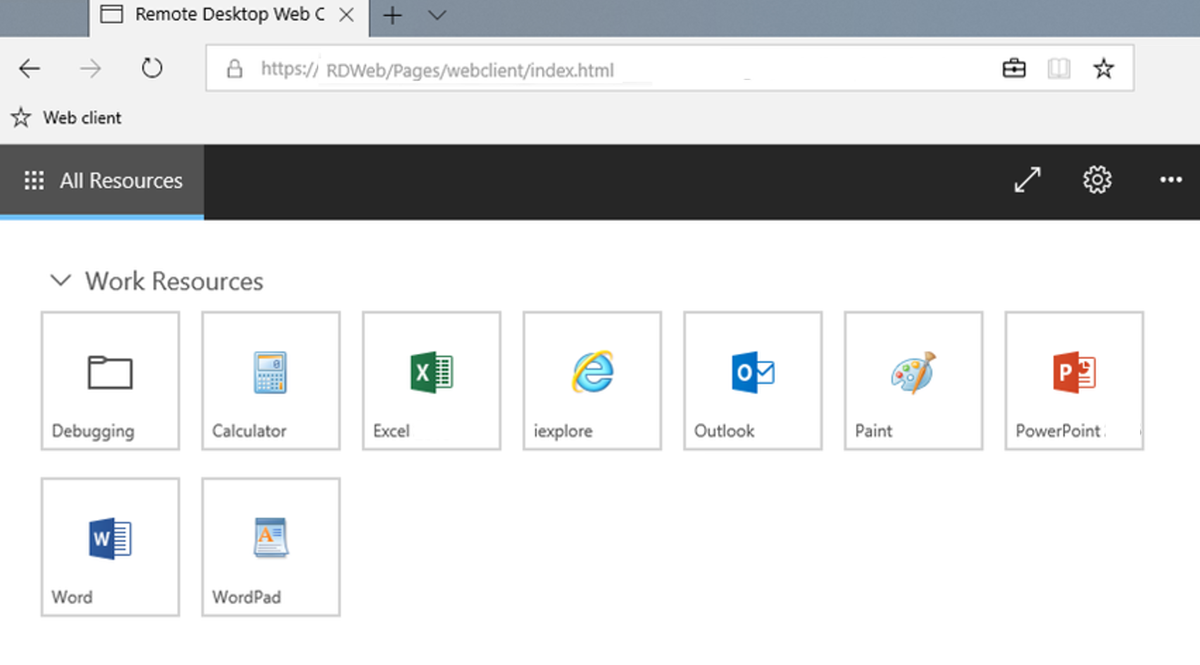
After you sign in, the client will take you to the All Resources tab, which contains all items published to you under one or more collapsible groups, such as the "Work Resources" group. You'll see several icons representing the apps, desktops, or folders containing more apps or desktops that the admin has made available to the work group. You can come back to this tab at any time to launch additional resources.
To start using an app or desktop, select the item you want to use, enter the same user name and password you used to sign in to the web client if prompted, and then select Submit.
You might also be shown a consent dialog to access local resources, like clipboard and printer. You can choose to not redirect either of these, or select Allow to use the default settings.
Wait for the web client to establish the connection, and then start using the resource as you would normally.