Install prerequisites and NVIDIA Triton Inference Server
In this section, we access our virtual machine remotely to update the currently installed packages. We also install a Python development environment and configure it with the prerequisite software to enable execution of the Open Neural Network Exchange (ONNX) runtime. To satisfy the NVIDIA Triton Inference Server, we pull a container with a full installation of the tooling to allow us to execute an inference workload on our virtual machine.
Install prerequisites and NVIDIA Triton Inference Server
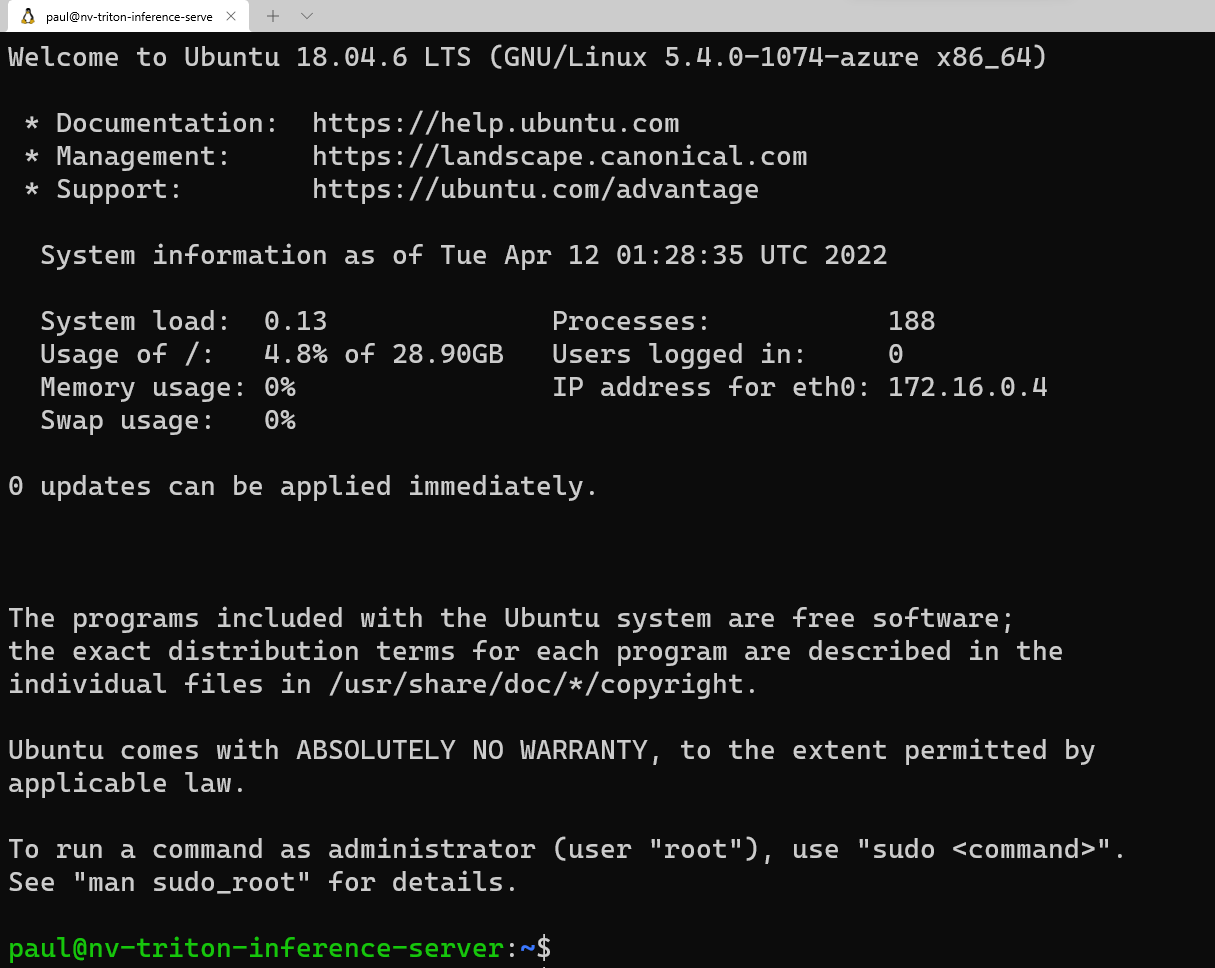
Open your terminal emulator of choice. For illustration, we’re using Windows Terminal, as it allows for multiple windows to be simultaneously connected concurrently to the virtual machine. We use one window to start the Triton Server, one window to execute a Python script and one to copy images to a directory for processing via the CLI. With Windows Terminal, you also have your choice of CLI experience, PowerShell, Command Prompt, Ubuntu-18.04 (if WSL-2 is installed), or Azure Cloud Shell.
Copy the username you used to set up the virtual machine in the previous stage, then run the following command:
ssh <username>@<your VM IP address>This prompts you for the password that you saved previously to your text editor. Copy this value, and right-click in the command line to paste. If you're logging in for the first time, you see the following message:
Now we’re going to load in a few packages that our Python script needs to execute properly. On the command line, enter:
sudo apt update
sudo apt install -y python3-pip python3-dev nano wget
Before installing the required Python packages, we want to add
/home/\<your username\>/.local/binto the PATH by taking the following steps in the CLI:sudo nano ~/.bashrcArrow to the bottom of this file in the editor, and add the following line:
export PATH=/home/<your username>/.local/bin:$PATHPress Ctrl + O and press Enter to save the file, then press Ctrl + X to exit. On the command line, run:
source ~/.bashrcThis command reloads the configuration for the server to include
.local/binin the PATH.Now that we loaded the Ubuntu package requirements and added the directory to PATH, we’re going to install the required Python packages. Copy each line individually to run in the terminal window.
python3 -m pip install --upgrade pip wheel setuptools

python3 -m pip install numpy>=1.19.0 opencv-contrib-python-headless tritonclient geventhttpclient

python3 -m pip install

torch torchvision pandas tqdm PyYAML scipy seaborn requests pybind11 pytest protobuf objdict onnxruntime
If you're using a Nvidia GPU-capable VM, you can use onnxruntime-gpu instead of onnxruntime to take advantage of the CUDA/cuDNN acceleration.
To run the Triton Server container from Nvidia, we need a container engine. Microsoft has a distribution of this container runtime, which can be installed using the following commands:
wget https://packages.microsoft.com/config/ubuntu/18.04/multiarch/packages-microsoft-prod.deb -O packages-microsoft-prod.deb

sudo dpkg -i packages-microsoft-prod.deb

rm packages-microsoft-prod.deb
Now we can install Moby:
sudo apt update

sudo apt install -y moby-engine

sudo apt update
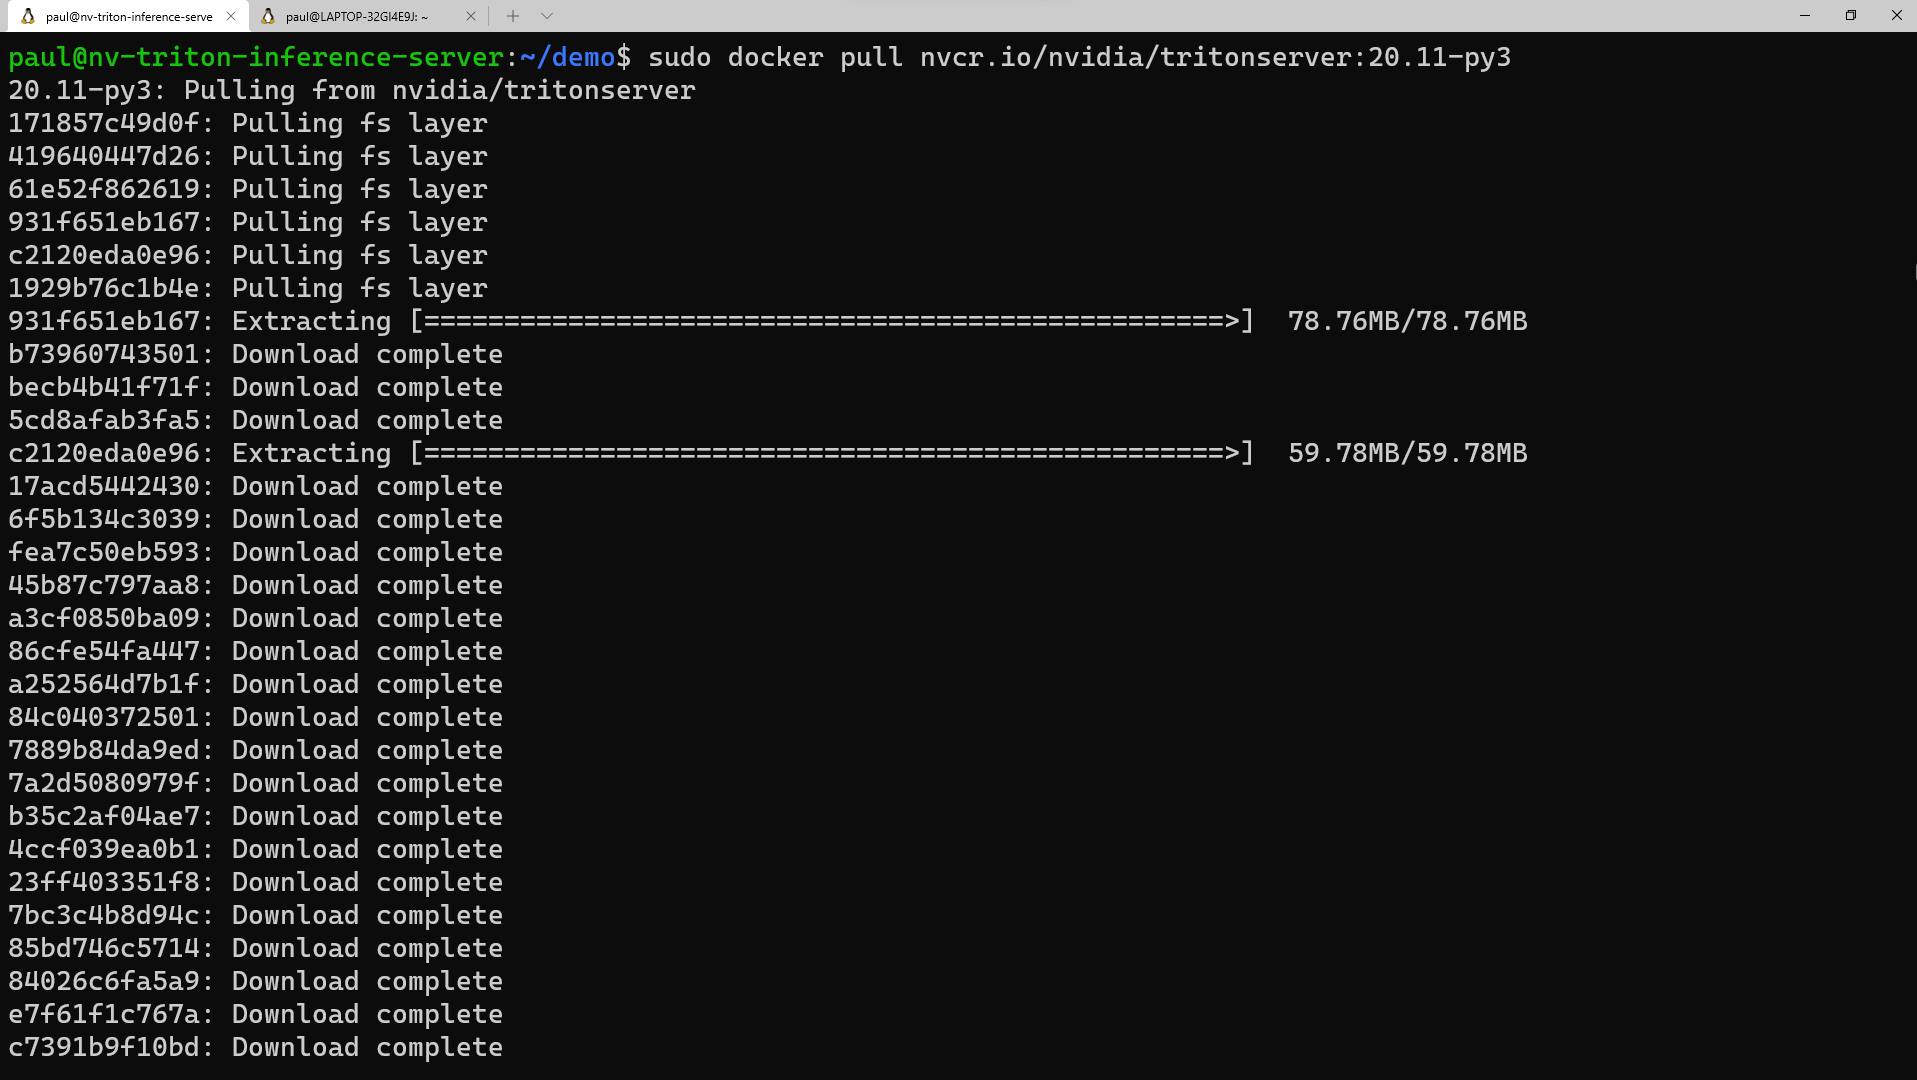
Now, we’re ready to pull the container for the Triton Server from the NVIDIA NGC repository. You can also pull the container during the 'docker run' command when we get to that step, but for simplicity, we do the pull now. In the terminal emulator, run:
sudo docker pull nvcr.io/nvidia/tritonserver:20.11-py3This process takes some time to download the container layers and extract them.
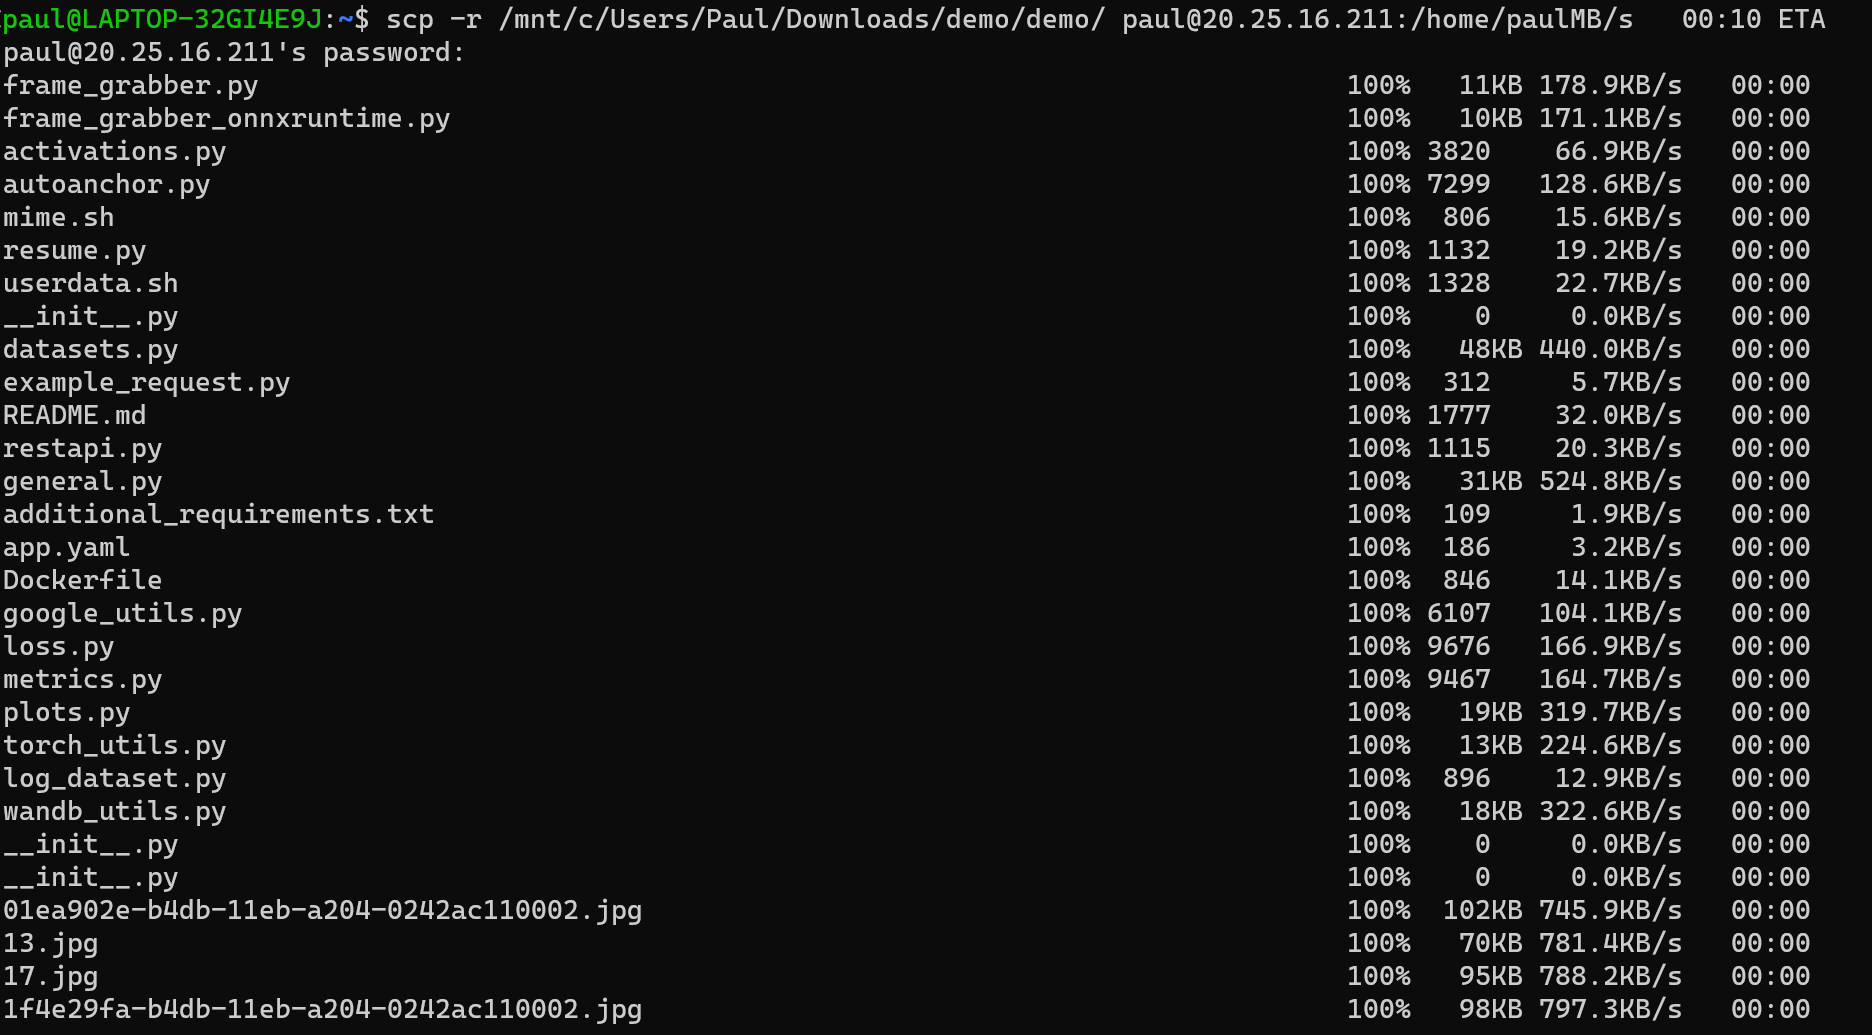
Now we’re ready to copy the
demodirectory over to the virtual machine (VM). Download the demo.zip file from the repository. Unzip the file locally on your PC. Open a command prompt window, either in the utility, or open another window in Windows Terminal. Depending on where you unzipped the files, run the following command in the CLI:scp -r <path to unzipped>/demo <your username>@<x.x.x.x vm IP address>:/home/<your username>/Once we have these files copied over to the virtual machine, let’s switch back over to the terminal window connected to the virtual machine and set the permissions for this directory. In the CLI, enter:
sudo chmod -R 777 demo


