Exercise: Implement flyout navigation
In the sample scenario, you have a .NET MAUI app that contains pages for displaying information about astronomical bodies, the phases of the moon, and sunrise/sunset times. The app also includes an About page. Currently, these pages are all stand-alone, but you want to provide a logical way for the user to move between them.
In this exercise, you add flyout navigation to the app.
This module uses the .NET 9.0 SDK. Ensure that you have .NET 9.0 installed by running the following command in your preferred command terminal:
dotnet --list-sdks
Output similar to the following example appears:
8.0.100 [C:\Program Files\dotnet\sdk]
9.0.100 [C:\Program Files\dotnet\sdk]
Ensure that a version that starts with 9 is listed. If none is listed or the command isn't found, install the most recent .NET 9.0 SDK.
Open the starter solution
Clone or download the exercise repo.
Note
It is best to clone or download the exercise content to a short folder path, such as C:\dev, to avoid build-generated files exceeding the maximum path length.
Go to the exercise1 folder in the cloned repo, and then move to the start folder.
Use Visual Studio to open the Astronomy.sln solution or the folder in Visual Studio Code.
In the Solution Explorer window, in the Astronomy project, expand the Pages folder. This folder contains the following pages:
- AboutPage. This page displays about information for the app.
- MoonPhasePage. This page displays specific information about the phases of the Moon as seen from Earth.
- SunrisePage. This page displays sunrise and sunset times for locations on Earth. The data is provided by the Sunrise Sunset web service.
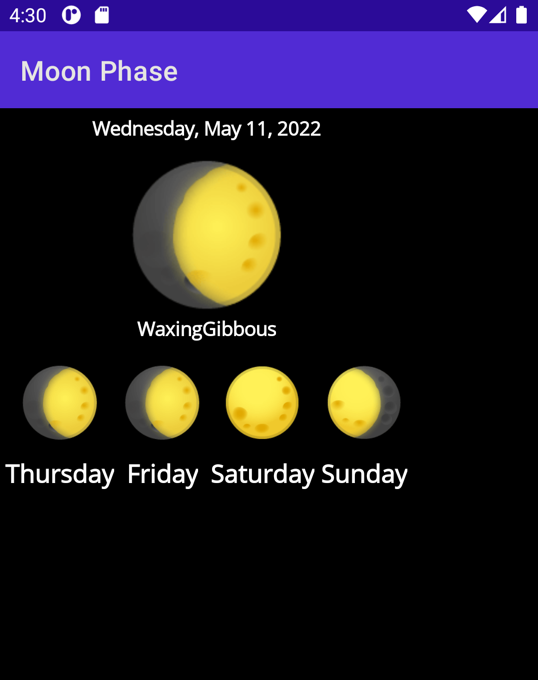
Build and run the app. When the app starts, the MoonPhasePage displays, but currently there's no means provided to enable the user to navigate to the other pages.
The following image shows the app running on the Android emulator:
Close the app and return to Visual Studio or Visual Studio Code.
Add flyout navigation
In the Solutions Explorer window, open up the AppShell.xaml page.
In the XAML markup editor, surround the existing
<ShellContent>item with a<FlyoutItem>. Set theTitleproperty of the<Flyout>item to be Moon Phase. The markup should look like this:<FlyoutItem Title="Moon Phase"> <ShellContent ContentTemplate="{DataTemplate local:MoonPhasePage}"/> </FlyoutItem>Add a
FlyoutIconproperty to the<Shell>node to display an image. By default it displays three horizontal bars, but we can change it to be whatever we like. The markup should look like this:<Shell x:Class="Astronomy.AppShell" xmlns="http://schemas.microsoft.com/dotnet/2021/maui" xmlns:x="http://schemas.microsoft.com/winfx/2009/xaml" xmlns:local="clr-namespace:Astronomy.Pages" FlyoutIcon="moon.png">Run the application. You should now see a moon image in the upper left corner of the app.
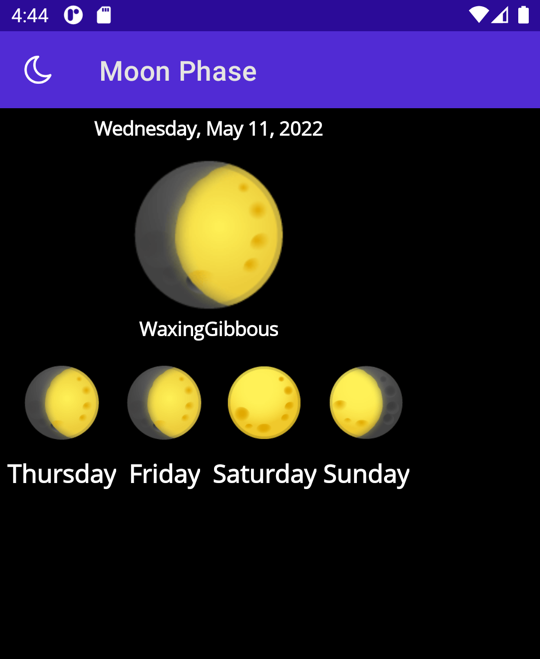
Tap on the icon and the flyout appears.
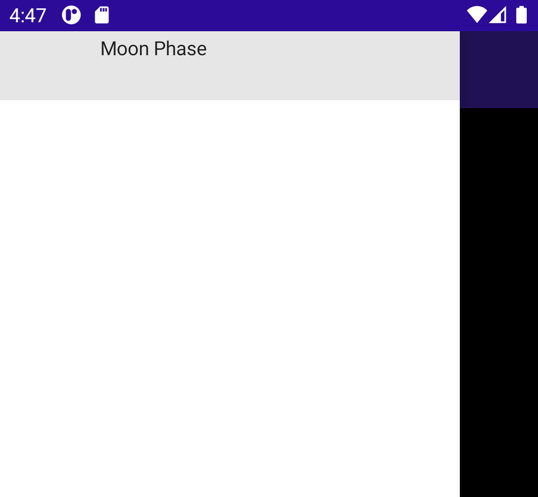
Now add in more flyout options. Create a new
<FlyoutItem>below the one you just made and set itsTitleto Sunrise. ItsShellContentshould point to theSunrisePagepage.Add another
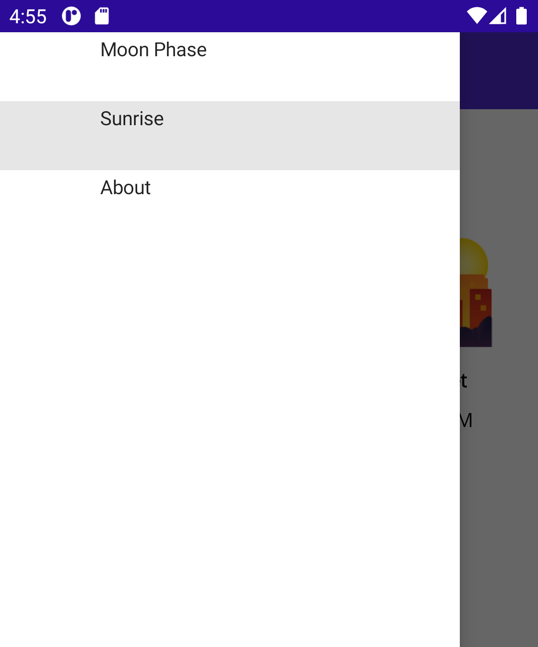
<FlyoutItem>, set its title to About. This time set theShellContenttoAboutPage. The XAML for these two items should look like this:<FlyoutItem Title="Sunrise"> <ShellContent ContentTemplate="{DataTemplate local:SunrisePage}"/> </FlyoutItem> <FlyoutItem Title="About"> <ShellContent ContentTemplate="{DataTemplate local:AboutPage}"/> </FlyoutItem>Run the app again, and now there are three options in the flyout. Tapping on the flyout item displays its respective page.
Note
If you are running on a platform other than Windows, you may need to enable Location permission for your app on that platform for the Sunrise/Sunset Times page to work. For example, on an Android device, set Location access to Allow only while using the app.
Adding icons
You might have noticed the flyout items look a bit empty. You can add icons to the flyout items by using the Icon property.
Some images have already been added to the Resources\Images folder for you to use.
Set the
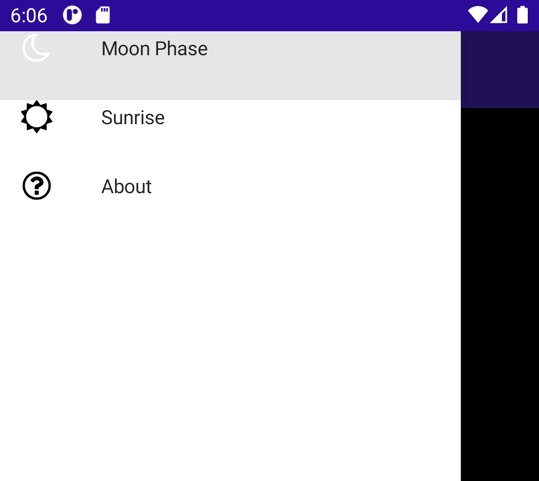
Iconproperty of the firstFlyoutItemto moon.png.<FlyoutItem Title="Moon Phase" Icon="moon.png"> <ShellContent ContentTemplate="{DataTemplate local:MoonPhasePage}" /> </FlyoutItem>Repeat for the other 2 flyout items, using sun.png and question.png respectively.
<FlyoutItem Title="Sunrise" Icon="sun.png">
    <ShellContent
        ContentTemplate="{DataTemplate local:SunrisePage}"/>
</FlyoutItem>

<FlyoutItem Title="About" Icon="question.png">
    <ShellContent
        ContentTemplate="{DataTemplate local:AboutPage}"/>
</FlyoutItem>
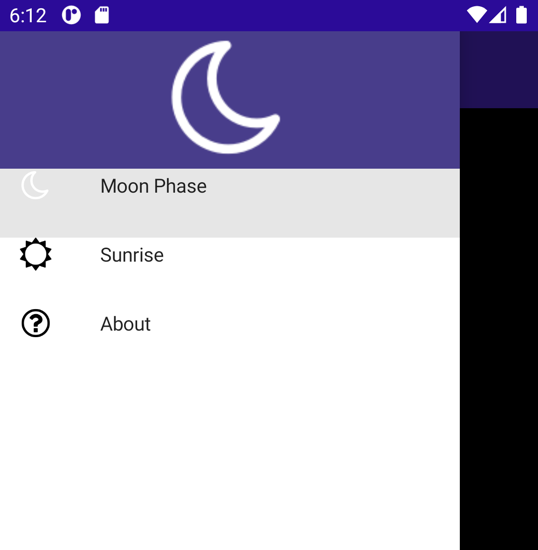
Run the app and open the flyout. Each flyout item now has an icon associated with it.
Add a flyout header
The flyout items are at the top of the flyout menu, making them difficult to distinguish. We can add some space to the top, and even an entire View by using the <Shell.FlyoutHeader>.
Add a flyout header as a child of the
<Shell>node:<Shell.FlyoutHeader> </Shell.FlyoutHeader>You can create any view hierarchy you wish within the
<Shell.FlyoutHeader>. Let's put in aGridwith anImage.<Shell.FlyoutHeader> <Grid HeightRequest="100" BackgroundColor="DarkSlateBlue"> <Image Source="moon.png" /> </Grid> </Shell.FlyoutHeader>