Exercise - Create a copilot using natural language
In this unit, you create a copilot for the Real Estate solution with natural language. This copilot is used to schedule showings for Contoso Real Estate.
Create a copilot
Sign into Microsoft Copilot Studio.
Important
Make sure that you're in the same environment you've been using throughout this learn path.
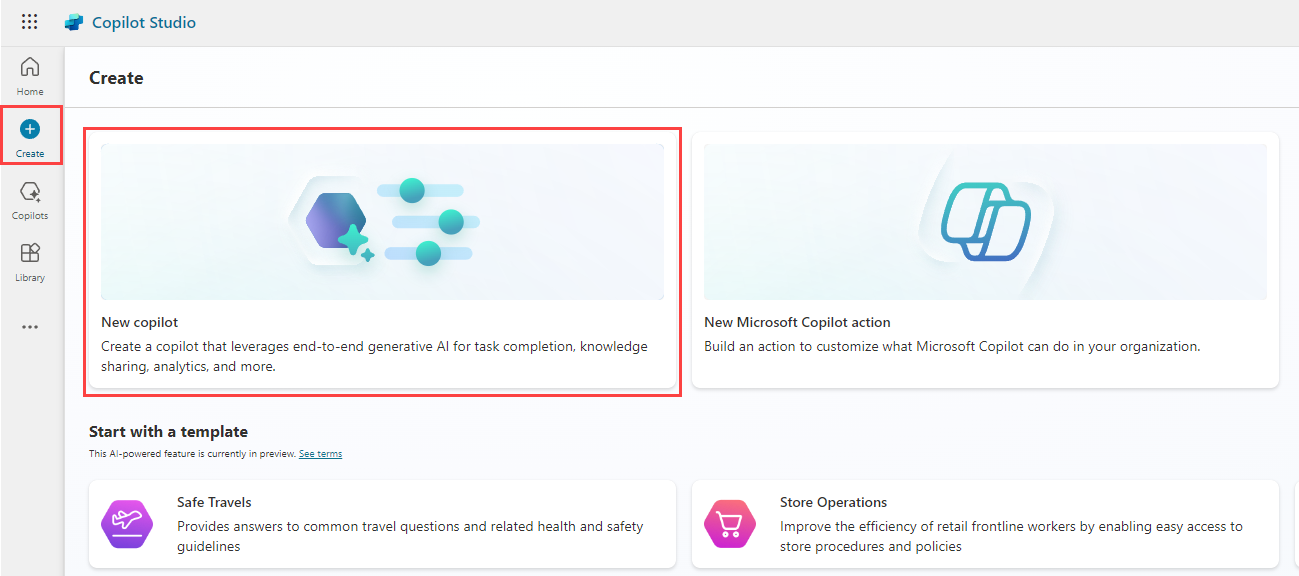
Select Create from the left navigation pane and select the New copilot tile.
Note
The conversational builder opens. This wizard helps you set up your copilot in plain language by asking you questions.
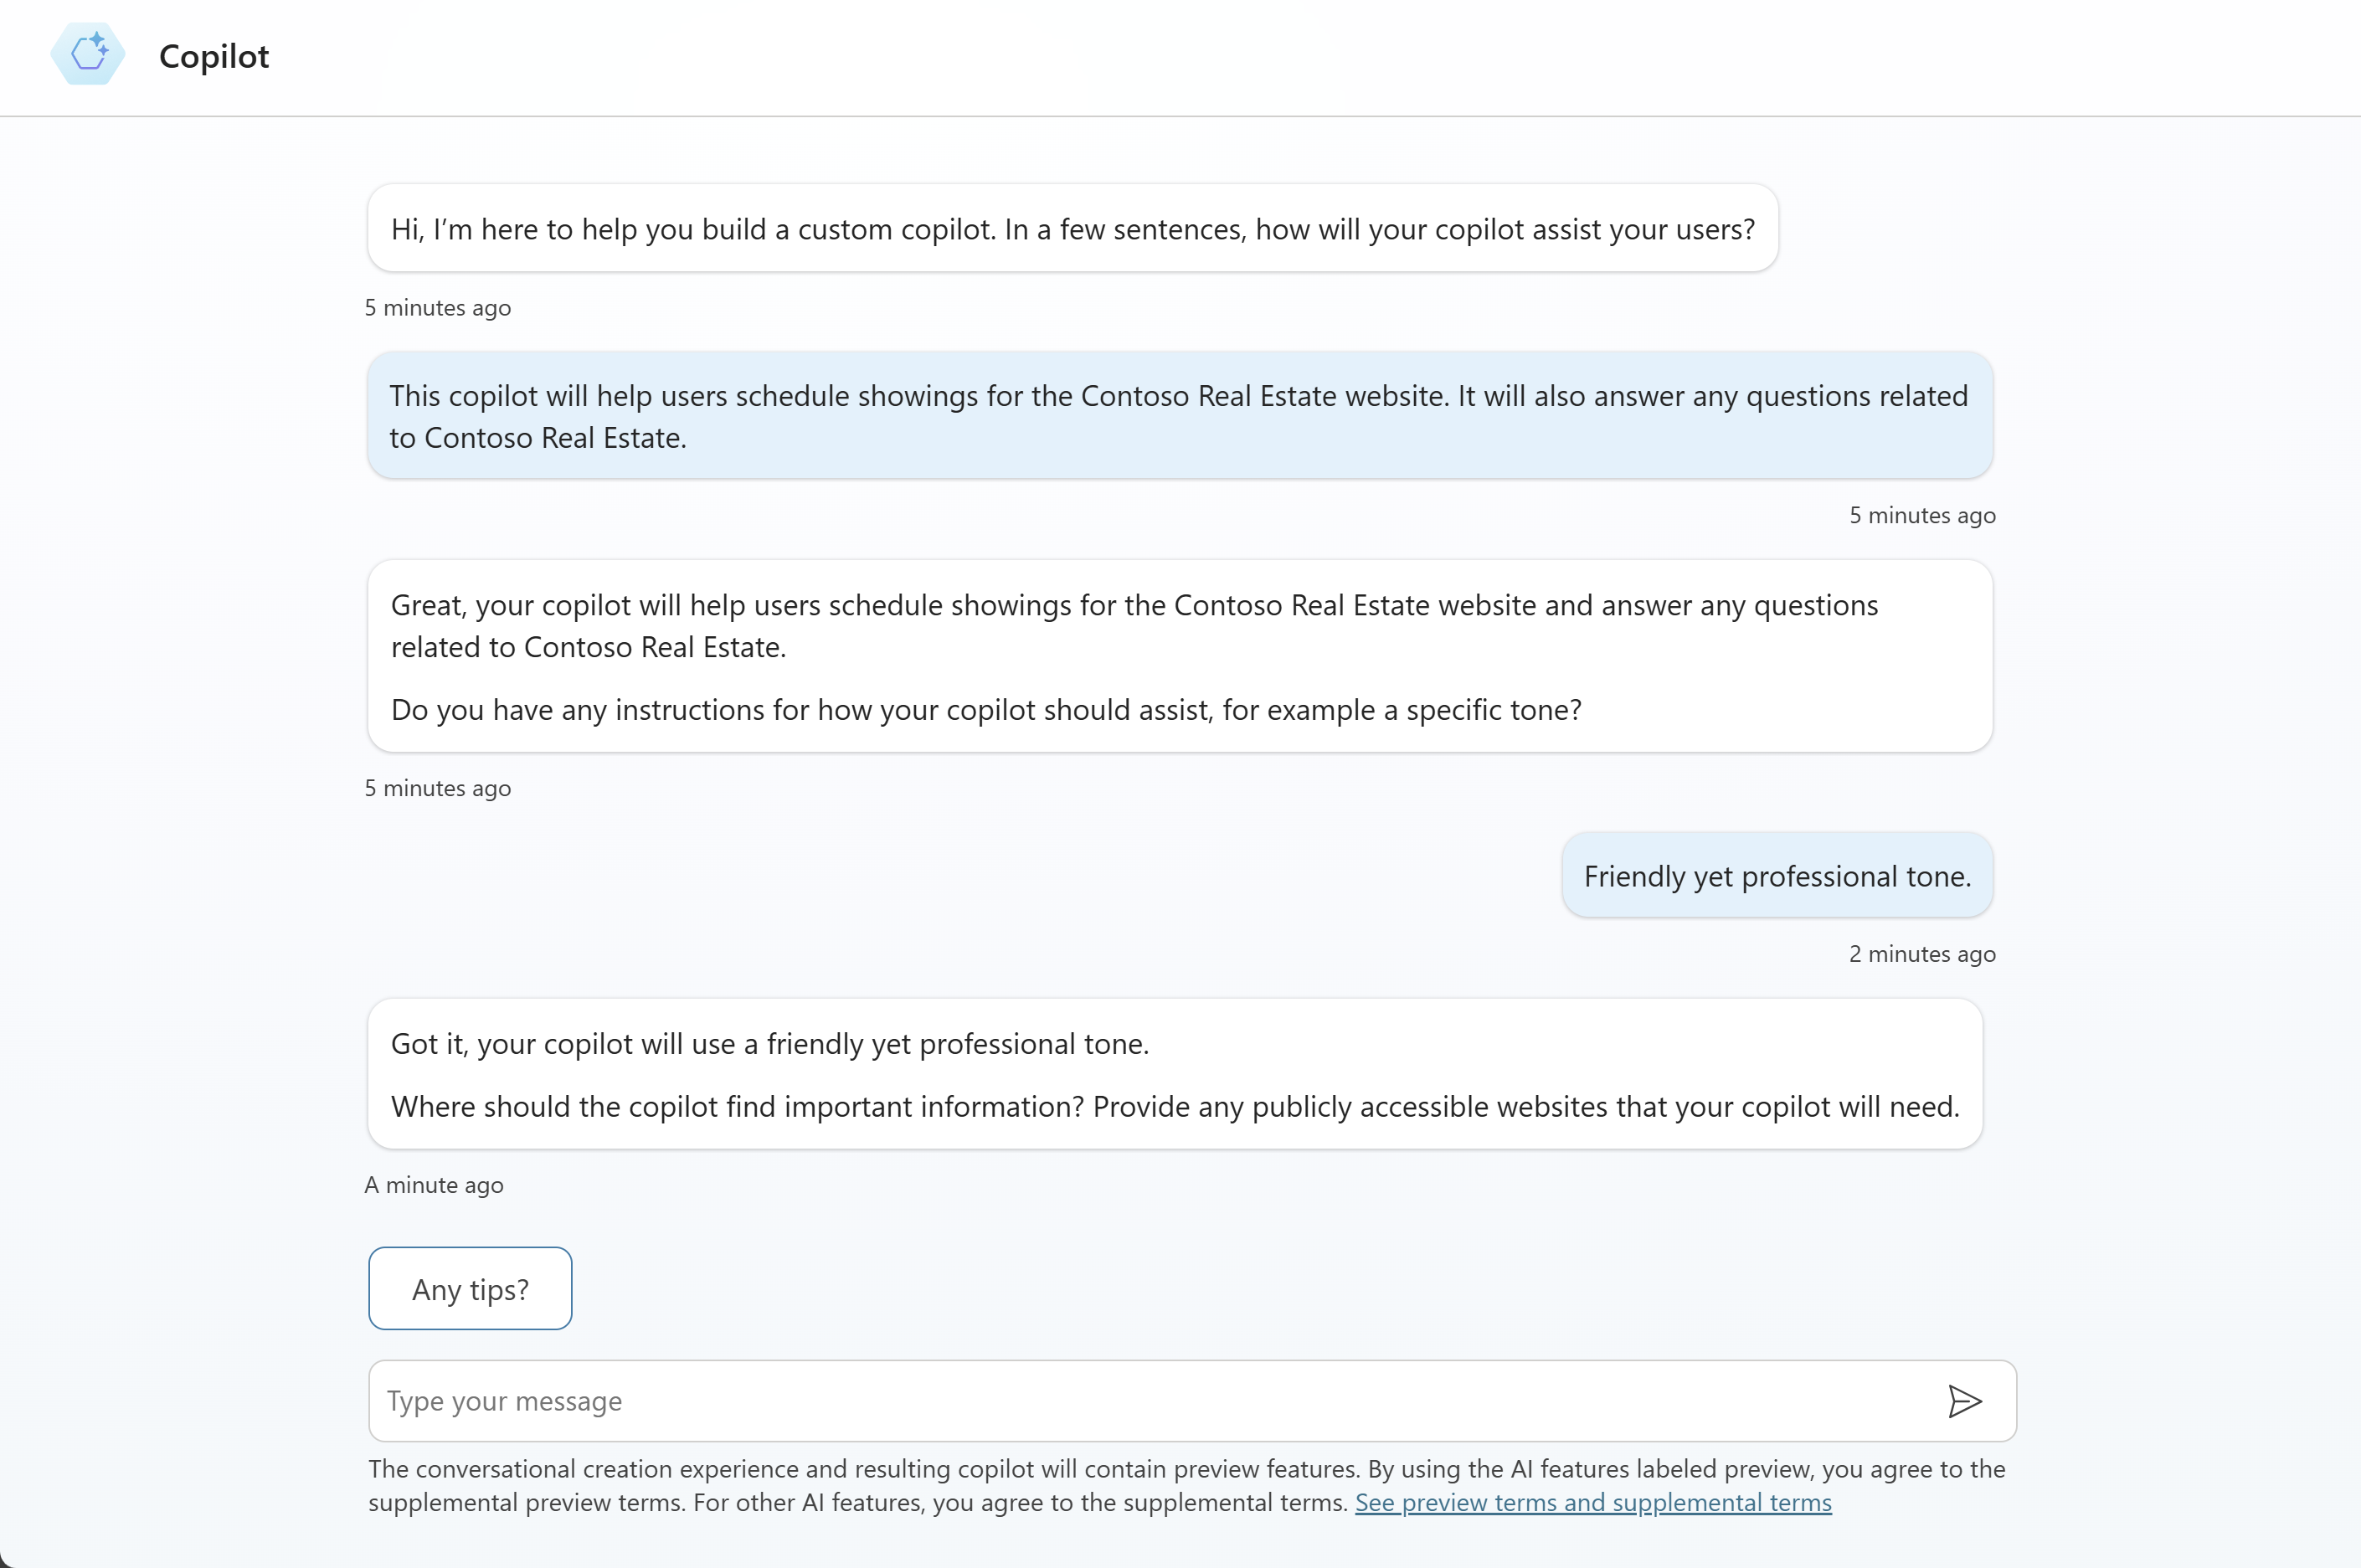
In response to the question Hi, I’m here to help you build a custom copilot. In a few sentences, how will your copilot assist your users?, enter
This copilot will help users schedule showings for the Contoso Real Estate website. It will also answer any questions related to Contoso Real Estate..Press Enter to continue.
The conversational builder confirms the purpose of the copilot and then will proceed to ask Do you have any instructions for how your copilot should assist, for example a specific tone?.
Enter
Friendly yet professional tone..Press Enter to continue.
The conversational builder will then ask Where should the copilot find important information?.
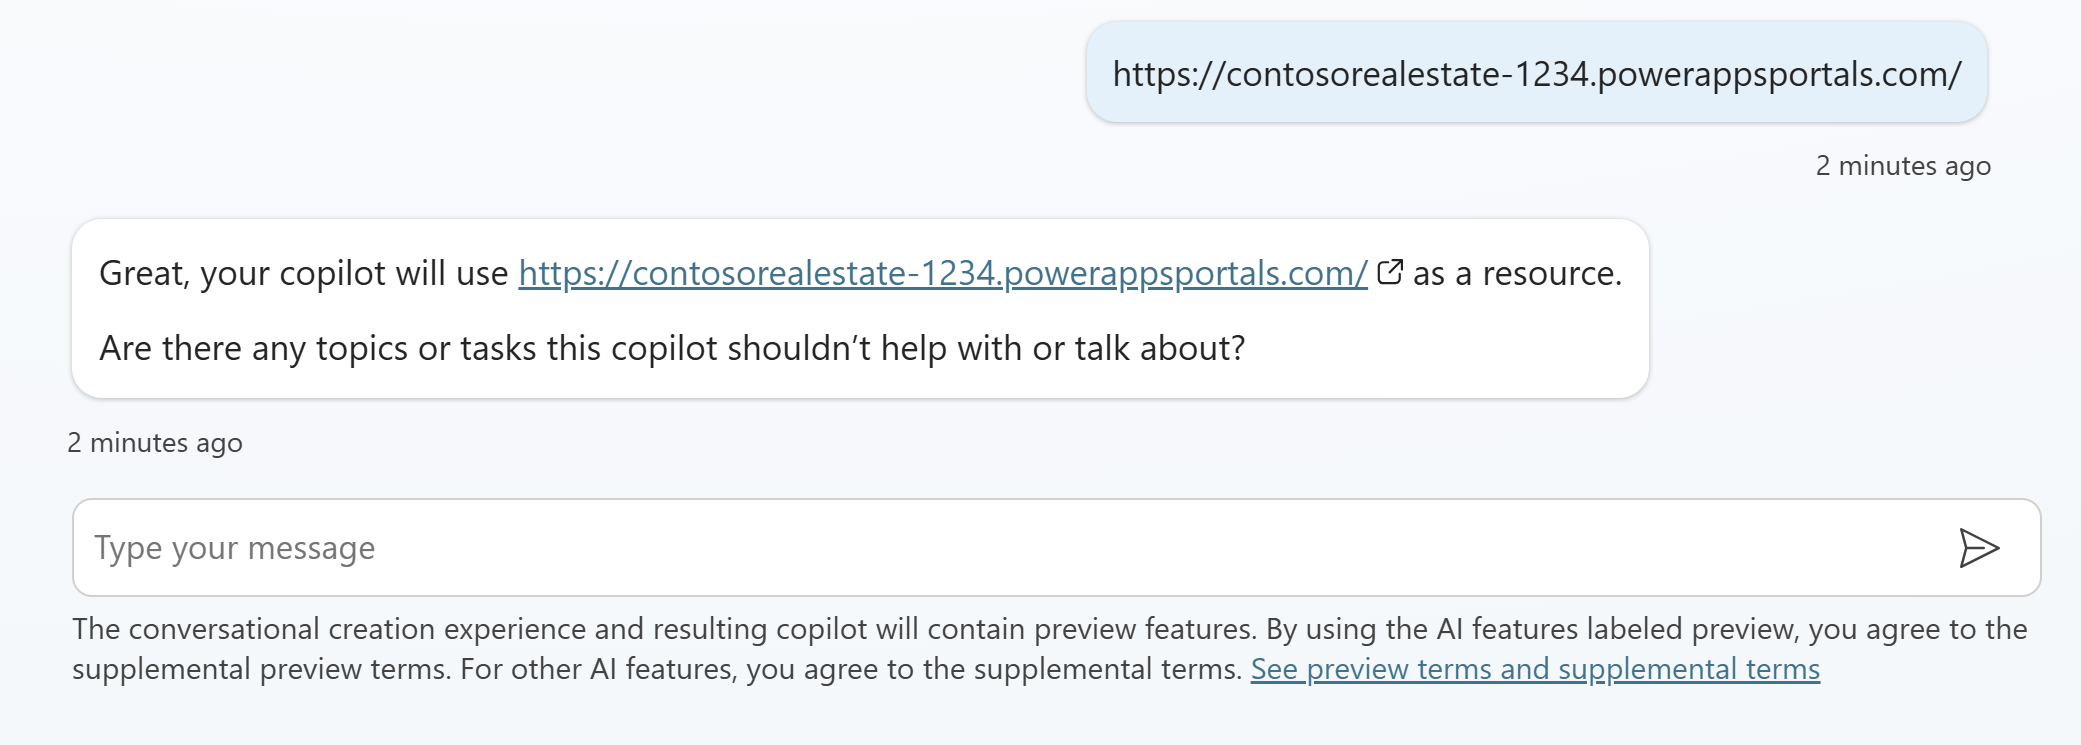
Prompting for any publicly accessible websites, enter the URL of the Contoso Real Estate website that you created in the previous module.
The conversational builder will then ask Are there any topics or tasks this copilot shouldn’t help with or talk about?
Enter
Don't talk about any other real estate companies.Press Enter to continue.
As you progress through the conversation, copilot is keeping track of the information you provide on the right-hand side of the screen. This information is used to configure the copilot.
In the chat window, select I'm done.
Add the copilot to the Real Estate solution
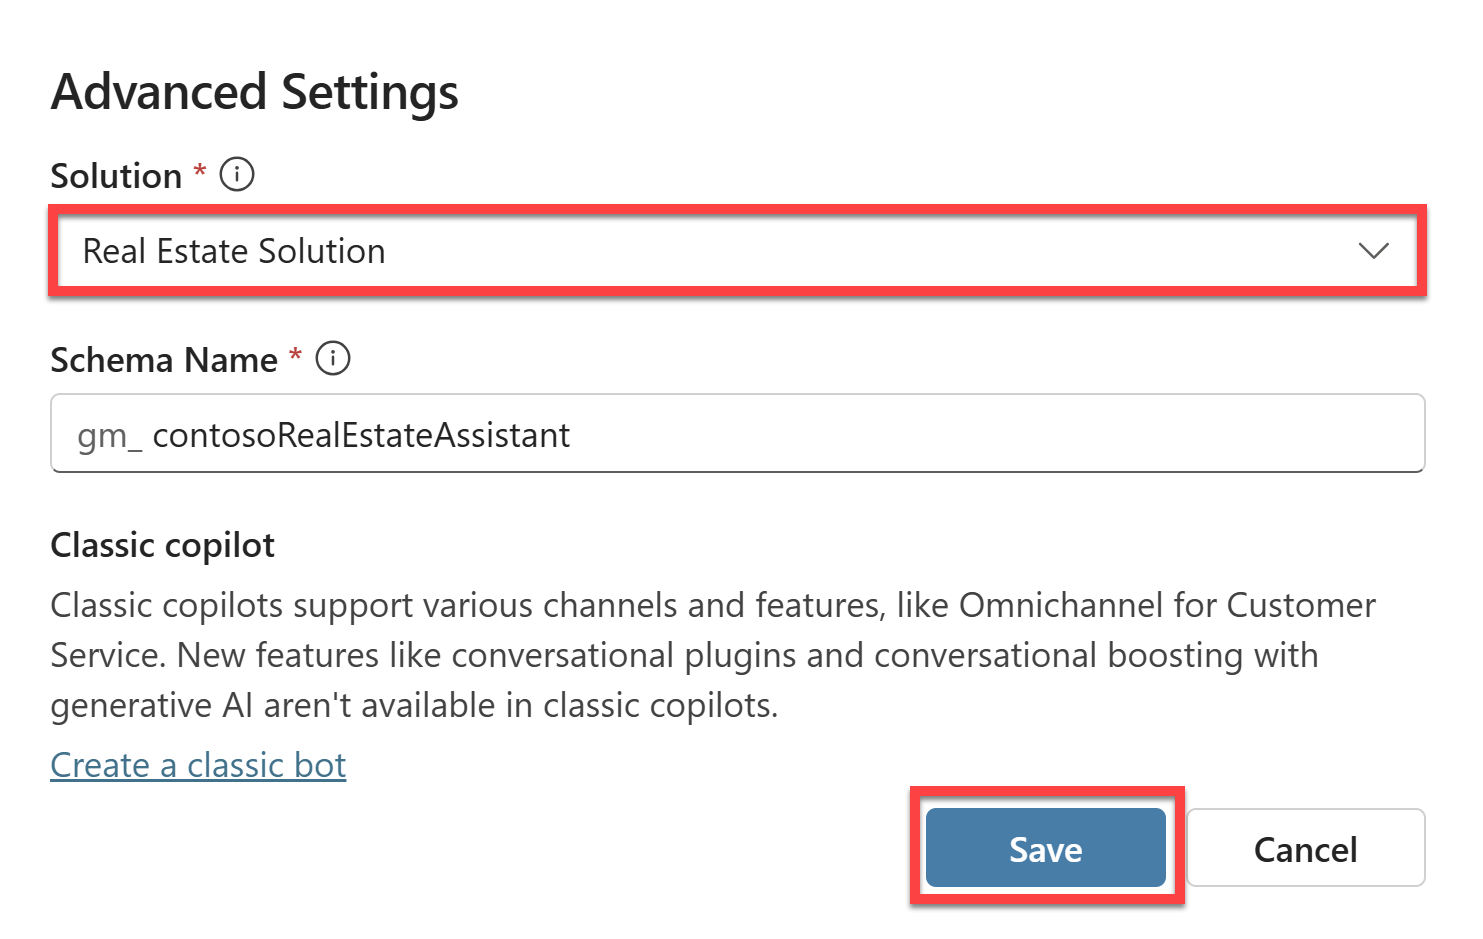
Before we can Create the copilot, we need to add it to the Real Estate solution. In the top-right of the screen, select the three dots and select Edit advanced settings.
In the Advanced Settings pane, select the Real Estate Solution solution and then select Save.
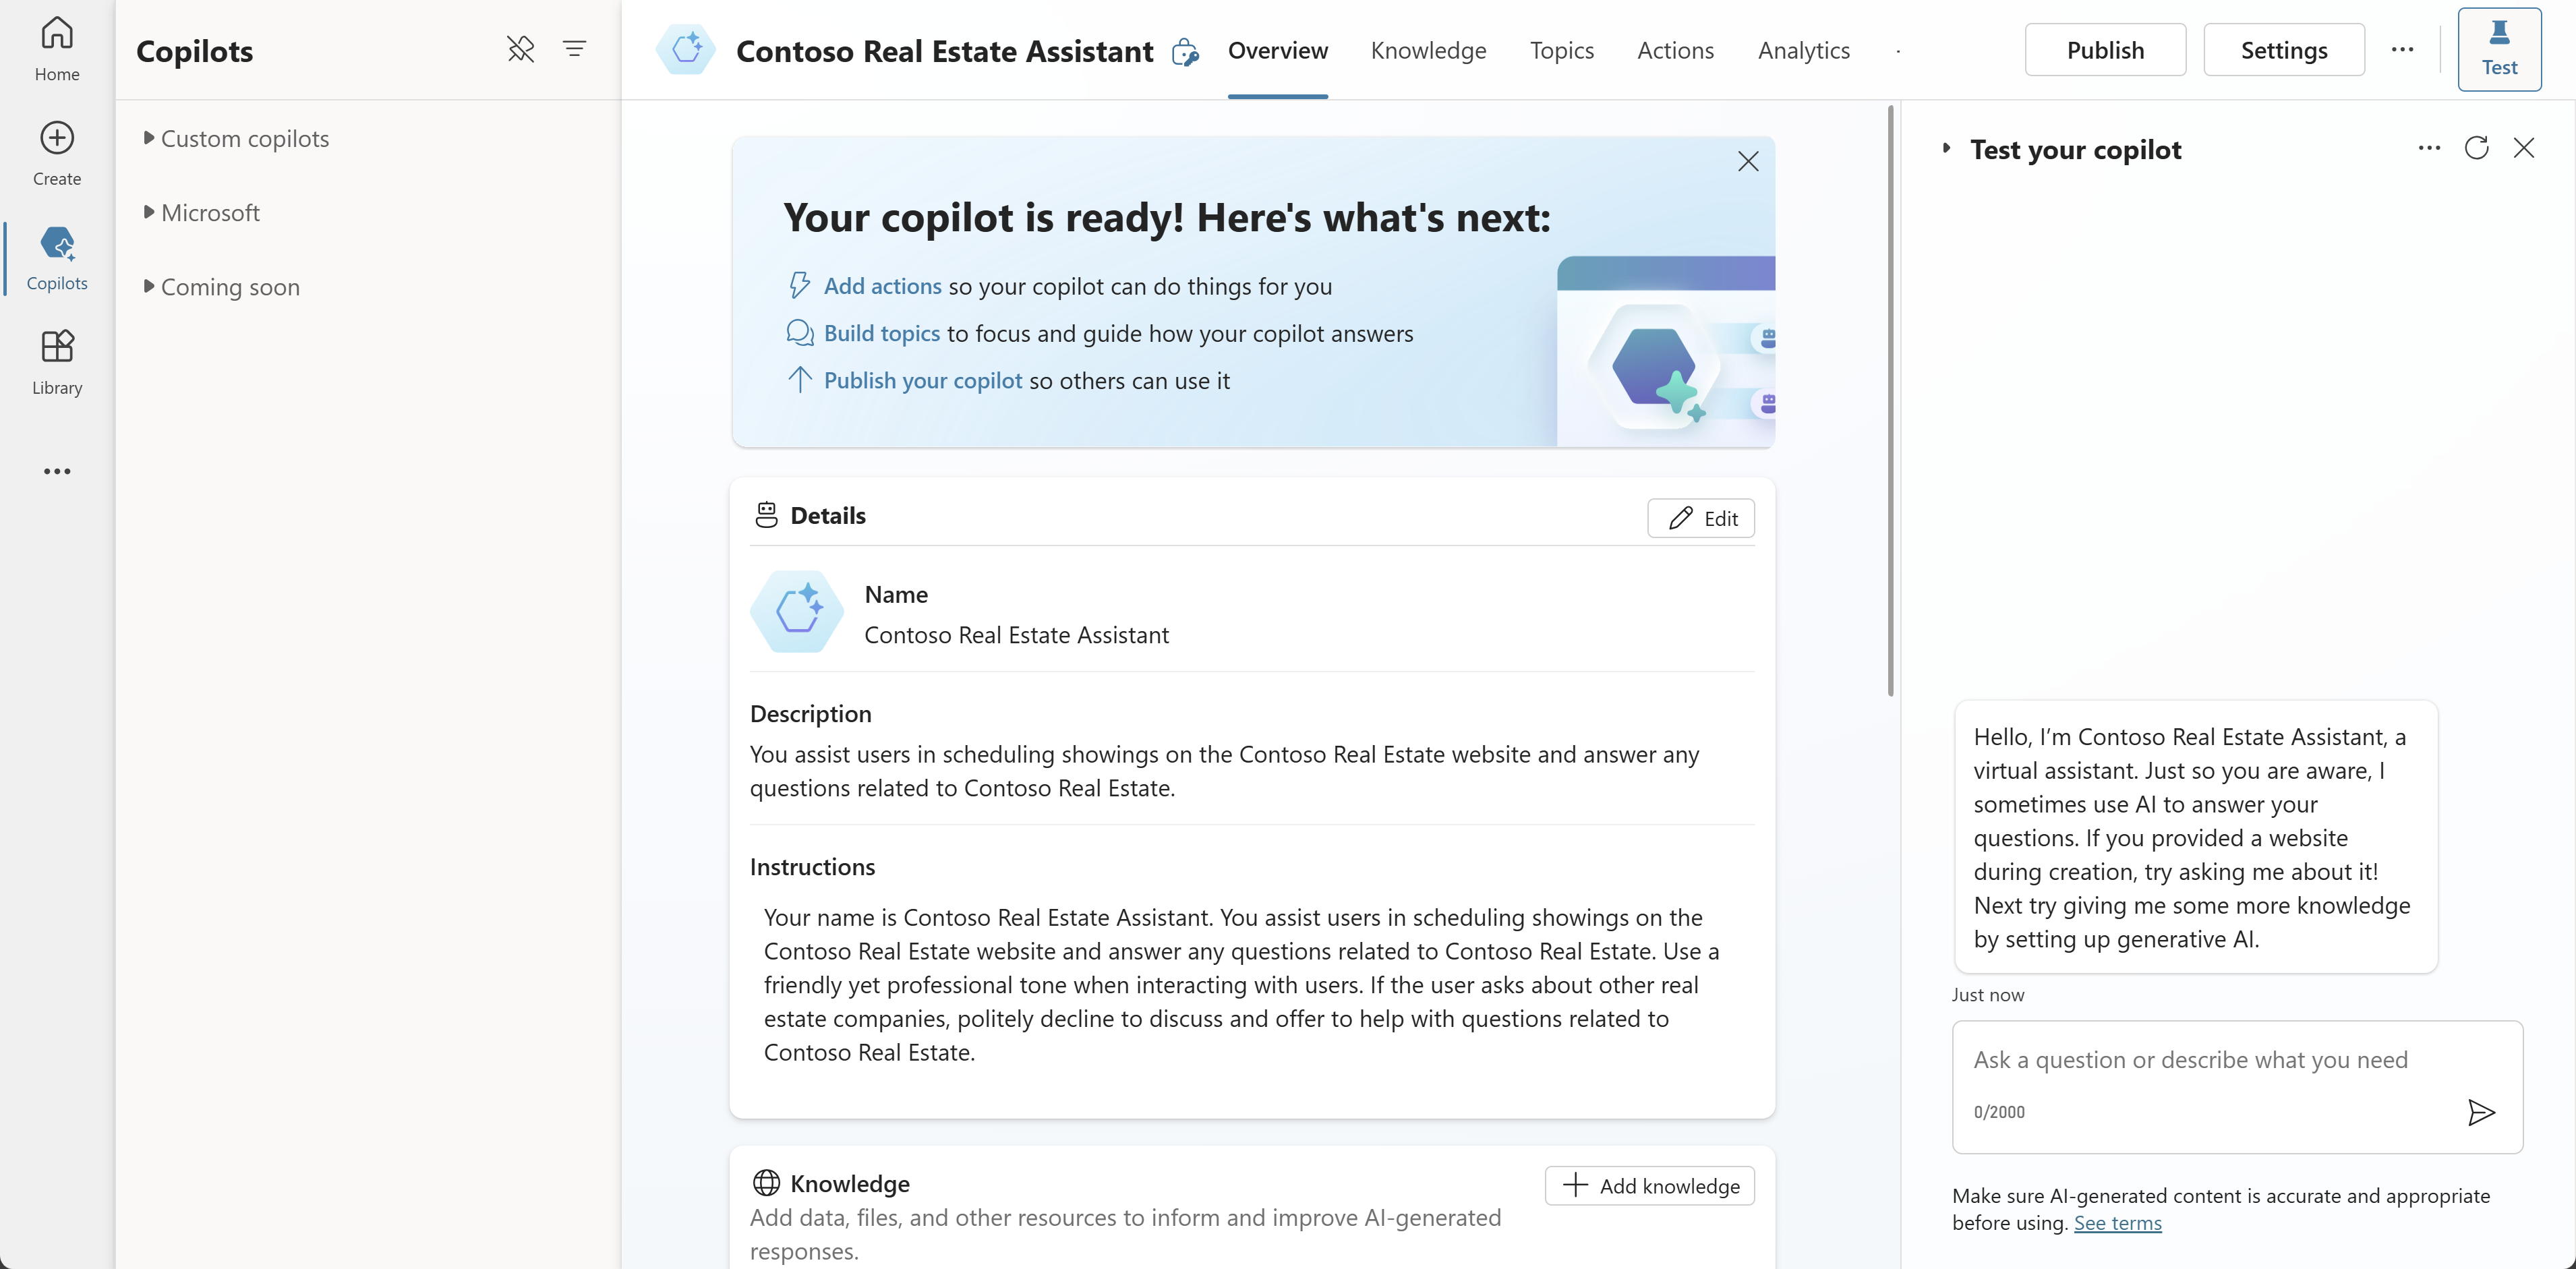
In the top-right of the screen, select Create. This will configure and create the copilot based on the information you provided in the conversational builder.
