Exercise - Create a new .NET Aspire project
Before you begin working on a new service for your company's latest project, you want to check your system has all the prerequisites for .NET Aspire. The best way to check is create a new .NET Aspire project with a starter template.
In the exercise you'll install all the prerequisites, and then you'll create a new .NET Aspire Starter app. Then you'll see how to add a caching integration using Redis to the app. Finally, you'll test the application and quickly explore the Aspire Dashboard.
Choose this tab to see the steps in this exercise for Visual Studio.
Install prerequisites
We discussed the prerequisites in the previous unit. Let's walk through installing them now.
Install .NET 8
Follow this .NET 8 link, and select the correct installer for your operating system. For example, if you're using Windows 11, and a modern processor, select the x64 .NET 8 SDK for Windows.
After the download is complete, run the installer and follow the instructions. In a terminal window, run the following command to verify that the installation was successful:
dotnet --version
You should see the version number of the .NET SDK you installed. For example:
8.0.300-preview.24203.14
Install Visual Studio 2022 Preview
Follow this Visual Studio 2022 Preview link, and select Download Preview. After the download is complete, run the installer and follow the instructions.
Install Docker Desktop
Follow this Docker Desktop link, and select the correct installer for your operating system. After the download is complete, run the installer and follow the instructions.
Open the Docker Desktop application and accept the service agreement.
Install the .NET Aspire workload
Install the .NET Aspire workload using Visual Studio:
Open the Visual Studio Installer.
Select Modify next to Visual Studio.
Select the ASP.NET and web development workload.
On the Installation details panel, select .NET Aspire SDK (Preview).
Select Modify to install the .NET Aspire integration.
Check that the latest version of .NET Aspire is installed, in a new terminal run this command:
dotnet workload list
After installing the workload, you see:
Installed Workload Id      Manifest Version      Installation Source
---------------------------------------------------------------------------------------------
aspire                     8.0.0/8.0.100         SDK 8.0.300-preview.24203, VS 17.10.34902.84

Use `dotnet workload search` to find additional workloads to install.
Create a new .NET Aspire Starter app
Now that the prerequisites are installed, let's create a new app.
Open Visual Studio. In the dialog select Create a new project.
In the Search for templates box, enter aspire.
Select .NET Aspire Starter Application, and then select Next.
In the Solution name box, enter AspireTestApp.
In the Location box, enter the folder where you want to create the new app.
Select Next.
Leave the default .NET 8.0 (Long Term Support) selected.
Uncheck Use Redis for caching (requires a supported container runtime).
You'll be manually adding Redis support in the next steps.
Select Create.
From the menu select Debug, and then select Start Debugging (Alternatively, press F5).
If prompted to start Docker Engine, select Yes.
The dashboard opens in your default web browser.
Select the webfrontend endpoint URL. The port is randomly assigned so your dashboard might not match.
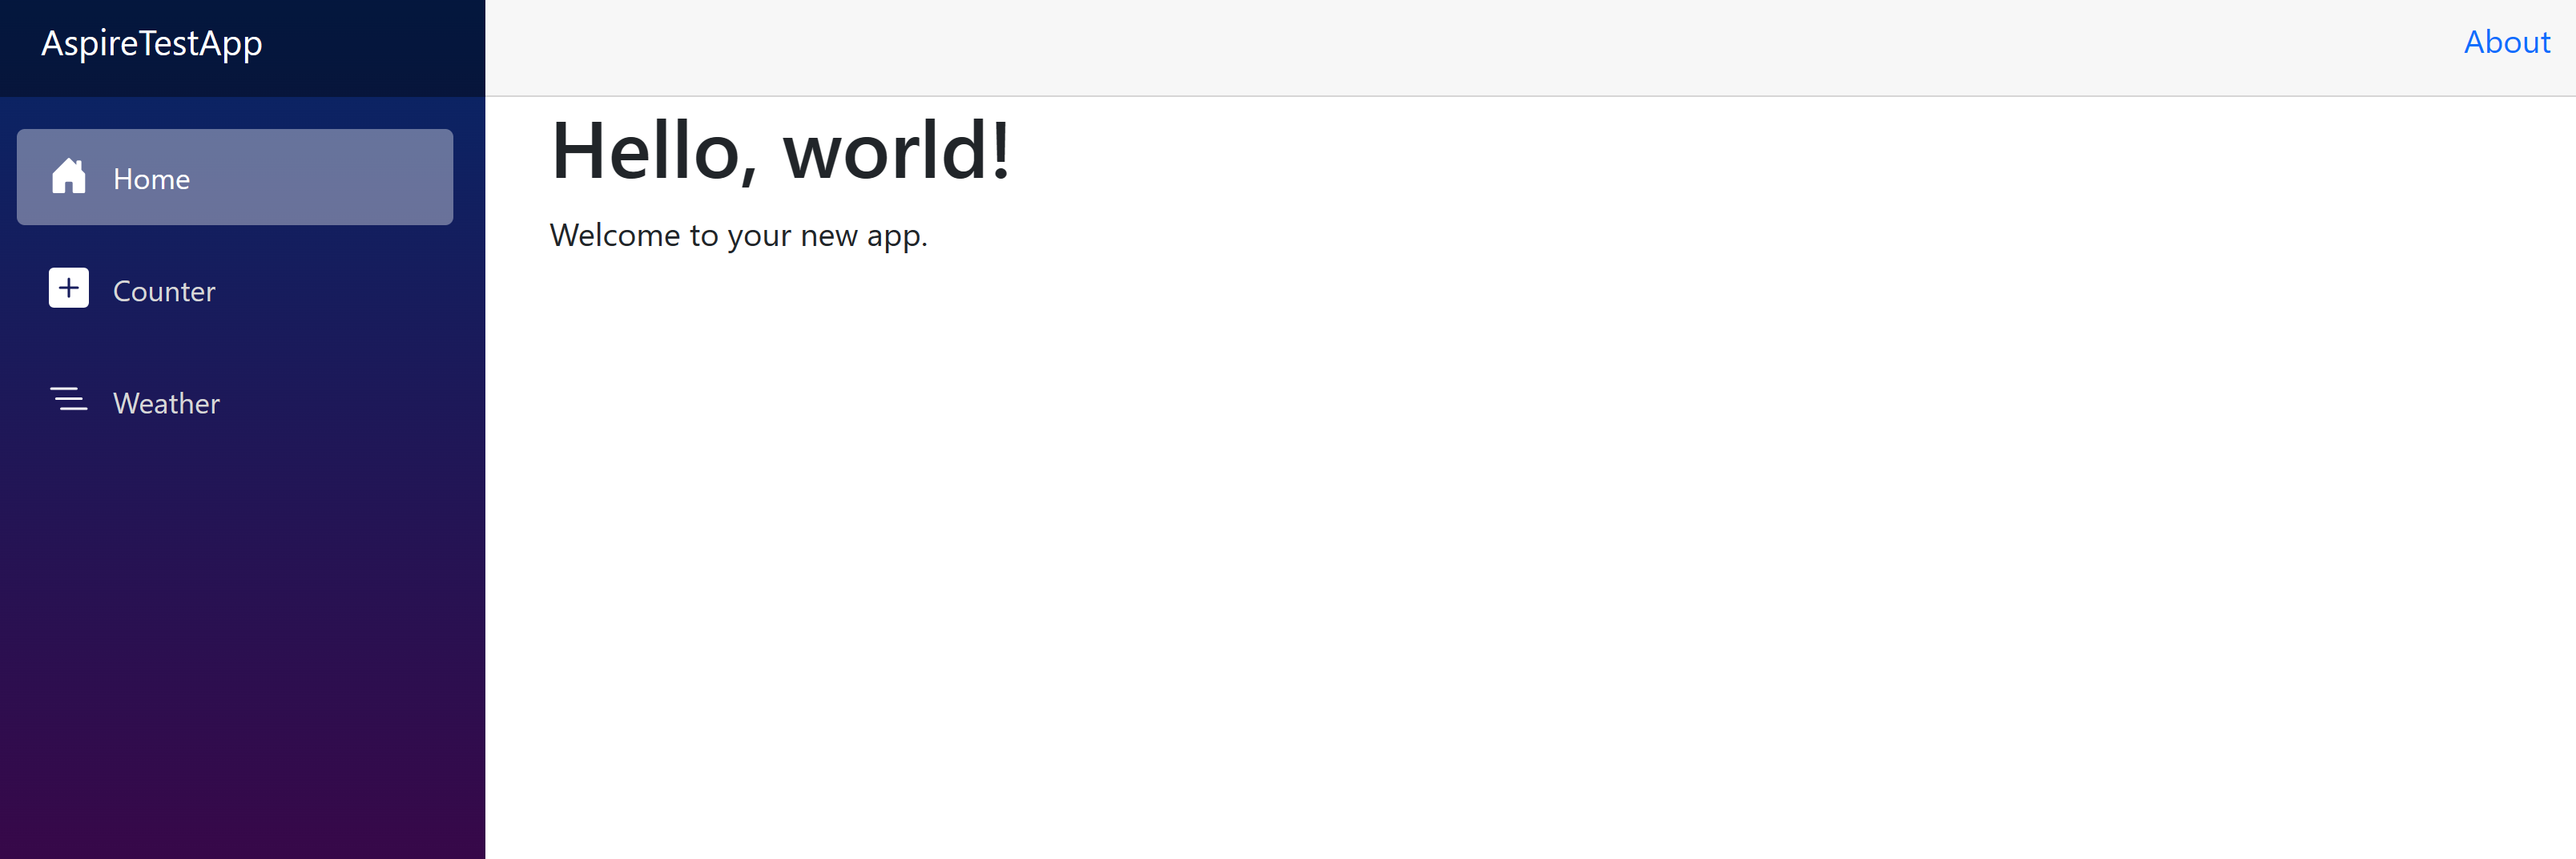
The Blazor App has a simple counter page and a Weather page that calls the backend API service to get forecast data to display.
Close the browser tabs for the Blazor App and the .NET Aspire dashboard. In Visual Studio, stop debugging.
Add a caching integration to a .NET Aspire project
Now let's add a Redis caching integration to the .NET Aspire project. We'll start with the app host:
- In Solution Explorer, right-click on the AspireTestApp.AppHost project, and select Manage NuGet Packages.
- Select the Browse tab, and select Include prerelease.
- Search for aspire redis, and select the Aspire.Hosting.Redis package.
- In the right pane, for Version select the latest 8.0.0, and then select Install.
- In the License Acceptance dialog, select I Accept.
To add the Redis configuration to the app host project, open the AspireTestApp.AppHost/Program.cs file and add this code:
// Add Redis
var redis = builder.AddRedis("cache");
This code configures the orchestration to create a local Redis container instance.
Change the current webfrontend service to use the Redis cache. Change this code:
builder.AddProject<Projects.AspireTestApp_Web>("webfrontend")
    .WithExternalHttpEndpoints()
    .WithReference(apiService);
To this code:
builder.AddProject<Projects.AspireTestApp_Web>("webfrontend")
    .WithExternalHttpEndpoints()
    .WithReference(apiService)
    .WithReference(redis);
The
WithReferenceextension method configures the UI to use Redis automatically for output caching.Next, we can use Redis in the consuming project.
- In Solution Explorer, right-click on the AspireTestApp.Web project, and select Manage NuGet Packages.
- Select the Browse tab, and select Include prerelease.
- Search for aspire redis, and select the Aspire.StackExchange.Redis.OutputCaching package.
- In the right pane, for Version select the latest 8.0.0, and then select Install.
- In the License Acceptance dialog, select I Accept.
Now use Visual Studio to add code to use the Redis integration.
If you need to, open the AspireTestApp solution in Visual Studio.
In Solution Explorer, under the AspireTestApp.Web project, select Program.cs.
Add this code under
var builder = WebApplication.CreateBuilder(args);:// Add Redis caching builder.AddRedisOutputCache("cache");This code:
- Configures ASP.NET Core output caching to use a Redis instance with the specified connection name.
- Automatically enables corresponding health checks, logging, and telemetry.
Replace the contents of AspireTestApp.Web/Components/Pages/Home.razor with the following code:
@page "/"
@attribute [OutputCache(Duration = 10)]

<PageTitle>Home</PageTitle>

<h1>Hello, world!</h1>

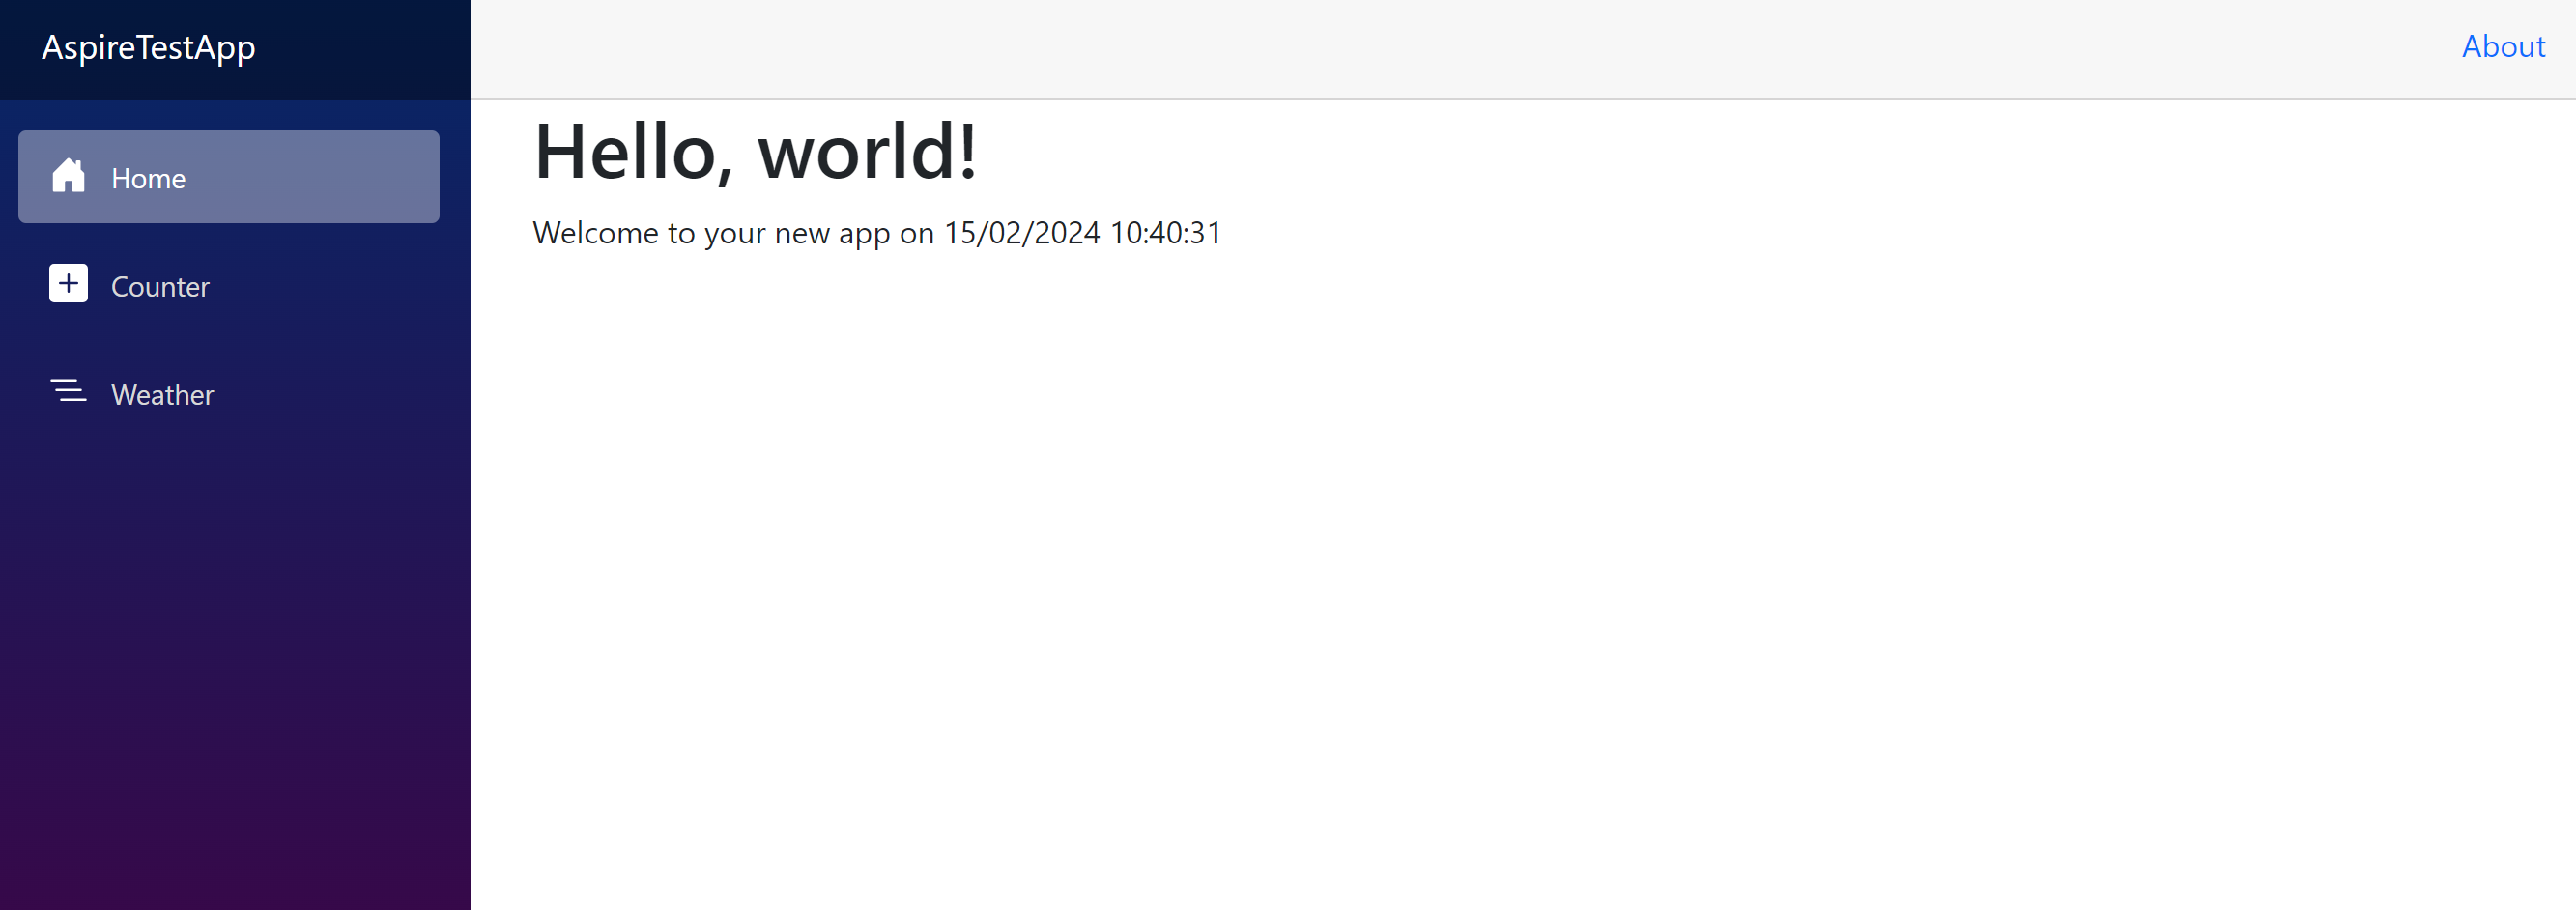
Welcome to your new app on @DateTime.Now
In the preceding code, the
OutputCacheattribute specifies a 10-second duration. After the page is cached, every subsequent request within the 10-second window receives the cached output.
You can see that Aspire is designed to make it easy to add new integrations to your application. You add a new integration to your application by adding a NuGet package, and then add a few lines of code to the Program.cs file in the Web and AppHost projects. Aspire then automatically configures the Redis container and the output caching for you.
Test the application
Now let's run the application to see the caching in action. In Visual Studio:
From the menu select Debug, and then select Start Debugging (Alternatively, press F5). The solution builds, and the Aspire Dashboard opens in your default web browser.
Select the Endpoint URL for the webfrontend service to view the home page of the application.
In the browser, refresh the page a few times. The time on the page doesn't change within the 10 second cache duration.
The solution creates a Redis container. Open Docker Desktop to see the container running.
To stop the solution running in Visual Studio, press Shift+F5.
Open Docker Desktop, and select Containers/Apps. You should see the redis:latest is no longer running.
You've seen how easy it is to add a new caching integration to an application using .NET Aspire. You added a NuGet package, and then added a few lines of code. .NET Aspire automatically configured the Redis container and the output caching for you.


