Exercise - Place wind turbine assets
Your first task is to open the Unity project that you downloaded from GitHub. You then have two options to start the exercises in this module:
If you're starting this module without having completed the Build a 3D Scene for Mixed Reality in Unity module or wish to abandon any previous work that you undertook creating a Scene:
- In the Project Panel, open the Assets > Scenes > Supporting Scenes > ModuleStartScenes folder
- Select and drag the Scene to the Hierarchy panel. For this module, locate and select 1_Build3DScenes. If you use this Scene, it contains the Bing Maps.prefab Prefab.
- Configure the necessary service parameters (that is, Maps SDK) as defined in the previous module, Build a 3D Scene for Mixed Reality in Unity.
If you're starting this module after completing the Build a 3D Scene for Mixed Reality in Unity module and you want to continue using your Scene:
- If your previously built Scene isn't already open, select File > Open Scene
- Browse to the folder where you saved your Scene. Typically, this is the Assets > Scenes folder in the root project folder structure. If you followed the guidance in the previous module, your Scene will be called MainScene.
Note
The Assets > Scenes > CompletedScene contains configuration, scripts, and relevant pointers to the final build. If you want to use it, you'll need to configure the Scene parameters (viz., Maps SDK, and Azure Services) from steps found in the Build a 3D Scene for Mixed Reality in Unity and Connect IoT data to Mixed Reality with Azure Digital Twin and Unity modules.
Placing your Prefab wind turbine assets in the Scene enables interaction with the assets.
Place and configure prefab wind turbine on Static Terrain
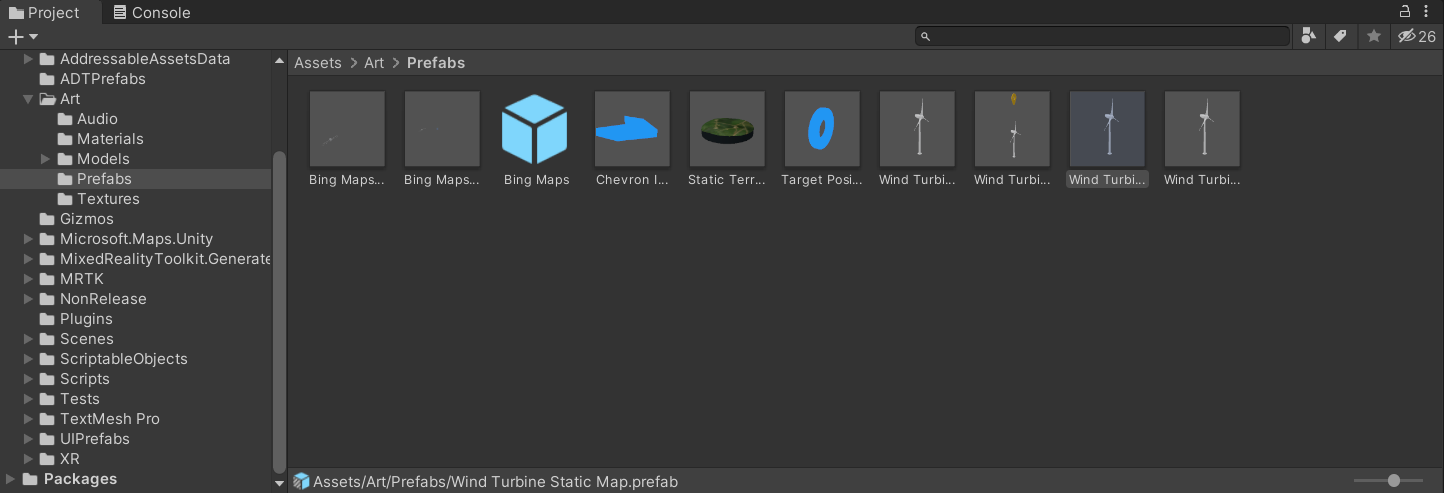
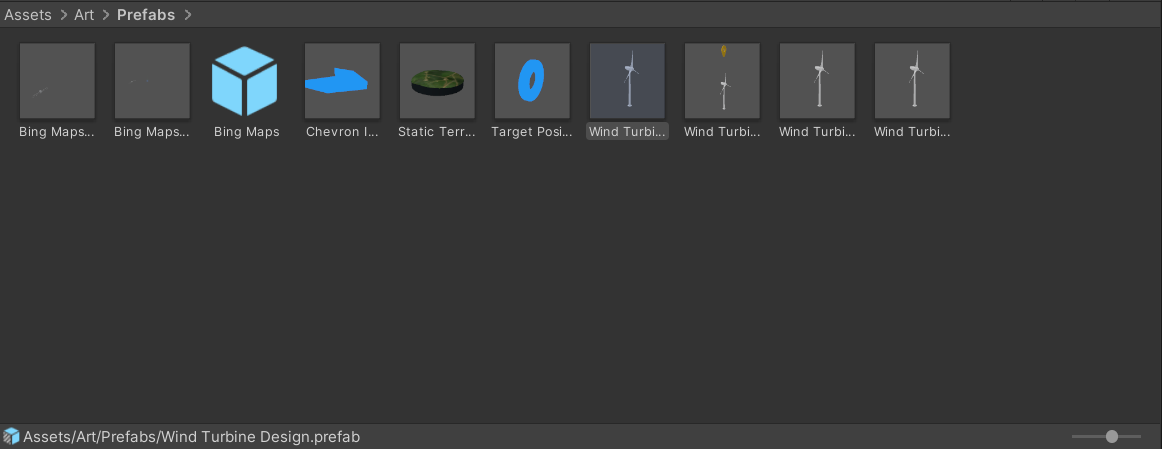
Open the Assets > Art > Prefabs folder in your Project Window.
If you already have a map in the scene, delete the asset by right-clicking it in the Hierarchy panel and select Delete. Don’t worry, it only removes it from your Scene and doesn't delete the Prefab from your Unity Project.
Add the Static Terrain.prefab Prefab by dragging it to the Hierarchy panel.
Drag the Prefab named Wind Turbine Static Map.prefab into the Scene window.
Make the Wind Turbine Static Map a child of the Static Terrain by nesting it under the Static Terrain Asset in the Hierarchy window. Be sure to drag it to the bottom of the list of children, or you'll receive a message that states Cannot restructure Prefab instance. If you receive this, select Cancel and place the Prefab at the bottom of the list of children directly under the Static Terrain.
Note
Unity uses the concept of parent-child hierarchies, or parenting, to group GameObjects/Assets. An object can contain other GameObjects that inherit its properties. You can link GameObjects together to help move, scale, or transform a collection of GameObjects. When you move the top-level object or parent GameObject, you also move all child GameObjects.
You can also create nested parent-child GameObjects. All nested objects are still descendants of the original parent GameObject, or root GameObject. Child GameObjects inherit the movement and rotation of the parent GameObject.
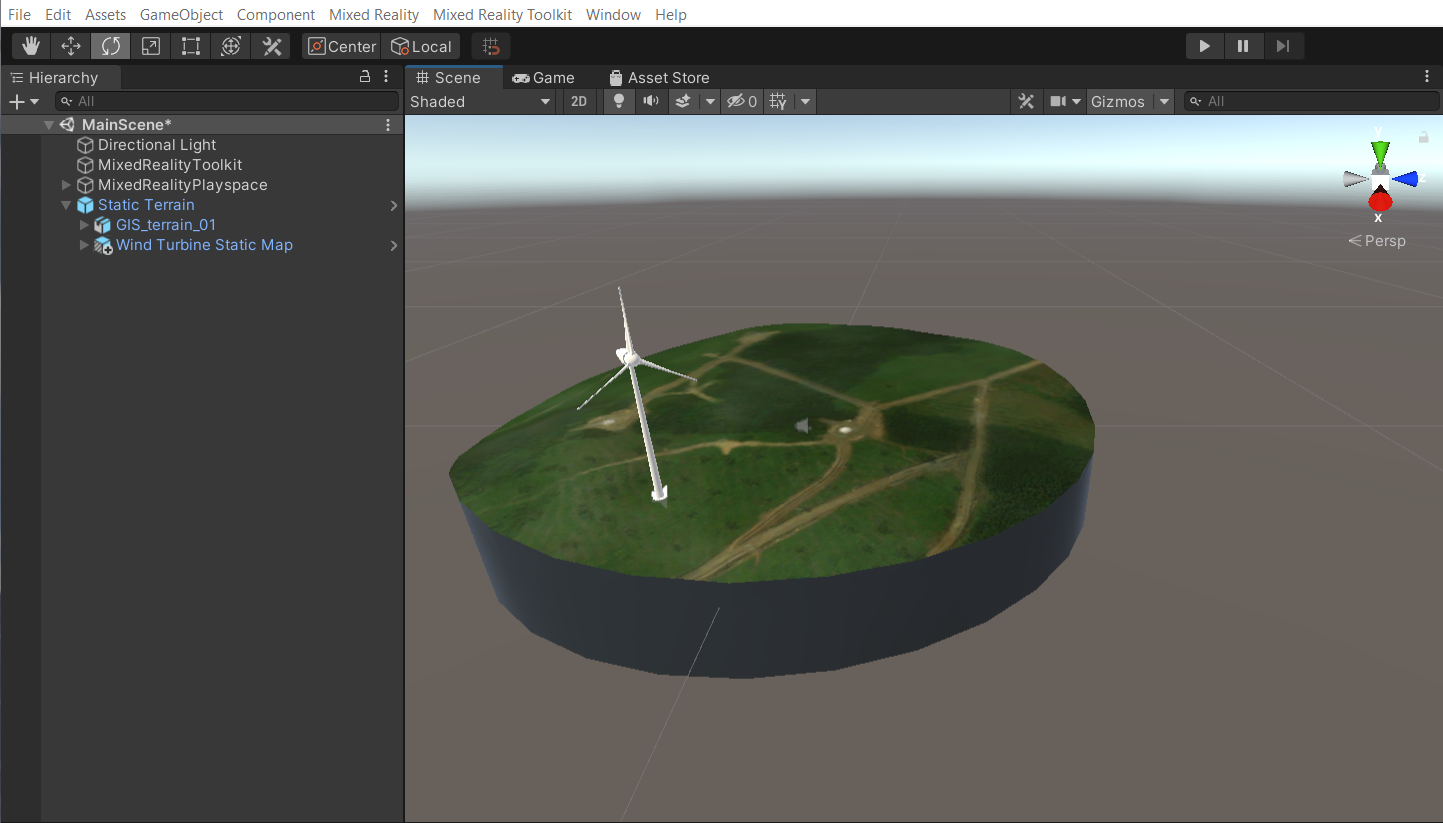
Set the scale in the Transform component in the Inspector panel for the Wind Turbine to (0.003, 0.003, 0.003) so it approximately matches the terrain scale.
Select the Move Tool just under the Edit menu item, select the Wind Turbine if it’s not already selected. Use the green-red-blue arrows (or the center box) on screen to position the turbine at the center of the terrain.
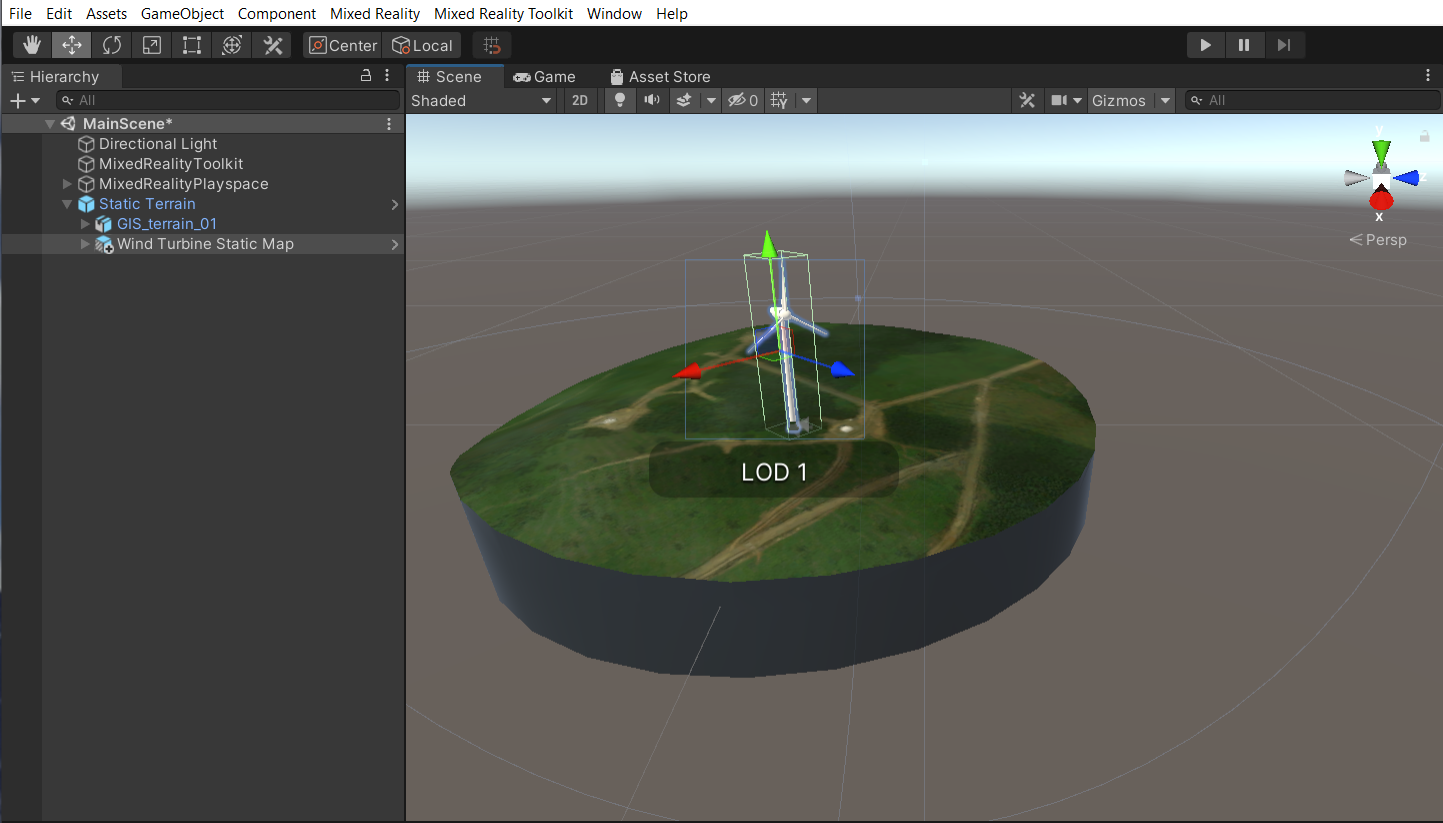
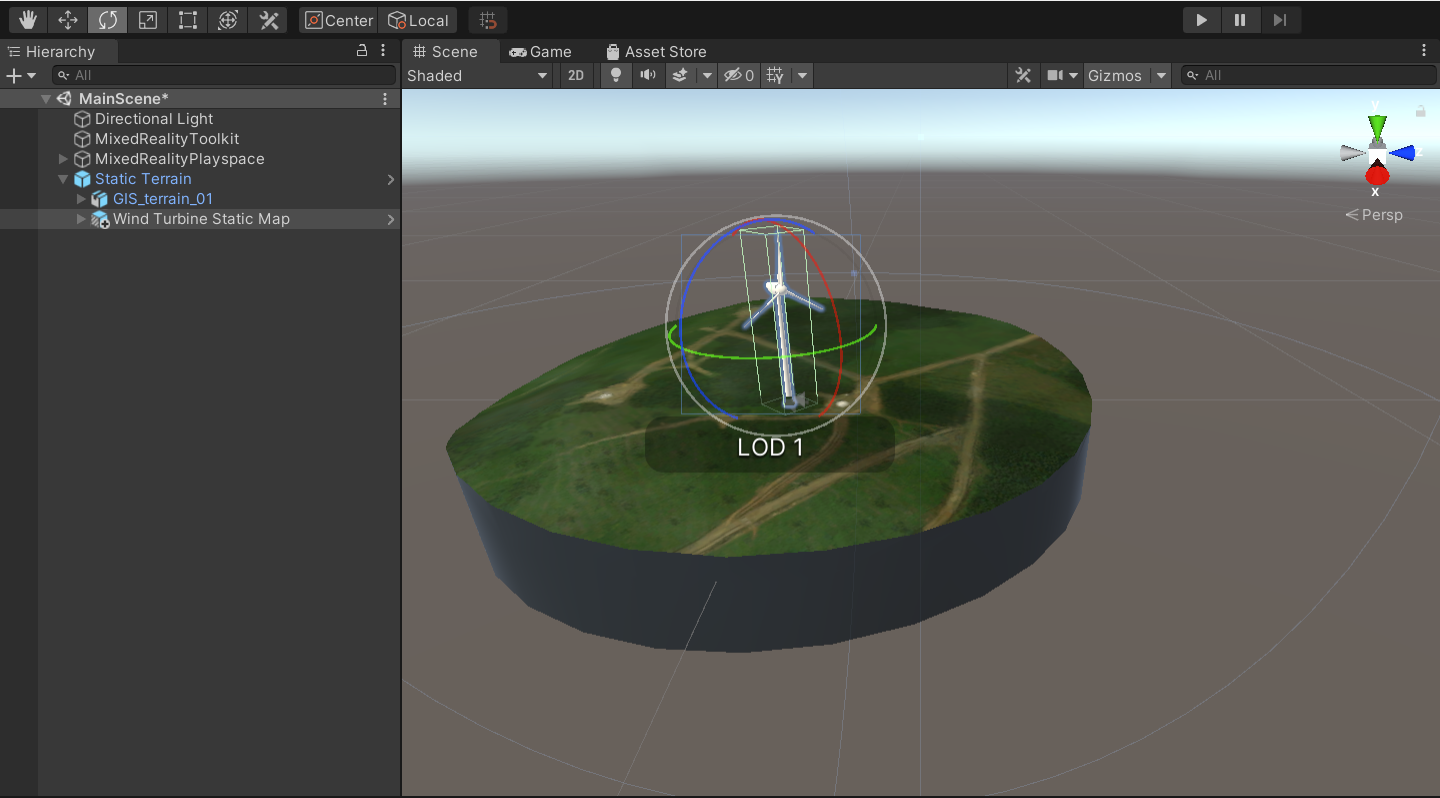
With the turbine still selected, select the Rotate Tool just under the Edit menu item and experiment with rotating the turbine.
Repeat steps 3 to 8 to place more turbines on the landscape.
Save the scene by using the File > Save menu option.
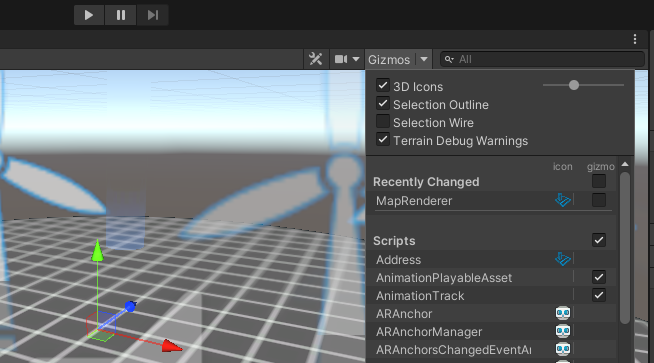
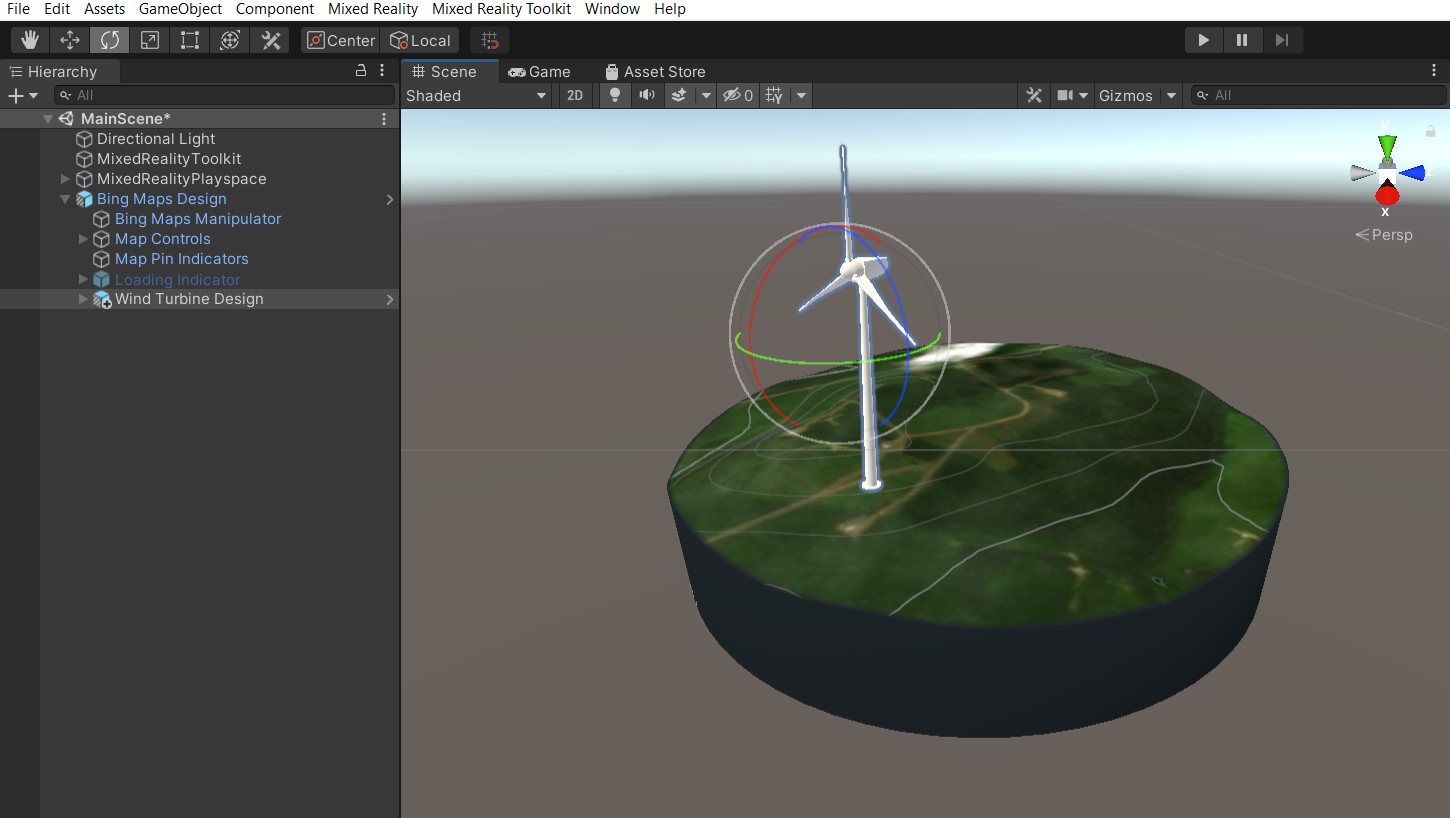
Enable Gizmos
Gizmos are a graphic overlay associated with a GameObject in a Scene and are displayed in the Scene View. Built-in Scene tools such as the move tool are Gizmos, and you can create custom Gizmos using textures or scripting. Some Gizmos are only drawn when the GameObject is selected, while the Editor draws other Gizmos regardless of which GameObjects are selected. You'll want to adjust the size of the Gizmos for your Scene, so that your Scene isn't overwhelmed by oversize icons/objects.
Select the Gizmos drop-down at the top of the Scene window and adjust the size via the slider.
Toggle Gizmos on and off by selecting the Gizmos button at the top of your Scene.

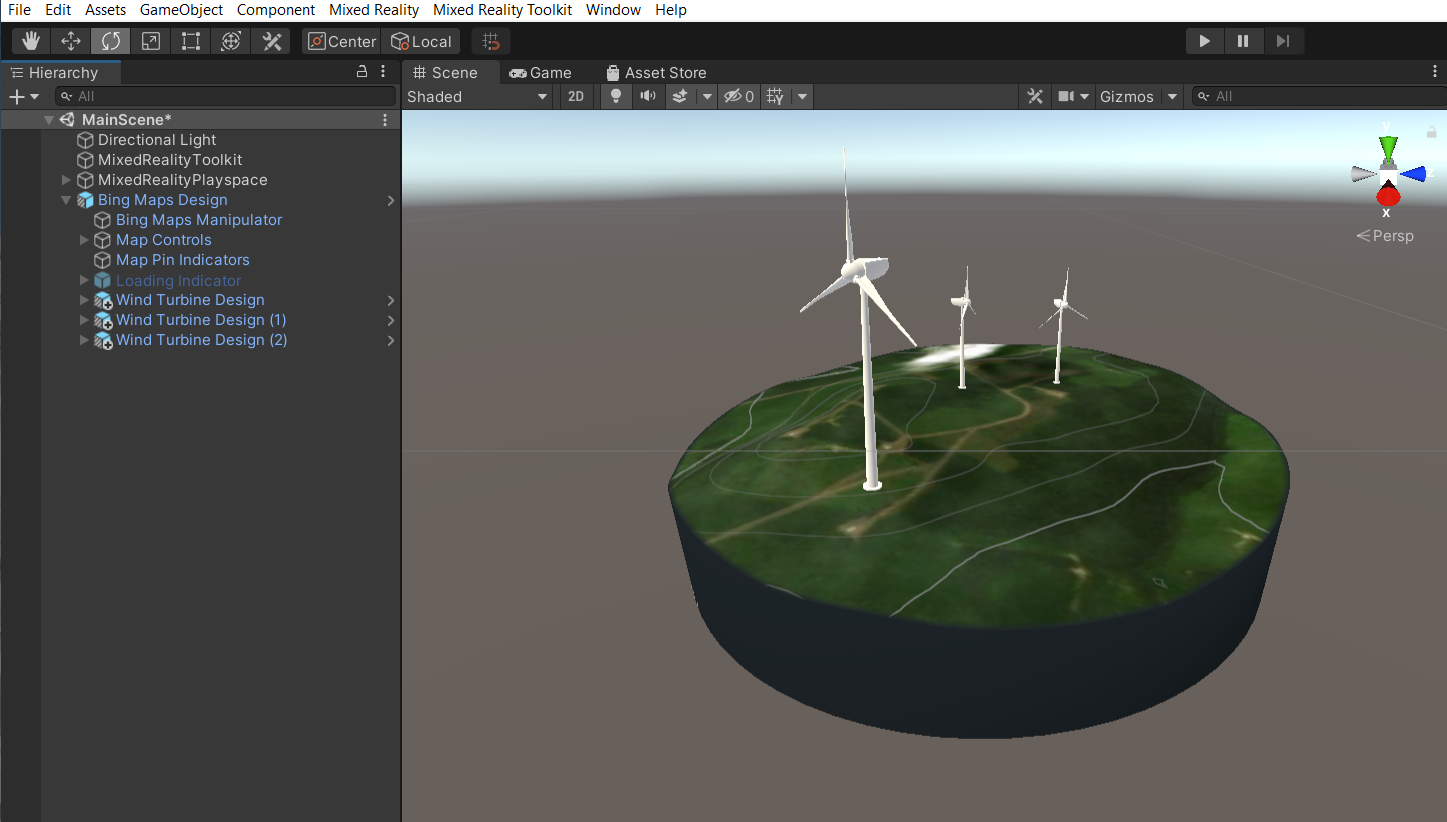
Place and configure prefab wind turbine on Dynamic Terrain
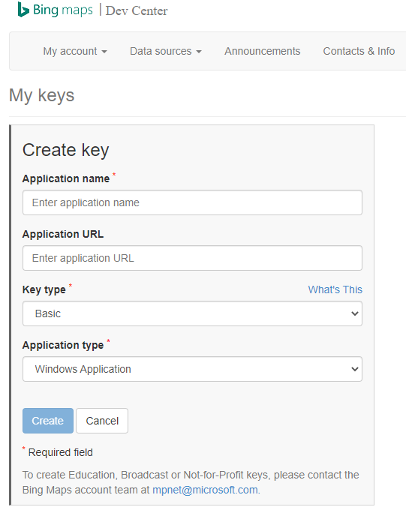
Create Bing Maps Account:
- If you haven’t already, you need to create a Bing Maps account. You'll use that account to access the Microsoft Bing Maps Dev Center to generate a Developer Key, which is a code used to authenticate with the map service. The app you build for Mixed Reality will connect to that map service using your Bing Maps account.
When you create a Developer Key, be sure to select Basic as the key type and Windows Application as the Application Type.
Open the Assets > Art > Prefabs folder in your Project Window.
If you already have a map in the scene, delete the asset by right-clicking it in the Hierarchy panel and selecting Delete. Don’t worry, it only removes it from your Scene and doesn't delete the Prefab from your Unity Project.
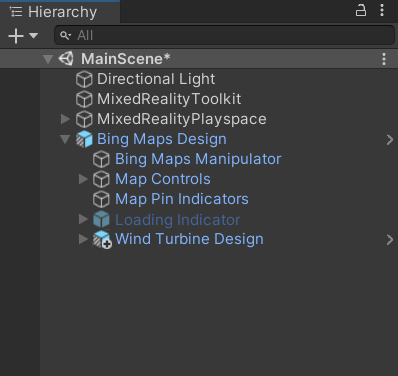
Add the Bing Maps Design.prefab Prefab by dragging it to the Hierarchy panel. If necessary, add your Bing Maps.
Drag the Prefab named Wind Turbine Design.prefab into the Scene window.
Make the Wind Turbine Design a child of the Bing Maps Design by nesting it under the Bing Maps Design Asset in the Hierarchy window. Be sure to drag it to the bottom of the list of children, or you'll receive a message stating Cannot restructure Prefab instance. If you receive this, select Cancel and place the Prefab at the bottom of the list of children directly under the Bing Maps Design.
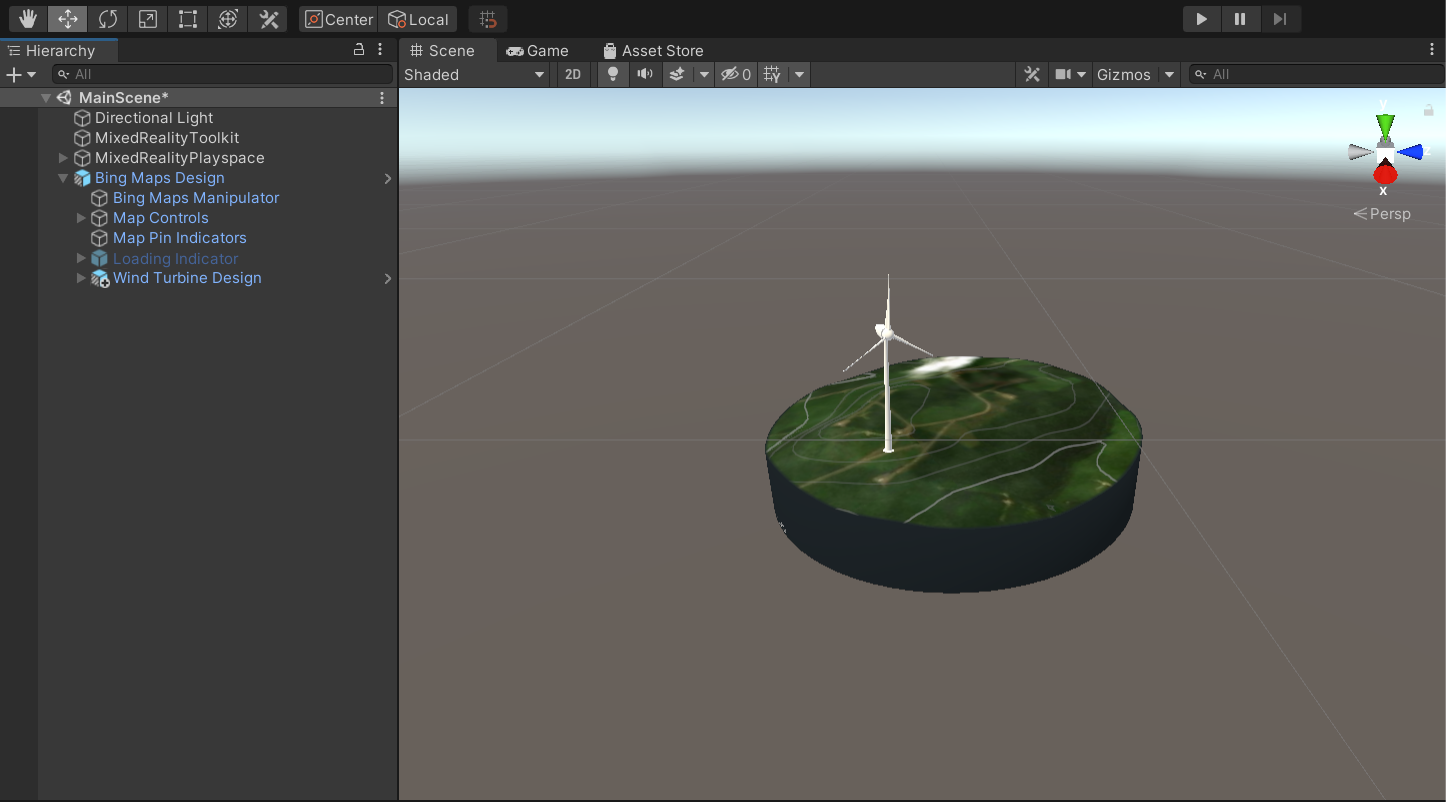
Set the scale in the Transform component in the Inspector for the Wind Turbine to (0.005, 0.005, 0.005) so it approximately matches the terrain scale.
Select the Move Tool just under the Edit menu item, select the Wind Turbine if it's not already selected. Use the green-red-blue arrows (or the center box) on screen to position the turbine at the center of the terrain.
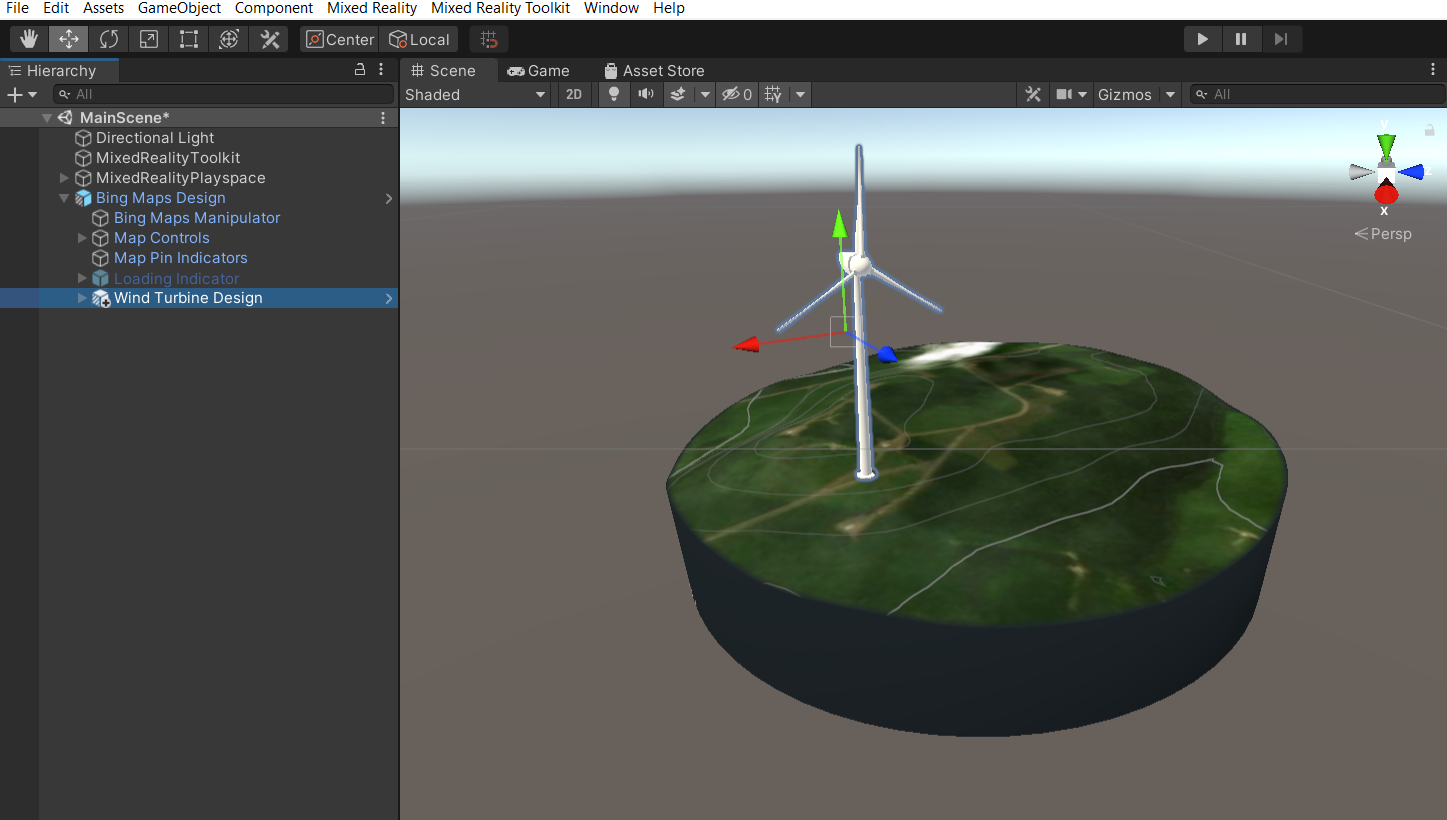
With the turbine still selected, select the Rotate Tool just under the Edit menu item and experiment with rotating the turbine.
Repeat steps 3 to 8 to place more turbines on the landscape.
Save the scene under the File > Save menu option.