Exercise - Generate a single webpage using Copilot
In this exercise, you will generate a new page for your website using Copilot. You'll also add existing Dataverse data to the page. Once complete, you'll wrap up and publish the site.
Generate a new webpage
Sign in to your Power Pages environment.
On the Home page, under Active sites, identify the Contoso Real Estate Power Pages site that you previously created and then select Edit.
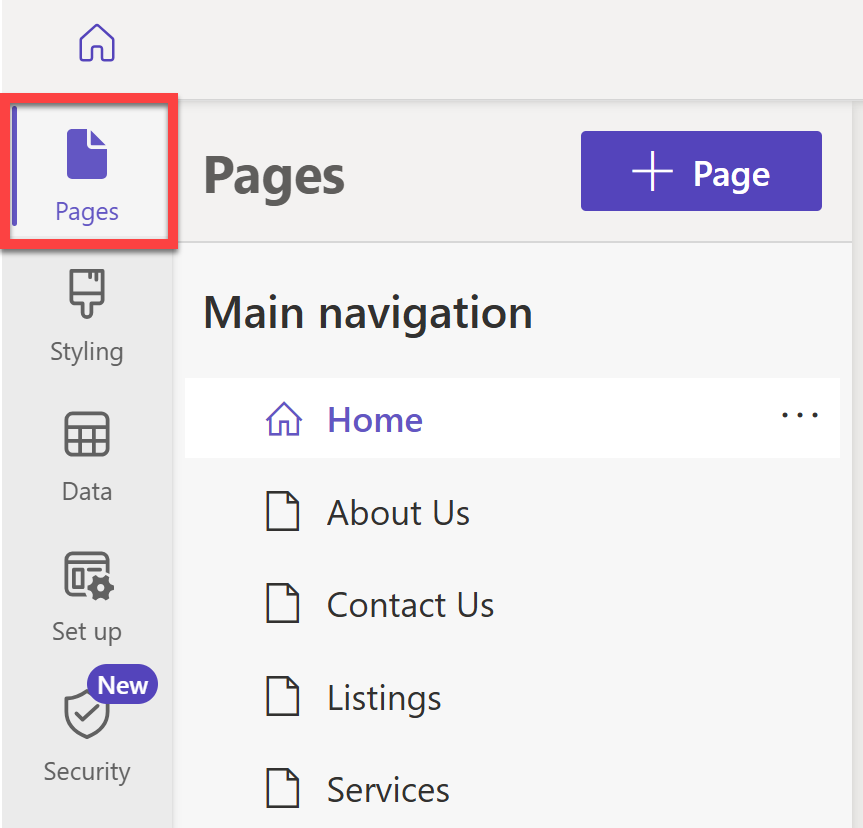
In Power Pages design studio, select Pages on the left pane to access the Pages workspace.
Open the Copilot chat window and type
Create a new page for scheduling a real estate property showing.Once the new page has been generated, review it and select Keep it.
Add a title banner similar to the one on the Contact Us and Listings pages.
Delete all sections after the title banner.
Use Copilot to add a section to submit a property showing request. Type
Add a section with a one third left layoutand press Enter.Use Copilot to generate a catchy title for the section as well as a paragraph of text. Use the following prompts:
- Title:
A catchy title for scheduling a property showing - Paragraph:
Describe the benefits of scheduling a real estate showing
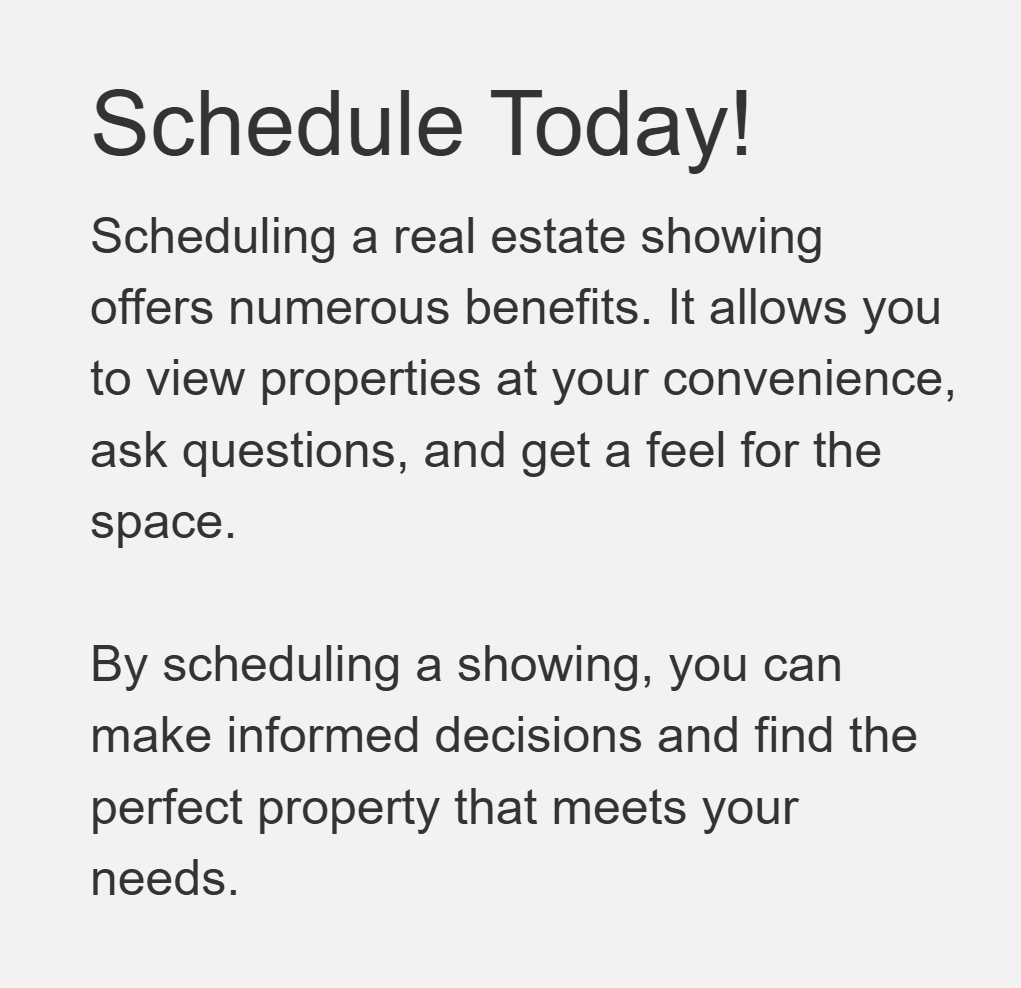
You should result in a section similar to the following:
- Title:
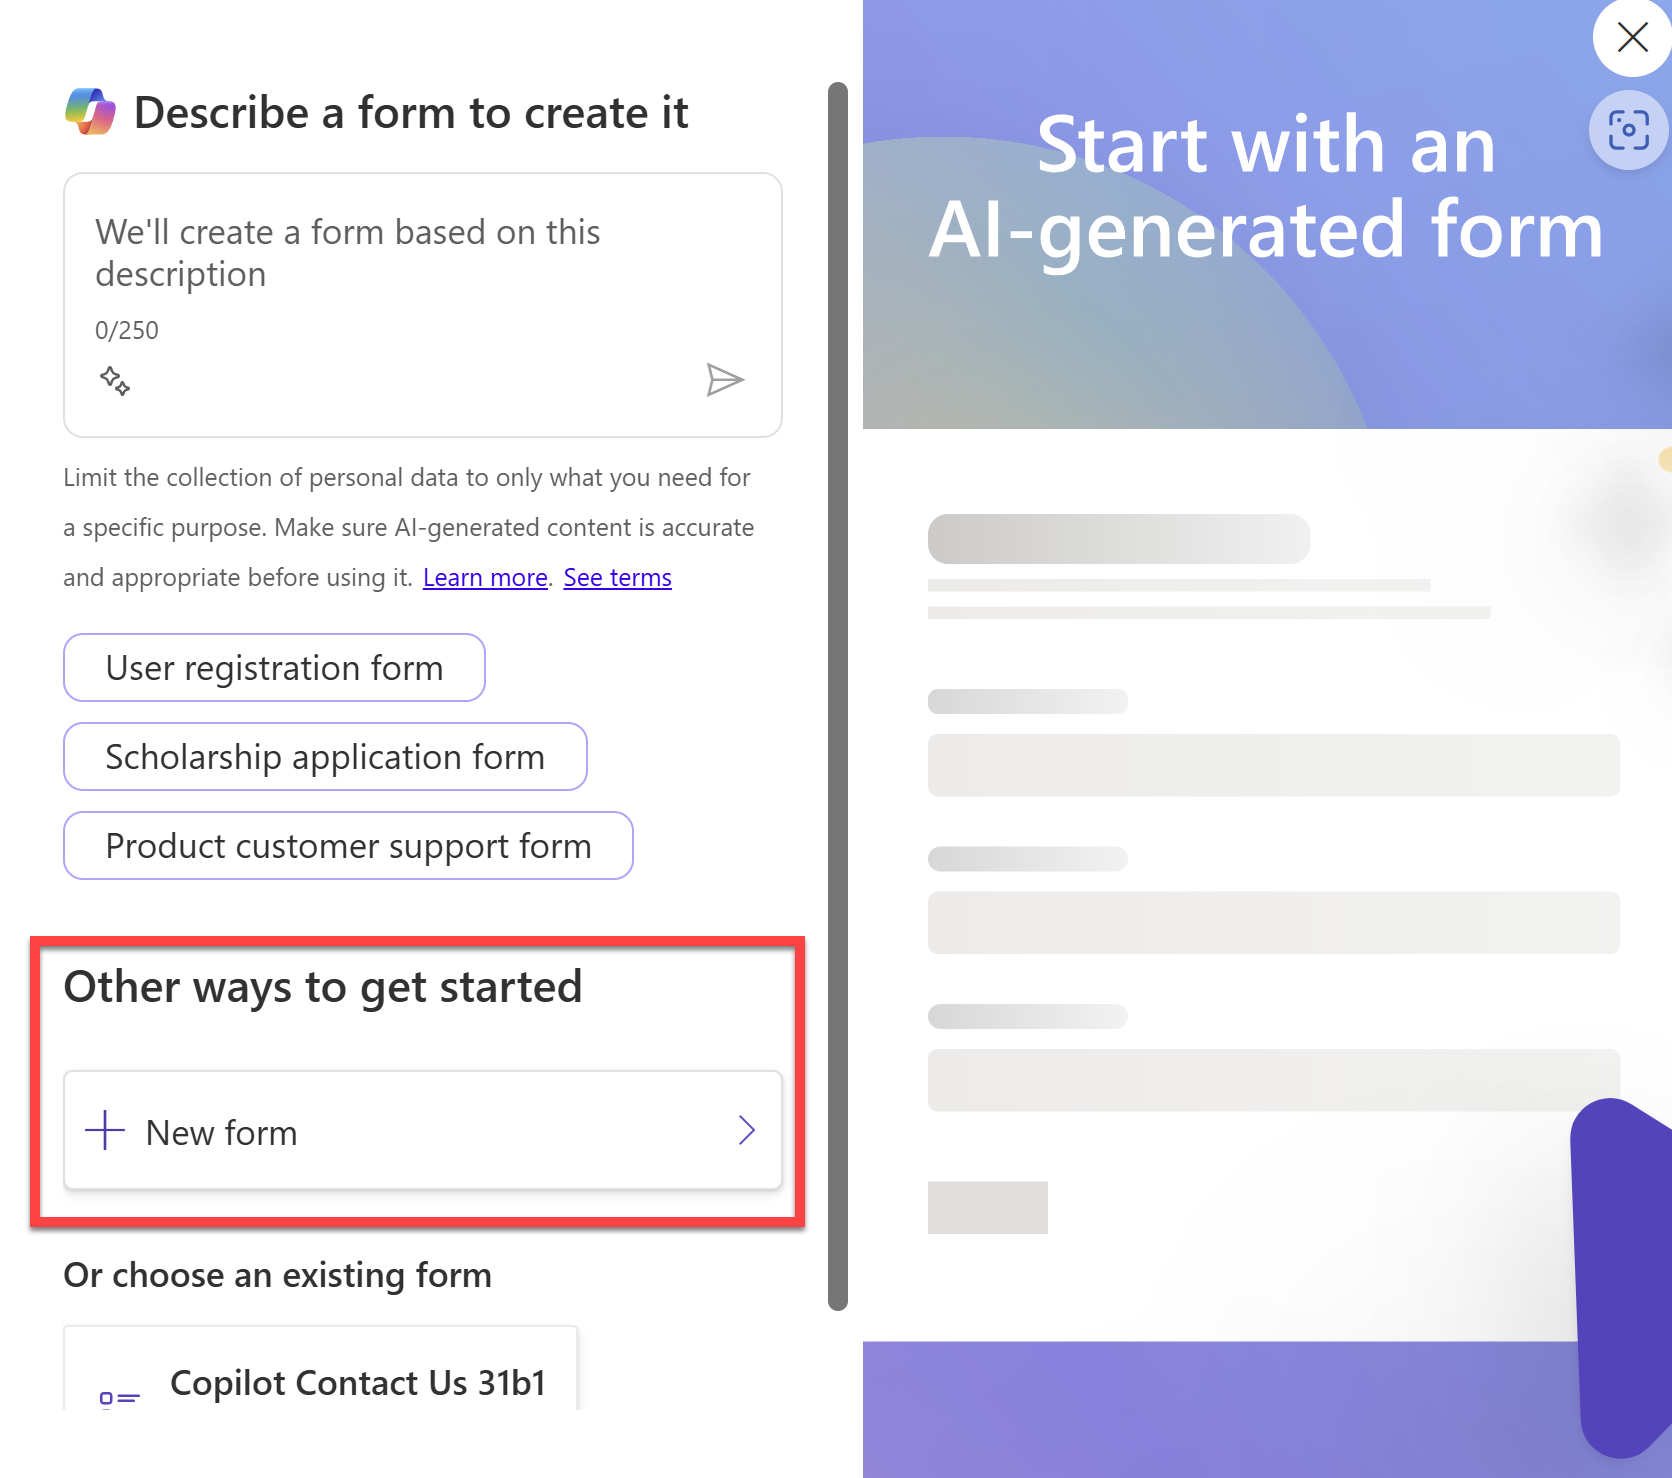
Add a Form component to the section. Instead of using Copilot to generate a form, select + New Form under Other ways to get started.
You will be leveraging the Real Estate Showings table that you generated in a previous module. This not only ties the entire solution together but it will also automatically trigger the approval flow that you created in a previous module as well.
On the Add a form pane under the Form tab, configure the following:
- Choose a table:
Real Estate Showings - Select a form:
Information - Name your copy of the selected form:
Information (Website)
- Choose a table:
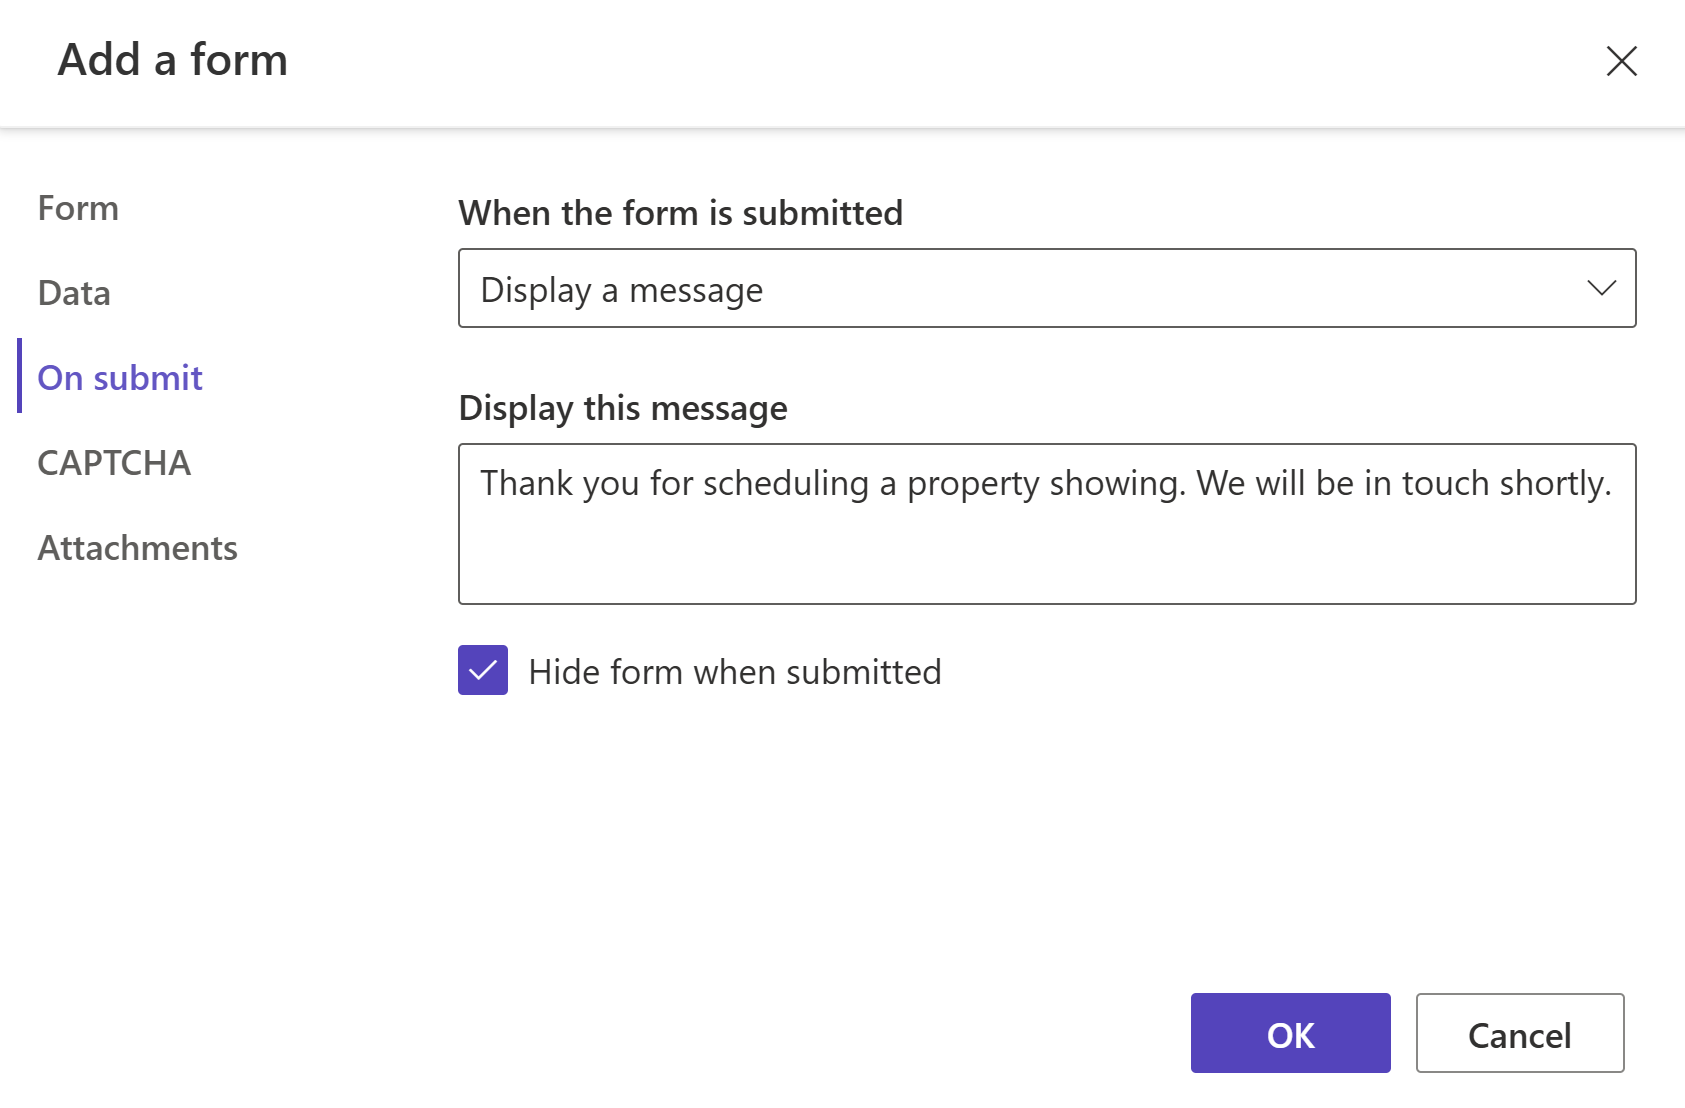
Select the On submit tab and configure the following:
- When the form is submitted:
Display a message - Display this message:
Thank you for scheduling a property showing. We will be in touch shortly.
Select OK.
- When the form is submitted:
Select + New permission to configure the permissions for the form:
- Name:
Real Estate Showings (Website) - Table:
Real Estate Showings - Access type:
Global Access - Permissions to:
Create - Roles:
Anonymous usersandAuthenticated users
Select Save.
Now users can submit a property showing request on your website.
Note
You can configure form fields in a number of ways to suit your needs however this is outside the scope of this exercise.
If you want to learn more about Forms in Power Pages, refer to the official documentation
- Name:
Organize the site's main navigation
Once you've completed the website and explored Copilot in Power Pages, it's time to set the site's visibility to public so anyone can access it. But first, let's organize the pages in the site.
In the Power Pages design studio, select Pages on the left pane to access the Pages workspace.
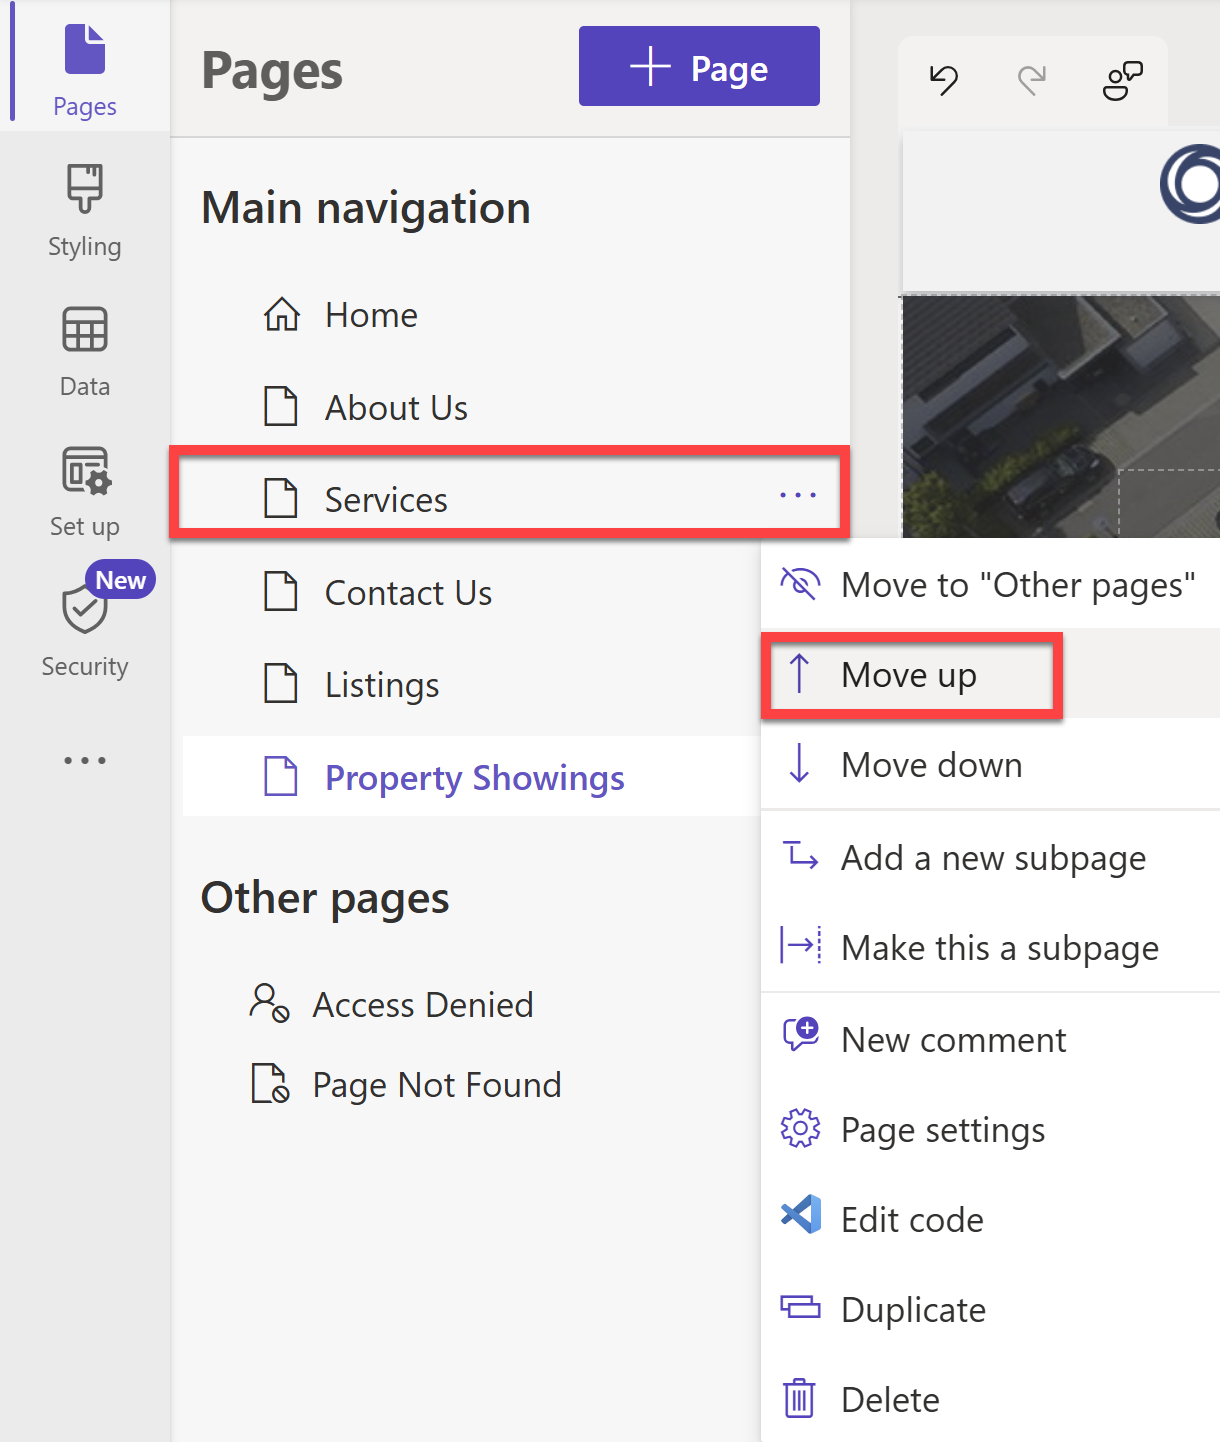
Under Main navigation, hover over the Services page and select the ellipsis (...) to access the context menu.
Select Move up until the Services page is below the About Us page.
Repeat the same process for the Listings page, moving it below the Services page. Repeat the process again for the Property Showings page, moving it below the Listings page.
Note
The Property Showings page refers to the page you generated with Copilot for requesting showings. It may be called something different in your environment due to the unpredictable nature of Copilot.
Now hover over the Property Showings page and select the ellipsis (...) to access the context menu.
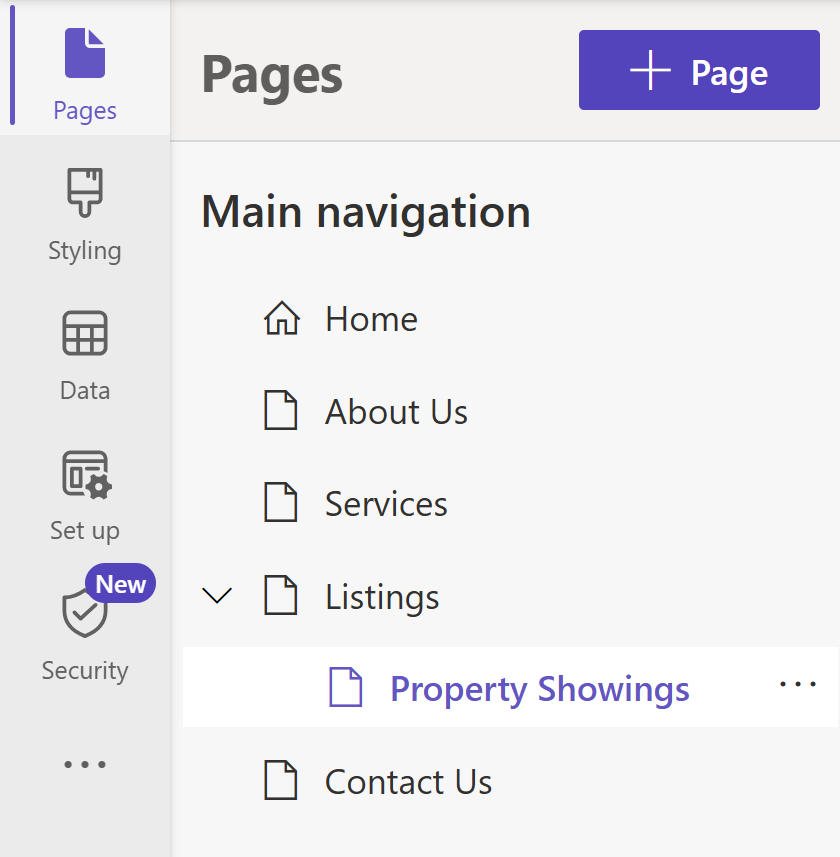
Select Make this a subpage.
Now you'll notice that the Property Showings page is nested under the Listings page.
Organizing the site navigation also changes the order of the pages in the site's header.
Select Preview to see the changes in the site's navigation.
Set the site's visibility to public
In the Power Pages design studio, select Security on the left pane to access the Security workspace.
Under Manage, select Site visibility.
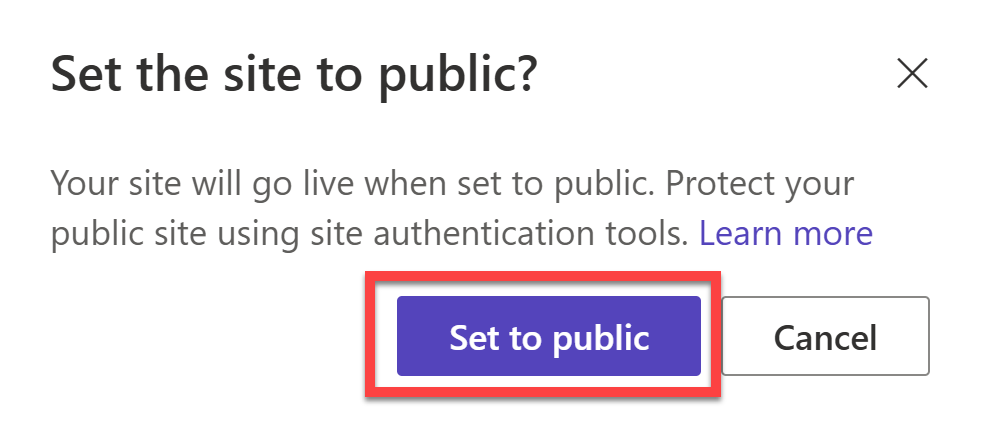
Select Public. Then on the confirmation dialog, select Set to public.
Once public, you can select Preview and then copy the site URL to share it with others.

