Provision and deploy the template
Your azd template is complete and ready for provisioning and deployment. When the workflow completes, your application will be running in Azure. Follow the steps below to run your template:
Note
When you provision an existing azd template from an external source such as Awesome AZD, you must start by running the azd init command to clone the template and configure some initial settings. However, you already ran azd init to create your new template, so you can skip that step for this workflow.
Run the
azd auth logincommand to launch a browser window you can use to sign in to your Azure account.azd auth loginRun the
azd upcommand to provision and deploy the template resources to Azure.azd upWhen prompted, select the subscription and location you would like to deploy to.
The azd up command may take a few minutes to run. Updates are printed in the console as the process runs. When the command completes, a link to the deployed site will be displayed. You should also see a link to the deployment set in Azure, which you can visit to view additional information.
The deployed application should look similar to the following screenshot:

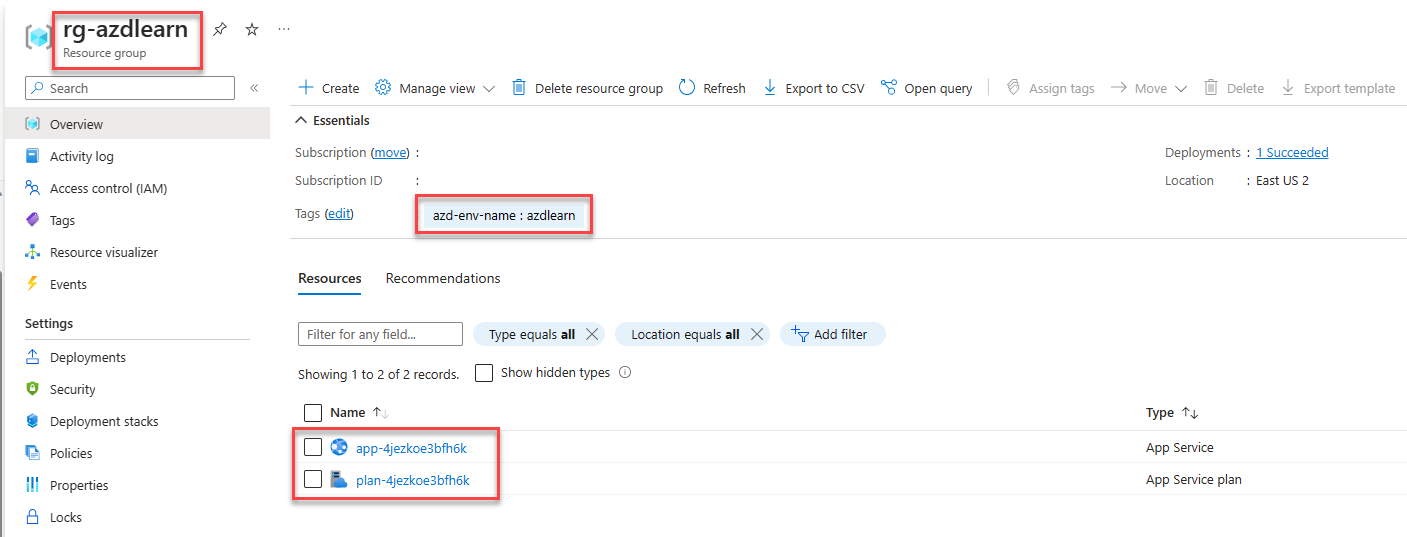
You can also view the resources that were created in Azure by navigating to your resource group in the Azure portal:
In the main Azure portal search bar, search for the resource group
azdcreated for you by typingrg-azdlearn. By convention, the resource group is the environment name you specified prefixed withrg-.Select the resource group from the results to navigate to the overview page.
Congratulations! You created, provisioned and deployed your first azd template.