Using Environment Filters for On-Demand Assessments
You can now filter your On-Demand Assessments by environments throughout the entire On-Demand Assessment flow, from Log Analytics, to the Services Hub On-Demand Assessment reports, and to the creation of your Assessment Remediation Program. In Log Analytics, you can see all of your environment data at once or filter by your individual environments to hone in on specific environment details to understand and resolve your issues. The environment filter works across focus areas and down to the affected object detail level. The environment flows down to your “Download All Recommendations” report on the Services Hub On-Demand Assessment page. Once you download the Excel report, you can filter by which environments you want to view, create pivot tables, and see your data the way you want. Also, when you create your Assessment Remediation Program, you will now be able to create your program based on specific environments within your On-Demand Assessment. This gives you the ability to focus on certain environments to remediate against as you resolve those recommendations first.
Log Analytics
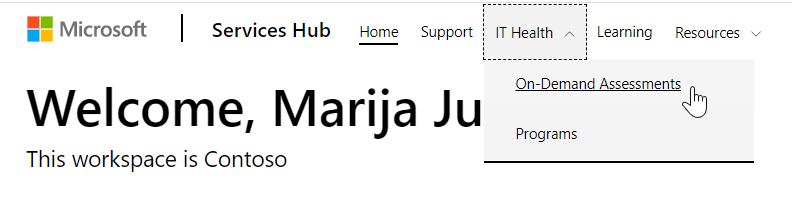
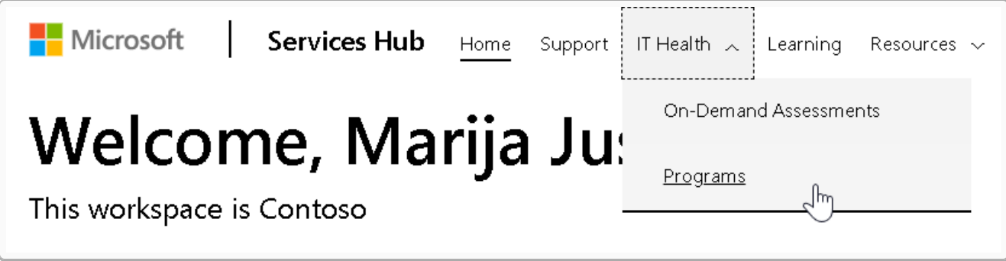
- On the Services Hub Primary Navigation, select IT Health, then select On-Demand Assessments.
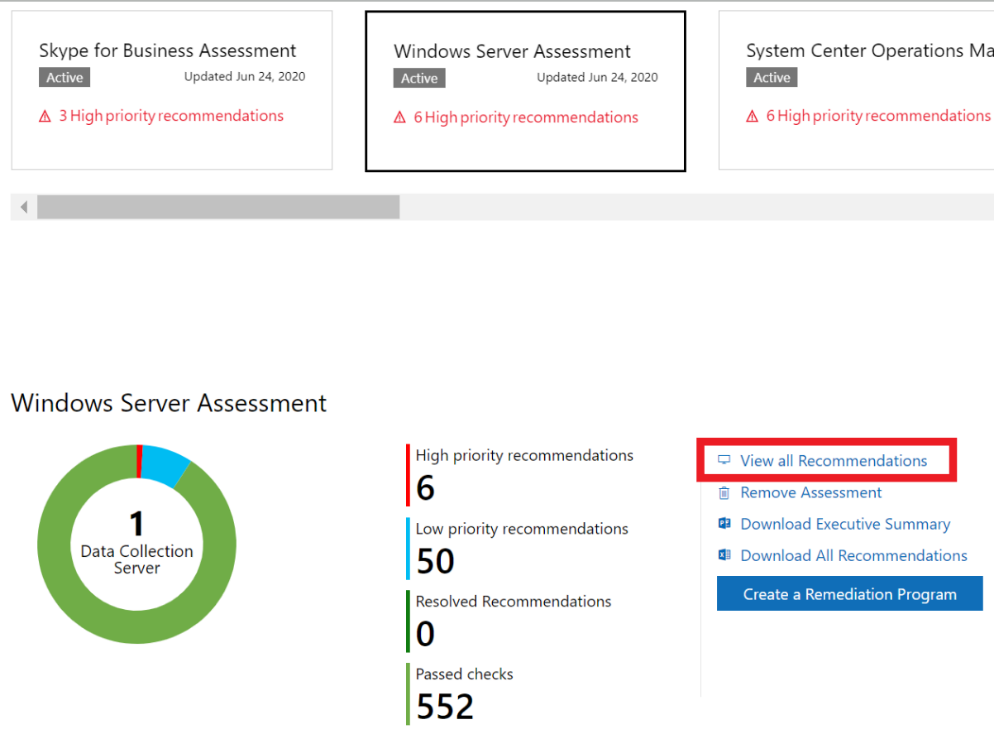
- Select any On-Demand Assessment tile. then select View All Recommendations.
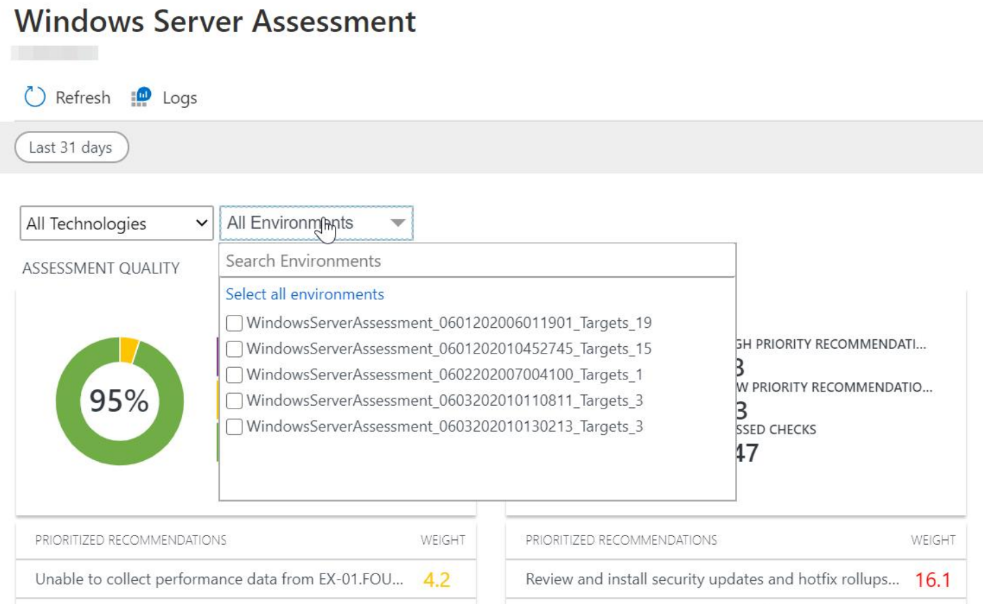
- The new Log Analytics Environment filter is located above the focus areas. Select the drop down box, then select the environment(s) that you want to see. The UI for all focus areas data will change based on the environment(s) that you choose.
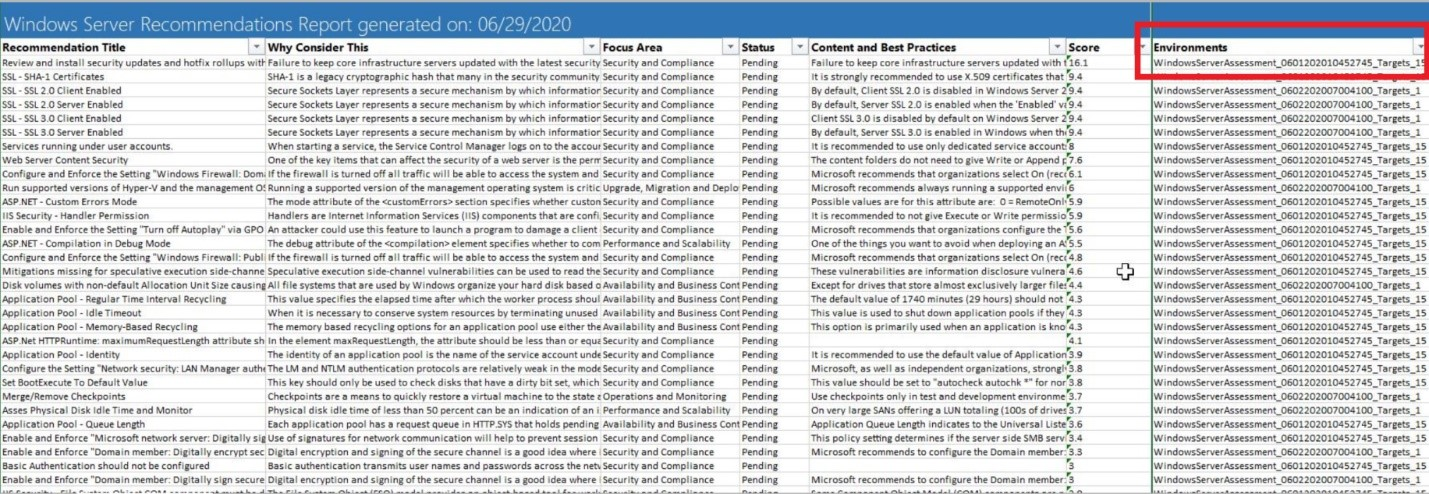
On-Demand Assessment Excel Report
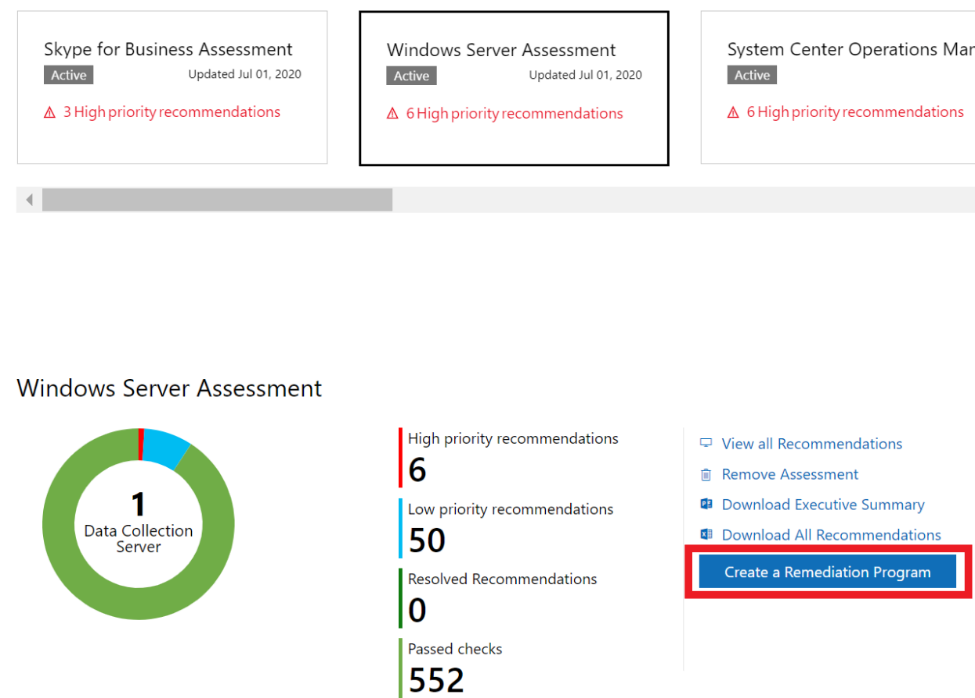
- After selecting an On-Demand Assessment tile from the On-Demand Assessments page, select Download All Recommendations.
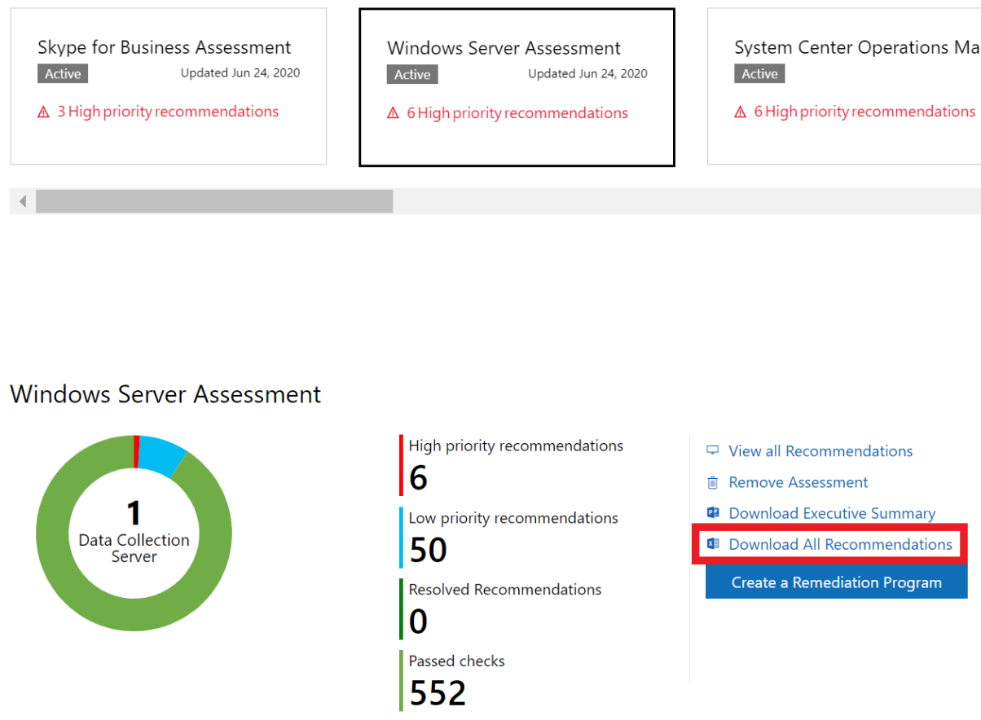
- Once the report has downloaded, open the Excel report and you will see a column titled Environments. You can filter this column and use Excel's capabilities to see your data the way that you want, including your environment data.
Note
The PPT report is a consolidated report for all environments.
Programs
There are two ways to create an Assessment Remediation Program: from the programs page and from the On-Demand Assessment page.
From the programs page
- On the Services Hub Primary Navigation, select IT Health, then select Programs.
- Once on the Programs page, select Create a new program, then select Assessment Remediation Program.
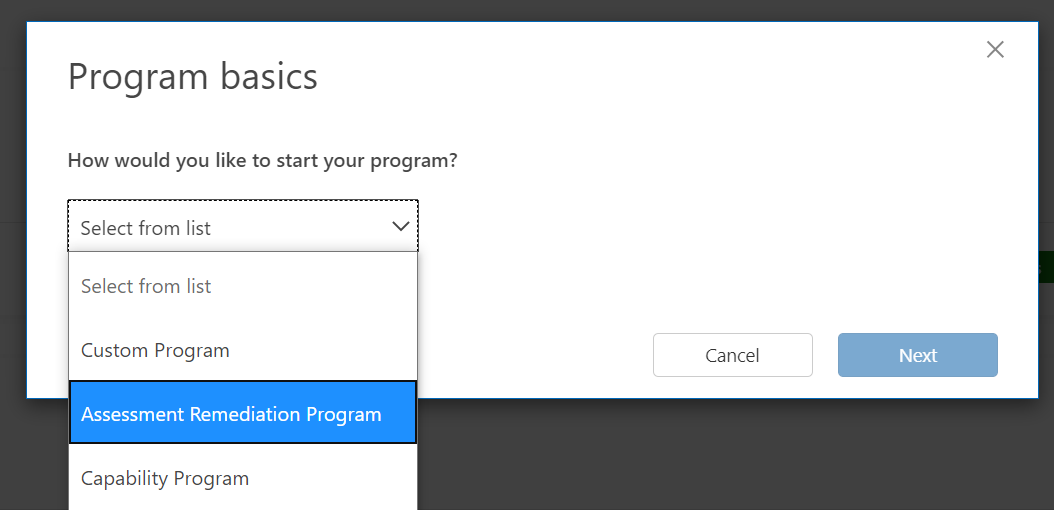
- Select your Template (On-Demand Assessment), Technology (if present), and Environment(s) that you want included in your Assessment Remediation Program.
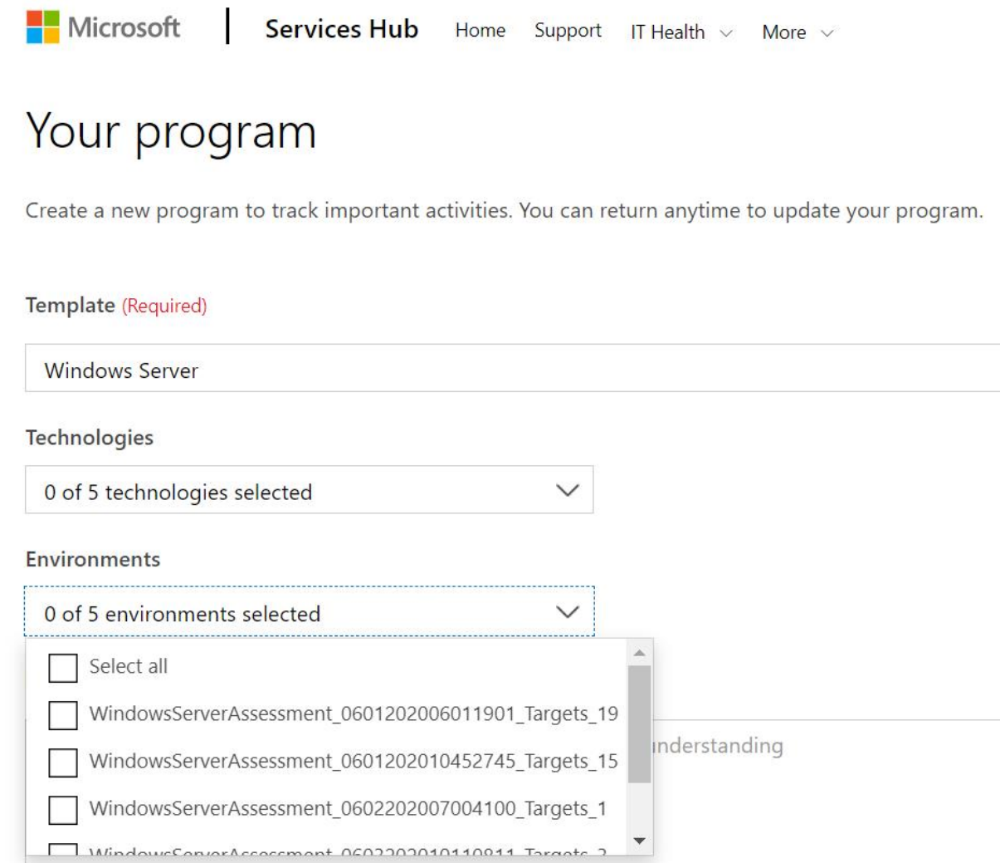
Add more environments from within your Program
After your Assessment Remediation Program has been created, you can add more environments to it at any time:
While you're in your Program, select Edit.
Add any additional environments to your Assessment Remediation Program.
From the On-Demand Assessment page
From the On-Demand Assessments page, select any On-Demand Assessment tile that you want to create an Assessment Remediation Program for.
Select Create a Remediation Program.
Follow the steps in the previous section to create your remediation program and select your environment(s).
To see how the Environment Filter interacts with your Assessment Remediation Programs, read more about the Services Hub Programs.
[!NOTE > During the setup task, you have the option to add an “environment” friendly name. This is the name by which the assessed environment is identified when you review your results. If you do not set it, the environment name will be “See below chart for default names”, this is contoso.com. Use the “-environmentname” option in the setup command when you want to use a more friendly name.
Options available to you during setup:
- EnvironmentName: Add a friendly name for your environment (see below chart for default names) which can be used in the environment filter when you review your results.
- AssessmentID: A GUID that identifies this assessed environment. If you omit it, we generate one for you.
- ManagementGroup: Include the name of the ManagementGroup to which the Microsoft Monitoring Agent has been linked.
You aren't prompted for the these options. If you don't set them yourself, default settings are put in place. The following table lists these default settings.
| Technology | Criteria |
|---|---|
| AD, ADSec | forest name |
| Azure and Office 365 assessments | tenant domain |
| Exchange | organization name |
| SCCM | central site name |
| SCOM | mgmt, group name |
| SFB | organization name |
| SharePoint | farm id |
| SQL | scheduled task/folder name for the overall assessment + 1 environment per SQL instance (clustered or not) |
| Windows client and server | scheduled task/folder name for the overall assessment + 1 environment per server |