Create a Services Hub Connector - Microsoft Engage Center (Services Hub)
Note
We're currently developing the Engage Center Connector, which will replace the existing Services Hub Connector. The new Engage Center Connector will soon offer the complete ODA experience, including Surveys.
If you currently have a Services Hub Connector, or if you create a new Servics Hub Connector before the Engage Center Connector is available, you'll need to transition to the Engage Center Connector to fully use our ODA experience.
Stay tuned for further updates, and be prepared to make the required switch when it's time so you get access to all the new features.
Register the "Microsoft.ServicesHub" Resource Provider on your subscription
Navigate to the Azure portal at https://portal.azure.com.
Find your subscription (All Services -> Subscriptions -> select your subscription).
Select Resource providers in the left navigation.
Search for "Microsoft.ServicesHub".
Select the "Microsoft.ServicesHub" line item.
Select the Register button.

Visit the Azure portal and create a new Services Hub Connector
Navigate to the Azure portal at https://portal.azure.com.
Select "Create" to start creating a new Services Hub Connector resource.

Complete the Basics tab
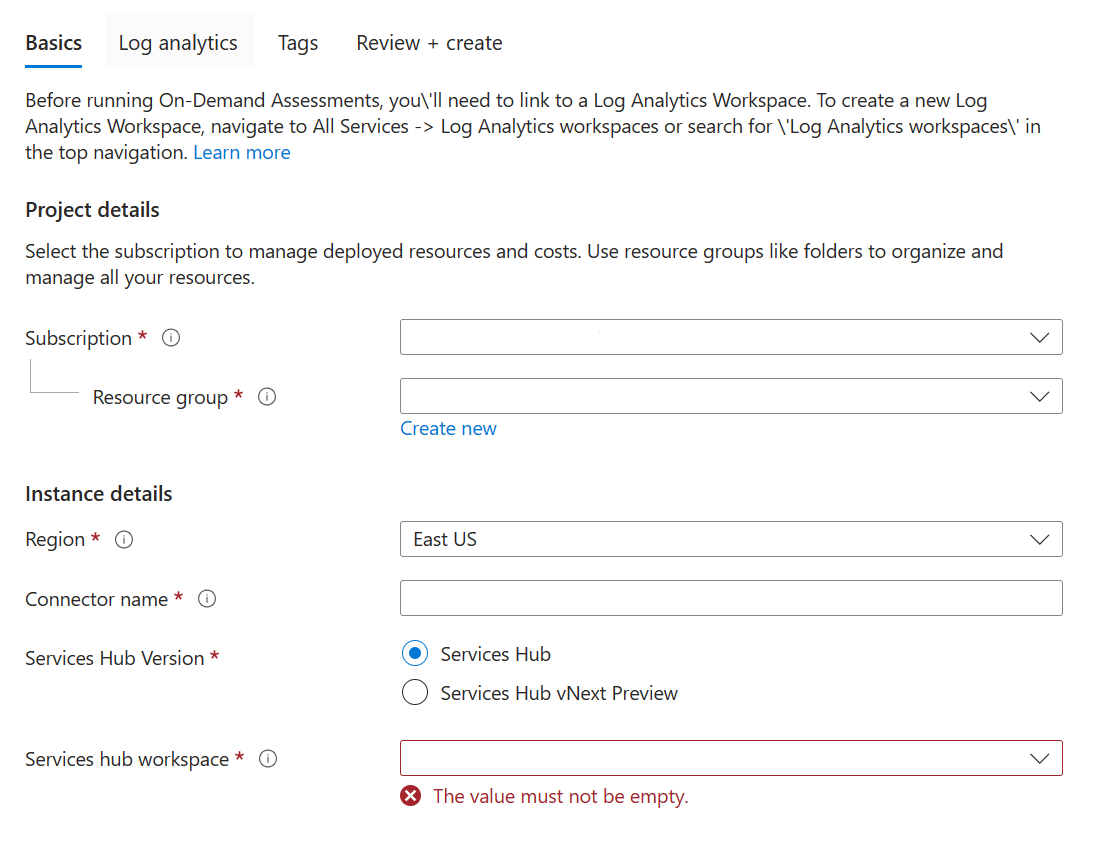
Subscription: Choose your subscription. You need the "Microsoft.ServicesHub" Resource Provider to be registered already for this subscription (see Step #1).
Resource Group: Choose any Resource Group.
Region: Choose from the following regions: Australia East, Australia Southeast, Canada Central, Central India, Central US, East Asia, East US, East US 2, France Central, Japan East, Korea Central, North Europe, South Central US, Southeast Asia, UK South, West Central US, West Europe, West US, and West US 2.
Connector Name: Enter a name for your new Connector resource.
Services Hub Version: Select your Services Hub version.
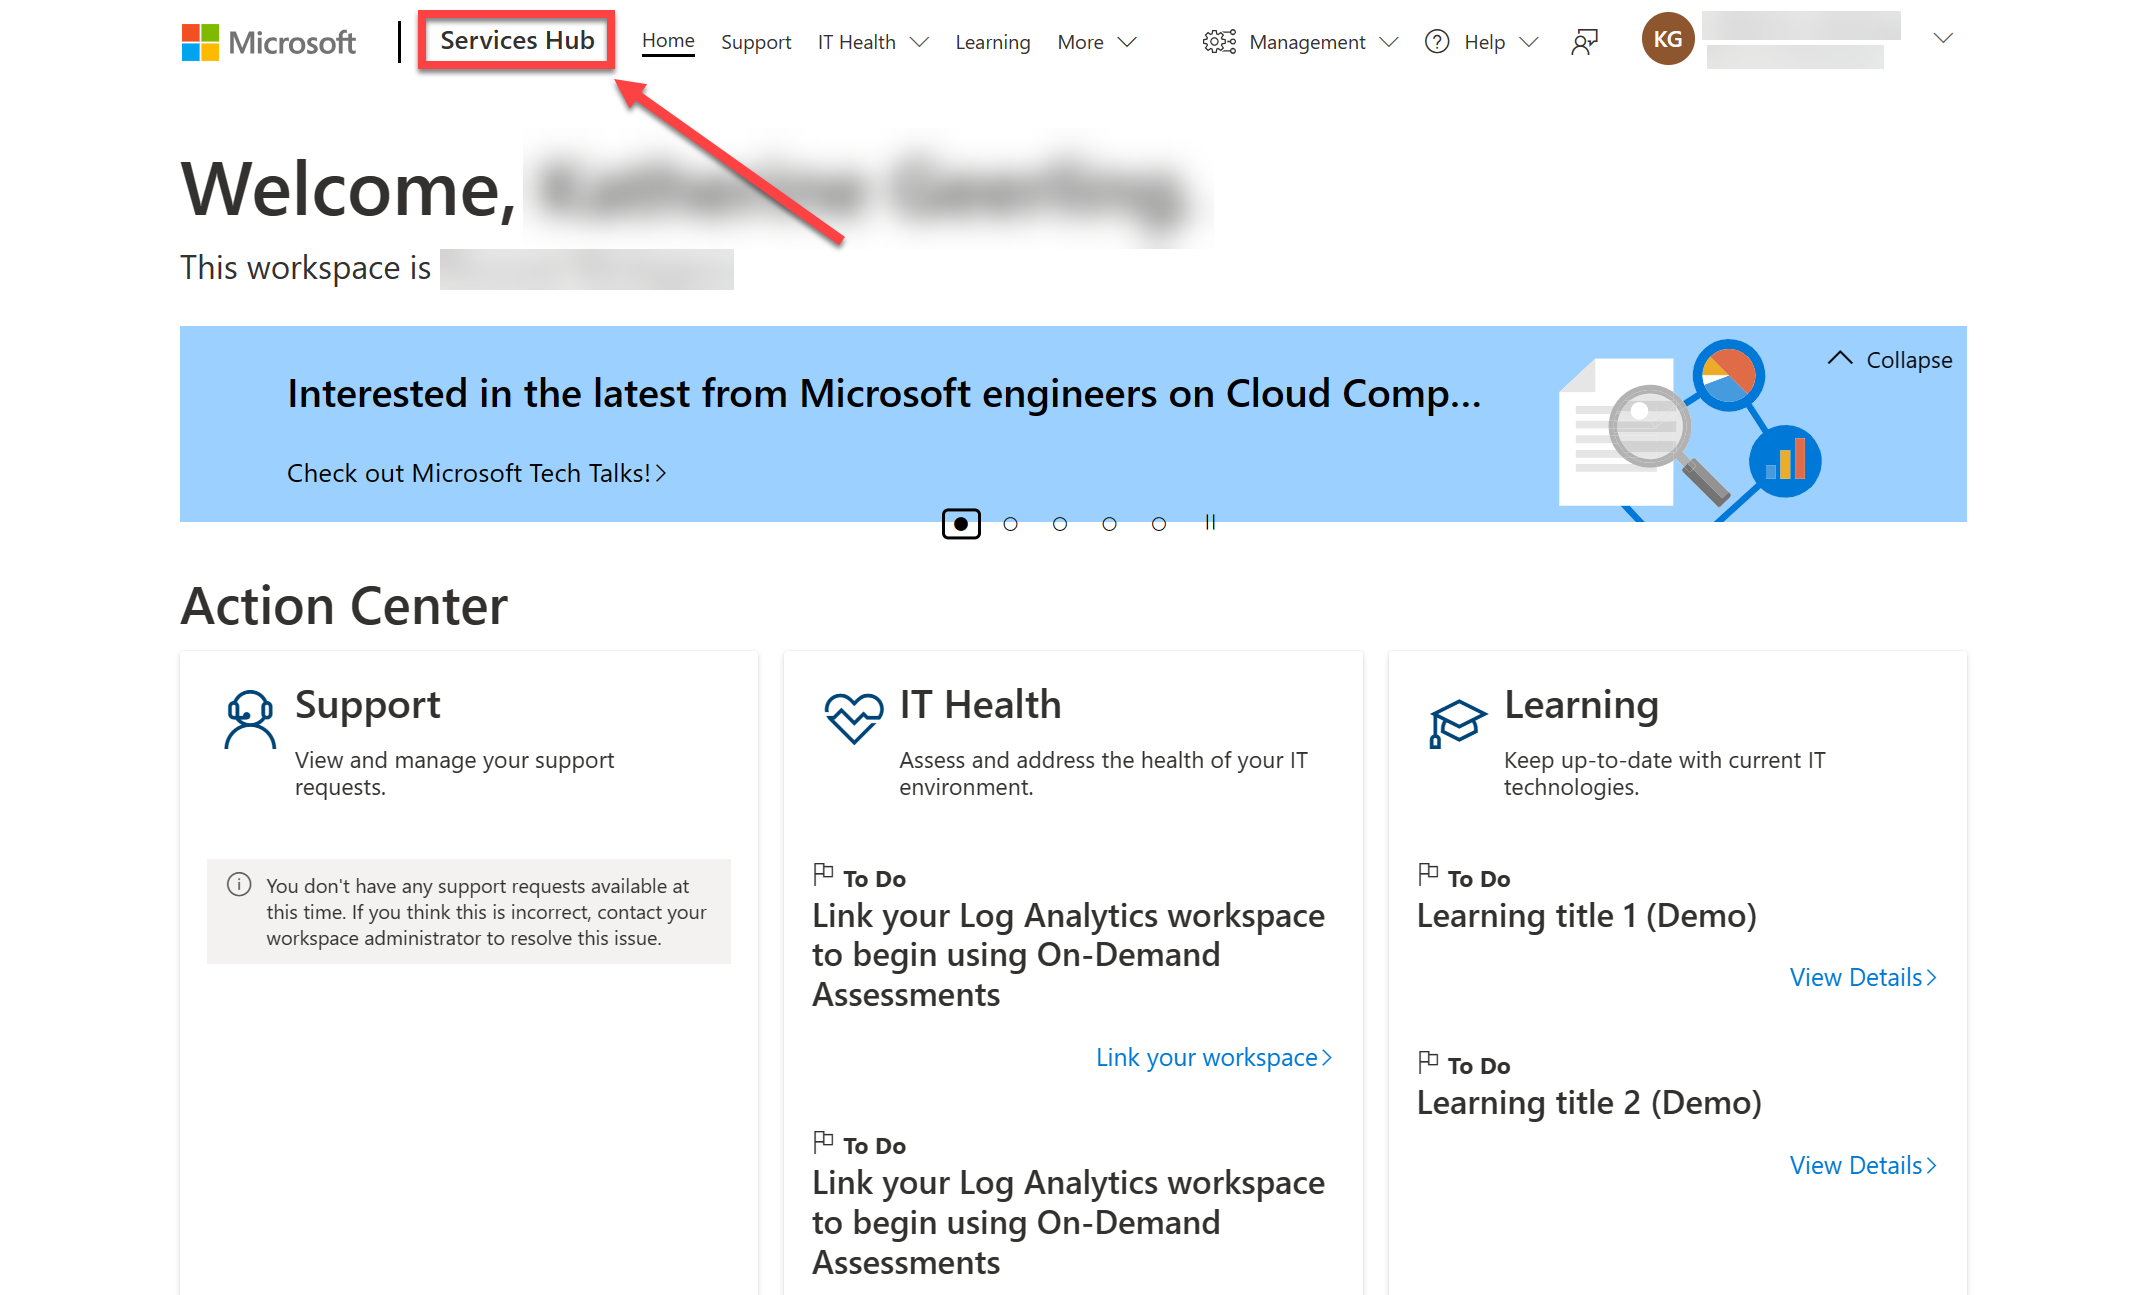
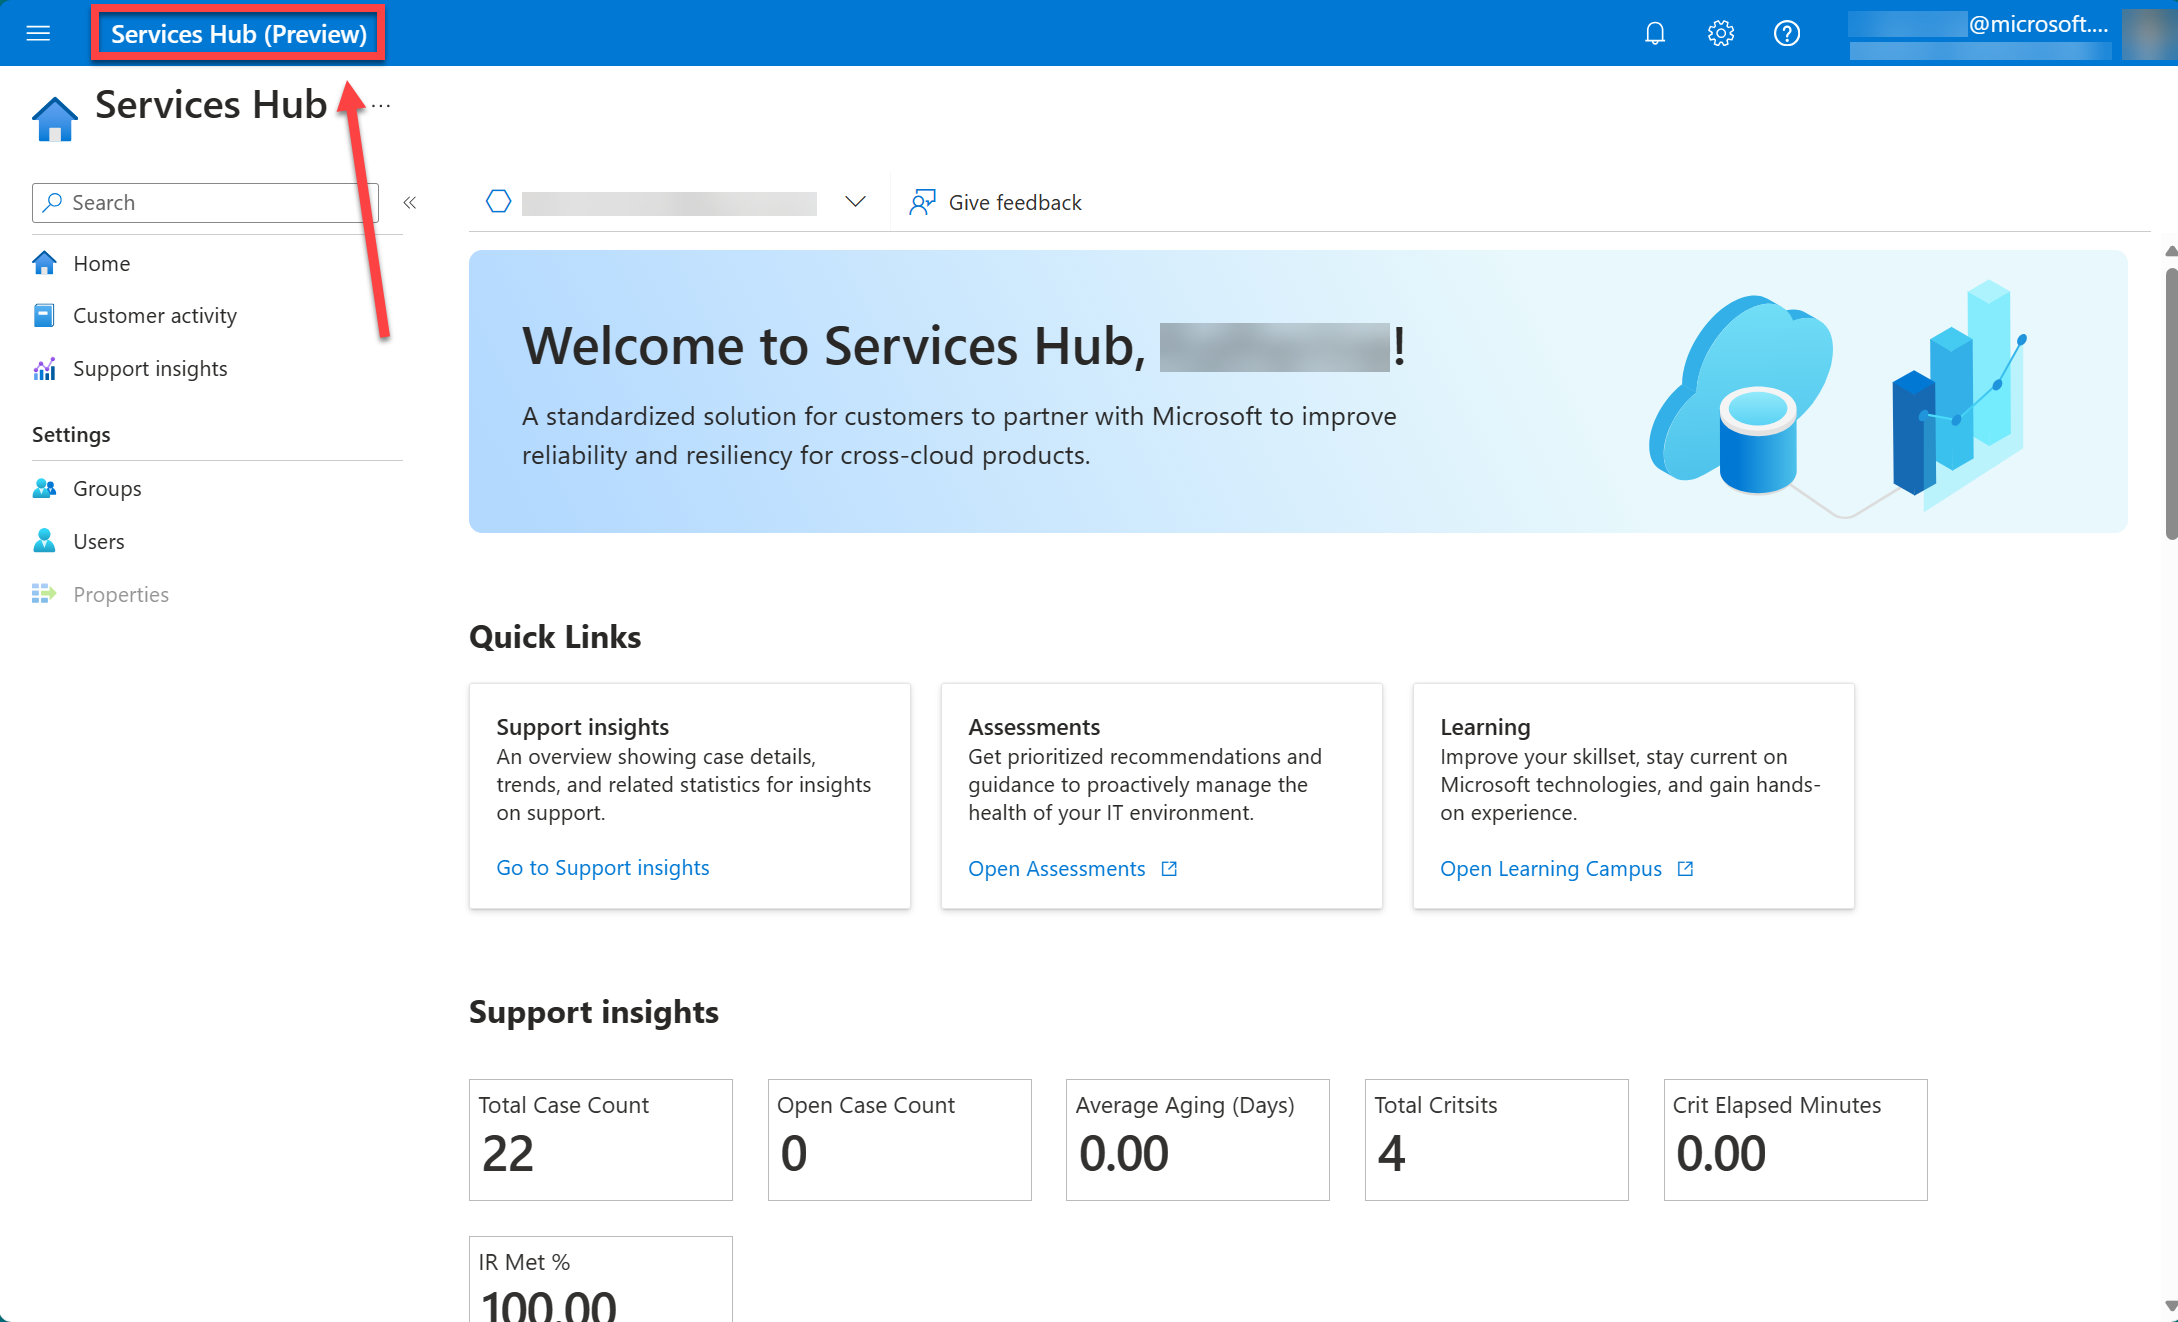
If you don't know which version of Services Hub you currently use, sign in to Services Hub and navigate to your home page. If it says Services Hub at the top of the page, select "Services Hub". If it says Services Hub (Preview) at the top of the page, select "Microsoft Engage Center".
Services Hub:
Microsoft Engage Center:
Complete the Log Analytics tab
Completing the Log Analytics tab is where you upload your On-Demand Assessment data.

Log Analytics Workspace Subscription: Choose the subscription your Log Analytics Workspace exists under. It doesn't have to be the same subscription you chose on the basics tab.
Log Analytics Workspace: choose your Log Analytics workspace from the dropdown.
Note
This experience currently does not support creating a new Log Analytics workspace. To do that, first go create the Log Analytics workspace, then come back to create a new Services Hub Connector.
Add tags (optional)

Tags let you assign arbitrary metadata to your Azure resources. They're typically used for resource organization. You can optionally assign them here, or do it later after creating the Services Hub Connector.
Review and Create your Connector

Review the details of your new Services Hub Connector Resource.
If everything looks good, select Create.
View your newly created Services Hub Connector
Selecting "Create" lands you on a Deployment Status page.
After your deployment completes, select the "Go to resource" button.

The button takes you to the Overview page for your new Services Hub Connector resource.
Select the "On-Demand Assessments" menu item to get started.

Select the "Services Hub Private Preview Space" dropdown. Select the Space that you want to be linked to your Services Hub Connector resource.
With this final step complete, you can now use your On-Demand Assessments.