Provisioning profiles for Xamarin.Mac apps
Provisioning profiles allow a developer to incorporate several macOS (formerly known as Mac OS X) specific features (such as iCloud and Push Notifications) into their Xamarin.Mac apps. They must create, download and install a Mac Provisioning Profile for each application they are developing that use these features.
Development provisioning profile
A Development Provisioning Profile allows a Mac App Store-targeted app to be tested on the specific computers that have been set-up in the profile. This is particularly relevant when using macOS features like iCloud and Push Notifications.
Note
The developer must have already created a Mac Development Certificate before they can create a Development Provisioning Profile. Complete the details as shown on this screenshot to generate a Development Provisioning Profile that can be used to create builds. There must be a valid Mac Development Certificate available for selection in the Certificate box, and at least one system registered for testing.
Do the following:
Select the type of Provisioning Profile that to create and click the Continue button:
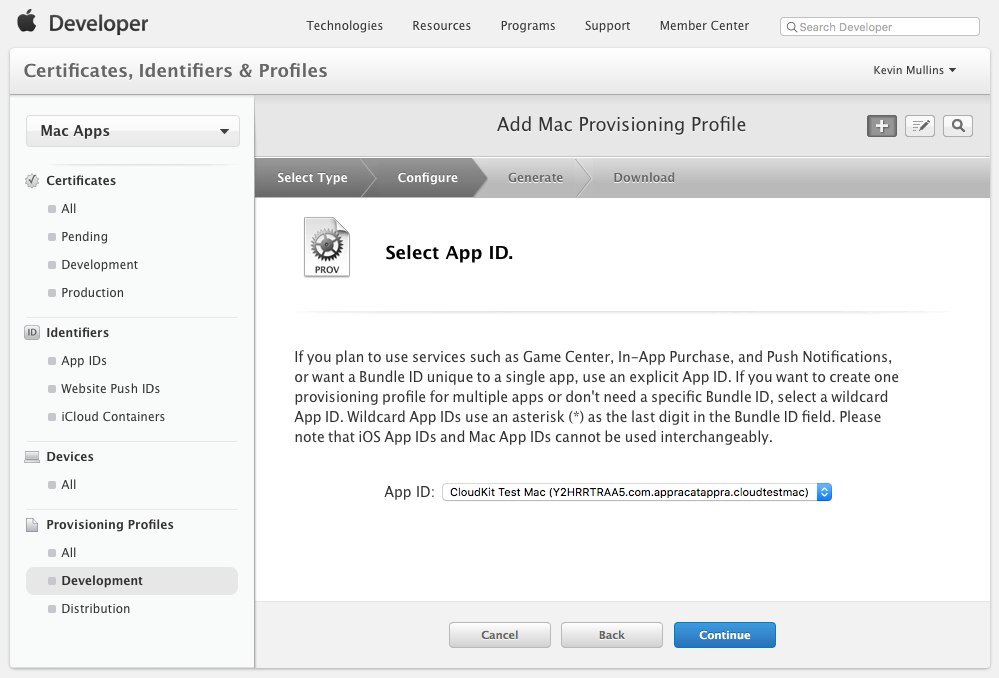
Select the ID of the Application to create the profile for and click the Continue button:
Select the developer ID used to sign the profile and click Continue:
Select the computers that this profile can be used on and click Continue:
Now, enter a Profile Name and click the Generate button:
Click the Download button to download the new profile:
Development provisioning profiles are installed to the Profiles Preferences pane of the Mac's System Preferences application:
The Profile Preferences pane will show all installed profiles:
The profile will also appear in the Developer Certificate Utility in case it needs to be downloaded again:
A new Development Provisioning Profile will need to be created for each new app or when a new computer is being added to test on.
Production provisioning profile
Production provisioning profiles are required to build a package for submission to the Mac App Store.
Do the following:
Select the type of profile to create and click the Continue button:
Select the ID of the app to create the profile for and click the Continue button:
Select the company ID to sign the profile and click the Continue button:
Enter a Profile name and click the Generate button:
Click Download to get the provisioning profile file (extension
.provisionprofile):Drag it into the Xcode Organizer or double-click it to install. The profile will then appear in the Xcode Organizer:
The provisioning profile will also appear in the list:
If the developer ever changes the features being used by an App ID (eg. enabling iCloud or push notifications) then they should re-create the provision profiles for that App ID.


