Connect to data sources for dataflows
With Microsoft Power BI and Power Platform dataflows, you can connect to many different data sources to create new dataflows, or add new tables to an existing dataflow.
This article describes how to create dataflows by using these data sources. For an overview of how to create and use dataflows, go to Creating a dataflow for Power BI service and Create and use dataflows in Power Apps.
Create a dataflow from a data source
To create a dataflow from a data source, you first have to connect to your data.
To connect to data in Power BI:
- Open a workspace.
- Select New.
- Select Dataflow from the drop-down menu.
- Under Define new tables, select Add new tables.


Data sources for dataflows
Once you create the dataflow from the dataflow authoring tool, you're presented with the Choose data source page. Either use Search to search for the name of the connector, or select View more to see a list of all the connectors available in Power BI service.

If you choose to view more connectors, you can still use Search to search for the name of the connector, or choose a category to see a list of connectors associated with that category.

The following categories appear as tabs in the New source page:
- All categories
- File
- Database
- Power Platform
- Azure
- Online Services
- Other
For a list of all of the supported data sources in Power Query, go to Connectors in Power Query.
Connect to a data source
To connect to a data source, select the data source. This section uses one example to show how the process works, but each data connection for dataflows is similar in process. Different connectors might require specific credentials or other information, but the flow is similar. In this example, SQL Server database is selected from the Database data connection category.

A connection window for the selected data connection is displayed. If credentials are required, you're prompted to provide them. The following image shows a server and database being entered to connect to a SQL Server database.
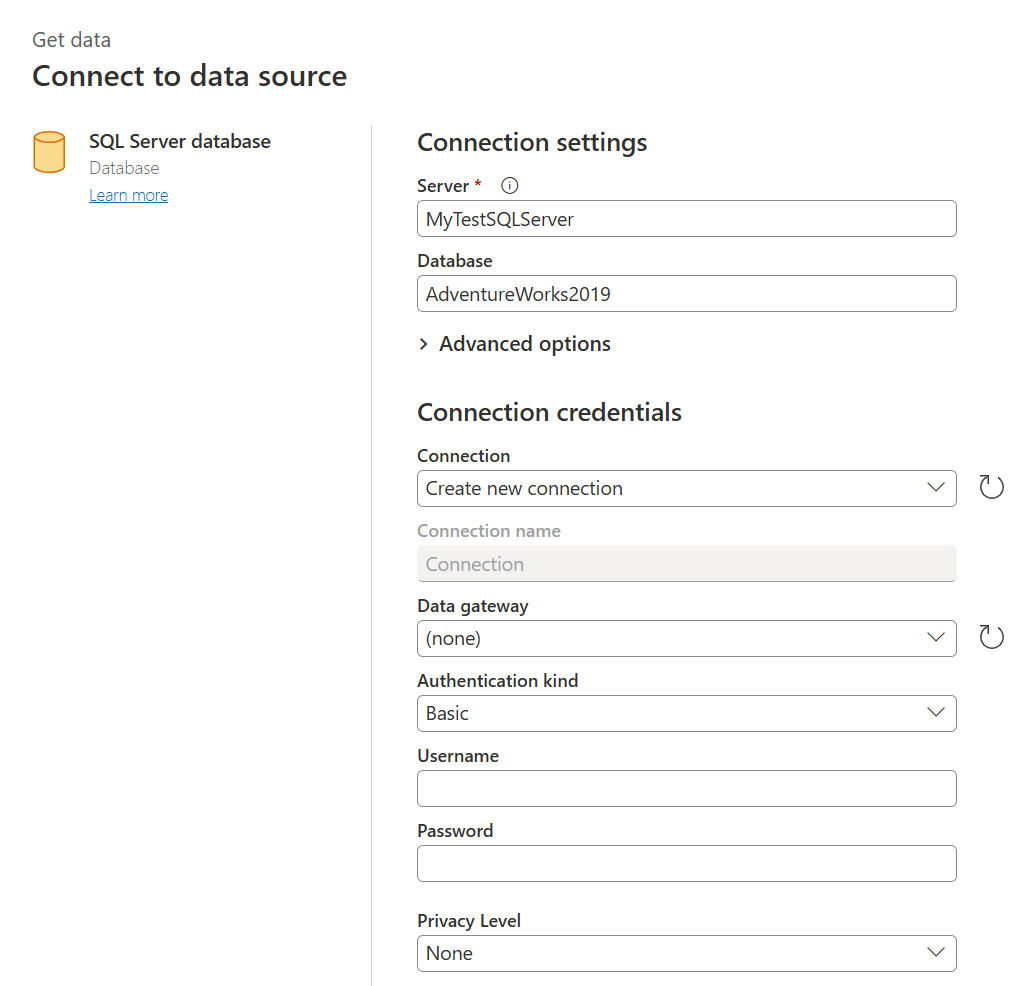
After the server URL or resource connection information is provided, enter the credentials to use for access to the data. You might also need to enter the name of an on-premises data gateway. Then select Next.
Power Query Online initiates and establishes the connection to the data source. It then presents the available tables from that data source in the Navigator window.

You can select tables and data to load by selecting the check box next to each in the left pane. To transform the data you chose, select Transform data from the bottom of the Navigator window. A Power Query editor page appears, where you can edit queries and perform any other transformations you want to the selected data.

Related content
This article showed which data sources you can connect to for dataflows. The following articles go into more detail about common usage scenarios for dataflows:
- Self-service data prep in Power BI
- Using incremental refresh with dataflows
- Creating computed tables in dataflows
- Link tables between dataflows
For information about individual Power Query connectors, go to the connector reference list of Power Query connectors, and select the connector you want to learn more about.
The following articles discuss how to use Power Query connectors in more detail:
- Where to get data
- Alternatives to out-of-box connectivity in Power BI Desktop
- Connect to data using generic interfaces
Additional information about dataflows and related information can be found in the following articles:
- Create and use dataflows in Power BI
- Using dataflows with on-premises data sources
- Developer resources for Power BI dataflows
- Dataflows and Azure Data Lake integration (Preview)
For more information about Power Query and scheduled refresh, you can read these articles:
For more information about Common Data Model, you can read its overview article: