Configure and manage category for knowledge articles
This section helps you understand how to create a new category for knowledge articles and associate it with an article. You'll also learn how to enable ratings for a knowledge article.
Create a new category for knowledge articles
Sign in to Power Pages.
Go to Settings > Service Management.
In the Knowledge Base Management section, select Categories.
Select New.
Enter a name and description for your category.
Choose a parent category. If you want this category to be a top-level category, leave this field blank.
Associate a category with a knowledge article
In Customer Service Hub, go to Service > Knowledge Articles.
Open a knowledge article.
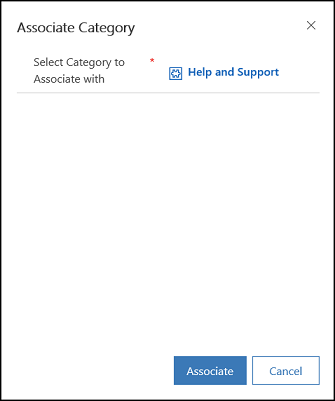
On the command bar, select Associate Category. The Associate Category window appears.
In the Select Category to Associate with field, select the category you want to associate to the article. And then, select Associate.
Note
You can also add related articles, related products, and keywords to a knowledge article. For more information on managing knowledge articles, see Create and manage knowledge articles.
Remove a category from an article
In Customer Service Hub, open the knowledge article from which you want to remove a category.
On the Summary tab, under Related information, select Related Categories.
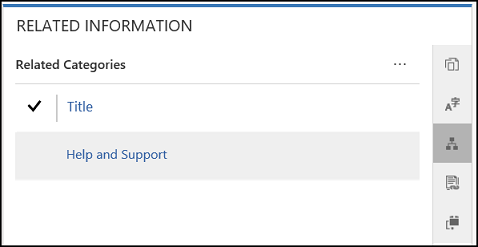
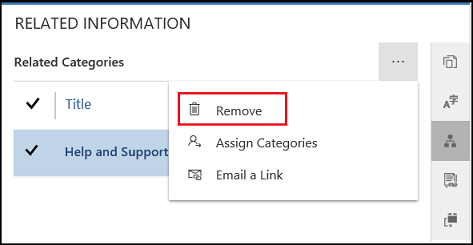
Select the category you want to remove.
From More Commands, select Remove.
Delete a knowledge category
Sign in to Power Pages.
Go to Settings > Service Management.
In the Knowledge Base Management section, select Categories.
Choose the category from the list view, and then select Delete on the command bar.
Note
Knowledge articles associated with the category will be disassociated after the category is deleted.
Enable ratings for a knowledge article
Sign in to the website and go to knowledge article.
Edit the article from the inline editor.
On the Options tab, select Enable Ratings.
Expand and collapse sections
You can add sections that can be expanded and collapsed by adding a collapsible section using the collapsible command button:
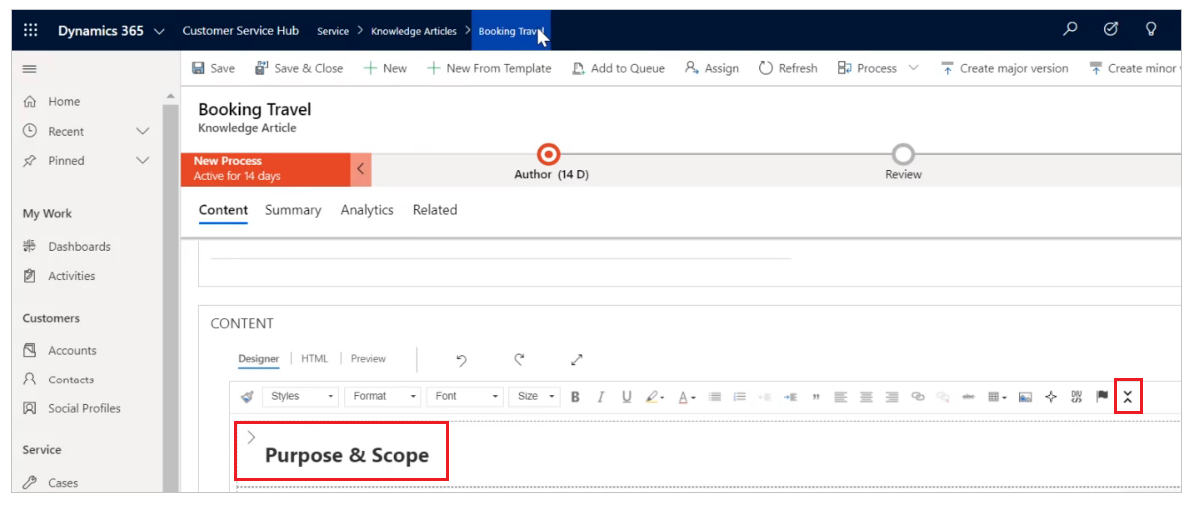
You can see the following example with one section expanded and the rest in collapsed positions:
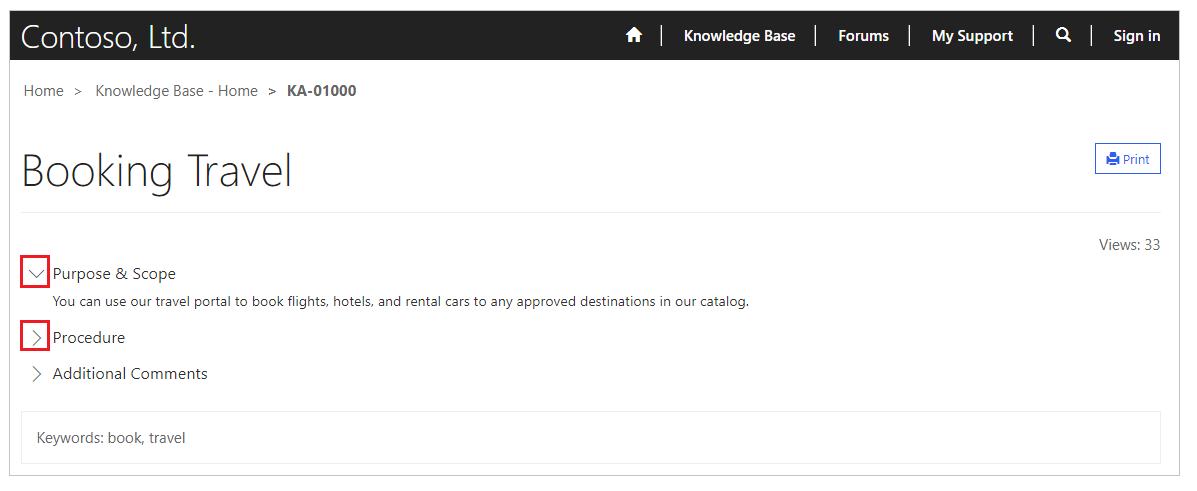
Following considerations apply when using collapsible sections:
- Default state of a collapsible section is collapsed.
- Existing web page and web templates can work with collapsible sections without any additional changes.
- If you select Print, the state of the sections from current selections persist for print preview.
- The collapsible sections, when added to your articles, have additional JS function and CSS style for the expand/collapse button.
Customize expand and collapse behavior
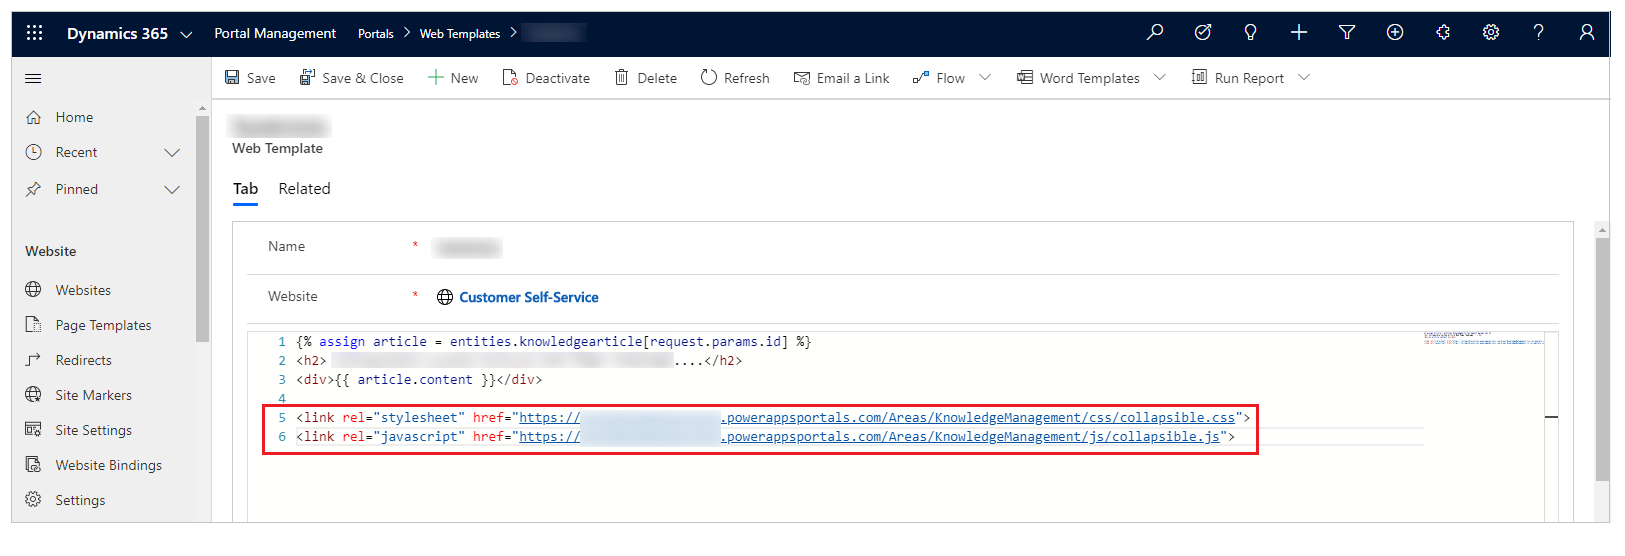
You can customize the default CSS and JS files and create additional customization. The default CSS file name is collapsible.css and JavaScript file name is collapsible.js.
The following example shows a web template using default JavaScript and CSS files. Update the file name and location for the web template to your customized JavaScript and CSS files:
