Save a paginated report to OneDrive for work or school or SharePoint Online
With Power Automate, you can automate exporting and distributing Power BI paginated reports to a variety of supported formats and scenarios. In this article, you use Power Automate to automate saving a Power BI paginated report to OneDrive for work or school or a SharePoint Online folder.
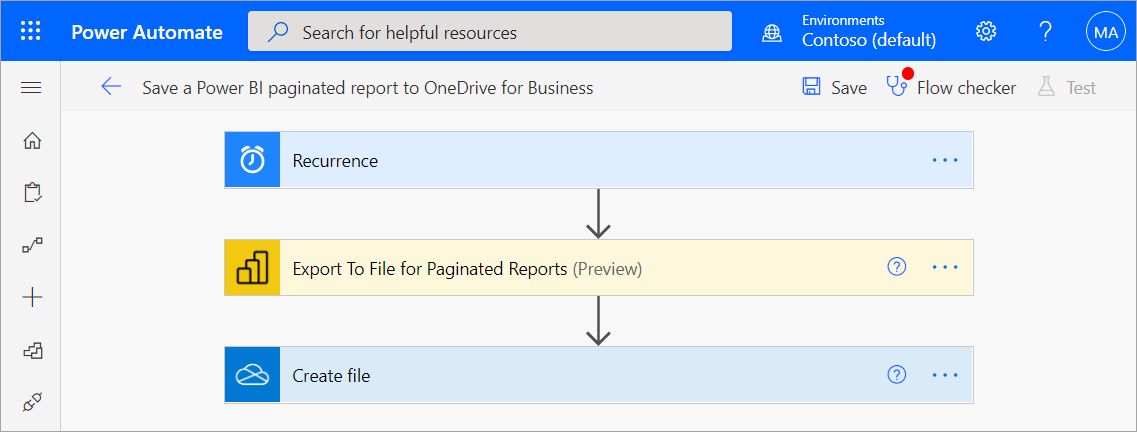
For more information about Power Automate templates for Power BI paginated reports, see Export Power BI paginated reports with Power Automate.
Prerequisites
Before you begin, make sure you meet these criteria:
- You can publish to My Workspace, or you have at least a Contributor role for any other workspace.
- You have access to the standard connectors in Power Automate, which come with any Office 365 subscription.
Save a paginated report to OneDrive for work or school or a SharePoint Online folder
With either of these templates, you set up recurring exports of a paginated report in a desired format to OneDrive for work or school or a SharePoint Online folder. See the prerequisites if this is your first time using the Export to File for Paginated Reports action in a Power Automate flow.
Note
The following steps and images show setting up a flow using the Save a Power BI paginated report to OneDrive for work or school template. Follow the same steps to create a flow using the Save a Power BI paginated report to a SharePoint Online folder template. When selecting where you want to export your paginated report, select a SharePoint Online folder instead of a OneDrive for work or school folder.
Go to flow.microsoft.com and sign in to Power Automate.
Select Templates, and search for paginated reports.
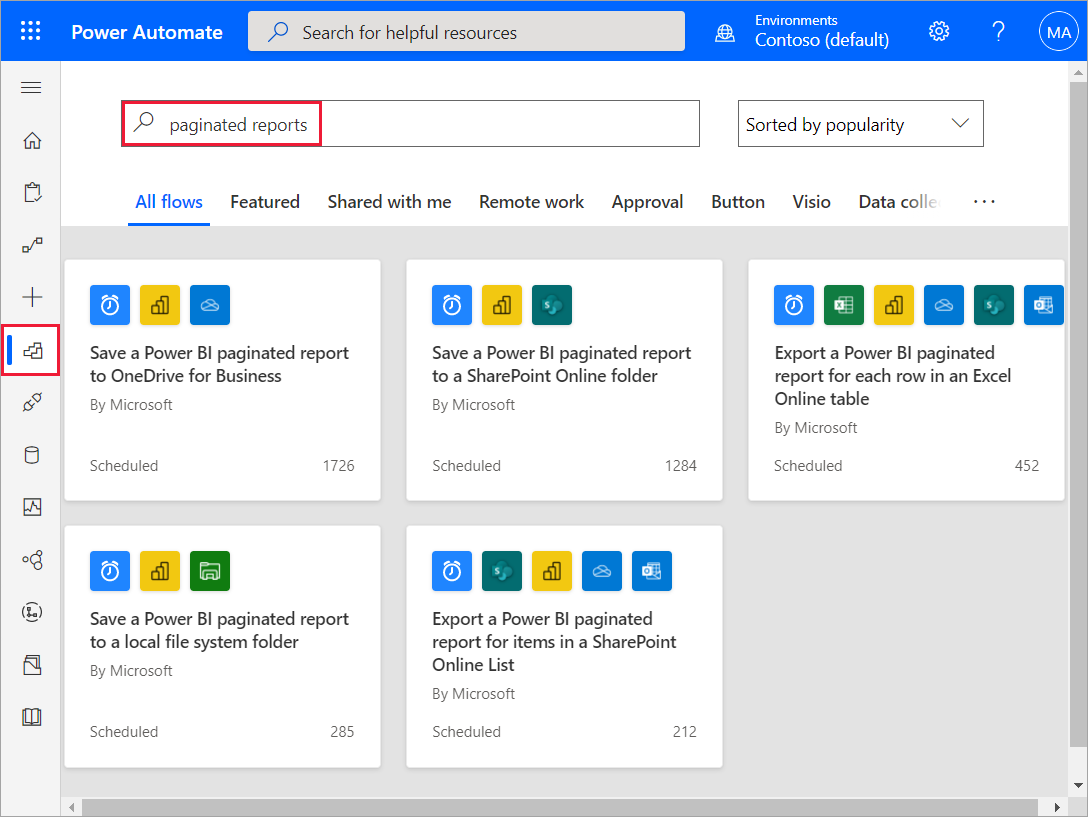
Select Save a Power BI paginated report to OneDrive for work or school or Save a Power BI paginated report to a SharePoint Online folder. Make sure you're signed into Power BI and OneDrive for work or school or SharePoint Online.
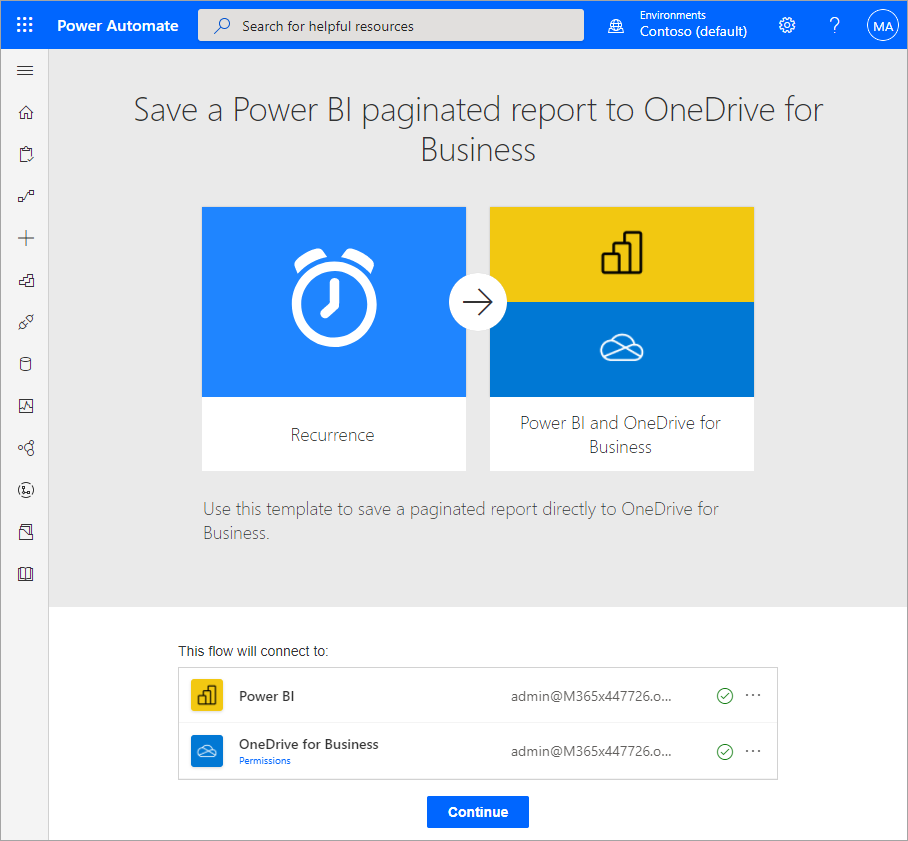
Select Continue.
Select Continue.
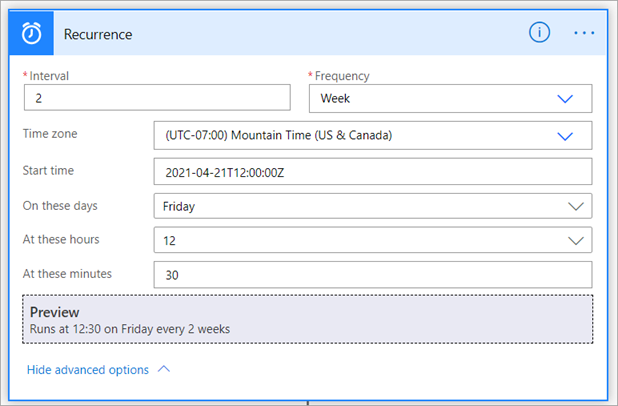
To set the recurrence for your flow, select a Frequency and enter a desired Interval value.
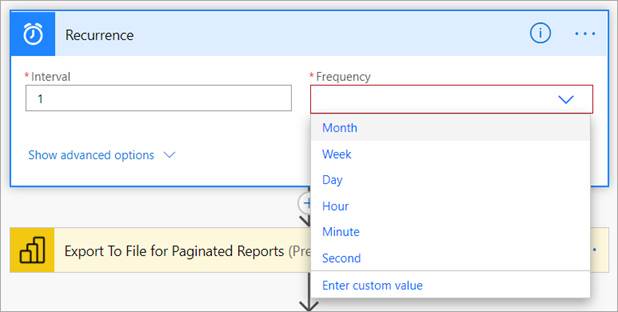
For more options, select Show advanced options to set other Recurrence parameters, including Time zone, Start time, On these days, At these hours, and At these minutes.
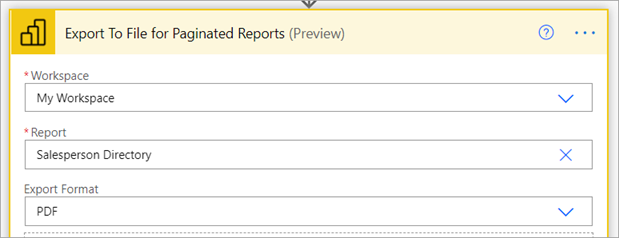
In the Workspace box, select a workspace in a reserved capacity. In the Report box, select the paginated report in the selected workspace you wish to export. In the Export Format box, select the desired export format. Optionally, you can specify parameters for the paginated report. For detailed descriptions of the API parameters, see the connector reference for the Power BI REST API.
In Folder Path, select the OneDrive for work or school or SharePoint Online folder where you want to export your paginated report.
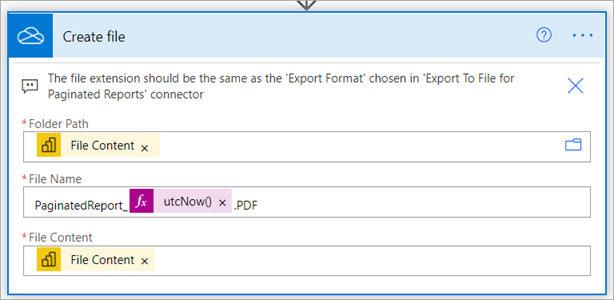
Power Automate automatically generates a File Name and File Content for you. You can change the file name, but keep the dynamically generated File Content value.
When you're done, select Next step or Save. Power Automate creates and evaluates the flow, and lets you know if it finds errors.
If there are errors, select Edit flow to fix them. Otherwise, select the Back arrow to view the flow details and run the new flow.
When you run the flow, Power Automate exports a paginated report in the specified format to OneDrive for work or school or SharePoint Online.