Customize an email template using the template editor
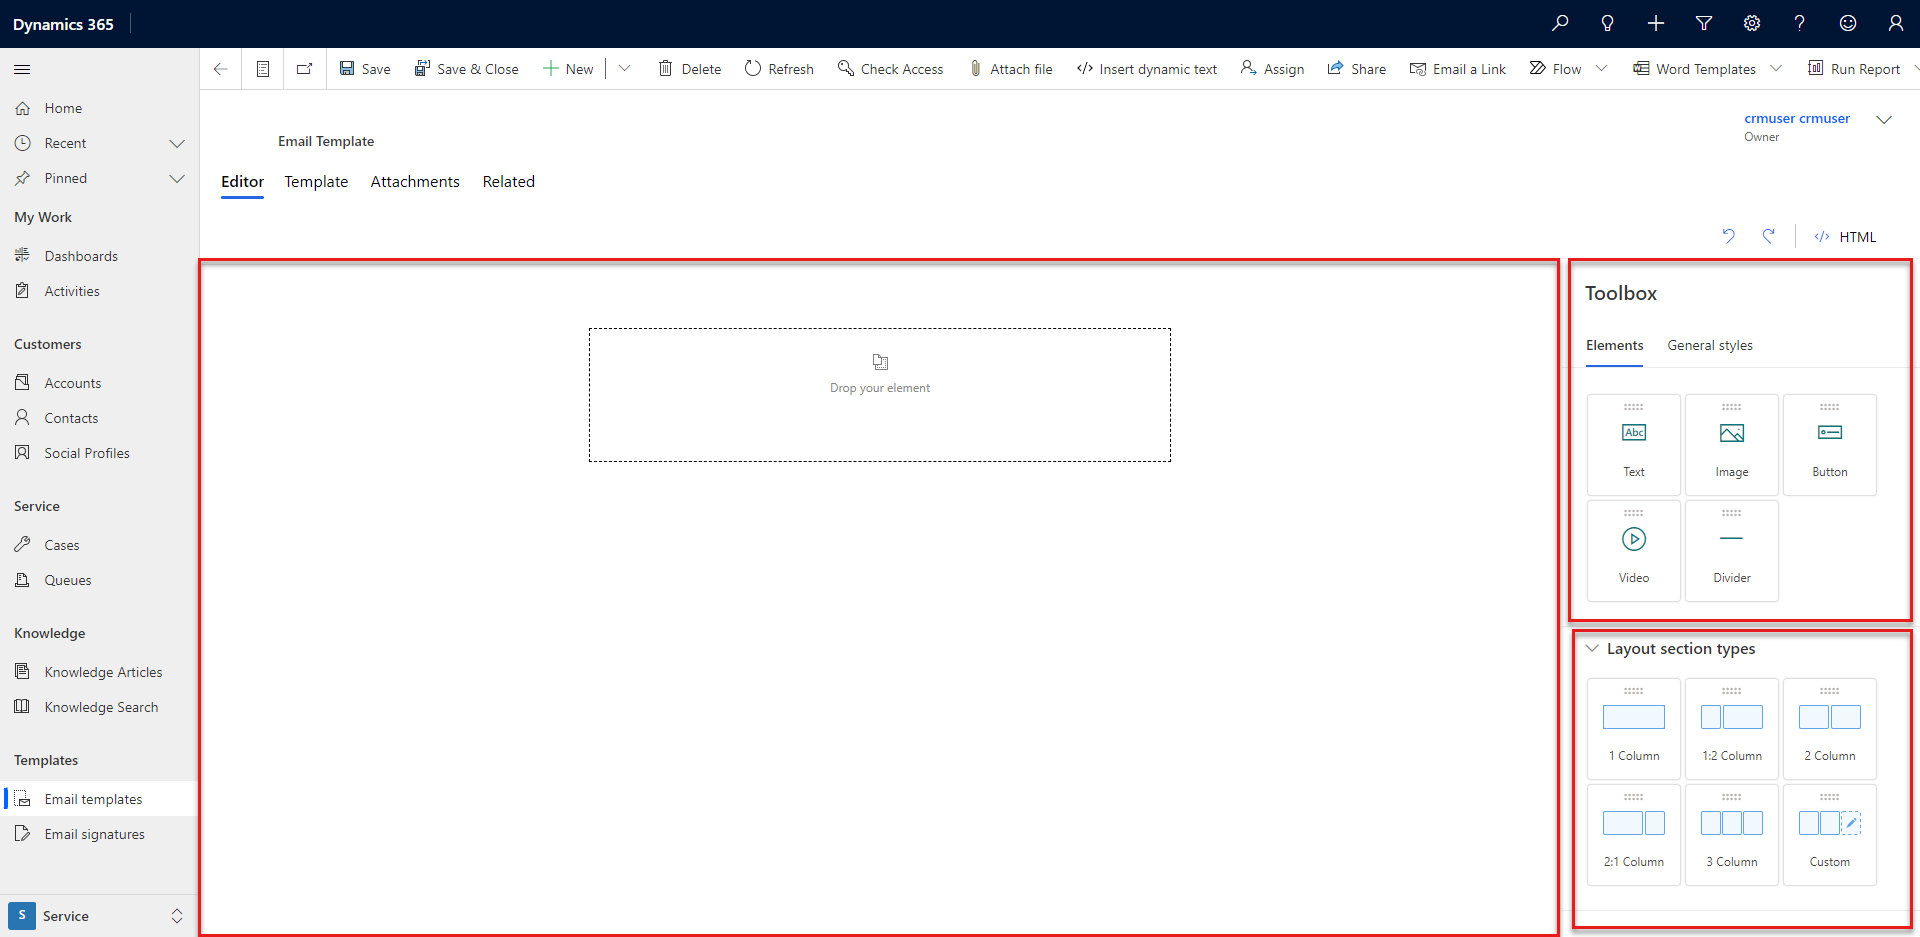
Use the Editor tab in the Email Template form to create customized email templates. The Editor tab has three sections:
- Design canvas
- Toolbox
- Layout section types

Manage an email template
On the design canvas, you can drag, arrange, enter, and delete content. By default, the canvas contains an empty one-column layout section.
You have a few different ways to add items to your template.
Drag an element from the Toolbox to the canvas. The blue shade indicates that the element is in a suitable location and may be dropped.
Select an element in the Toolbox or the Layout section types. An add icon appears on the canvas. Select the icon to add the element.
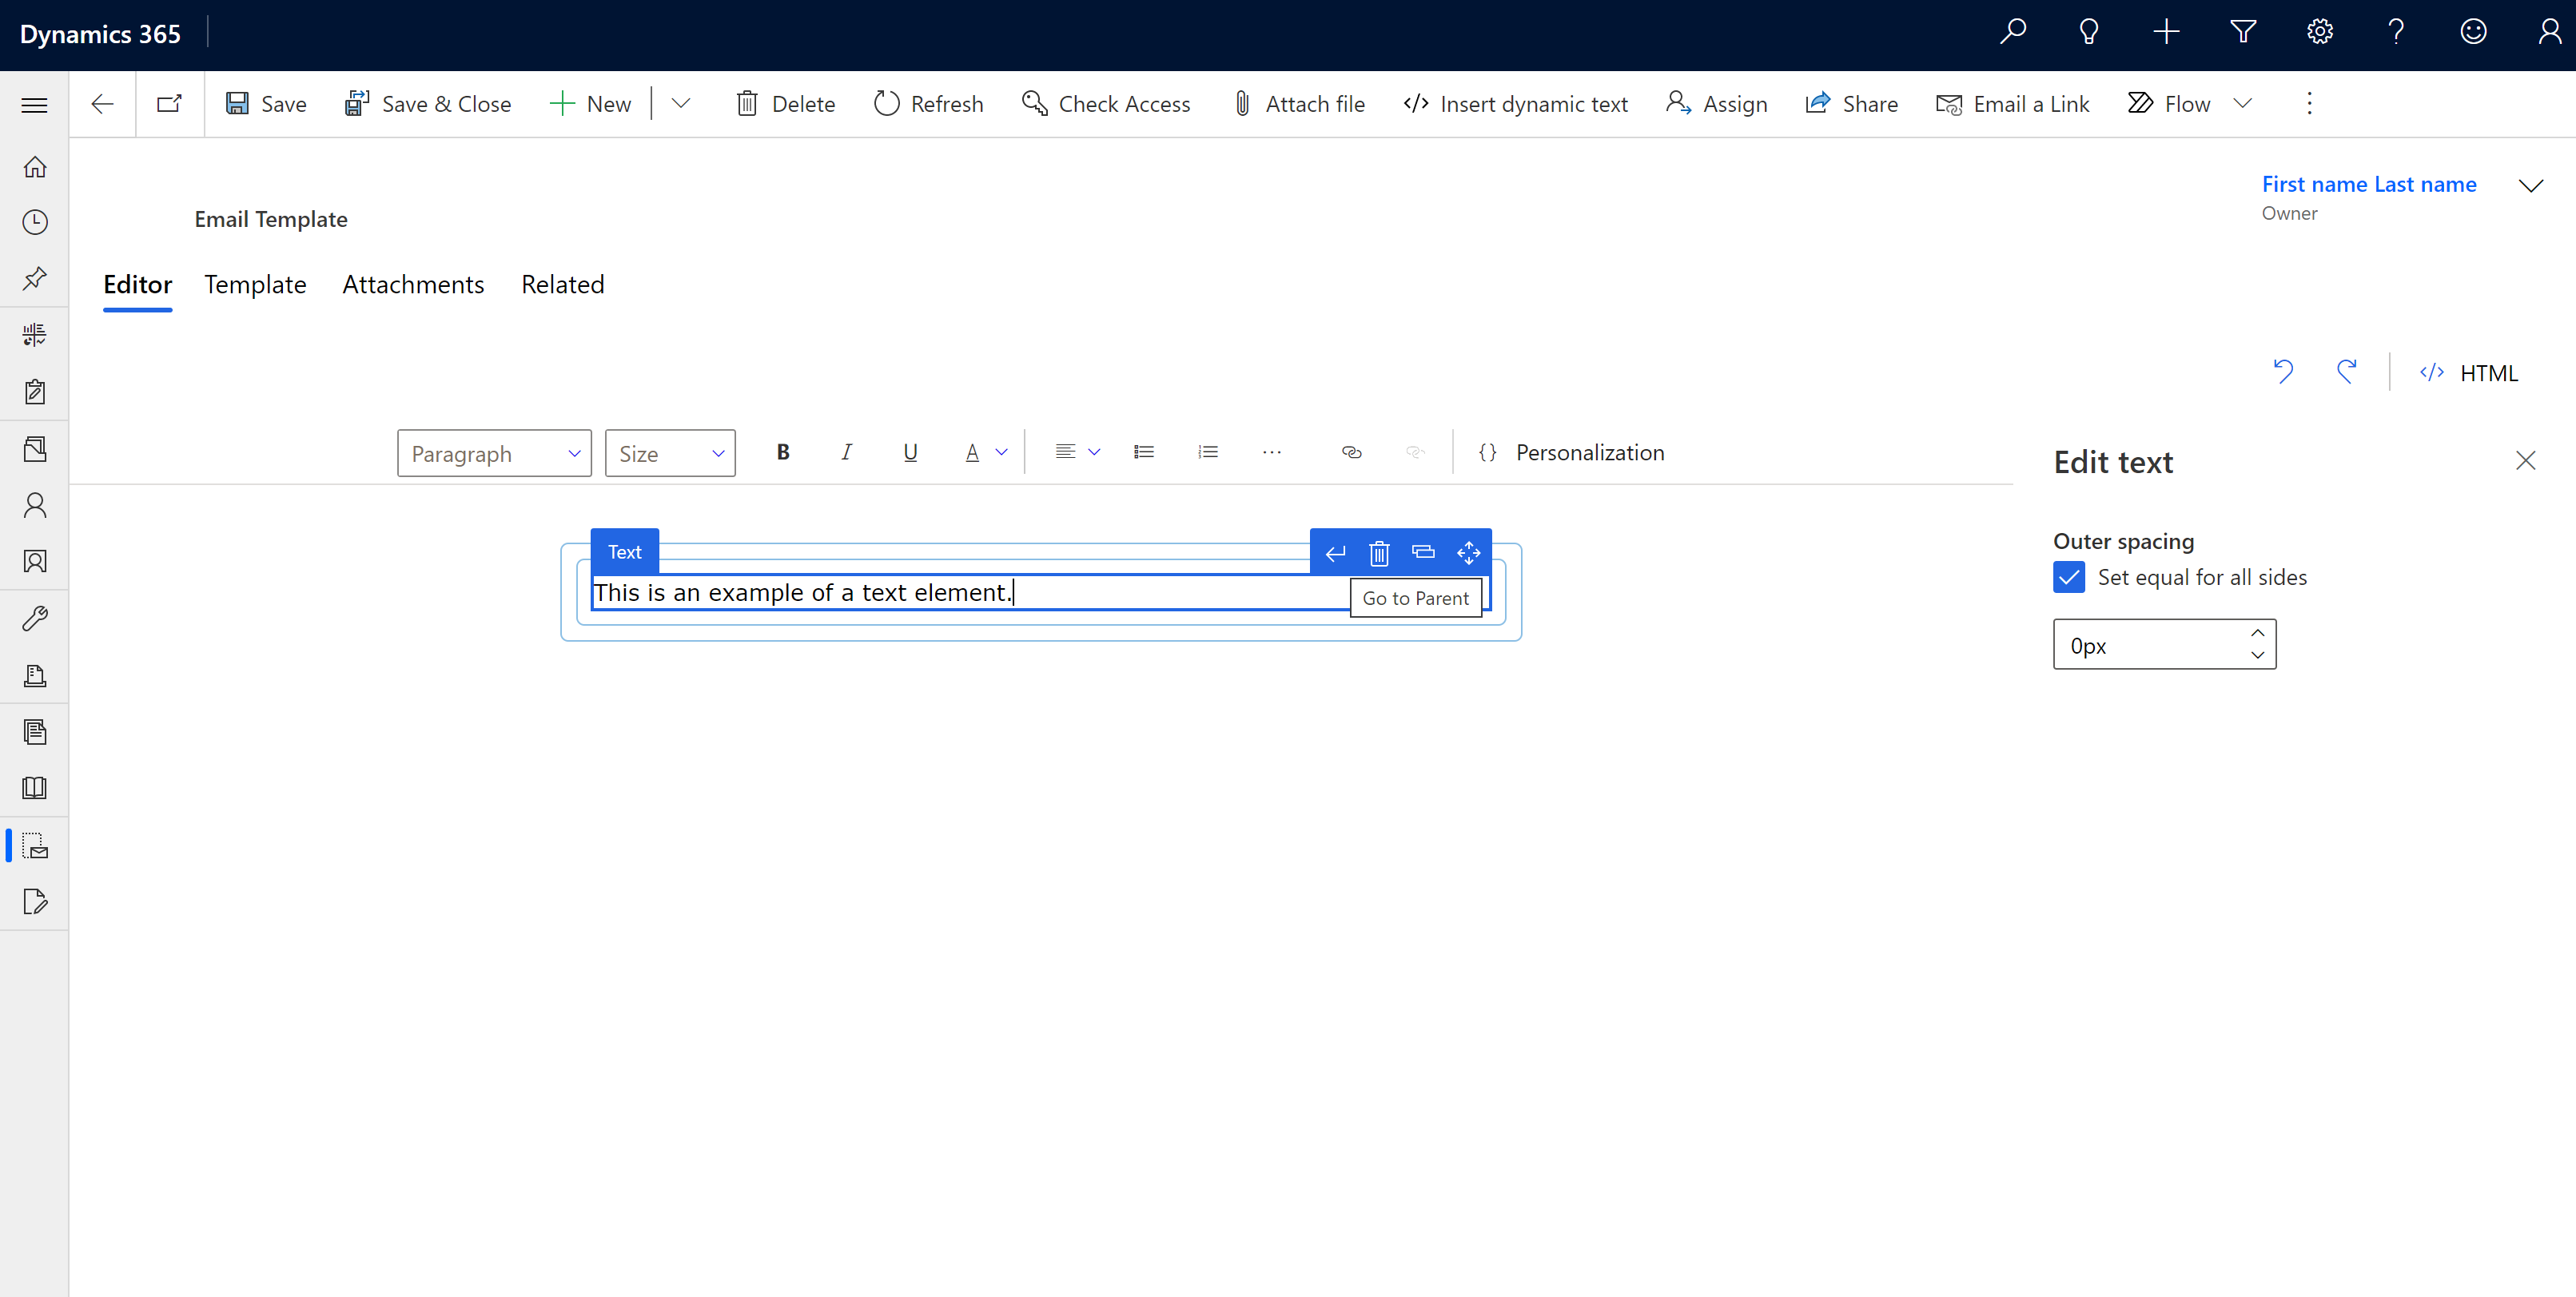
You can select Go to the parent to identify the section or column in which the element is embedded.

Select HTML to personalize your email template. We recommend the following guidelines:
- Ensure that you don't delete the existing meta tags.
- You can add CSS inside the style tags and HTML content inside the body tags.
Add a layout section to the template
Drag a layout section from the Layout section types box to the canvas.
To modify a layout, select it, and then select Edit layout. You can change a layout's spacing, style, background color, and image. You can also change the number of columns in the layout and the width of each column.
To change the appearance of a column, select it, and then select Edit column. You can change a column's spacing, style, background color, and image.
Add an element to the template
You can use the design elements in the Elements tab in the Toolbox to customize your email template:
Text: Add text content to your template. Replace the placeholder text with your content. Use the floating toolbar to insert dynamic text or format the content.
Note
When you select the text element, the following capabilities of the rich text editor toolbar aren't supported:
- Personalization. Use the Insert dynamic text editor to personalize content.
- Insert image. Use the image element to add an image to column.
- Tracking for links
- Inserting tables
- Font style and size of the text isn't detected, if you paste formatted content from other sources.
Image: Add an image to your template. Select the image placeholder, and then select Edit Image and upload an image or specify an image URL. You can also modify the image's size and alignment.
Button: Add a button to your template. Select the button, and then select Edit Button and enter the URL to open when the user selects the button. You can also change the label, label font, color, and appearance of the button.
Divider: Divide the template into bordered sections. Select a divider, and then select Edit Divider and change the divider's appearance, color, width, alignment, and spacing.
Use the General Styles tab to change the layout's width, font, font size, background, and text color.
See also
Personalize content with Insert dynamic text
How to create an email template in model-driven apps
Enable the enhanced email template editor page