Get started with Bot Framework Composer
Note
This article applies to classic chatbots only. To extend agents created in Copilot Studio, you don't need to use Bot Framework Composer. All features described in this article are available for agents, directly in Copilot Studio.
To use Bot Framework Composer to extend your Copilot Studio bot, you need to first import your bot into a Composer project.
Prerequisites
Open your bot in Composer
Important
You should always open Composer from within Copilot Studio. This precaution ensures that Composer has all the necessary plug-ins for integration with Copilot Studio.
Go to the Topics page for the bot you want to edit and select the down-arrow symbol next to + New topic.
Select Open in Bot Framework Composer in the dropdown menu to open your bot in Composer.

If you don't have Composer installed already:
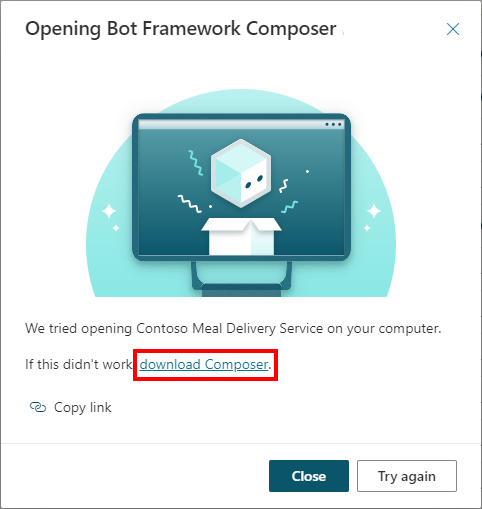
Select download Composer.
In the Download Bot Framework Composer window, select Download Composer.
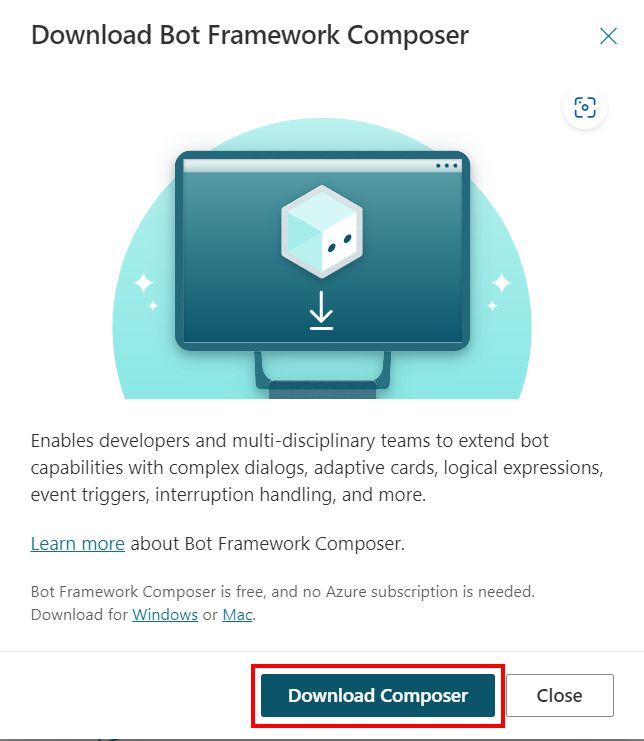
When the download completes, run it to install Composer.
Once you've installed Composer, go back to Copilot Studio. Go to the Topics page and select the down-arrow symbol next to + New topic.
Note
In some cases, a firewall might be blocking some features in Composer and you might need to explicitly allow access. Check with your admin for details.
If Copilot Studio is unable to launch Composer automatically, you can launch it manually:
Select Copy Link to copy the link to your clipboard.
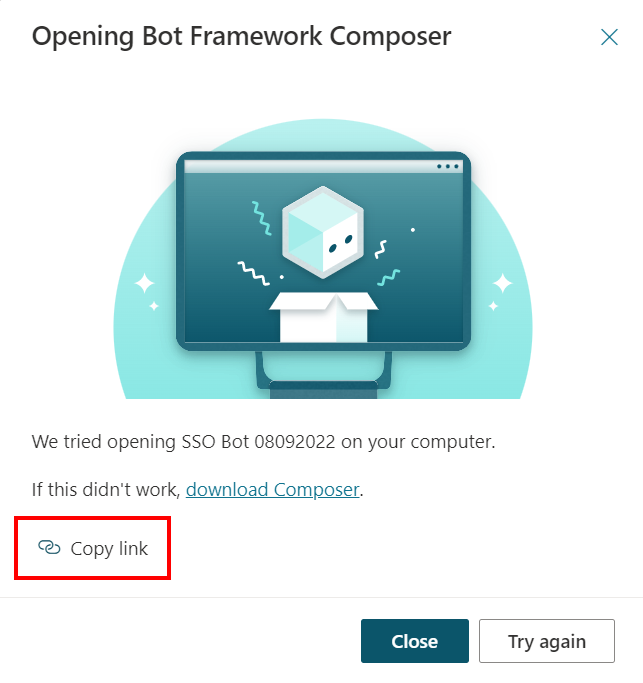
Open a new tab and paste the link in your web browser's address bar.
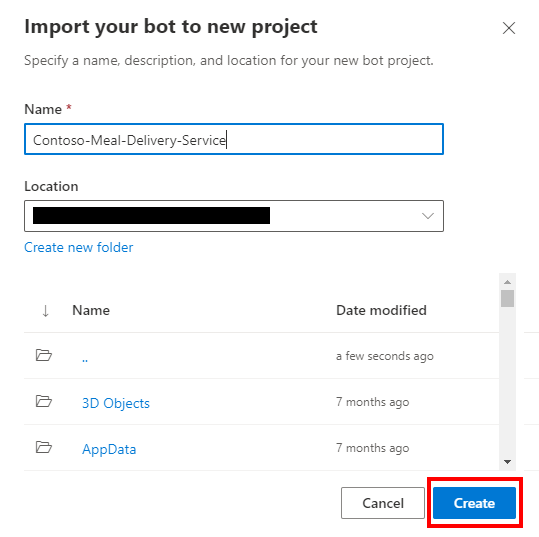
The first time you open a Copilot Studio bot in Composer, it's imported into a new Composer project. The name you specified in Copilot Studio is used automatically as the name for the project, but you can also enter a custom name.

Select Create to finish importing your bot into Composer.
Test Composer content within Copilot Studio
You can't use the Bot Framework Emulator to test Composer content created for Copilot Studio bots. Instead, you must publish your Composer content to your Copilot Studio bot, then use the Test bot pane.
Important
Selecting Publish in Composer makes the changes available for testing, but doesn't automatically publish your bot.
Publish your bot in Microsoft Copilot Studio to update your bot across all the channels it's connected to.
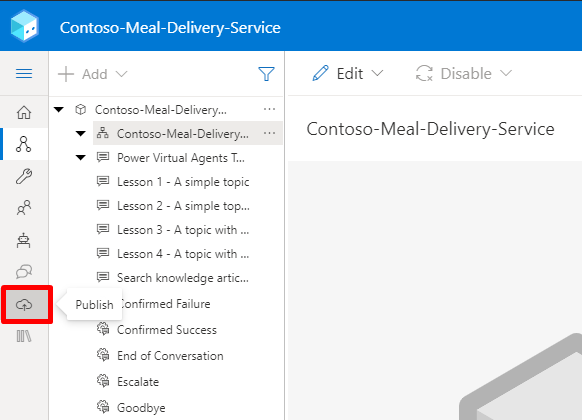
Go to the Publish page.
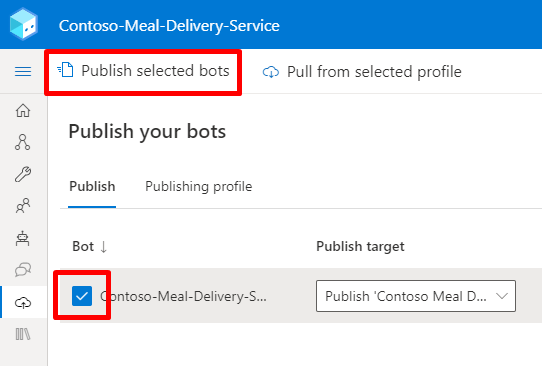
Select your bot in the Bot list, then select Publish selected bots.
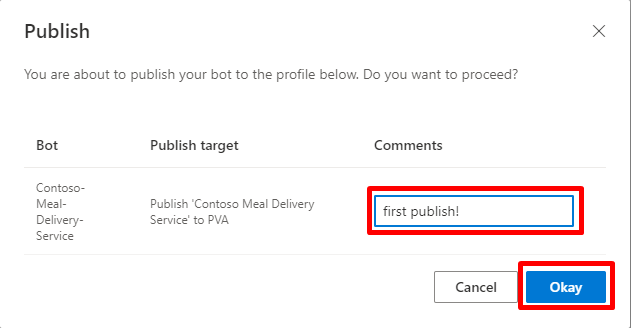
Optionally enter a message for Comments, then select Okay.
Once publishing completes, go to Copilot Studio. You might need to refresh the page to see the new topics you've added in Composer.
Open the Test bot pane and start a conversation by typing in a trigger phrase.
View the publish log
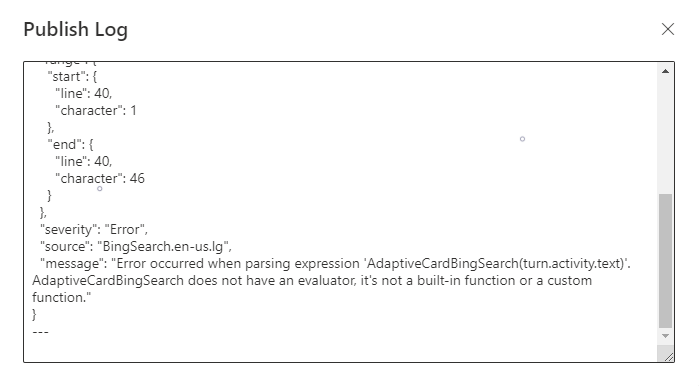
If you're having trouble publishing your Composer content to Copilot Studio, you can troubleshoot by reviewing the publish log. The publish log provides a detailed description of any warnings or errors encountered during validation and suggestions on how to fix them.
Note
If you're having trouble with your Copilot Studio bot, use the topic checker instead.
In Composer, go to the Publish page.
Select the right arrow (>) next to your bot. You might need to increase the size of the Composer window to make the arrow visible.

Under Publish history, select View log.
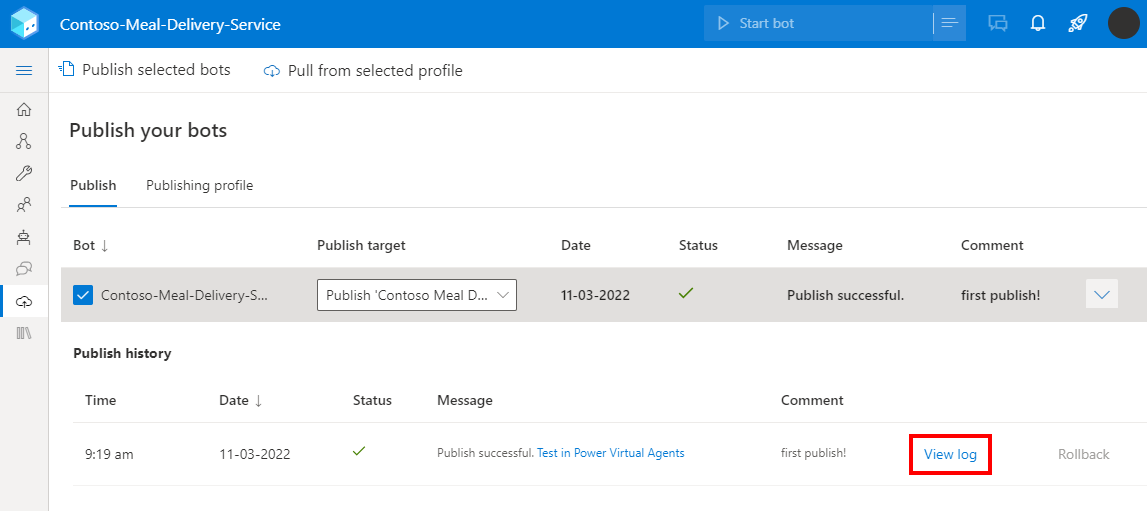
In the Publish log window, review logs for any errors or warnings.
If you encounter issues developing in Composer, you can:
See the list of known issues in Composer or log a new Composer issue.
Next steps
To help you get started using Composer, we've created four examples that detail different scenarios: