Mesh 101 Tutorial Chapter 1: Overview and Setup
The Mesh 101 tutorial is a great way to learn about adding Mesh features to a Unity project to create an interactive learning experience. Created for intermediate to advanced Unity developers, the tutorial will give you a solid understanding of the power of Mesh, spanning Mesh Interactables and Physics, Scripting, and more. You'll start with a pre-built Unity project, add custom interactivity and other Mesh features, and then deploy the project as an Environment to Microsoft Mesh. Customers can attend an Event based on your Environment where they'll learn about wind turbines by visiting a series of interactive stations and experience multi-user interaction and communication.
The tutorial project is named Mesh101 and is included in the Mesh toolkit.
Note
We make regular updates to the Mesh toolkit and this video may not reflect all the latest changes. You should view the content of this article as the source of truth.
Important
The tutorial project is governed by the MIT license as shown in the LICENSE.txt file in the Mesh-Toolkit-Unity repository. However, the samples functionality is dependent on the Mesh toolkit, which is governed by a separate license, and contains 3rd party software. A Teams Premium license is required for using the Mesh application for custom immersive spaces in Mesh on PC and Quest. A license isn't required to develop with the Mesh toolkit, but you'll be blocked from building and publishing Environments to Mesh and organizing or joining events in Mesh if you and your users don't have Teams Premium licenses. For more information, see Set up M365 for Microsoft Mesh.
The tutorial is structured as follows:
Chapter 1: Overview and setup (this article)
Chapter 3: Add interactivity with Mesh Visual Scripting
- Station 3.1: Create an Interactable Button
- Station 3.2: Trigger an info dialog
- Station 3.3: Teleport to the turbine generator
Chapter 4: Move objects and trigger animations with Mesh Interactables and Physics
- Station 4.1: Grab and Release
- Station 4.2: Animation Trigger
- Station 4.3: Constraining Bodies
Terminology
In Mesh terms, the project you create in Unity and then upload to Mesh on the web is called an Environment.
Prerequisites
Previous Unity experience
This tutorial assumes that you have the intermediate to advanced Unity skills needed to create an Environment. We also recommend that you have some familiarity with Unity Visual Scripting; however, we've gotten feedback from scripting novices that they found the tutorial easy to follow. A good place to learn Visual Scripting basics is through Unity's Visual Scripting tutorial. This teaches you most if not all of the concepts you need to get started with Mesh Visual Scripting.
If you don't, you can still create, customize and produce Mesh events using ready-to-use environments.
Hardware requirements
Minimum PC requirements: 4 CPU cores, 8GB RAM
Unity version 2022.3.34
Unity version 2022.3.34 is required for this tutorial.
Review system requirements for Unity
Your installation should include modules for Android and Windows. The Mesh app works for PC and the Meta Quest 2, and Android is the operating system for the Quest.
Set things up for Mesh
Download the Mesh desktop app
Download Microsoft Mesh on PC
Download the Mesh samples and tutorials
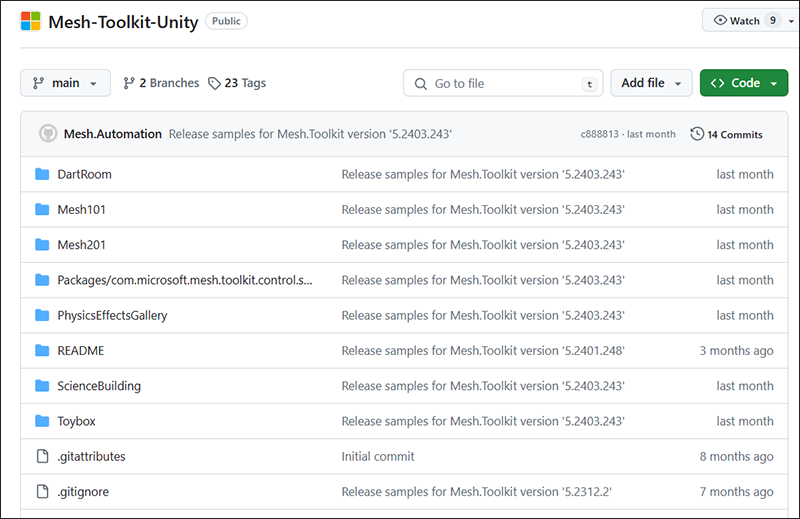
To get the Mesh 101 tutorial, you must go to the Mesh-Toolkit-Unity repository and then clone the repo.
NOTES:
- GitHub also gives you the option to download the samples in a Zip file. We recommend that you clone the repo since it's more convenient to get future updates simply by updating the repo rather than downloading a new Zip file every time.
- We're not currently accepting code contributions to our samples. If you have any feedback or if you run into any issues with the samples or the Mesh toolkit, do the following: in a Unity project that has the Mesh toolkit package installed, select Mesh Toolkit > Give feedback to Microsoft and then use the feedback link in the Mesh toolkit to let us know.
Important: If you're cloning, you should have Git LFS installed.
Select the Code button, and then click the "Copy url to clipboard" button.

We recommend that you create a folder on your C: drive named "Mesh Samples" and then clone the repo to that folder. This is a good name for two reasons: it's short, so it avoids running into a problem with the Windows path length limit, which is 256 characters. Also, there are other Mesh samples in addition to the Mesh 101 tutorial, so all your samples will be located in one place.
In the newly created folder, create a Git repo and then clone the repo by pasting the copied URL after the git clone command in Git Bash and then pressing the Enter key.

Mesh toolkit package
For this tutorial, the only package you need is the Mesh toolkit package, and it's already pre-loaded into the tutorial project. If you were creating your own project from scratch, you would need to import the Mesh toolkit package.