Add Azure Service Bus source to an eventstream (preview)
This article shows you how to add an Azure Service Bus source to an eventstream.
Azure Service Bus is a fully managed enterprise message broker with message queues and publish-subscribe topics. Microsoft Fabric event streams allow you to connect to Azure Service Bus, where messages in the Service Bus can be fetched into Fabric eventstream and routed to various destinations within Fabric.
Note
This source is not supported in the following regions of your workspace capacity: West US3, Switzerland West.
Prerequisites
Before you start, you must complete the following prerequisites:
- Access to a workspace in the Fabric capacity license mode (or) the Trial license mode with Contributor or higher permissions.
- You need to have appropriate permission to get access keys for the Service Bus namespace. The Service Bus namespace must be publicly accessible and not behind a firewall or secured in a virtual network.
- If you don't have an eventstream, create an eventstream.
Launch the Select a data source wizard
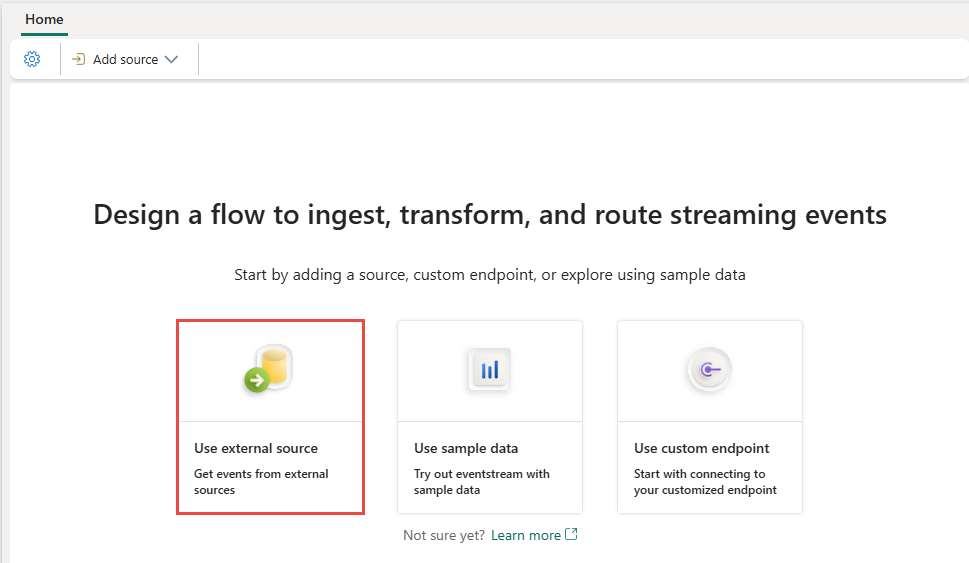
If you haven't added any source to your eventstream yet, select Use external source tile.
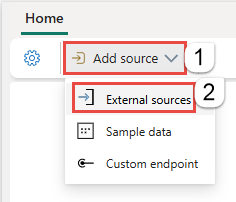
If you're adding the source to an already published eventstream, switch to Edit mode, select Add source on the ribbon, and then select External sources.
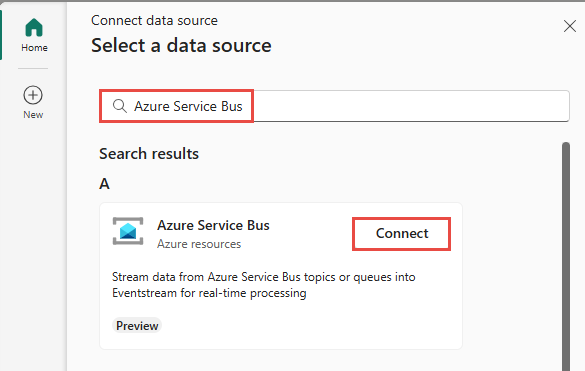
On the Select a data source page, search for and select Connect on the Azure Service Bus tile.
Configure Azure Service Bus connector
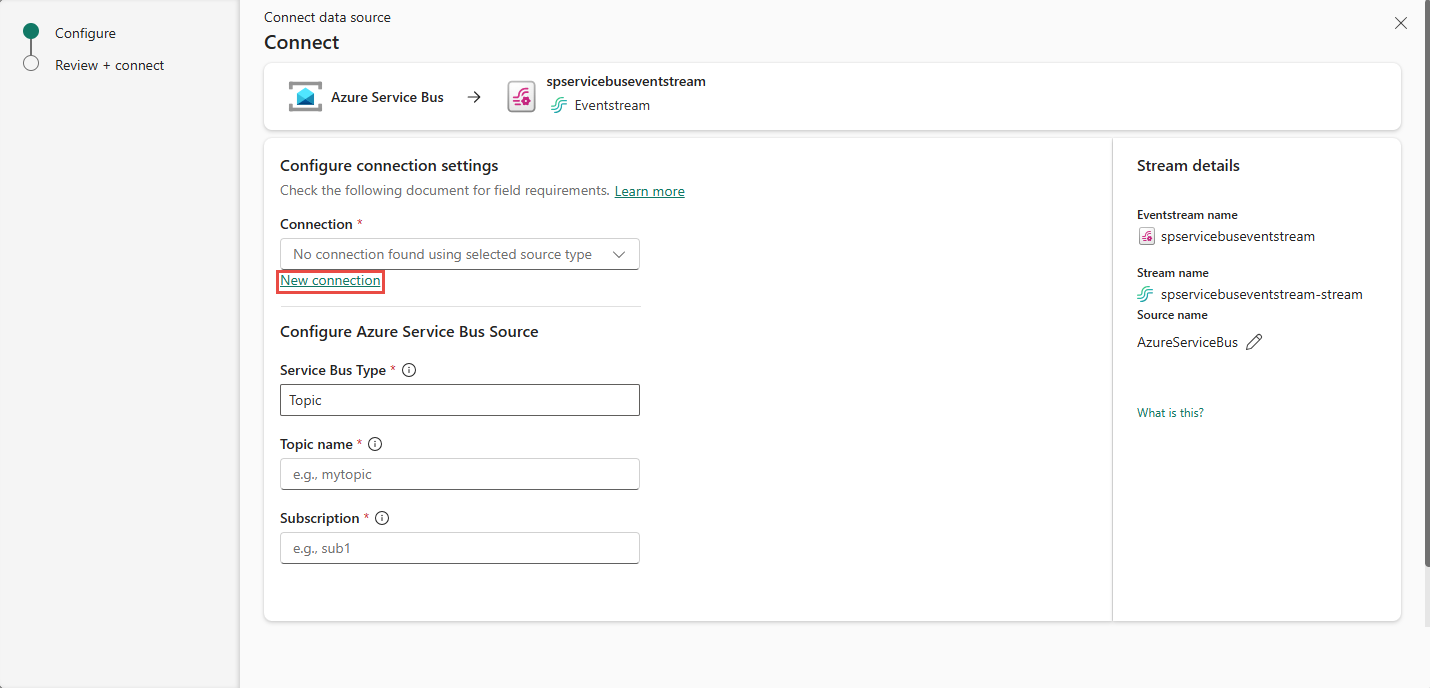
On the Connect page, select New connection.
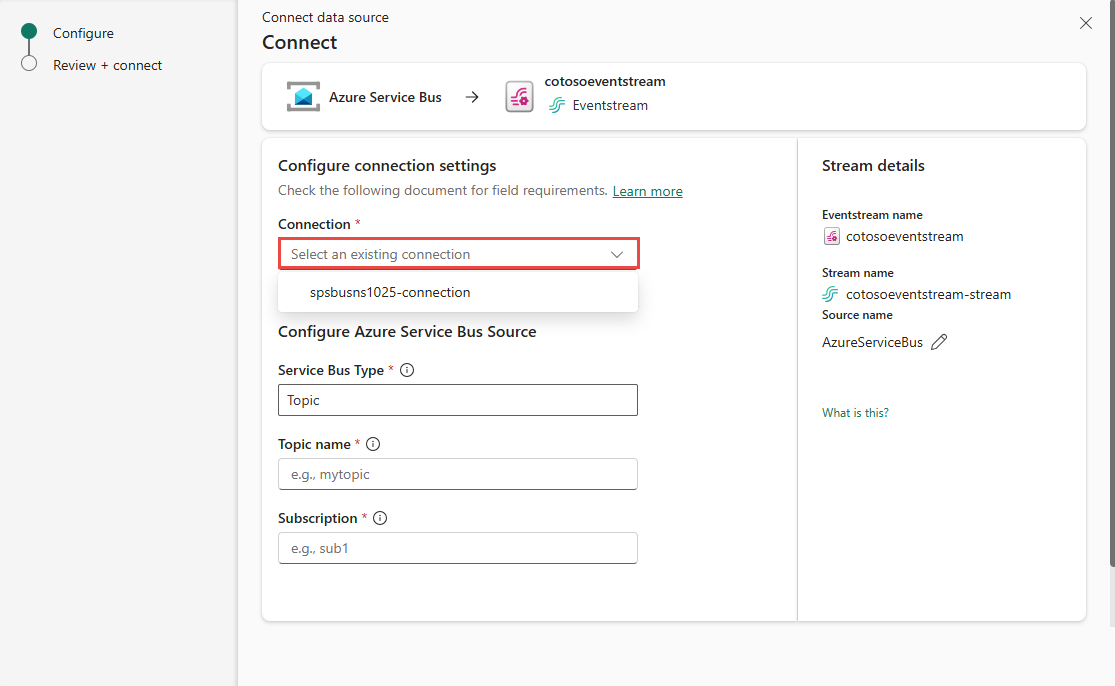
If there's an existing connection to your Azure Service Bus resource, select that existing connection as shown in the following image, and then move on to the step to configure Service Bus Type* in the following steps.
In the Connection settings section, for Host Name, enter the host name for your service bus, which you can get from the Overview page of your Service Bus namespace. It's in the form of
NAMESPACENAME.servicebus.windows.net.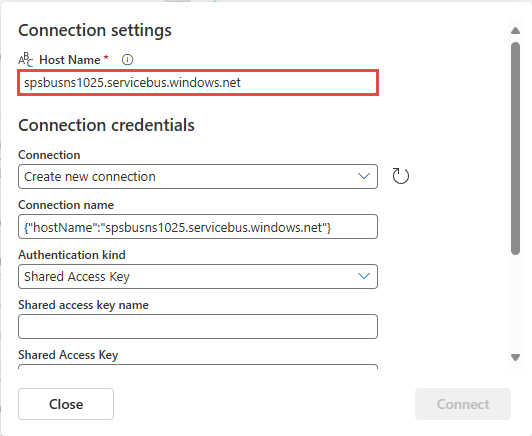
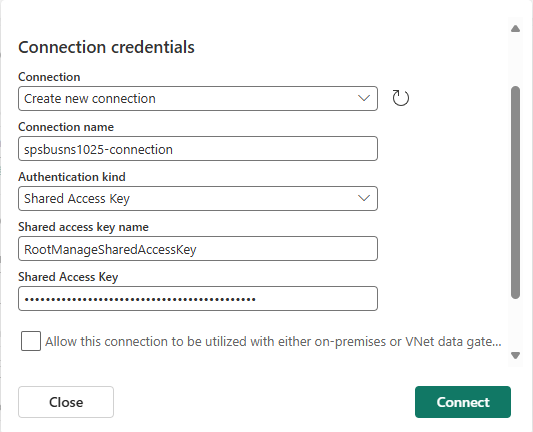
In the Connection credentials section, do these steps:
For Connection name, enter a name for the connection to the Service Bus queue or topic.
For Authentication kind, confirm that Shared Access Key is selected.
For Shared Access Key Name, enter the name of the shared access key.
For Shared Access Key, enter the value of the shared access key.
Select Connect at the bottom of the page.
To get the access key name and value, follow these steps:
- Navigate to your Azure Service Bus namespace page in the Azure portal.
- On the Service Bus Namespace page, select Shared access policies on the left navigation menu.
- Select the access key from the list. Note down the access key name.
- Select the copy button next to the Primary key.
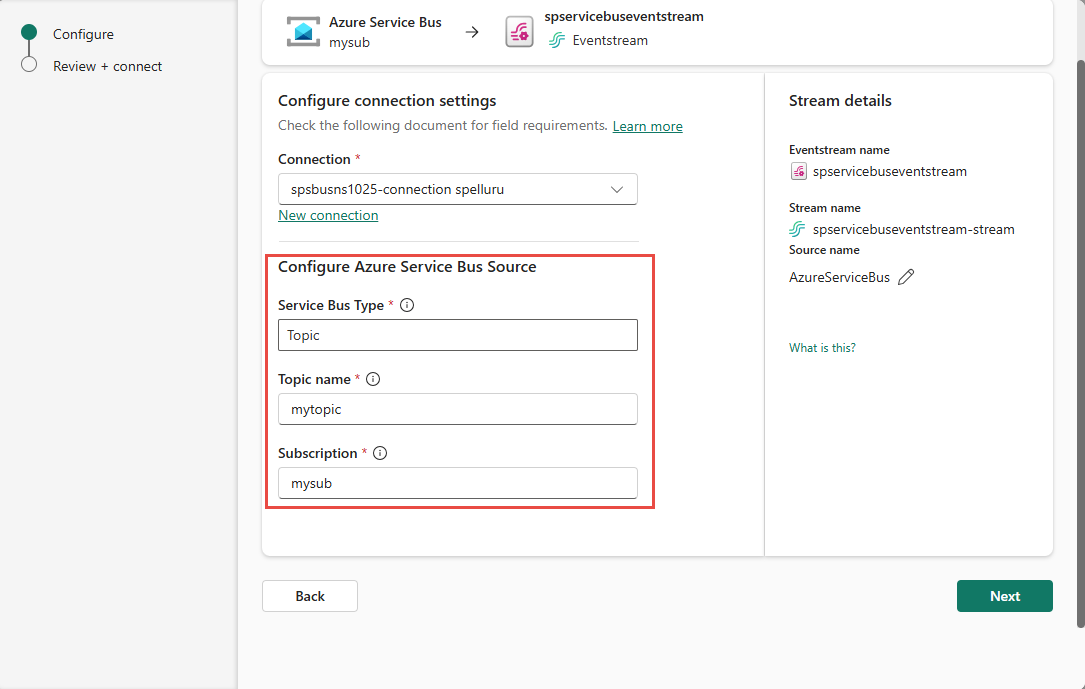
Now, in the Configure Azure Service Bus Source section, follow these steps:
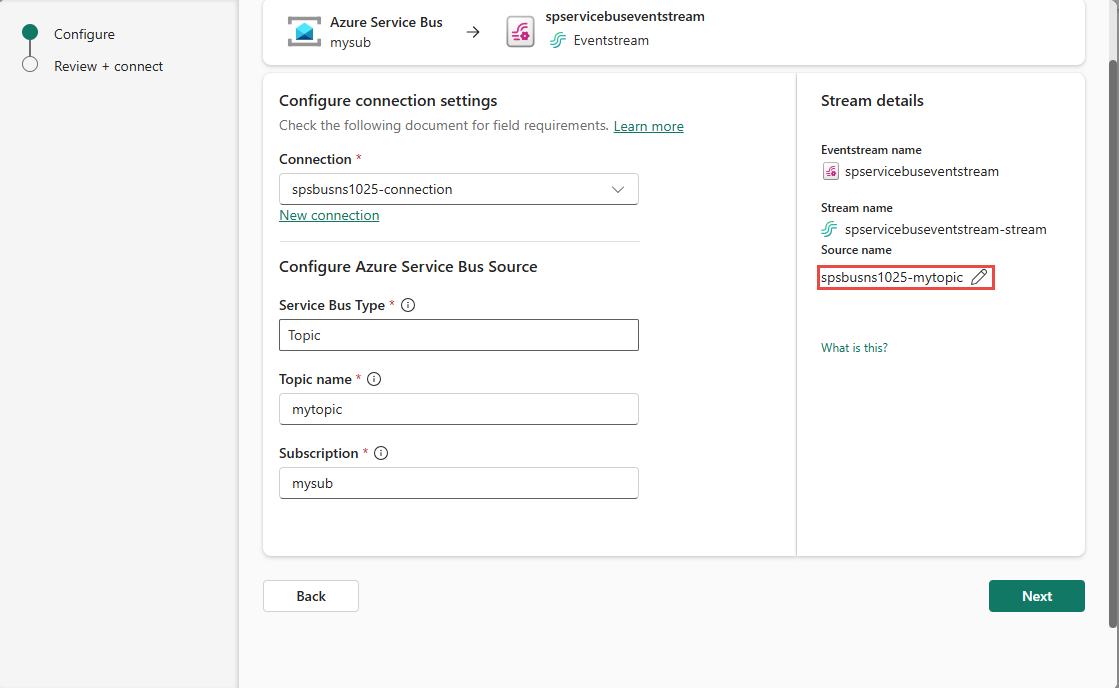
In the Stream details to the right, use the pencil button to change the source name. You might want to change this name to the name of the Service Bus namespace or the topic.
Now, at the bottom of the wizard, select Next.
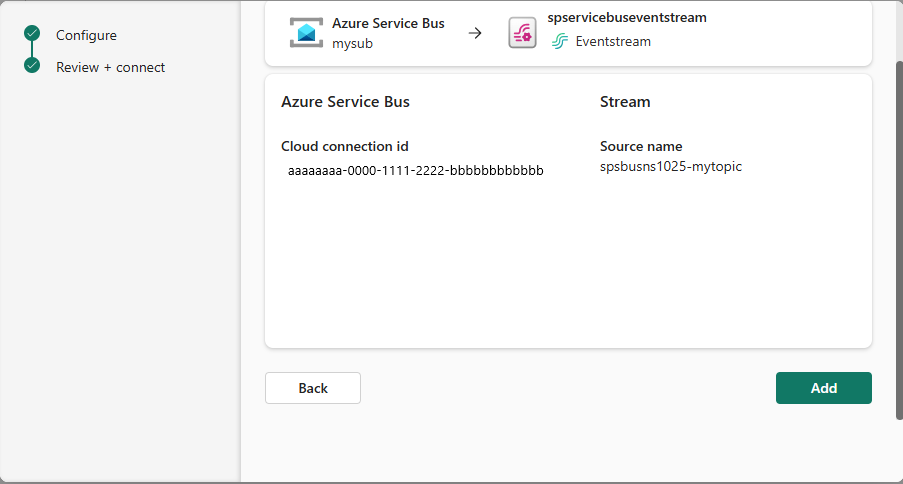
On the Review + connect page, review settings, and select Add or Connect.
Note
The maximum number of sources and destinations for one eventstream is 11.
View updated eventstream
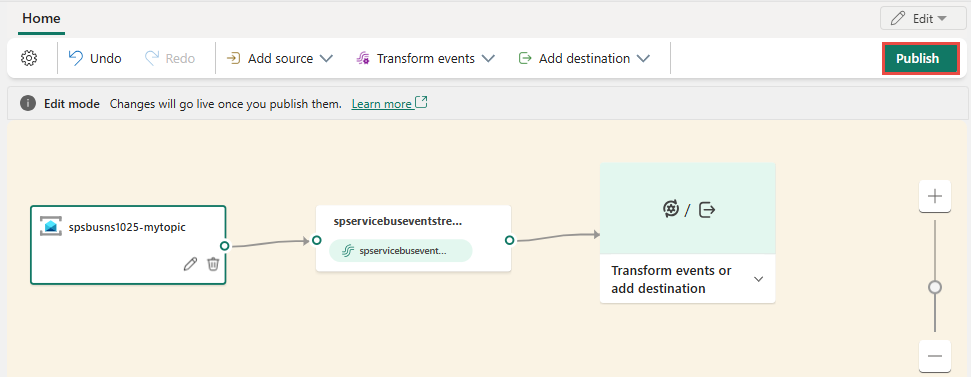
You see that the Azure Service Bus source is added to your eventstream on the canvas in the Edit mode. To publish it to live, select Publish on the ribbon.
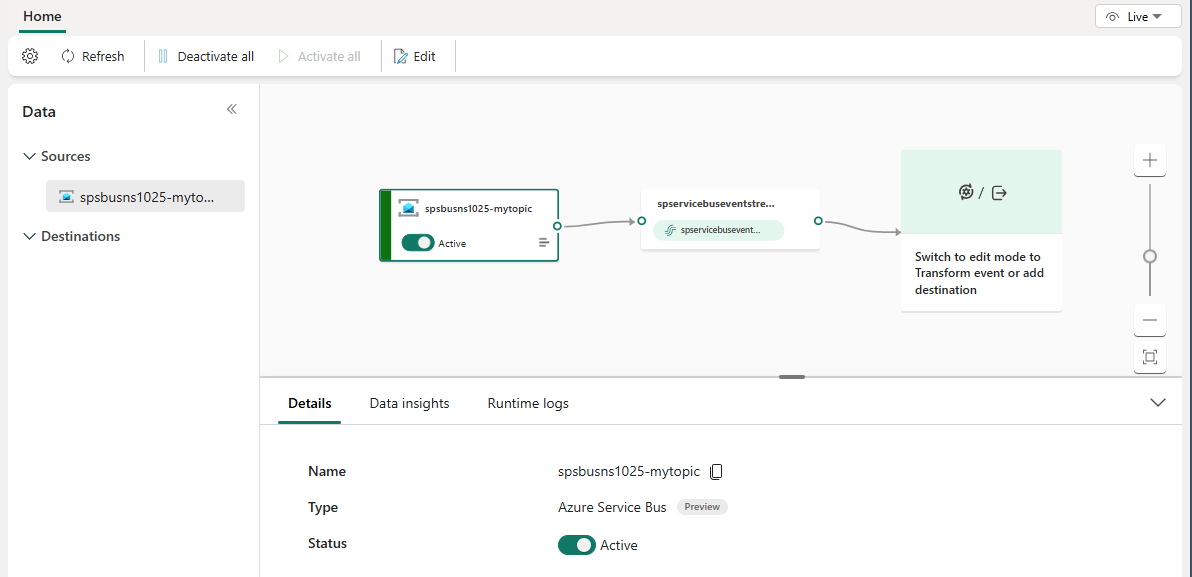
After you complete these steps, the Azure event hub is available for visualization in the Live view. Select the Service Bus tile in the diagram to see the page similar to the following one.
Related content
For a list of all supported sources, see Add and manage an event source.
