Restore in-place in the Fabric portal
Applies to: ✅ Warehouse in Microsoft Fabric
Restore in-place is an essential part of data recovery that allows restoration of the warehouse to a prior known good state. A restore overwrites the existing warehouse, using restore points from the existing warehouse in Microsoft Fabric.
- This tutorial guides you through how to create restore points and performing a restore in-place in a warehouse, as well as how to rename, manage, and view restore points.
Prerequisites
- Review the workspace roles membership required for the following steps. For more information, see Restore in place Security.
- An existing user-defined or system-created restore point.
- A system-created restore point might not be available immediately for a new warehouse. If one is not yet available, create a user-defined restore point.
Restore the warehouse using the restore point
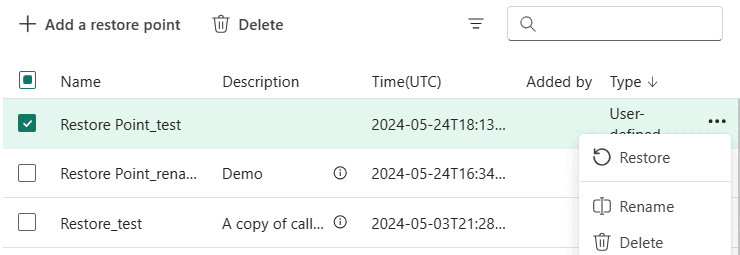
To restore a user-defined or system-created restore point, go to context menu action of the restore point and select Restore.
Review and confirm the dialogue. Select the checkbox followed by Restore.
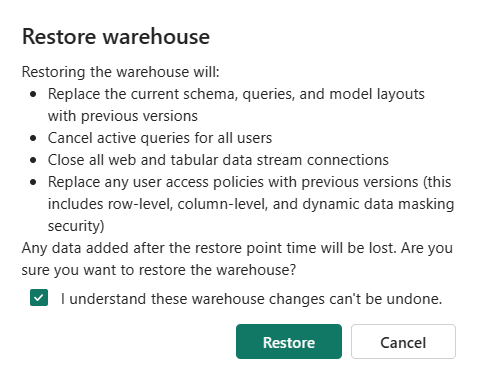
A notification appears showing restore progress, followed by success notification. Restore in-place is a metadata operation, so it can take a while depending on the size of the metadata that is being restored.
Important
When a restore in-place is initiated, users inside the warehouse are not alerted that a restore is ongoing. Once the restore operation is completed, users should refresh the Object Explorer.
Refresh your reports to reflect the restored state of the data.
Create user-defined restore point
Fabric automatically creates system-created restore points at least every eight hours. Workspace administrators, members, and contributors can also manually create restore points, for example, before and after large modifications made to the warehouse.
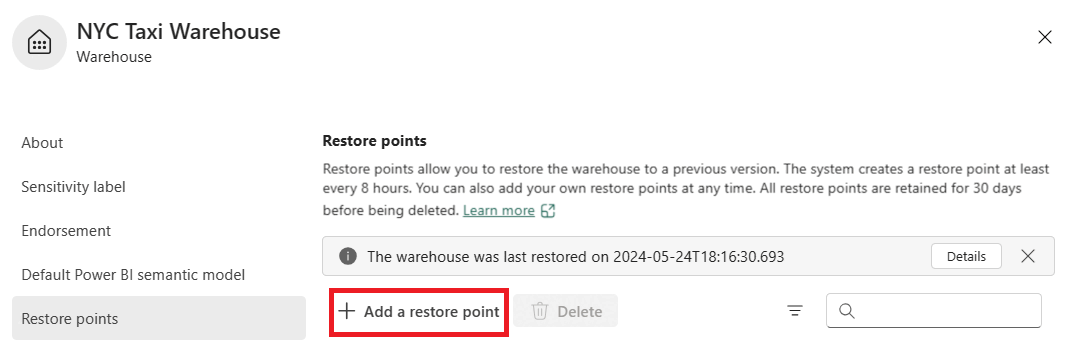
Go to Warehouse Settings -> Restore points.
Select Add a restore point.
Provide a Name and Description.
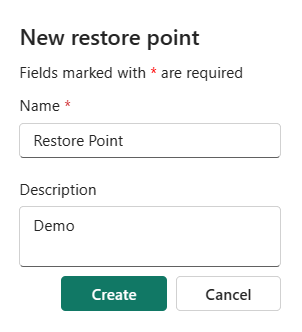
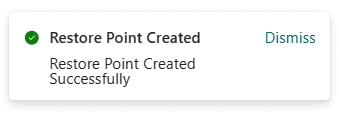
A notification appears on successful creation of restore point.

Rename restore point
To rename a user-defined or system-created restore point, go to context menu action of the restore point, select Rename.
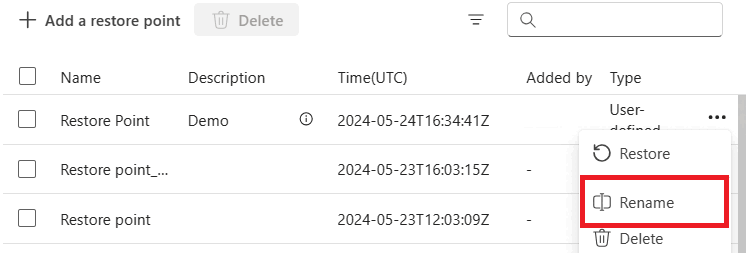
Provide a new name and select Rename.
A notification appears on a successful rename.
Delete user-defined restore point
You can delete user-defined restore points, but system-created restore points cannot be deleted.
For more information, see Restore point retention.
To delete a user-defined restore point, either go to context menu action of the restore point, or select Delete.
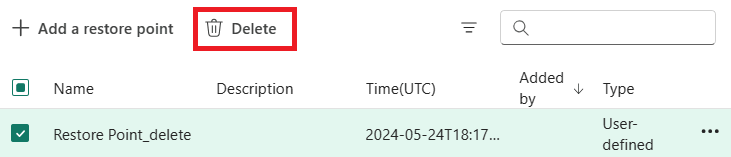
To confirm, select Delete.
A notification appears on successful deletion of restore point.
View system-created and user-defined restore points
Go to Warehouse Settings -> Restore points to view all restore points.
A unique restore point is identified by Time(UTC) value. Sort this column to identify the latest restore points.
If your warehouse has been restored, select Details for more information. The Details of last restoration popup provides details on latest restoration, including who performed the restore, when it was performed, and which restore point was restored.
- If the restore point is over 30 days old and was deleted, the details of the banner will show as
N/A.

- If the restore point is over 30 days old and was deleted, the details of the banner will show as
