Using MSAL Python with Web Account Manager
If you are building a Windows application, you might consider simplifying how users authenticate with the help of an authentication broker - the Web Account Manager (WAM).
Note
WAM is only available on Windows 10 and above, as well as Windows Server 2019 and above.
To learn more about the benefits of using an authentication broker, refer to What is a broker in the MSAL.NET documentation.
Usage
To use the broker, you will need to install the broker-related packages in addition to the core MSAL from PyPI:
pip install msal[broker]>=1.20,<2
Important
If broker-related packages are not installed and you will try to use the authentication broker, you will get an error: ImportError: You need to install dependency by: pip install "msal[broker]>=1.20,<2".
Next, you will need to instantiate a new PublicClientApplication and set enable_broker_on_windows to True. This will ensure that MSAL will try and communicate with WAM instead of popping up a new browser window.
Important
If you are writing a cross-platform application, you will also need to use enable_broker_on_mac, as outlined in the Using MSAL Python with an Authentication Broker on macOS article.
from msal import PublicClientApplication

app = PublicClientApplication(
    "CLIENT_ID",
    authority="https://login.microsoftonline.com/common",
    enable_broker_on_windows=True)
You can now acquire a token by calling acquire_token_interactive and specifying a parent window handle through parent_window_handle:
result = app.acquire_token_interactive(["User.ReadBasic.All"],
         parent_window_handle=app.CONSOLE_WINDOW_HANDLE)
A parent window handle is required by WAM to ensure that the dialog is shown correctly on top of the requesting window. MSAL does not infer this directly due to the fact that there are many variables that might influence what window WAM needs to bind to, and developers building applications are best suited to decide what window that should be.
For console applications, MSAL makes it easy by offering an out-of-the-box solution to getting the window handle for the terminal - CONSOLE_WINDOW_HANDLE. For desktop applications, additional work with the Windows API might be required to get the window handle. Helper packages, like pywin32 can help with API calls.
Before executing your application, make sure that you configure the redirect URL for the desktop app:
Important
To use the Windows broker, your application needs to have the correct redirect URL configured in the Azure Portal, in the shape of:
ms-appx-web://microsoft.aad.brokerplugin/YOUR_CLIENT_ID
If the redirect URL is not configured, you will get a broker_error similar to (pii). Status: Response_Status.Status_ApiContractViolation, Error code: 3399614473, Tag: 557973642.
If configuration and instantiation was correct, once you run the application you should see the authentication broker kick in and allow the user to select the account they want to authenticate with.
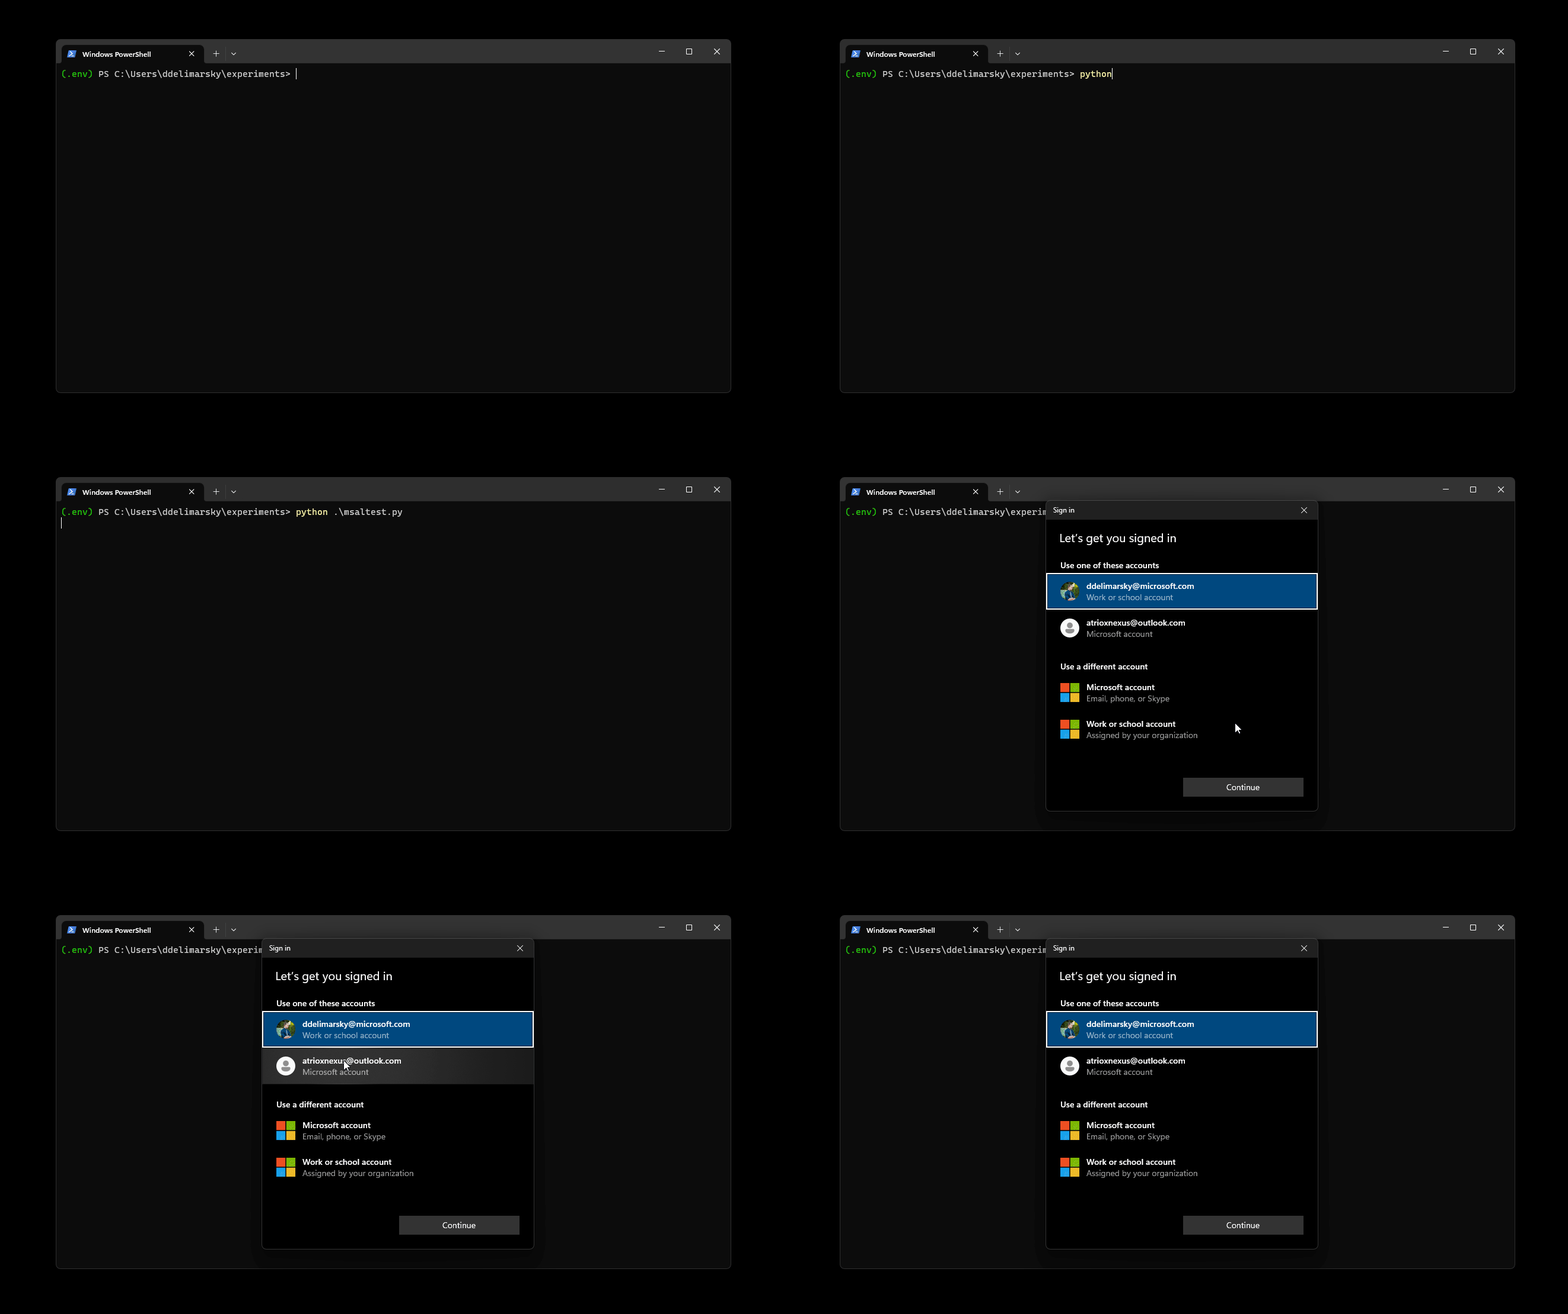
Worth noting that if you switch to using broker-based authentication, if the user was previously logged in and the signed-in state is still valid, calling acquire_token_interactive will still result in a silent attempt to acquire a token, and only prompt when necessary. If you prefer to always prompt, you can use this optional parameter prompt="select_account".
Broker experience differences
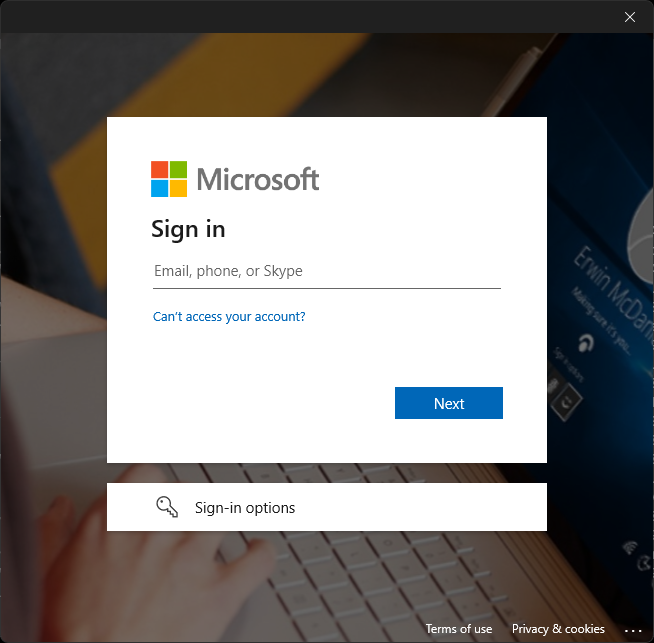
Depending on the authority specified when instantiating PublicClientApplication, the broker user interface may be different.
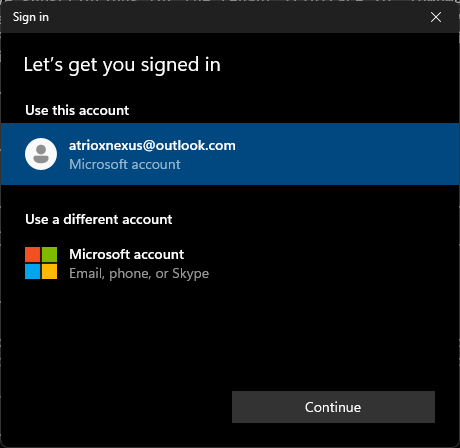
/consumers
Used for authenticating only with personal Microsoft accounts.
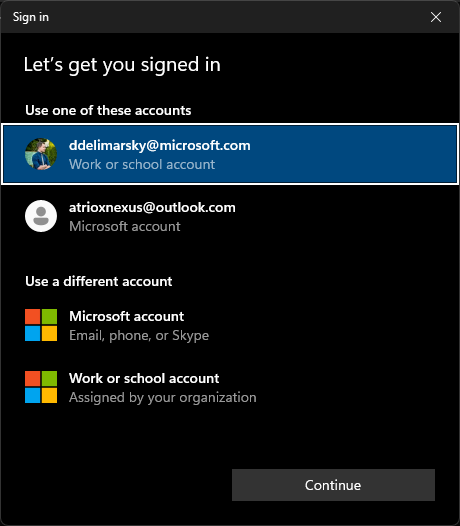
/common
Used for authenticating with personal Microsoft accounts as well as work and school accounts.
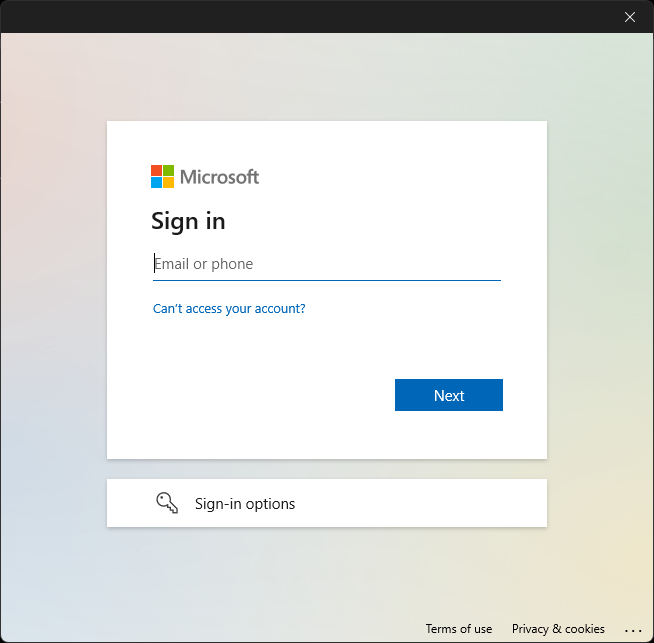
/organizations
Used for authenticating only with work and school accounts.
Note
If login_hint is provided but the account is not yet registered in WAM, the hint will be automatically filled in the "Email or phone" field.
/TENANT_ID
Used for authenticating only with work and school accounts within the specified tenant.
Note
If login_hint is provided but the account is not yet registered in WAM, the hint will be automatically filled in the "Email or phone" field.